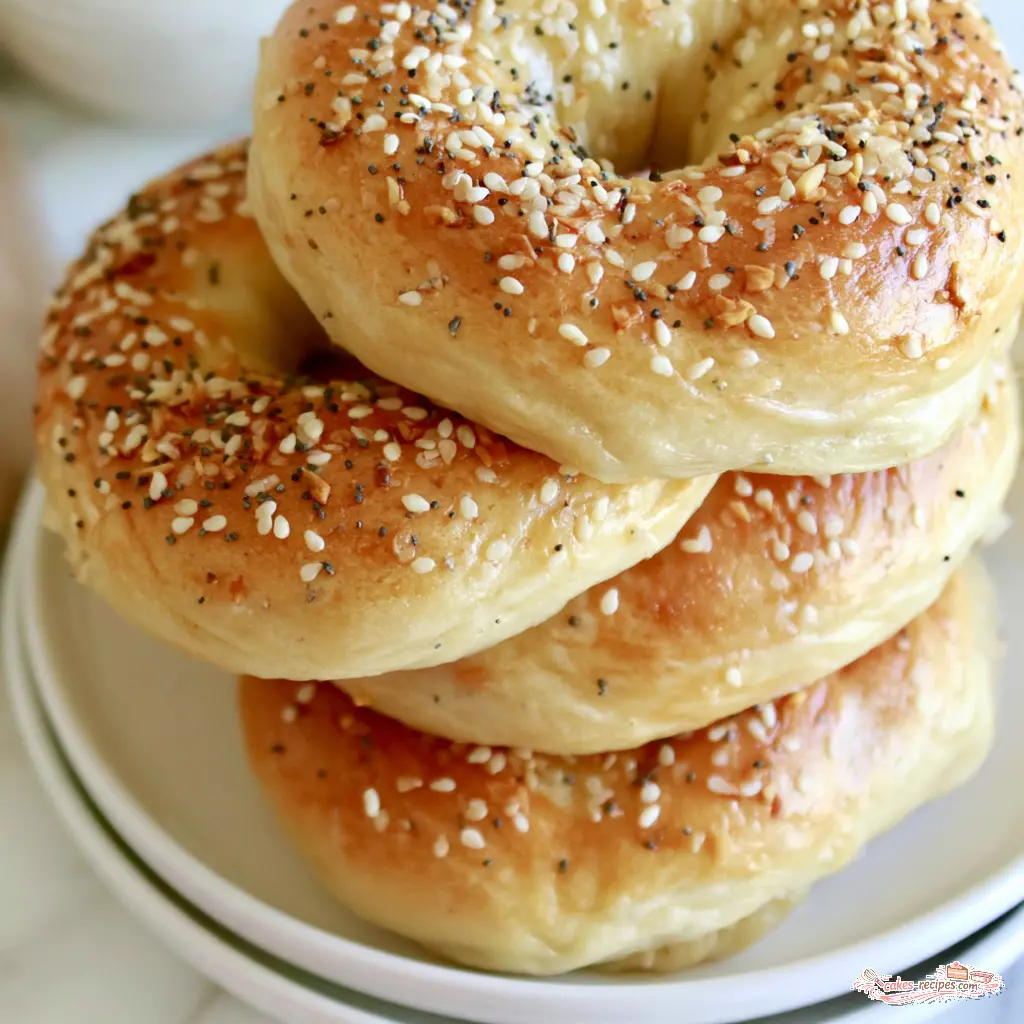
Why You’ll Love These 2-Ingredient Homemade Bagels
I grew up in Queens, and bagels in my family are close to a religion. So when people started telling me about 2-ingredient homemade bagels, I did what any self-respecting New Yorker would do. I rolled my eyes. Straight up.
No yeast. No rise. No boiling. No giant pot of water steaming up the whole apartment. It sounded like a gimmick.
Then I made them. Then I made them six more times, because that’s how I operate. I’ve kept a testing log for cheesecakes for six years (don’t ask), and now there’s a bagel page in there too.
Here’s the deal: 2-ingredient homemade bagels are the real thing, just a slightly different breed of real. They come together in about 30 minutes with one cup of Greek yogurt and one cup of self-rising flour.
- 30 minutes from cold ingredients to warm bagels
- No yeast and no proofing, so no waiting around
- No boiling, which means no giant pot and no splatter
- 6 grams of protein per bagel, thanks to the yogurt
- Oven or air fryer, your call
- Freezer friendly for busy weekday mornings
And it’s October, so a chilly morning with the oven on for 20 minutes is genuinely a good excuse to be home. Cool air, hot bagels, big mug of coffee. That’s a Saturday.
Ingredients and Substitutions
Two core ingredients. That’s the whole promise. The rest are optional and I’ll flag them clearly.
- 1 cup plain Greek yogurt (nonfat or low-fat both work, I’ve tested both)
- 1 cup self-rising flour (or a homemade blend, more on that below)
- Optional: a dash of salt, everything bagel seasoning, and one large egg beaten with 1 tablespoon water for an egg wash
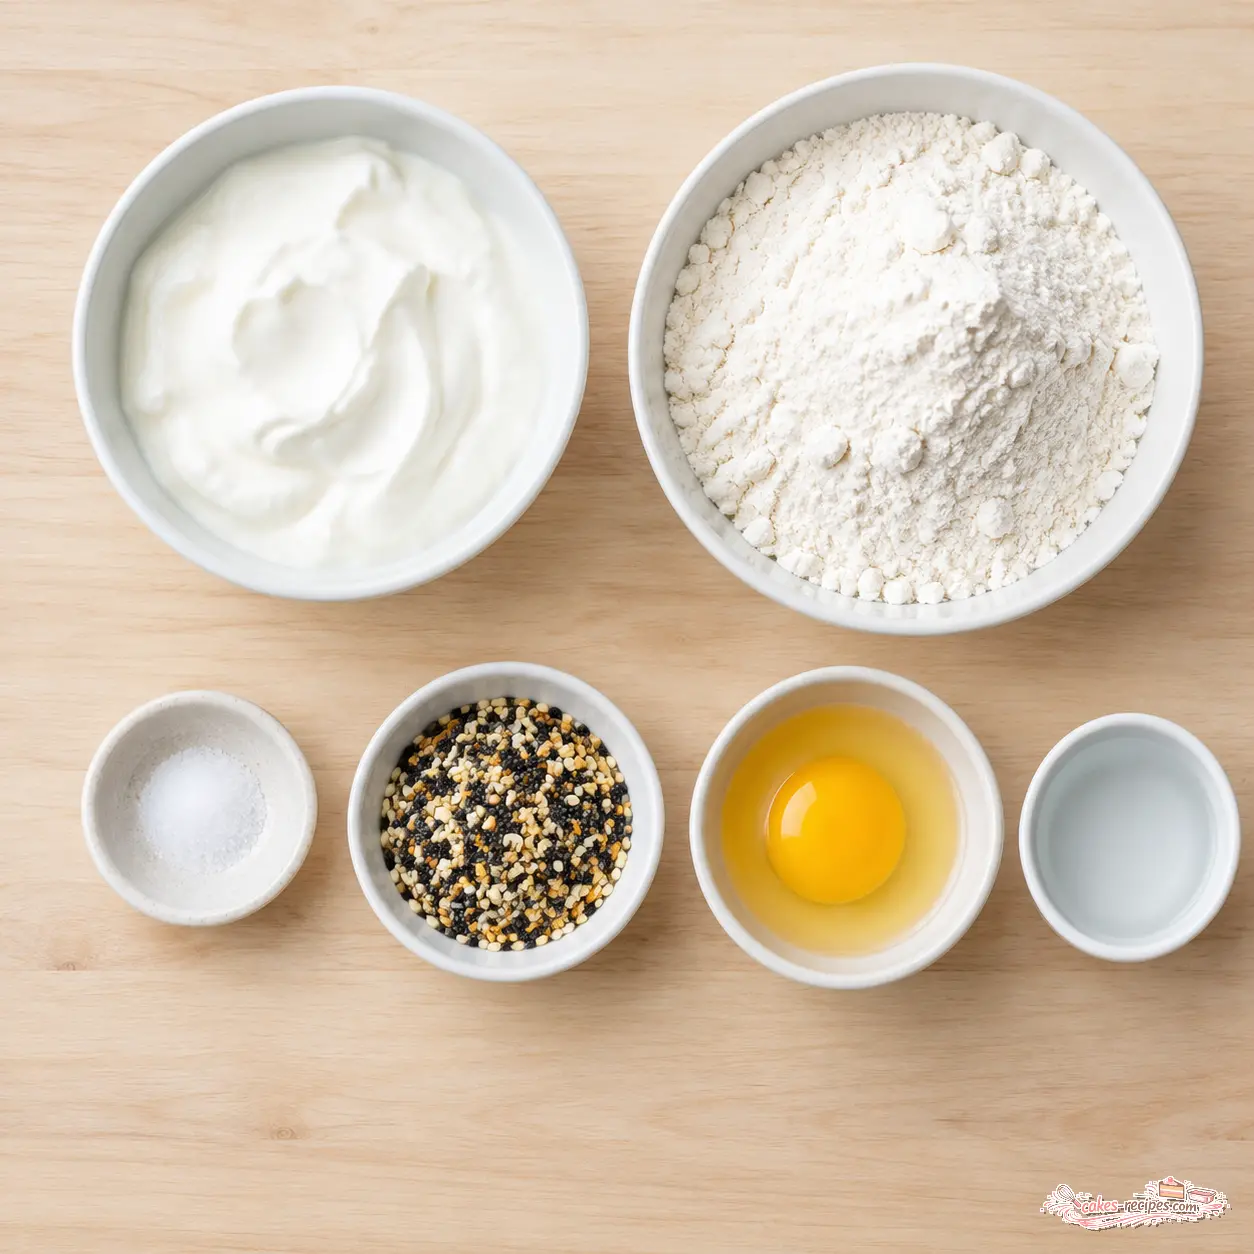
On the yogurt: thick is the rule. If it pours, it fails. Thick Greek yogurt gives you a workable dough, and nonfat or low-fat both produce good bagels. I slightly prefer full-fat because the dough is a touch more forgiving, but cold yogurt straight from the fridge is easier to handle no matter which you buy.
If all you have is regular plain yogurt, spoon it into a sieve for 10 minutes first and let the liquid drain off. Skipping that step is how you end up with a bowl of glue.
On the flour: self-rising flour is just all-purpose flour with baking powder and salt already mixed in. That baking powder flour blend is doing the heavy lifting here, since there’s no yeast anywhere in this recipe.
Homemade Self-Rising Flour Substitute
No self-rising flour in the pantry? You’re still in business. Whisk together 1 cup all-purpose flour, 1 1/2 teaspoons baking powder, and 1/2 teaspoon salt, then use it right away.
Mix only what you need for the batch. A homemade blend loses its lift over time, so don’t make a giant jar of it and forget about it for six months. Fair enough?
What Is Two-Ingredient Dough?
Two-ingredient dough is exactly what it sounds like: self-rising flour stirred with Greek yogurt until it forms a soft, shaggy ball. That’s it.
The short version of why it works: the yogurt brings acid, protein, and moisture, while the self-rising flour brings baking powder. Together they build enough structure and lift to hold a ring shape, no yeast required.
This is the same dough behind the Weight Watchers bagels everyone talks about, and the same dough that turns into pizza crust, pretzels, and burger buns. Once you make it a few times, you start seeing uses everywhere.
Honest texture note, because I’d rather tell you now than have you disappointed later: these are a little denser and chewier than a boiled deli bagel. They’re cousins, not twins. Warm, with cream cheese melting into them, nobody at my table has ever complained. Not once.
How to Make 2-Ingredient Homemade Bagels
Four stages, about 10 minutes of actual hands-on work. I’m going to walk you through the why at each stage, because that’s where most people go wrong.
Stage 1: Mix the Dough
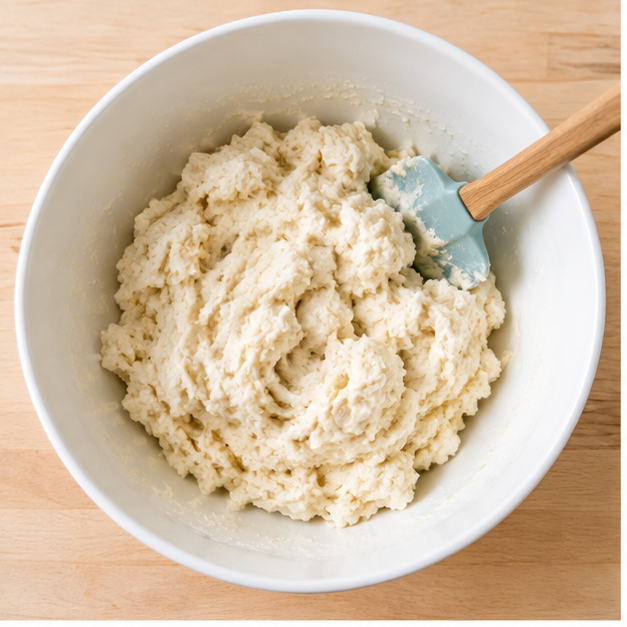
In a large bowl, stir the Greek yogurt, self-rising flour, and a pinch of salt with a rubber spatula until it looks crumbly and no dry flour remains. It will look shaggy and feel a little sticky. That’s normal, I promise.
If it’s too tacky to gather, sprinkle flour in one tablespoon at a time. Add slowly. Too much flour is the fastest way to a dense, hockey puck bagel.
Stage 2: Knead and Shape
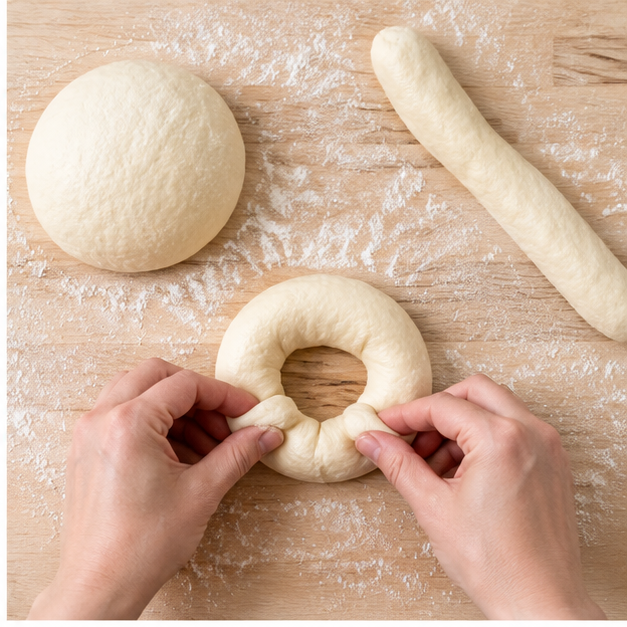
Turn the dough onto a lightly floured surface and gather it into a ball. Knead 15 to 20 times, just until it’s smooth and cohesive. Think soft Play-Doh, not bread dough you’re trying to develop for ten minutes.
Then divide it into 6 equal portions. Roll each one into a rope about 3/4 inch thick, bring the ends together, and pinch to close the ring.
Two things not to do, and I learned both the hard way. Don’t use a rolling pin, because thin dough falls apart. And don’t flatten a disc and poke a hole in the middle, because that hole closes right up in the oven.
Stage 3: Egg Wash and Toppings
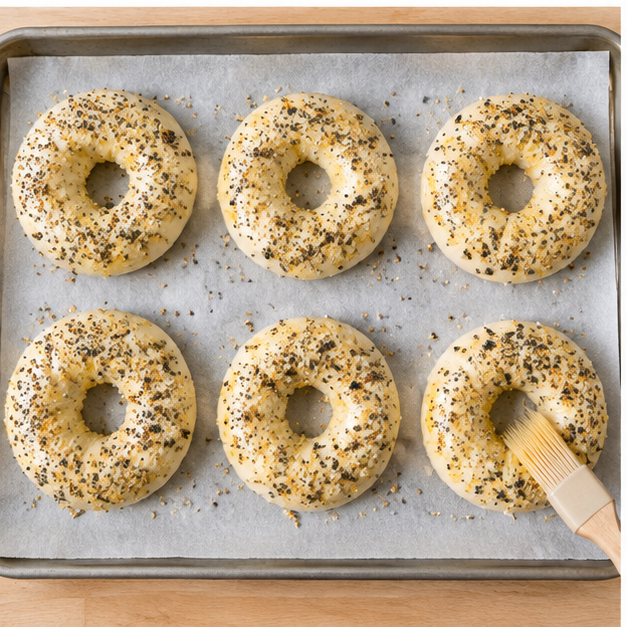
Beat one egg with a tablespoon of water and brush it over the tops. The egg wash gives you shine and it makes the seasoning actually stick instead of sliding off onto the parchment. For an egg-free version, plain water works, you just get a slightly softer finish.
Then sprinkle generously with everything bagel seasoning. Use both sides if you like a loaded bagel. Nobody’s stopping you.
Oven Baking Instructions
Heat the oven to 375°F (190°C) and line a baking sheet with parchment paper, lightly coated with cooking spray. Bake on the top rack for 18 to 22 minutes, until the tops are golden and the bagels sound hollow when you tap the bottom.
That hollow tap is your doneness test. It’s the same instinct as the jiggle check on a cheesecake. Trust it more than the clock.
Air Fryer Instructions
Preheat the air fryer to 325°F (165°C). Cook in batches with at least 2 inches between bagels so the hot air can move, and air fry for 10 to 12 minutes. No flipping needed.
Air fryer times swing wildly between models, so check a minute or two early the first time. You can always add time, but you can’t un-brown a bagel.
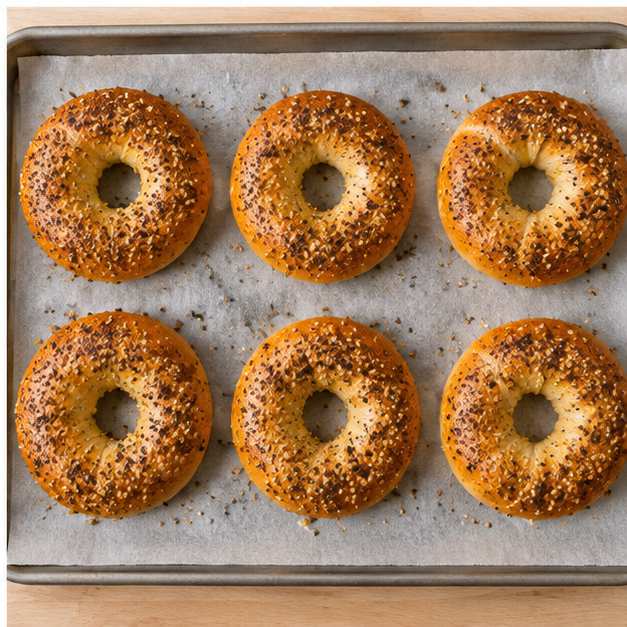
Then comes the part everyone rushes: let them rest on a wire cooling rack for at least 20 minutes before slicing. Cut one hot and you’ll get a gummy, steamy interior. Patience is the secret ingredient, same as it is with cheesecake.
Tips and Common Mistakes
Most failures with 2-ingredient homemade bagels trace back to one of these. Here’s the fix for each.
- ❌ Using runny, regular yogurt → ✅ Use thick Greek yogurt, or drain plain yogurt in a sieve for 10 minutes.
- ❌ Dumping in extra flour → ✅ Add it one tablespoon at a time until the dough just comes together.
- ❌ Over-kneading → ✅ Stop at 15 to 20 turns. More kneading means tougher bagels.
- ❌ Rolling the dough flat with a rolling pin → ✅ Hand-roll ropes instead. Thin dough tears.
- ❌ Poking a hole in a flat circle → ✅ Form a rope, join the ends, pinch. The hole stays open.
- ❌ Slicing while hot → ✅ Wait 20 minutes so the steam can escape and the crumb can set.
- ❌ Using almond or coconut flour → ✅ Stick with self-rising flour or a gluten-free self-rising blend. Nut flours don’t behave the same way here.
- ❌ Baking straight on a bare sheet → ✅ Parchment paper plus a light spray. No sticking, no scrubbing.
Texture Targets
Raw dough: soft and slightly tacky, like Play-Doh that’s been left out for a few minutes. Not wet, not dry and cracking.
Raw ring: holds its shape when you lift it, and the pinched seam stays closed.
Baked bagel: deep golden on top, dry to the touch, and a hollow thump when you tap the bottom.
Inside: tight, chewy crumb with no gummy streak in the middle.
Flavor Variations and Toppings
The base recipe stays two ingredients. Everything below is an optional add-in or topping, so treat them as upgrades, not requirements.
- Everything bagel seasoning: the classic. Sesame seeds, poppy seeds, dried garlic, dried onion, salt.
- Sesame or poppy seeds alone: simple, clean, toasts beautifully.
- Cinnamon sugar bagels: skip the savory seasoning and dust the egg-washed tops with cinnamon sugar before baking.
- Cheese and garlic: fold a couple tablespoons of grated parmesan and a pinch of garlic powder into the dough, then top with more parmesan.
- Jalapeño cheddar: fold chopped pickled jalapeños and shredded cheddar into the dough for a savory version.
- Coarse sea salt: for a pretzel-adjacent vibe that goes great with cream cheese.
One seasonal idea I keep coming back to: shape the dough into small rings for a Halloween morning breakfast before the costumes come out. Kids can decorate their own with cream cheese, and the whole batch is done before anyone’s sugar rush starts.
Serving and Storage Tips
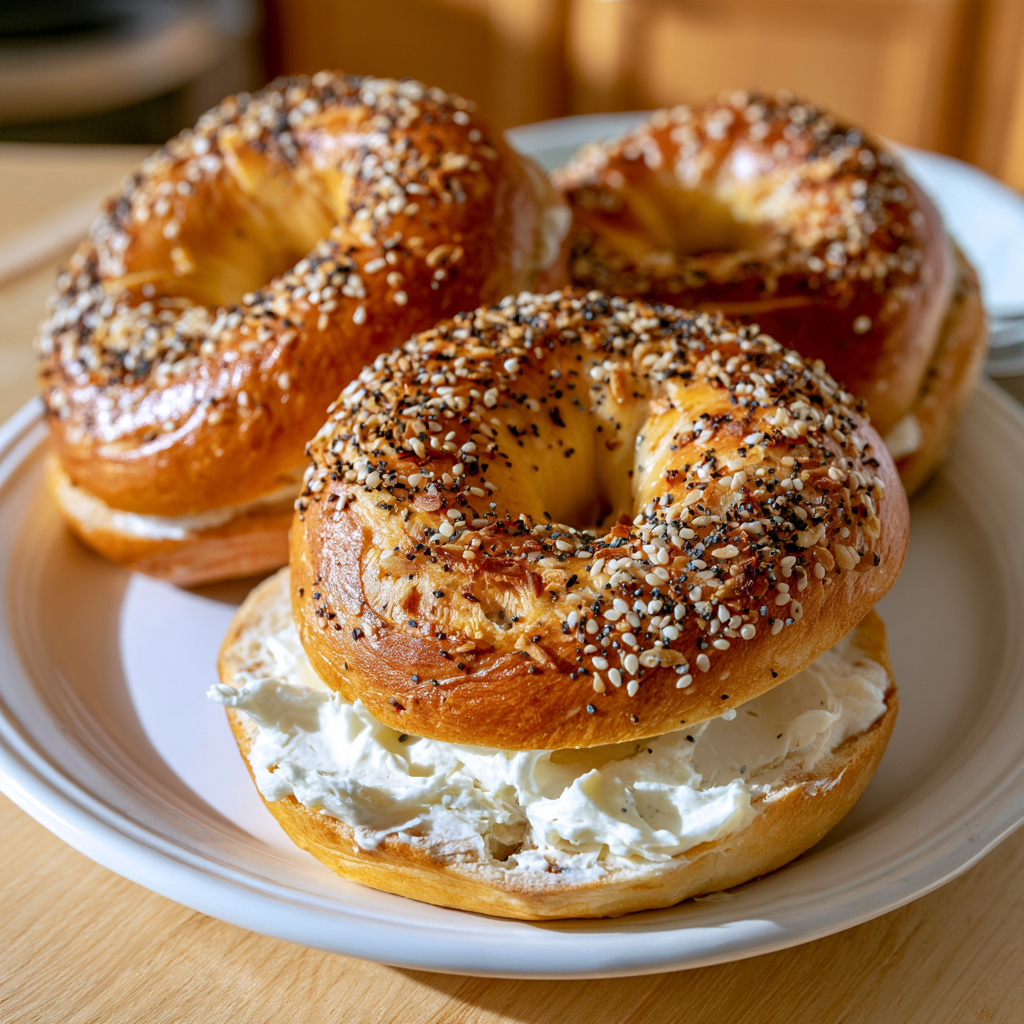
Serve them warm with a thick schmear of cream cheese and you’re done. That’s the move.
- Savory: cream cheese, smashed avocado, a fried egg, or a turkey and cheese sandwich built on a split bagel.
- Sweet: cream cheese with a little cinnamon sugar, or a drizzle of maple syrup.
- Next-day move: toast them. A day-old bagel revives in the toaster like it just came out of the oven.
Room temperature: keep cooled bagels in an airtight container for up to 3 days. Let them cool completely first. Sealing them warm traps steam and turns the crust soft and sad.
Freezer: wrap them tightly and freeze for up to 1 month. Toast straight from frozen, no thawing required, which makes them a ridiculous weekday breakfast win.
The Bottom Line
When you pull these 2-ingredient homemade bagels out of the oven on a Saturday morning, that golden tops and toasted sesame smell is going to hit you before you even set the tray down. Wait 20 minutes, split one open, and spread cream cheese across that warm, chewy crumb. That first bite is going to silence the skeptical voice in your head.
If you try a topping I didn’t mention, I want to hear about it. I keep a running list, and I’ve stolen more than one idea from readers. You can also find me pinning breakfast ideas and dessert experiments over on my Pinterest boards, so come say hi and drop your favorite version in the comments.
Make a batch this weekend. Then make a double batch, freeze half, and realize you don’t need to stand in line for bagels ever again.
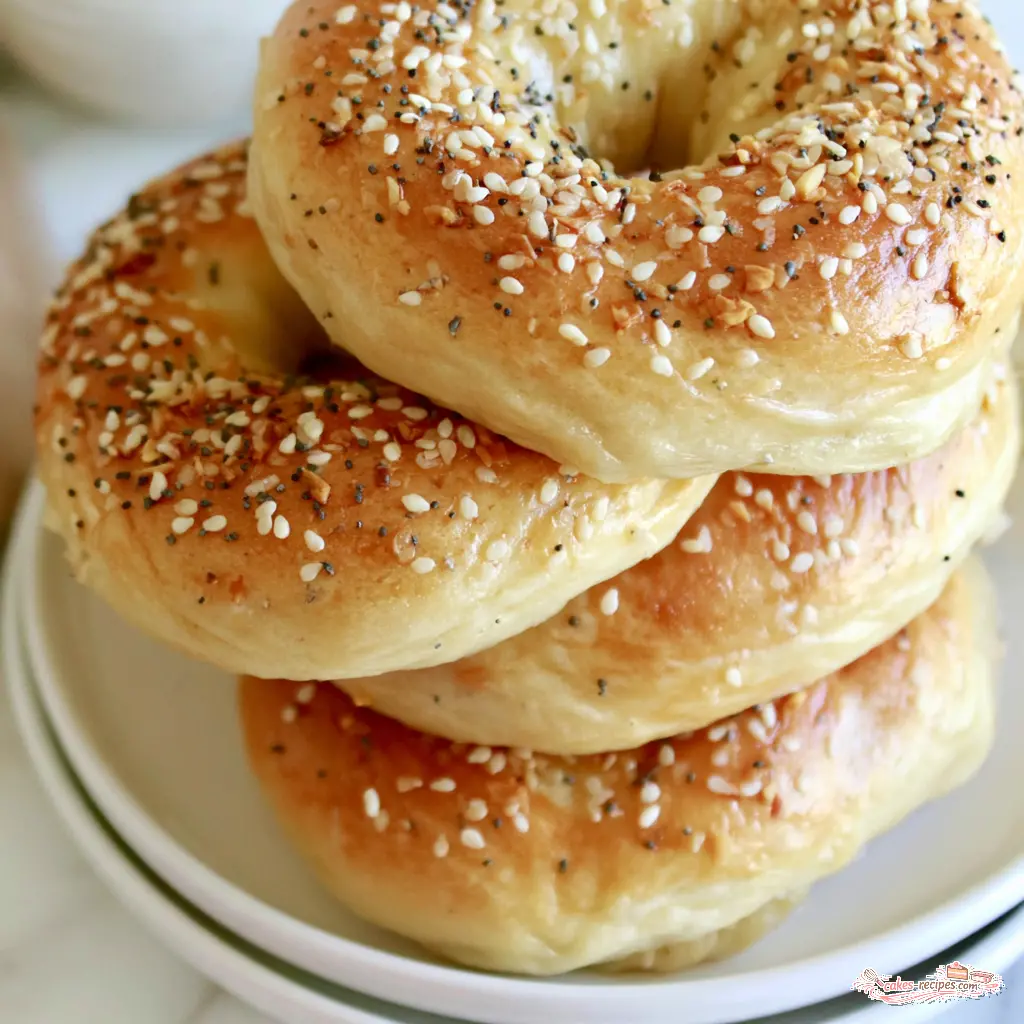
Easy 2-Ingredient Homemade Bagels (High-Protein, Yeast-Free)
Ingredients
Method
- Set oven to 375°F (190°C). Cover a baking sheet with parchment paper and lightly coat it with cooking spray.
- In a large bowl, combine the Greek yogurt, self-rising flour, and pinch of salt. Use a rubber spatula to stir until the mixture looks crumbly and no dry flour remains.
- Transfer the dough to a lightly floured surface and gather it into a ball. Knead 15 to 20 times, just until a smooth, cohesive dough forms.
- Divide the dough into 6 equal portions. Roll each portion into a 3/4-inch thick rope, then bring the ends together and pinch to form a ring.
- Brush the tops with the optional egg wash or plain water. Sprinkle both sides generously with everything bagel seasoning or your preferred topping.
- The egg wash gives shine and helps the seasoning stick; if you skip it, brush with water. For a conventional oven, bake on the top rack for 18 to 22 minutes. For an air fryer, preheat to 325°F (165°C), cook in batches with at least 2 inches between bagels, and air fry for 10 to 12 minutes until golden. No flipping needed.
- Let the bagels rest on a wire cooling rack for at least 20 minutes before slicing.
- Keep bagels in an airtight container for up to 3 days, or wrap tightly and freeze for up to 1 month.
Nutrition
Notes
Tried this recipe?
Let us know how it was!Frequently Asked Questions
Source: Learn More About This Dish
What yogurt should I use to make the Greek yogurt bagels?
Use thick plain Greek yogurt, either nonfat or low-fat. Thick is the whole point, since runny yogurt makes the dough sticky and hard to shape. Cold yogurt straight from the fridge is easiest to work with. I’ve tested both fat levels and they both bake up great.