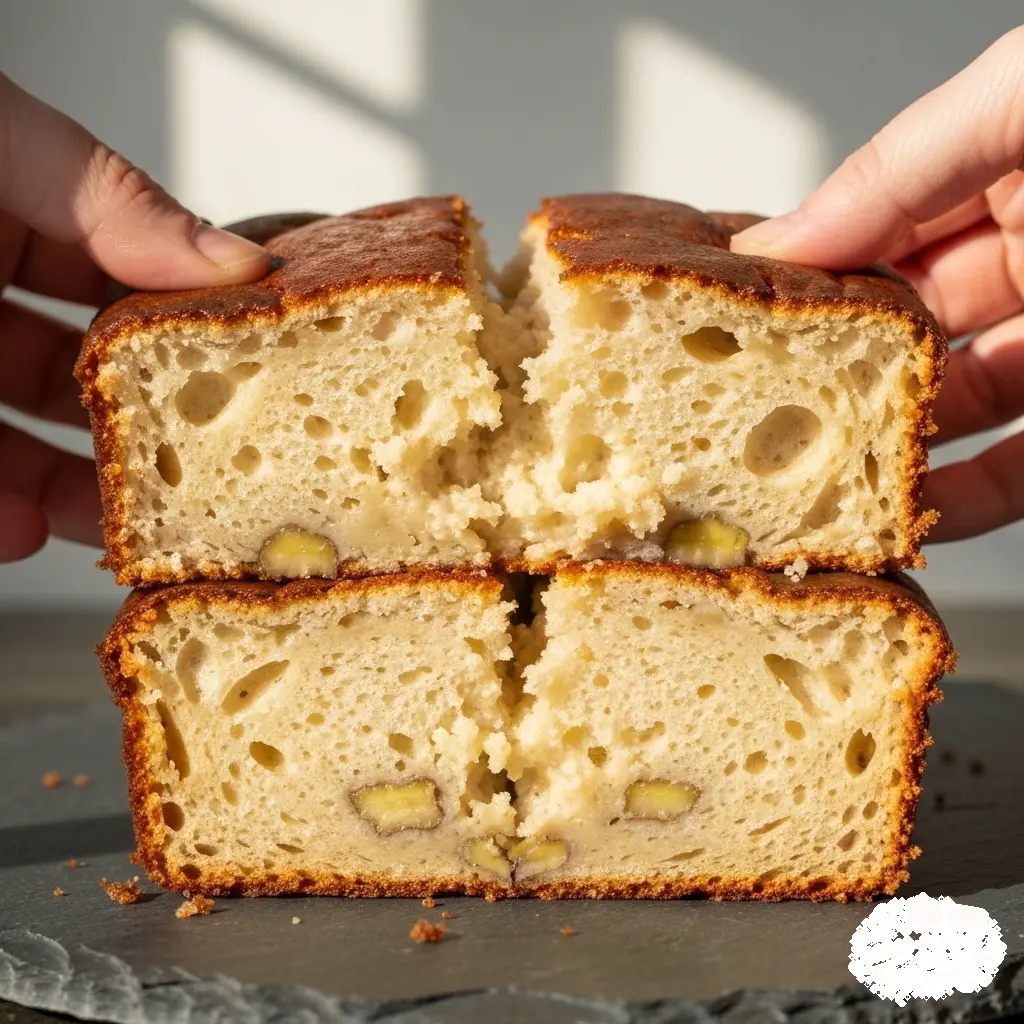
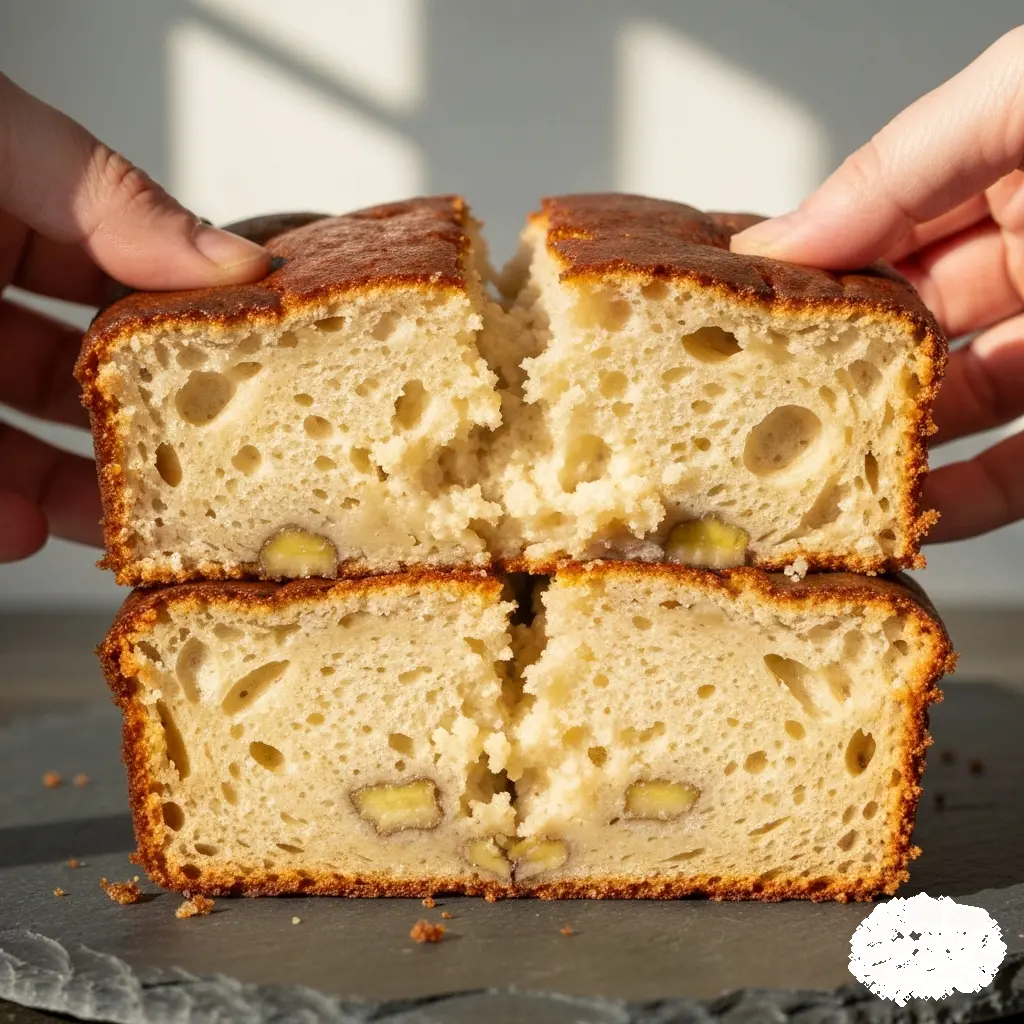
3 Ingredient Banana Bread with Flour Without Condensed Milk
Ingredients
Method
- Heat the oven to 350°F. Grease a 7 x 4-inch baking pan, line it with parchment paper, and set it aside.
- Combine the bananas and condensed milk in a large mixing bowl and whisk until smooth. Gently stir in the flour and mix thoroughly until fully incorporated.
- Pour the batter into the prepared pan and bake for 30 to 35 minutes, or until a toothpick inserted in the center comes out clean.
- Take the banana bread out of the oven and allow it to cool completely in the pan before slicing.
Nutrition
Notes
- Leftovers: Keep at room temperature for up to 3 days or refrigerate for up to 1 week. You can also freeze slices for up to 6 months.
Tried this recipe?
Let us know how it was!The “I Need to Bake This Now” Moment
I’ve been there. You walk into the kitchen, spot those three black bananas on the counter, and feel that specific pang of guilt. They are staring at you. You swore you were going to eat them when they were yellow and firm, but life got in the way. Now they look like a science experiment.
Don’t throw them out. That ugliness is exactly what we want. In fact, it’s the secret to the best 3 ingredient banana bread with flour you will ever make.
Growing up in Milwaukee, my Oma Gertrude taught me that wasting food was a cardinal sin. She would have turned those bananas into something spectacular, likely in one of the sixteen Gugelhupf pans she brought over from Bavaria. While I love her elaborate yeasted cakes, sometimes you just need a win on a Tuesday night. You need the house to smell like warm sugar and comfort, and you need it to happen without a trip to the grocery store. This recipe is that win. It is sweet, dense, and miraculously moist.
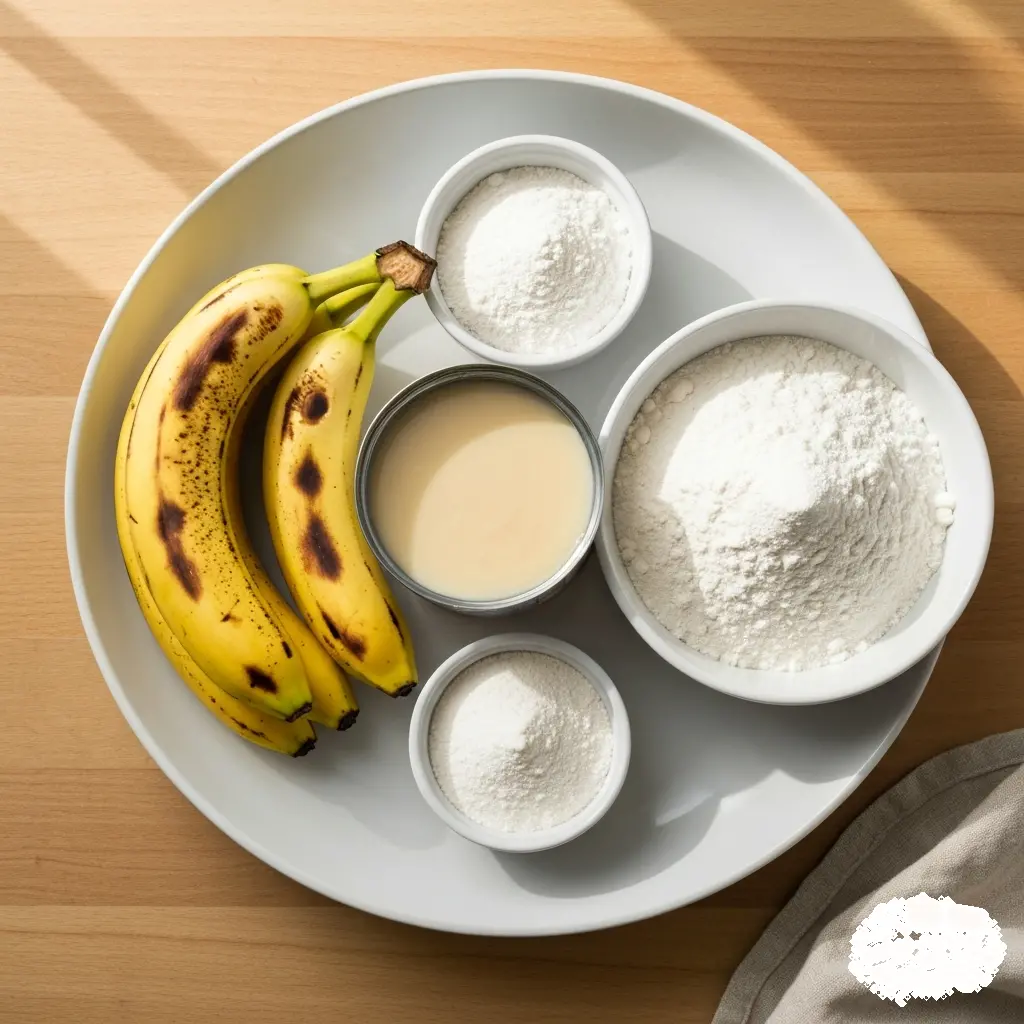
Why This 3 Ingredient Banana Bread with Flour Works
You might be looking at the ingredient list and thinking, “Where are the eggs? Where is the oil?” That makes sense. Most quick breads rely on eggs for structure and oil or butter for moisture. But here, we are using a little kitchen chemistry to cheat the system.
The sweetened condensed milk is the heavy lifter here. It provides the sugar for sweetness, the fat for richness, and the liquid to bind the batter. It replaces the eggs, sugar, and oil all at once. Then you have the bananas, which add bulk and moisture. Finally, the self-rising flour brings the structure and the lift. Because self-rising flour already contains baking powder and salt, we don’t need to measure those out separately. It is efficient, it is clever, and it yields a loaf that is dense and tender. Because the condensed milk provides the necessary fat, this essentially functions as a banana bread recipe no oil that remains incredibly tender.
The Trio of Ingredients (And What to Do If You Don’t Have Them)
Since there are only three players in this game, quality matters. Let me walk you through this so you get it just right.
1. The Bananas
This is not the time for yellow bananas with a hint of green at the stem. We want brown spots. Honestly, we want them mostly black. The darker the skin, the sweeter the fruit and the stronger the banana flavor. If your bananas are still yellow, the starch hasn’t converted to sugar yet, and your 3 ingredient banana bread with flour will taste bland and dry. (Trust me, I tried it once when I was impatient. It wasn’t worth it.)
2. Sweetened Condensed Milk
Make sure you grab sweetened condensed milk, not evaporated milk. They sit right next to each other on the shelf, but they are completely different beasts. Evaporated milk is just milk with water removed. Condensed milk is thick, syrupy, and full of sugar. If you use evaporated milk, you will have a savory, sad loaf of bread.
3. Self-Rising Flour
This is simply all-purpose flour that has baking powder and salt already mixed in. It’s a staple in Southern cooking, but maybe not in your pantry. Don’t worry about that. You can make your own in thirty seconds.
DIY Self-Rising Flour Hack: For every 1 cup of all-purpose flour, add 1 ½ teaspoons of baking powder and ¼ teaspoon of salt. Whisk it together well. For this recipe, you’ll need to do that math for 2.5 cups. Generally I find the homemade version works just as well as the store-bought bag.
Expert Tips for the Perfect Loaf
Even with a simple recipe, technique is everything. My Oma Gertrude didn’t use non-stick spray; she used butter and flour to prep every single groove of her Bundt pans. While we are using a loaf pan here, that lesson stuck with me. A well-greased pan is the difference between a beautiful loaf and a crumble.
The “Tent” Method: Because of the high sugar content in the condensed milk and the ripe fruit, this bread loves to brown quickly. Sometimes too quickly. About 30 minutes into baking, check your loaf. If the top is getting dark golden brown but the center is still jiggly, loosely cover the top with aluminum foil. This prevents the crust from burning while the inside finishes cooking. I do this almost every time.
The Toothpick Test is Non-Negotiable: Oven temperatures vary wildly. My oven runs hot; yours might run cool. Don’t just trust the timer. Insert a toothpick into the very center of the loaf. Wet batter means it needs more time. However, moist crumbs clinging to the toothpick? That is exactly right. That means it is done. If the toothpick comes out bone dry, you might have overbaked it slightly.
Cooling is Crucial: I know you want to slice into it immediately. The smell is intoxicating. But this 3 ingredient banana bread with flour is dense. If you slice it hot, it will gummy up and fall apart. Let it cool in the pan for about 10 to 15 minutes, then move it to a wire rack to cool completely. This lets the structure set.
Common Mistakes (And How to Fix Them)
I’ve made plenty of mistakes in the kitchen so you don’t have to. Here is what usually goes wrong with this specific recipe.
Mistake: The Bread Sinks in the Middle
Solution: This usually happens from underbaking or a temperature shock. The center wasn’t structurally sound enough to hold its own weight yet. Next time, leave it in the oven for an extra 5 minutes with the foil tent. Also, try cooling it in the oven with the door cracked open for ten minutes after turning the heat off. This gentle cooling helps prevent the collapse.
Mistake: The Texture is Rubbery
Solution: You likely overmixed the batter. When you add the flour to the wet ingredients, stir just until the white streaks disappear. If you keep beating it, you develop the gluten in the flour. We want tender bread, not chewy pizza dough. Stop mixing sooner than you think you should.
Mistake: It’s Too Dry
Solution: You might have used too much flour. Did you scoop the flour directly with the measuring cup? That packs it down, and you can end up with 20% more flour than intended. Instead, spoon the flour into your measuring cup and level it off with a knife. Or, your bananas weren’t ripe enough to provide the necessary moisture.
Variations to Spice Things Up
Once you master the basic 3 ingredient banana bread with flour, you can start playing around. It’s a blank canvas.
Add Texture: Fold in half a cup of walnuts or pecans. I highly recommend toasting them in a dry skillet for three minutes first. It brings out the oils and makes them crunchier. It is worth the extra step.
Make it Dessert: Chocolate chips are a no-brainer. Dark chocolate balances the sweetness of the condensed milk beautifully. You could also toss in some dried cranberries or raisins if that’s your jam.
Flavor Boosters: Okay, this technically makes it a 4 or 5 ingredient bread, but a teaspoon of vanilla extract or a heavy pinch of cinnamon does wonders. It makes the house smell even better, if that’s possible.
Storage and Freezing Guide
If you somehow have leftovers (which rarely happens in my house with two teenage boys), this bread stores beautifully.
Room Temperature: Keep it in an airtight container or wrapped tightly in plastic wrap on the counter. It stays moist for about 3 days. Actually, I find it tastes even better the next day as the flavors meld.
Freezer: This is a freezer-friendly champion. I like to slice the loaf first, then wrap individual slices in plastic wrap and place them in a freezer bag. That way, you can pull out just one slice for a quick breakfast. It will keep for up to 3 months. To eat, just pop a frozen slice in the toaster or microwave for 20 seconds.
Frequently Asked Questions
Final Thoughts
There is something incredibly satisfying about turning ingredients that were destined for the trash into a warm, golden loaf of bread. It feels like a small victory against the chaos of the week. This 3 ingredient banana bread with flour isn’t just about simplicity; it’s about making something delicious with what you have right now.
So go preheat your oven. Mash those ugly bananas. Your future self (and your kitchen smelling of caramelized sugar) will thank you. And if you try it, let me know how it turned out. I’d love to hear if you added any fun mix-ins!
For more inspiration and baking ideas, check out my Pinterest boards where I save all my favorite simple bakes.
Reference: Original Source
Can I make 3 ingredient banana bread with flour ahead of time?
Absolutely. In fact, I think this bread tastes better the next day. The moisture from the bananas distributes evenly, making the texture softer. Just bake it, let it cool completely, and wrap it tightly in plastic wrap. It’s a perfect make-ahead breakfast for busy mornings.
How do I store leftover 3 ingredient banana bread with flour?
For short-term storage, keep it in an airtight container on the counter for up to 3 days. If you need it to last longer, slice it and freeze individual pieces wrapped in plastic. I generally avoid the fridge as it can dry out the crumb faster than room temperature.
My bread sinks in the middle, is it normal?
It’s frustrating, but common. It usually means the center wasn’t fully cooked or the bread cooled too fast. Next time, use the toothpick test aggressively. If it sinks, don’t worry about that it still tastes delicious. You can just call it a u0022rusticu0022 loaf and nobody will mind.
Can I use plain flour instead of self-rising?
Not directly, or you’ll end up with a dense brick. However, you can make your own self-rising flour easily. Just add 1 ½ teaspoons of baking powder and ¼ teaspoon of salt for every cup of plain flour. Whisk it well, and you’re good to go.
Can I make this recipe vegan?
Yes, but you need specific swaps. Use sweetened condensed coconut milk instead of the dairy version. It works surprisingly well and adds a lovely tropical note that pairs with the banana. Just keep an eye on the baking time as the fat content differs slightly.
Why isn’t my banana bread cooked in the center?
This dense batter takes time. If the outside is brown but the inside is raw, your oven might be too hot. Tent the loaf with foil to stop the browning and keep baking. Lower the temp by 25 degrees if needed. Patience is the secret ingredient here.