

Why You’ll Love This Single Serve Pumpkin Cupcake
Real talk: I’ve been there. Staring at a full can of pumpkin puree, wondering what on earth I’m supposed to do with the other 14 ounces. That’s exactly why I created this single serve pumpkin cupcake. One cupcake. One perfect portion. No waste.
Here’s the thing about baking for one. Most recipes are designed for a dozen people. And if you’re like me, you don’t need twelve cupcakes staring at you from the counter. You just want one. Maybe two. But definitely not a dozen.
This pumpkin cupcake for one solves that problem completely. It’s moist, it’s spiced just right, and it comes together in about 20 minutes. No complicated math to scale down a recipe. No leftover batter. Just a single, perfect cupcake that tastes like you spent way more effort than you actually did.
And honestly? Making a single serving cupcake feels like a little celebration. It’s adulting done right. You get the treat without the commitment.
I’ve tested this recipe about seven times (my roommate is very patient). The first attempt was dry. The second was too dense. But by the third? I hit that sweet spot. Moist, fluffy, and packed with pumpkin flavor. You’re going to love this.
Plus, it works in both the oven and the microwave. So even if it’s 90 degrees outside and you don’t want to heat up your whole kitchen, you’ve got options.
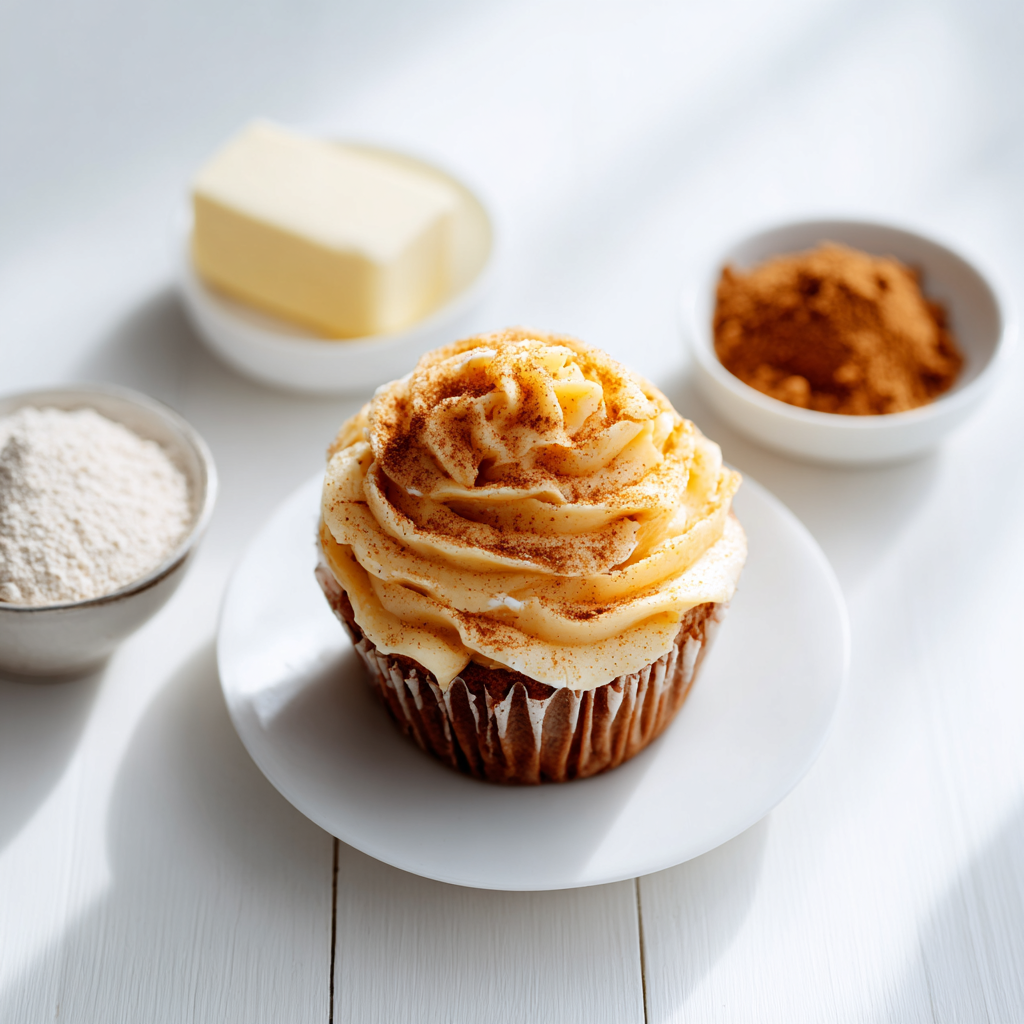
Ingredients for One Pumpkin Cupcake
Let’s talk about what you’ll need. The beauty of this single serve pumpkin cupcake is that most of these are pantry staples. You probably already have them.
For the cupcake itself:
- Unsalted butter – softened, because we’re creaming it with the sugars
- Packed light brown sugar – this gives that deep, molasses-y sweetness
- Granulated sugar – just a touch for balance
- Canned pumpkin puree – not pumpkin pie filling, just pure pumpkin
- One large egg – room temperature works best
- Vanilla extract – pure, not imitation
- All-purpose flour – the foundation
- Ground cinnamon, ground nutmeg – the warm spices
- Baking powder and baking soda – for lift
- Salt – to balance sweetness
For the cinnamon cream cheese frosting:
- Unsalted butter – softened
- Cream cheese – also softened, this is key
- Powdered sugar – sifted, to avoid lumps
- Vanilla extract
- Ground cinnamon and ground ginger – for that spiced kick
Now, I know what you’re thinking. “David, that’s a lot of ingredients for one cupcake.” And you’re right. But here’s the trick: you’re scaling down from a full batch. The recipe I’m sharing makes one perfect cupcake. No more, no less.
Pro tip: Use the spoon and level method when measuring your flour. Spoon it into the measuring cup, then level it off with a knife. Scooping directly from the bag can add up to 25% more flour. That’s a one-way ticket to dry cupcake city.
How to Make a Single Serve Pumpkin Cupcake
Alright, let’s get into the method. I’ll walk you through the four main stages. Each one matters, so don’t skip ahead.
Stage 1: Cream the Butter and Sugars
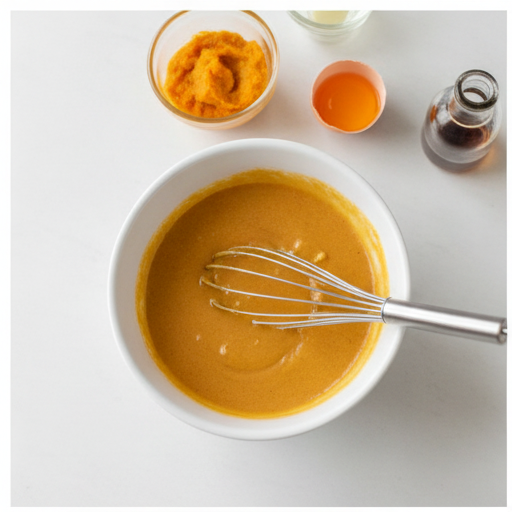
Start by beating your softened butter, brown sugar, and granulated sugar together. You want this mixture to be creamy and smooth. No lumps. This is where the air gets incorporated, which gives your cupcake that light texture. In my experience, about 2 minutes of beating does the trick.
Then add the pumpkin puree, the egg, and the vanilla. Beat until it’s light and fluffy. The color will turn a gorgeous orange. That’s when you know it’s right.
Stage 2: Combine the Dry Ingredients
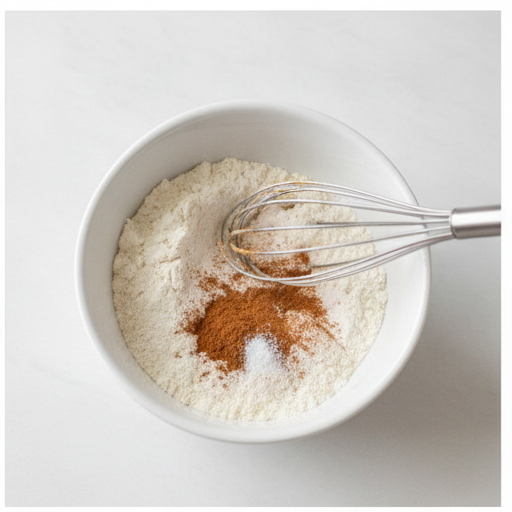
In a separate bowl, whisk together the flour, cinnamon, baking powder, baking soda, salt, and nutmeg. This ensures everything is evenly distributed. No pockets of baking soda in your final bite.
Gradually add the dry ingredients to the wet mixture. Stir just until combined. Overmixing develops gluten, and that makes your cupcake tough. We want tender, not tough. Trust the process here.
Stage 3: Fill and Bake
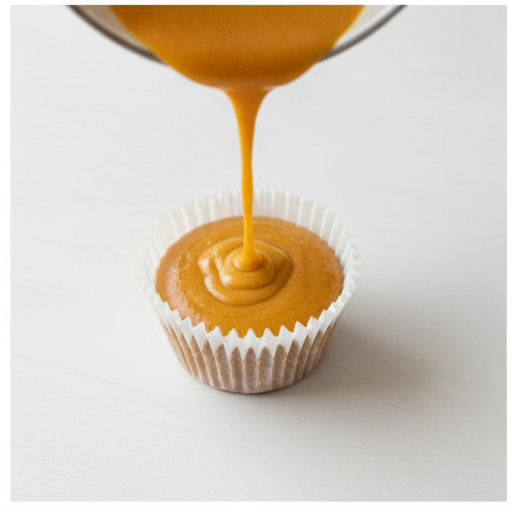
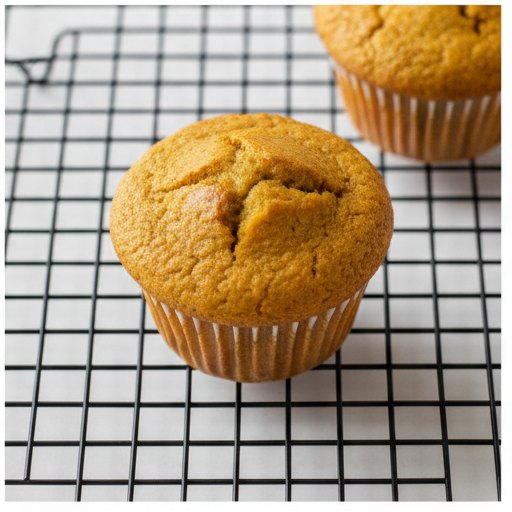
Lightly grease a small ramekin or a single muffin cup. Fill it about 3/4 full with the batter. The batter should look like thick pancake batter. If it’s too runny, you might have over-measured the pumpkin. If it’s too stiff, you might have over-measured the flour.
Bake at 350°F for 17 to 20 minutes. The exact time depends on your oven. Start checking at 17 minutes. Insert a toothpick into the center. If it comes out clean or with just a few moist crumbs, it’s done.
Don’t over bake! That’s the number one mistake. A dry cupcake is a sad cupcake.
Stage 4: Make the Frosting
While the cupcake cools, make the frosting. Beat the softened butter, cream cheese, and vanilla together until smooth. About 1 minute on low speed.
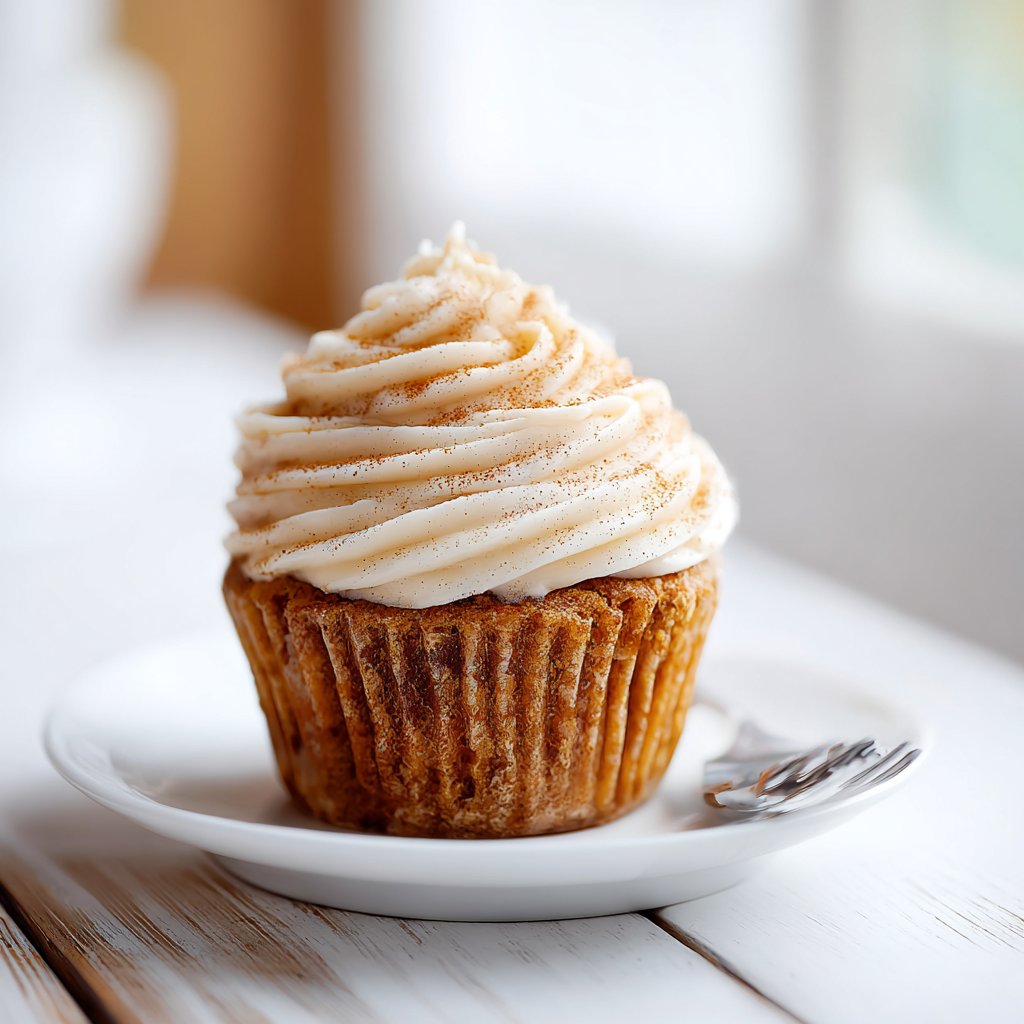
Add the sifted powdered sugar, mixing until smooth. Then add the cinnamon and ginger. Beat on medium speed for 1 to 2 minutes. This lightens the frosting and makes it fluffy.
Important: Make sure your cupcake is completely cool before frosting. If it’s even slightly warm, the frosting will melt and slide right off. I learned this the hard way. My first attempt looked like a melted mess.
Tips for the Perfect Cupcake
I’ve made enough mistakes for both of us. Here’s what I’ve learned:
- Don’t over bake. The key to a moist cupcake is pulling it out at exactly the right moment. A toothpick with a few moist crumbs is perfect.
- Use the ‘spoon and level’ method. I mentioned this before, but it’s worth repeating. Fluff your flour, spoon it in, level it off. Your scale will thank you.
- Don’t overmix the batter. Stir just until the flour disappears. Lumps are okay. Overmixed batter = tough cupcake.
- Let it cool completely. Patience is hard, I know. But warm cupcake + cream cheese frosting = a puddle of sadness.
- Top with coarse sugar. If you want that bakery-style crunch, sprinkle a little coarse sugar on top before baking. Totally optional, but totally worth it.
Variations and Substitutions
One of the best things about this single serve pumpkin cupcake is how adaptable it is. Here are a few ways to switch it up:
Dairy-free version: Use plant-based butter and cream cheese. The texture will be slightly different, but still delicious. Add an extra 1/2 teaspoon of cinnamon for a more intense spice flavor.
Spice variation: If you have pumpkin pie spice on hand, use 1 1/2 teaspoons instead of the individual cinnamon and nutmeg. It simplifies things and tastes just as good.
Add-ins: Want chocolate chips? Fold in a tablespoon of mini chocolate chips before baking. They sink a little, but that’s part of the charm.
Microwave method: In a pinch, you can microwave this. Grease a microwave-safe mug, pour in the batter, and microwave on high for 60-90 seconds. Check at 60 seconds. Every microwave is different. It won’t be as fluffy as oven-baked, but it’s a solid option when you’re short on time.
Mini version: Want something even smaller? This batter makes about 20 mini cupcakes. Bake at 350°F for 13-16 minutes. Perfect for parties or portion control.
Common Mistakes and How to Avoid Them
Let’s talk about what can go wrong, because I’ve done all of these:
❌ Over baking the cupcake – This is the most common mistake. The cupcake looks done on the outside but gets dry on the inside.
✅ Solution: Start checking at 17 minutes. Pull it out when a toothpick comes out with just a few moist crumbs.
❌ Overmeasuring flour by scooping directly from the container – You can easily add 25% more flour than needed.
✅ Solution: Use the spoon and level method. Fluff, spoon, level. Every time.
❌ Overmixing the batter – This develops gluten and makes the cupcake tough.
✅ Solution: Stir just until combined. A few lumps are fine. Stop when you can’t see dry flour anymore.
❌ Frosting slightly warm cupcakes – The frosting will melt and slide off.
✅ Solution: Wait until the cupcake is completely cool. Put it in the fridge for 10 minutes if you’re impatient (I won’t judge).
Storage and Leftovers
Honestly, this recipe makes one cupcake. Leftovers aren’t really a thing. But if you somehow don’t finish it (or you want to make it ahead), here’s what to do:
Unfrosted cupcakes can be stored at room temperature in an airtight container for 2 to 3 days. They’ll stay moist and delicious.
Frosted cupcakes need to go in the refrigerator because of the cream cheese. Store them in an airtight container for up to 3 days. Let them sit at room temperature for 20 minutes before eating to soften the frosting.
To freeze: Place the cupcake on a plate and freeze for 20 minutes until the frosting is mostly solid. Then double wrap it in plastic wrap and store in a freezer bag. It’ll keep for up to 2 months. To thaw, let it sit at room temperature for about 20 minutes.
Pro tip: If you’re making the single serve pumpkin cupcake ahead of time, freeze it unfrosted. Make the frosting fresh when you’re ready to eat. The texture is way better.
Frequently Asked Questions
So there you have it. A single serve pumpkin cupcake that’s moist, spiced, and completely satisfying. No waste, no fuss, just one perfect little treat.
I’d love to see your creation! Tag me on Pinterest when you make it. I’m over at Pinterest sharing all my single serve adventures.
Happy baking, friends. Trust the process.
single serve pumpkin cupcake
Ingredients
Method
- Preheat your oven to 350°F. Lightly grease mini muffin tins.
- In a large bowl, beat the softened butter, brown sugar, and granulated sugar together until creamy and smooth.
- Add the pumpkin puree, egg, and vanilla extract, then beat until the mixture is light and fluffy.
- In a separate bowl, whisk together the flour, cinnamon, baking powder, baking soda, salt, and nutmeg. Gradually add the dry ingredients to the wet mixture, stirring just until combined.
- Fill each mini muffin cup about 3/4 full with the batter.
- Bake for 17 to 20 minutes, until the cupcakes are set and a toothpick inserted in the center comes out clean.
- Let the cupcakes cool in the tins for 5 minutes, then transfer them to a wire rack to cool completely.
- In a large bowl, using an electric mixer on low speed, beat the softened butter, cream cheese, and vanilla extract until smooth and fully blended, about 1 minute.
- Add the sifted powdered sugar, mixing until smooth, about 1 minute. Then add the cinnamon and ginger, and beat on medium speed for 1 to 2 minutes to lighten the frosting.
Nutrition
Notes
Tried this recipe?
Let us know how it was!Source: Nutritional Information














6 Responses
I made these for a small fall gathering and they were gone in minutes! The cinnamon cream cheese frosting is absolutely divine. I did add a pinch of cloves to the batter because I love extra spice, and it turned out perfectly. Will definitely make these again!
Great recipe, but I found the cupcakes a bit dry after 24 hours. I stored them in an airtight container, but they lost moisture quickly. Any tips for keeping them soft longer?
Thanks for the feedback, Mike! I recommend brushing the cupcake with a little simple syrup before frosting, or storing them with a slice of bread in the container to help retain moisture. Hope that helps!
I used gluten-free flour blend (1:1 ratio) and they still came out fluffy and delicious. Perfect for my gluten-sensitive friends. Love that this recipe is easy to adapt!
I don’t have cream cheese on hand—can I substitute with mascarpone or just use a simple vanilla buttercream instead? Also, would this work as a full-sized cupcake if I double the recipe?
Great questions, Jessica! Mascarpone will work, though it’s a bit richer and less tangy. A vanilla buttercream is also fine. For a full-sized cupcake, double the recipe and bake for about 18-22 minutes until a toothpick comes out clean. Enjoy!