
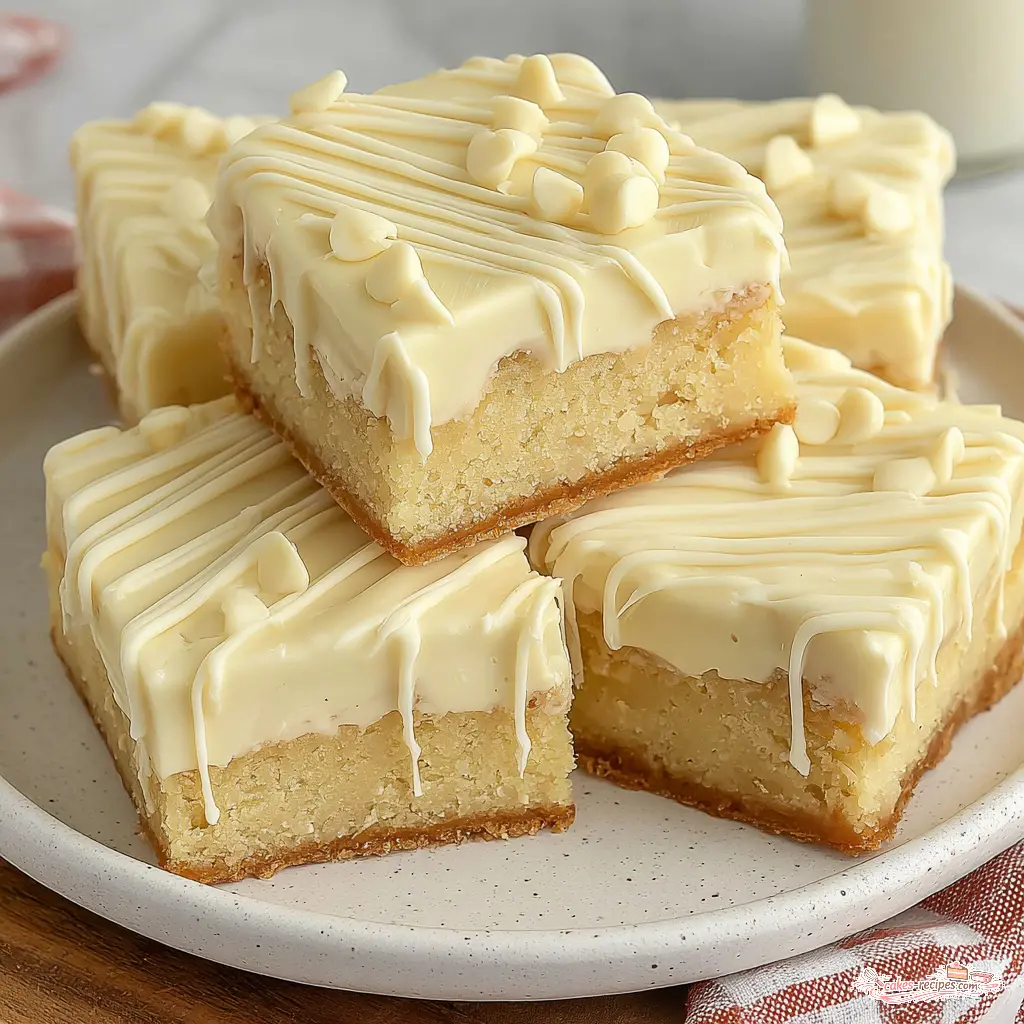
Why These White Chocolate Brownies Will Be Your New Go-To
Picture this: it’s a scorching July afternoon, and you’ve been asked to bring dessert to a 4th of July BBQ. You want something impressive but not fussy. Something that travels well and disappears fast. That’s exactly where these white chocolate brownies come in.
I’ll be honest with you my first attempt at blondies was a happy accident. I was trying to make traditional brownies, realized I was out of cocoa powder, and just went for it with white chocolate instead. The result? A pan of golden, buttery bars with crispy edges and a fudgy center that my family devoured in minutes. I’ve been perfecting the recipe ever since.
These aren’t your average white chocolate brownies. They’re topped with a silky white chocolate ganache that takes them from “pretty good” to “please bring these to every party.” And the best part? They come together in one bowl with minimal fuss.
What You Need for the Perfect White Chocolate Brownie Recipe
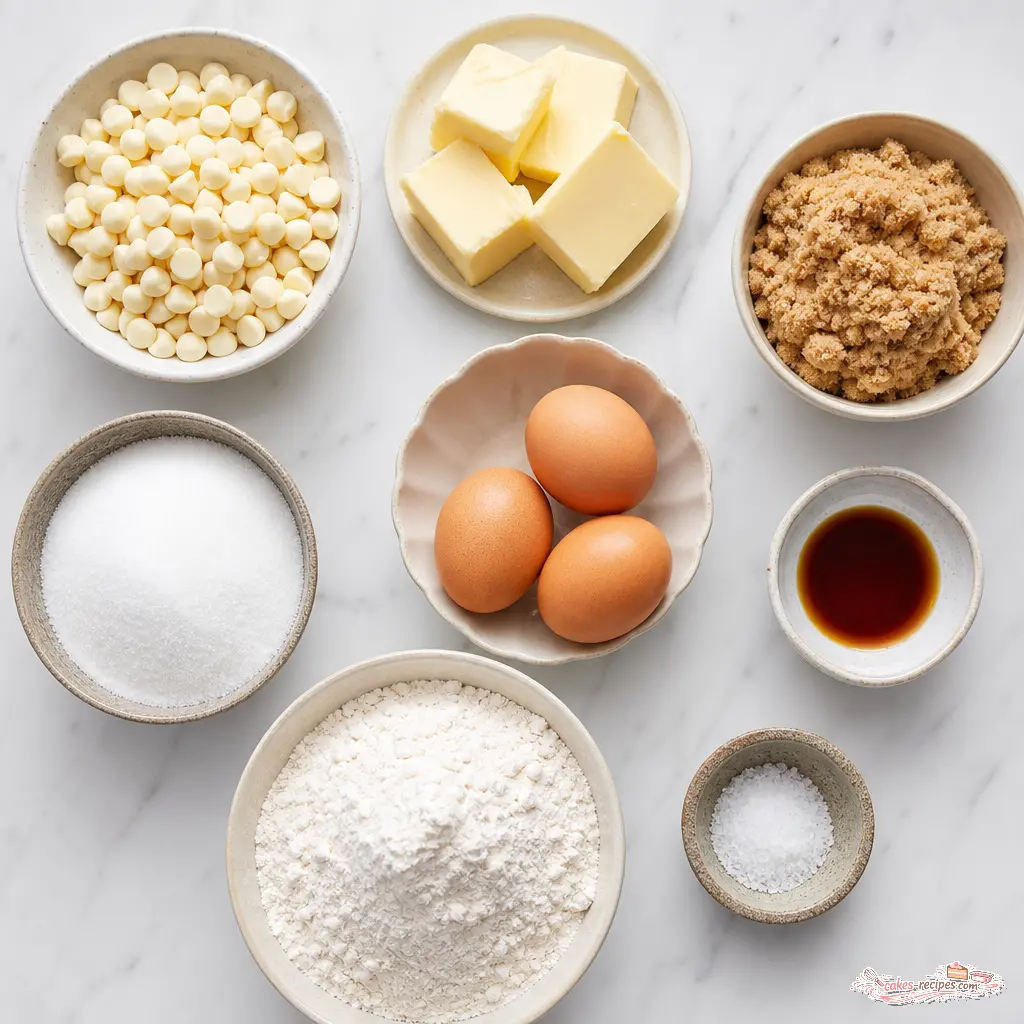
Let’s talk ingredients. The beauty of this white chocolate blondie recipe is that you probably already have most of these in your pantry. But a few key choices make all the difference.
- White chocolate chips (divided): You’ll use most in the batter and save some to fold in at the end. Quality matters here I prefer Ghirardelli or Guittard for smooth melting.
- Unsalted butter: Cubed, so it melts evenly with the chocolate. I use European-style butter for that extra richness, but regular works fine.
- Light brown sugar + granulated sugar: The combination gives you that chewy texture with just enough caramel flavor from the brown sugar.
- Eggs at room temperature: This is non-negotiable for me. Cold eggs can seize the chocolate mixture and give you a dense, greasy texture.
- Pure vanilla extract: A full tablespoon don’t skimp. It rounds out the sweetness beautifully.
- All-purpose flour + fine sea salt: Simple staples that keep the focus on that buttery, white chocolate flavor.
For the ganache topping, you’ll just need heavy cream and more white chocolate chips. That’s it. Simple, right?
How to Make White Chocolate Brownies: A Step-by-Step Guide
Here’s where the magic happens. I’m going to walk you through the four main stages of making these white chocolate brownies, explaining the why behind each step. Because knowing why you’re doing something makes you a better baker.
Stage 1: Melting the White Chocolate and Butter
This is the most critical step and the one most people mess up. White chocolate is sensitive. Heat it too fast or too high, and it seizes into a grainy, clumpy mess that’s impossible to salvage.
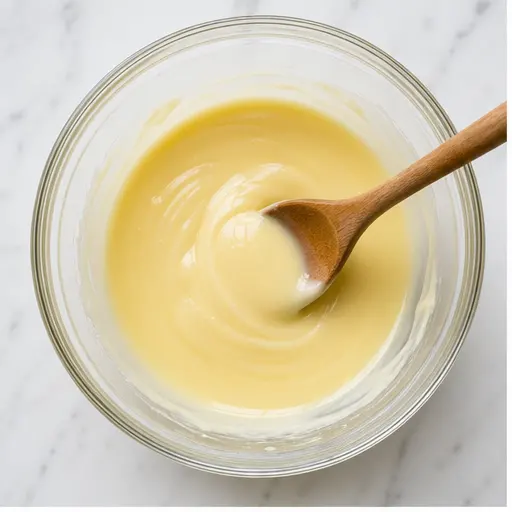
In a large microwave-safe bowl, combine 1 1/4 cups of white chocolate chips with the cubed butter. Microwave in 30-second bursts, stirring well after each. After about 90 seconds total, the mixture should be smooth and glossy. If you see any lumps, keep going in 15-second increments. The residual heat will finish melting everything.
Visual cue: You’re looking for a thick, creamy liquid with no visible chocolate pieces. It should coat the back of a spoon.
Stage 2: Building the Batter
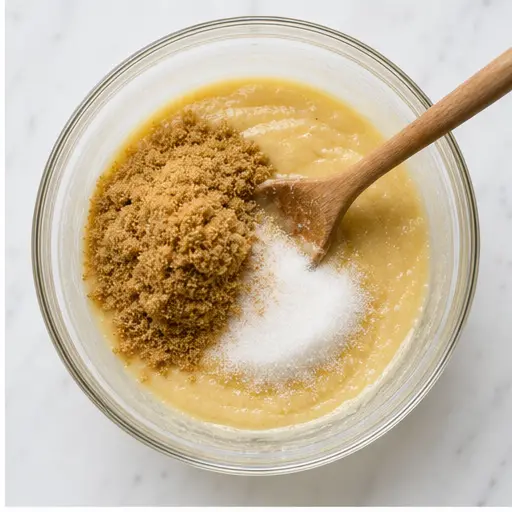
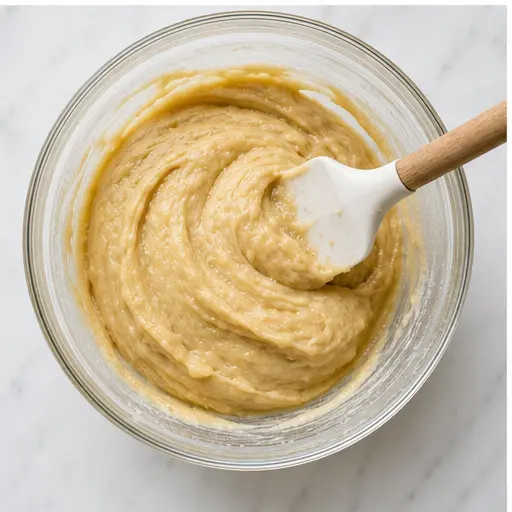
Once your chocolate mixture is smooth, grab a sturdy wooden spoon. Stir in both sugars the brown and granulated. The mixture will look a bit grainy, and that’s fine. Then add your room-temperature eggs and vanilla extract. Mix until everything is fully combined and the batter looks thick and glossy.
Here’s a tip I learned from Grandma Ruth: beat the eggs in vigorously. That initial energy helps create a slightly crackly, shiny top on the finished brownies. Not essential, but worth doing if you want that bakery look.
Now add the flour and salt. Stir just until no streaks of flour remain overmixing develops gluten and gives you tough, cakey brownies instead of fudgy ones. Finally, fold in the remaining 1/2 cup of white chocolate chips. This gives you pockets of melted chocolate throughout.
Stage 3: Baking to Perfection
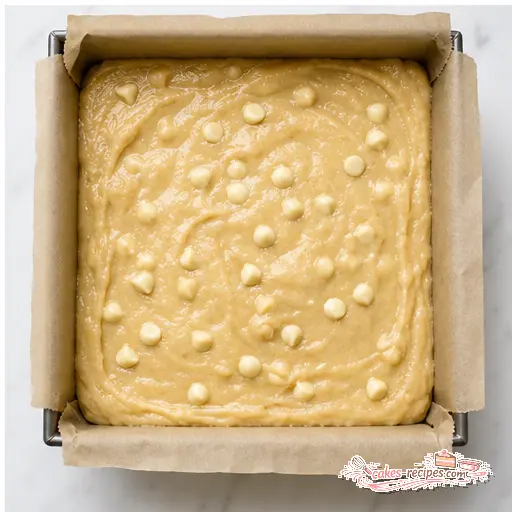
Pour the batter into your prepared 9×9-inch pan and spread it evenly. Bake at 325°F for 20-24 minutes. The edges should be set and golden, but the center should still look slightly underdone think jiggly, not liquid.
Here’s what I’ve found works: For perfectly fudgy white chocolate brownies, aim for an internal temperature of 180-190°F. If you don’t have a thermometer, the toothpick test works too but expect a few moist crumbs. Overbaking is the #1 mistake people make, and it turns these beauties into dry, crumbly disappointments.
Let the brownies cool completely in the pan on a wire rack. This takes about an hour. Be patient I know it’s hard.
Stage 4: The Ganache Topping
While the brownies cool, make the ganache. Warm the heavy cream in the microwave in 30-second bursts until it’s hot but not boiling you’ll see small bubbles around the edges. Pour it over the remaining 1 cup of white chocolate chips, making sure they’re fully submerged. Let it sit for 3 minutes without stirring. This is important: the heat needs time to penetrate the chips.
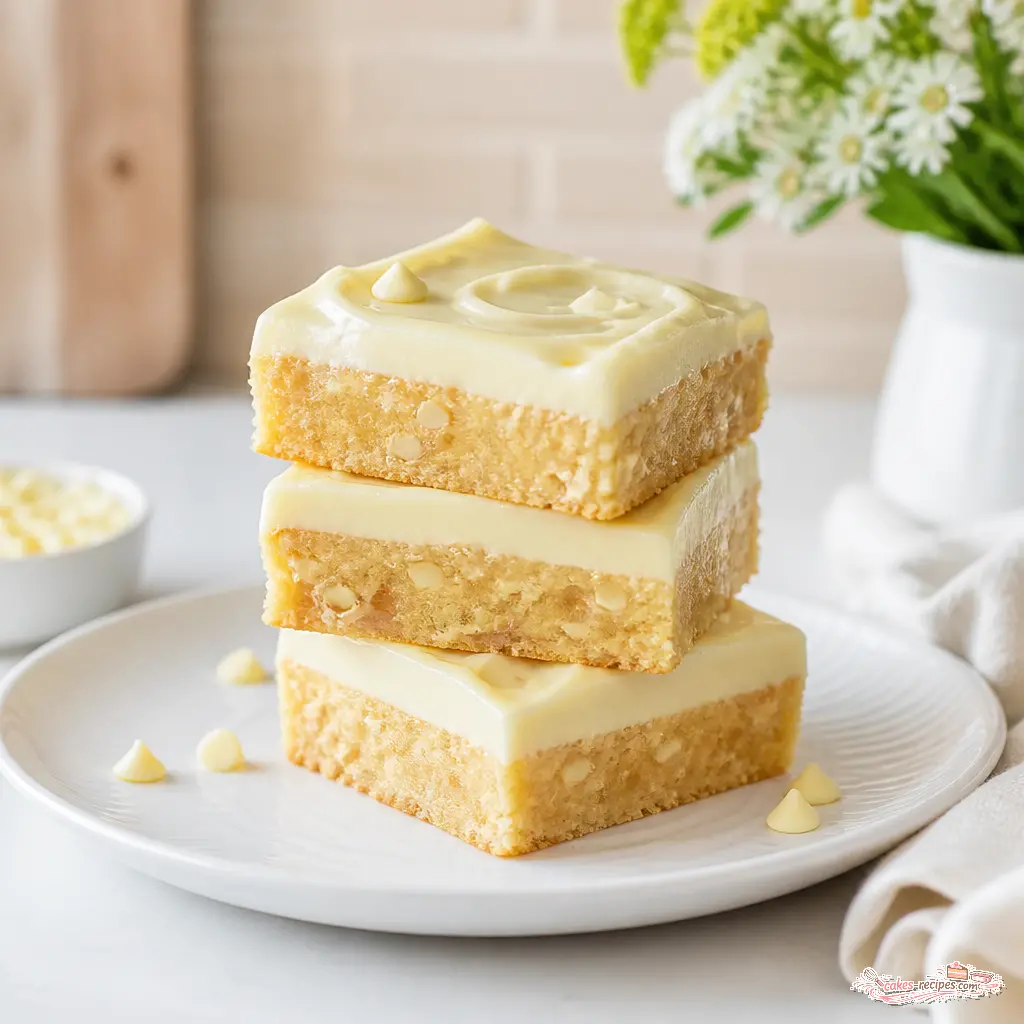
After 3 minutes, stir gently. The mixture will come together into a smooth, glossy ganache. Pour it over the cooled brownies and spread into an even layer. Pop the pan in the fridge for at least 30 minutes, or until the ganache is firm. For the cleanest slices, chill for a full hour.
Expert Tips for Perfect White Chocolate Brownies
Over the years, I’ve tested this white chocolate brownie recipe more times than I can count. Here are the things that consistently make a difference:
- Use good quality white chocolate. The cheap stuff often contains vegetable oils that don’t melt properly and leave a waxy taste. Spend a little extra you’ll taste the difference.
- Don’t skip the room-temperature eggs. Cold eggs can cause the melted chocolate mixture to seize or become grainy. Set your eggs out 30 minutes before you start baking.
- Line your pan with foil or parchment. Leave overhang on two sides for easy lifting. This makes cutting and serving so much easier.
- Pull the brownies early. When in doubt, underbake slightly. The residual heat in the pan will continue cooking them as they cool.
- Chill before cutting. For clean, sharp slices, refrigerate the brownies (with ganache) for at least an hour. Wipe your knife clean between cuts.
Common Mistakes and How to Fix Them
Mistakes Even Experienced Bakers Make
❌ Mistake: Your white chocolate seized and turned grainy.
✅ Solution: You likely overheated it. Always use 30-second bursts and stir well between each. If it does seize, try adding a teaspoon of vegetable oil and stirring vigorously sometimes it can be saved.
❌ Mistake: The brownies turned out dry and crumbly.
✅ Solution: You overbaked them. Next time, pull them at 22 minutes and check for that slight jiggle in the center. Remember, they continue baking in the hot pan.
❌ Mistake: The ganache is lumpy and won’t smooth out.
✅ Solution: The cream wasn’t hot enough, or you stirred too early. Reheat the mixture in 10-second bursts, stirring gently each time, until it comes together.
❌ Mistake: The brownies are too greasy.
✅ Solution: Your eggs were likely cold, which can cause the butter to separate from the batter. Always use room-temperature eggs.
Storage and Leftovers
These white chocolate brownies store beautifully, which makes them perfect for summer gatherings. Here’s what I’ve found works:
- Refrigerator: Store in an airtight container for up to a week. The ganache stays firm and creamy.
- Freezer: Unfrosted brownies freeze well for up to 3 months. Wrap tightly in plastic wrap, then foil. Thaw overnight in the fridge.
- Reheating: For that just-baked texture, microwave individual brownies for 10-15 seconds. The ganache gets slightly melty and the edges crisp up again.
Pro tip: If you’re taking these to a summer BBQ, keep them in the fridge until you’re ready to leave. The ganache holds up better in warm weather when it’s been properly chilled.
Variations to Make Them Your Own
Once you’ve mastered the base recipe, feel free to experiment. Here are some of my favorite variations:
- Patriotic twist: Top the ganache with fresh blueberries and a dusting of powdered sugar for a 4th of July showstopper.
- Nutty crunch: Fold in 1/2 cup of toasted macadamia nuts or pecans along with the white chocolate chips.
- Dried fruit: Dried cranberries or chopped dried apricots add a tart contrast to the sweet white chocolate.
- Gluten-free option: Substitute a 1:1 gluten-free flour blend for the all-purpose flour. The texture stays remarkably close to the original.
And yes, you should taste the batter. I won’t tell.
Frequently Asked Questions
I hope you love these white chocolate brownies as much as my family does. They’ve become my signature summer dessert, and I’m always happy to share the recipe. If you make them, tag me on Pinterest I love seeing your creations.
For more inspiration, follow me on Pinterest where I share my favorite summer baking ideas.
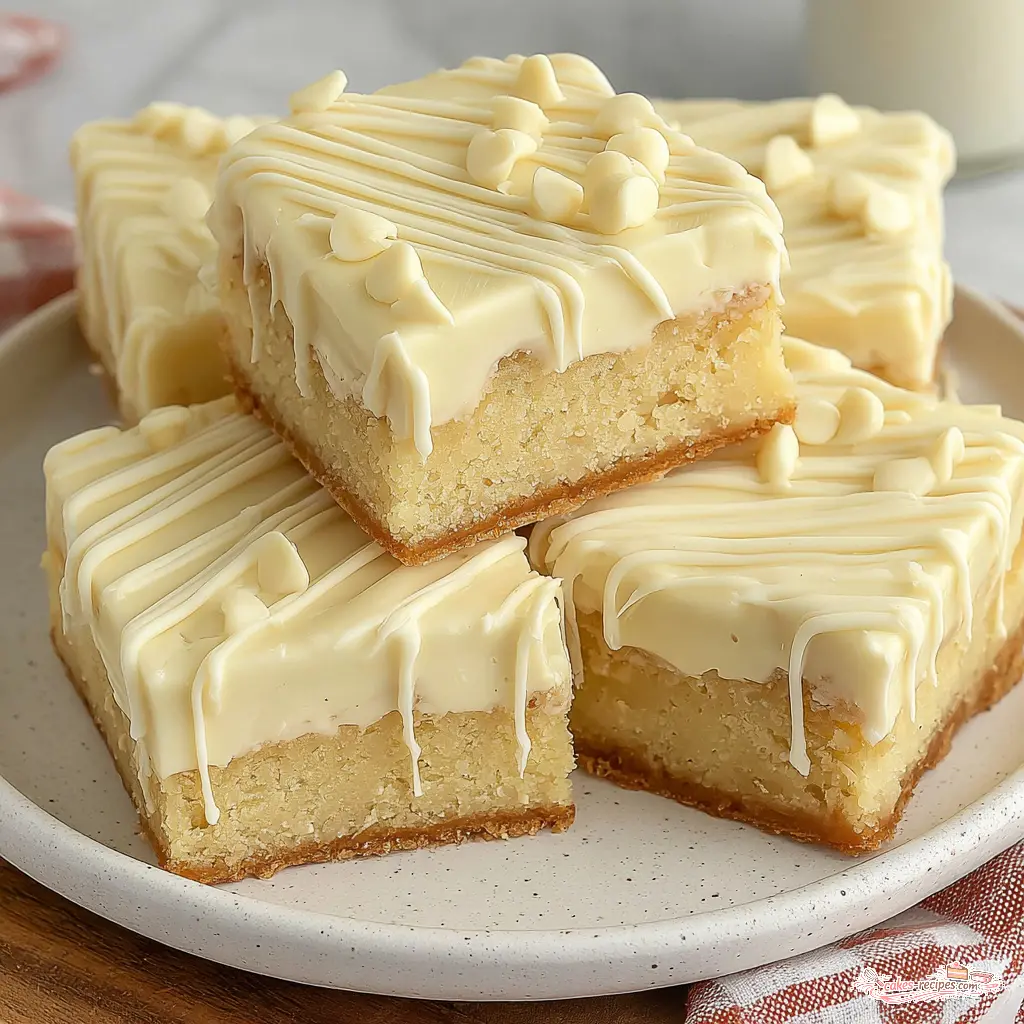
Ultimate White Chocolate Brownies with Silky Ganache
Ingredients
Method
- Preheat your oven to 325°F. Line a 9x9-inch baking pan with aluminum foil or parchment paper, leaving overhang on two sides for easy lifting.
- In a large microwave-safe bowl, combine 1 1/4 cups of white chocolate chips and the cubed butter. Microwave in 30-second bursts, stirring after each, until completely melted and smooth.
- Using a sturdy wooden spoon, stir in both sugars, then the eggs and vanilla extract, mixing well. Add the flour and salt, stirring just until no streaks of flour remain. Fold in the remaining 1/2 cup white chocolate chips.
- Pour the batter into the prepared pan and spread evenly. Bake for 20-24 minutes, until the edges are set and the center still looks slightly underdone. For fudgy brownies, an internal temperature of 180-190°F is ideal. Let cool completely in the pan on a wire rack.
- In a microwave-safe bowl, warm the heavy cream in 30-second increments until hot but not boiling. Add the white chocolate chips, ensuring they are fully submerged, and let sit for 3 minutes. Stir gently until the mixture is completely smooth and glossy.
- Pour the ganache over the cooled brownies and spread into an even layer. Refrigerate for at least 30 minutes, or until the ganache is firm. For clean slices, chill for 1 hour before cutting. Store leftovers in the refrigerator, covered.
Nutrition
Notes
Tried this recipe?
Let us know how it was!Source: Nutritional Information
What is the difference between blondies and white chocolate brownies?
Blondies are traditionally made with brown sugar and vanilla, giving them a butterscotch flavor. White chocolate brownies use melted white chocolate in the batter, which adds a creamy, sweet richness and a slightly fudgier texture. They’re cousins, not twins.
Can I make white chocolate brownies with walnuts?
Absolutely. Fold in 1/2 cup of toasted walnuts along with the white chocolate chips for a lovely crunch. Toast them first at 350°F for 5-7 minutes to bring out their flavor.
How sweet are these?
These white chocolate brownies are sweet but balanced. The brown sugar adds a caramel note, and the ganache topping is rich without being cloying. If you prefer less sweetness, use a high-quality white chocolate with a higher cocoa butter content.
How do you store these brownies?
Store them in an airtight container in the refrigerator for up to a week. The ganache stays firm and creamy. For longer storage, freeze unfrosted brownies for up to 3 months.
Can you make these brownies gluten-free?
Yes! Substitute a 1:1 gluten-free flour blend for the all-purpose flour. I’ve tested this with King Arthur Measure for Measure and the texture stays fudgy and delicious.















3 Responses
These are dangerously good. I swapped the white chocolate chips for butterscotch chips once, and it was amazing too. Thanks for the great recipe!
I made these for a family gathering and they were a huge hit! The ganache is absolutely divine. I did find the brownies were a bit too gooey in the center even after cooling completely—any tips for getting them to set firmer?
Hi Jessica, so glad they were a hit! For firmer brownies, you can try baking them 2-3 minutes longer and letting them cool completely in the pan before cutting. The center will set more as they cool.