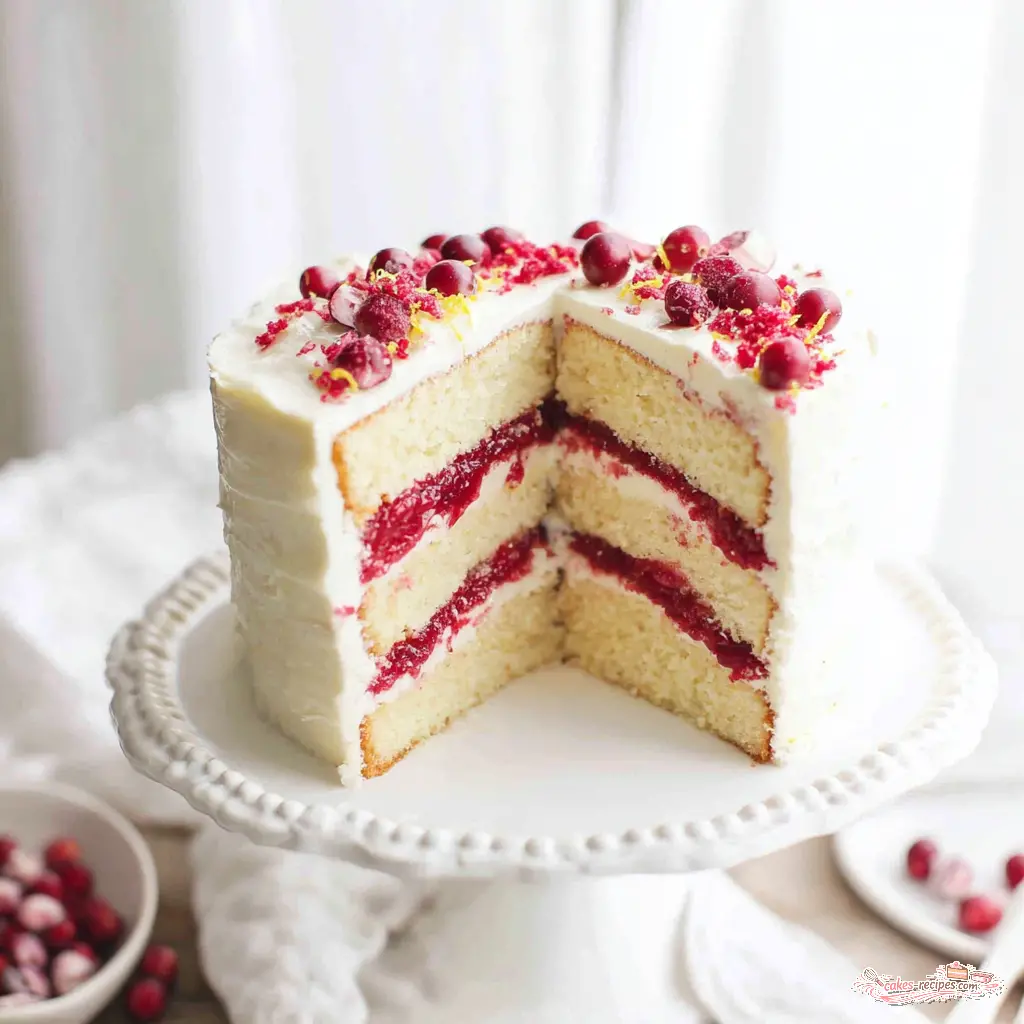
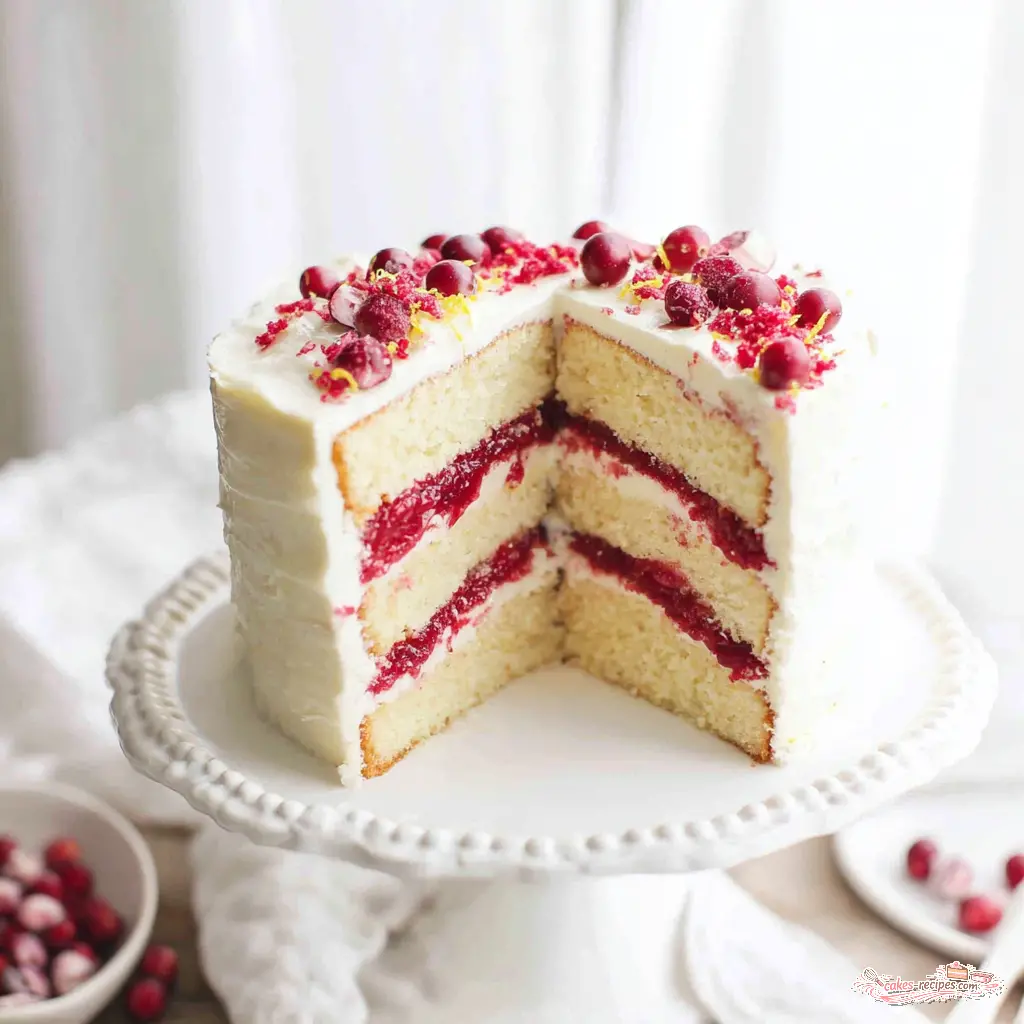
Cranberry Orange Layer Cake with White Chocolate Frosting
Ingredients
Method
- Preheat your oven to 350°F. Line the bottoms and sides of two 8-inch round cake pans with parchment paper. Set aside.
- In a medium bowl, whisk together the flour, baking powder, and salt. Set aside.
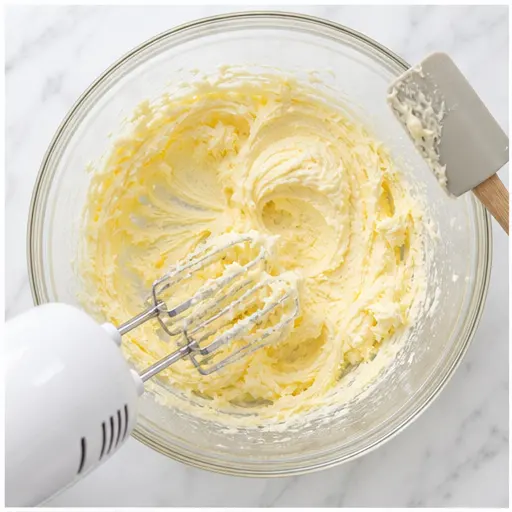
- In a large bowl, using a stand mixer or handheld mixer with the paddle attachment, beat the butter, oil, and sugar on medium speed until creamy, about 2 to 3 minutes.
- Add the eggs one at a time, mixing well after each addition. Stir in the vanilla and orange zest.
- Alternate adding the dry ingredients, milk, and orange juice, starting and ending with the dry ingredients. Mix just until combined—do not overmix.
- Divide the batter evenly between the prepared pans. Bake for 28 to 32 minutes, or until a toothpick inserted in the center comes out clean. Let cool in the pans for 10 minutes, then turn out onto a wire rack to cool completely.
- In a large saucepan, combine the cranberries, water, orange juice, cornstarch, sugar, and cinnamon. Bring to a boil over medium heat, stirring constantly.
- Cook for 3 to 5 minutes until the cranberries soften. Use an immersion blender or potato masher to break them down to your desired consistency.
- Continue cooking for another 5 to 6 minutes, stirring frequently, until the mixture thickens and reduces by about one-third. Remove from heat and let cool completely—the filling will thicken further as it cools.
- In a large bowl, beat the butter on medium-high speed until soft and creamy, about 1 to 2 minutes.
- Add the sifted powdered sugar and beat on medium-low until smooth and fully combined.
- Pour in the cooled melted white chocolate and mix on medium speed until creamy. Add 1 to 2 tablespoons of orange juice to reach a spreadable consistency. Taste and add a pinch of salt if desired.
- Trim a thin layer off the tops of both cakes to create flat surfaces. Then slice each cake horizontally into two even layers, so you have four layers total.
- Place one cake layer on a serving plate. Spread about one-quarter of the frosting over it, building a slight rim around the edge to hold the filling. Spoon one-third of the cranberry filling into the center.
- Repeat with two more layers: cake, frosting (with rim), and cranberry filling. Top with the final cake layer.
- Frost the outside and sides of the entire cake with the remaining frosting. Refrigerate for at least 4 hours before slicing. Store leftovers in an airtight container in the fridge for up to 3 days.
Nutrition
Notes
Tried this recipe?
Let us know how it was!Why This Cranberry Orange Layer Cake Works
Let me tell you about the first time I tried to make a layer cake for a holiday dinner. I was maybe twenty-two, thought I knew everything about baking because I could make a decent batch of cookies. The layers came out lopsided, one slid right off the other while I was frosting it, and the buttercream looked like it had curdled in protest. My mom ate two slices anyway and told me it was the best cake she’d ever had. That terrible cake taught me more than any perfect one ever could.
This cranberry orange layer cake is the one I wish I’d had back then. It’s the recipe I’ve tested and retested until I got it right. The cake is moist without being heavy, the cranberry filling is tart enough to cut through the sweetness, and the white chocolate frosting is stable enough that you won’t end up with a cake landslide. I’ve made this for Thanksgiving, for Christmas, and for a random Tuesday in July when I just needed something beautiful. It works every time.
The thing about this cranberry orange layer cake is that it looks intimidating but it’s actually forgiving. The orange zest in the batter does double duty, it makes the kitchen smell incredible and it balances the tartness of the cranberries. And that white chocolate frosting with a splash of orange juice? It’s the kind of frosting that makes people close their eyes when they take the first bite. Fair enough, that’s the reaction we’re all after.
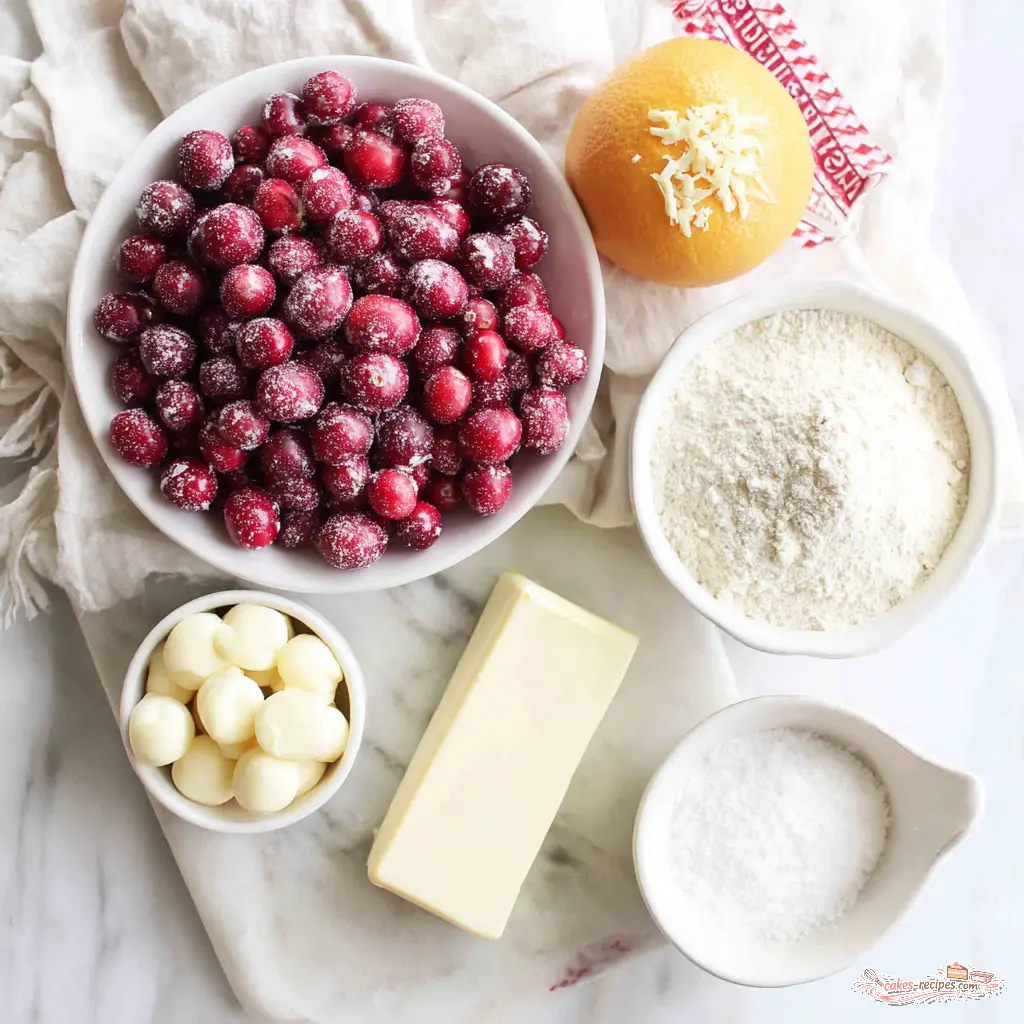
Ingredients You’ll Need
Let’s talk about what goes into this cake. I’m a believer in understanding why each ingredient matters, not just following a list. Here’s what I’ve found works for each component.
For the cake layers, you’ll need all-purpose flour, baking powder, salt, unsalted butter, vegetable oil, granulated sugar, eggs, vanilla extract, orange zest, whole milk, and fresh orange juice. The combination of butter and oil is intentional. Butter gives flavor, oil gives moisture. Together they make a cake that’s tender and stays soft for days. The orange juice and milk get added alternately with the dry ingredients, which is the classic way to build structure without overmixing.
The cranberry filling is simple. Cranberries, water, fresh orange juice, cornstarch, granulated sugar, and a touch of cinnamon. Five cups of cranberries might seem like a lot, but they cook down significantly. The cornstarch helps thicken the filling so it stays put between the cake layers instead of soaking into the crumb. That’s a mistake I made once. Never again.
The white chocolate frosting uses unsalted butter, sifted powdered sugar, melted white chocolate, orange juice, and a pinch of salt. The white chocolate needs to be cooled slightly before you add it, otherwise it’ll melt the butter and you’ll have soup. I tend to prefer European-style white chocolate for this, it’s creamier and less waxy. Though that’s personal.
Here’s a quick breakdown of what each ingredient does:
- Butter and oil – flavor plus moisture, the dream team
- Orange zest – essential oils that perfume the entire cake
- Fresh orange juice – acidity that tenderizes the gluten
- Whole milk – fat and liquid for structure and tenderness
- Cranberries – tart pops that balance the sweet frosting
- White chocolate – creamy sweetness that plays off the citrus
How to Make Cranberry Orange Layer Cake
I’ll walk you through the four main stages here. The recipe card has the full details, but let me explain the why behind each step. Your oven might behave differently, so trust your eyes and nose more than the timer.
Stage 1: The Cake Batter
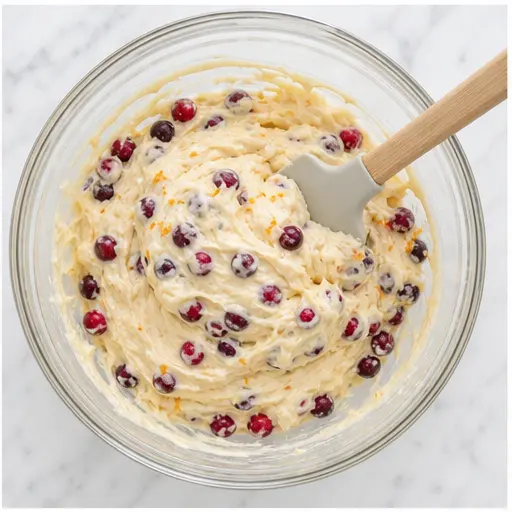
Start by creaming the butter, oil, and sugar together. This is where you’re building the foundation. Beat them on medium speed for a full two to three minutes until the mixture is light and fluffy. You want to see it change color to a pale cream. That’s air being incorporated, and air is what makes your cake rise properly. Then add the eggs one at a time, scraping down the bowl after each. Add the vanilla and orange zest. The smell at this point is just incredible, like standing in a citrus grove at dawn.
Now here’s the part where people mess up. You alternate adding the dry ingredients with the milk and orange juice, starting and ending with the dry. Mix just until combined. Overmixing develops gluten and gives you a dense, tough cake. I know it’s tempting to keep going until every streak of flour disappears, but stop sooner than you think you should. A few streaks are fine, they’ll disappear in the oven.
Toss the cranberries in a tablespoon of flour before folding them in. This prevents them from sinking to the bottom of the pan. I learned this from Grandma Ruth, who learned it from her mother. It’s one of those tricks that seems small but makes a real difference.
Stage 2: The Cranberry Filling
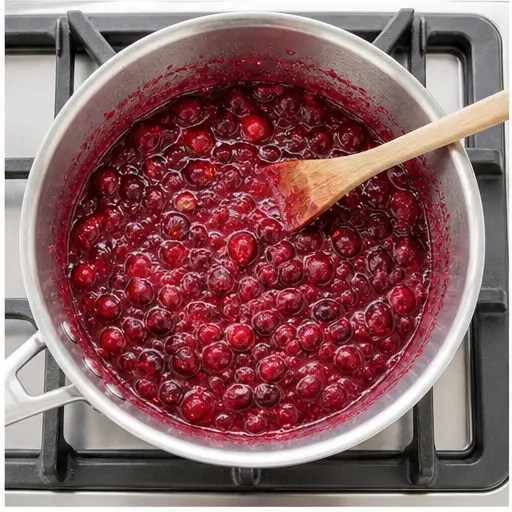
While the cakes bake and cool, make the filling. Combine everything in a large saucepan and bring it to a boil over medium heat, stirring constantly. You’ll hear the cranberries start to pop, that’s the sound of progress. Cook for three to five minutes until they soften, then use a potato masher or immersion blender to break them down to your liking. I prefer some texture, so I leave a few chunks.
Continue cooking for another five to six minutes until the mixture thickens and reduces by about a third. It should coat the back of a spoon. As it cools, it’ll thicken even more, so don’t worry if it seems a bit loose. Let it cool completely before you use it. Warm filling will melt your frosting and create a mess. Trust me on this one.
Stage 3: The White Chocolate Frosting
This frosting is where the magic happens. Beat the butter on medium-high until it’s soft and creamy, about two minutes. Then add the sifted powdered sugar and beat on low until combined, then bump up the speed. Sifting the powdered sugar is non-negotiable. Lumpy frosting is not the look we’re going for.
Pour in the cooled melted white chocolate and mix until creamy. Then add one to two tablespoons of orange juice to reach a spreadable consistency. Here’s the trick to avoid curdling: make sure your white chocolate is cool, not hot, and add the orange juice slowly. If the mixture looks like it’s separating, add a tablespoon of powdered sugar and beat again. It’ll come back together. I’ve saved many a frosting this way.
Taste it and add a pinch of salt if you want. The salt balances the sweetness and makes the orange flavor pop. I always add it.
Stage 4: Assembly
This is where you turn good cake layers into a showstopper. First, trim the domed tops off both cakes using a serrated knife. I use a gentle sawing motion and let the knife do the work. Then slice each cake horizontally into two even layers. You should have four layers total. If they’re not perfectly even, that’s okay. We’ll fix it with frosting.
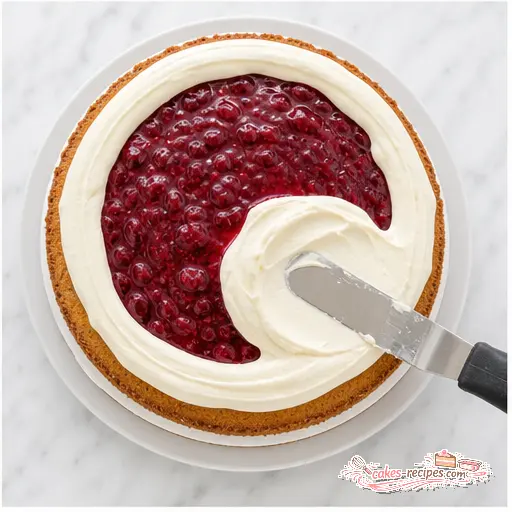
Place one layer on your serving plate. Spread about a quarter of the frosting over it, building a slight rim around the edge. This rim holds the cranberry filling in place so it doesn’t ooze out the sides. Spoon a third of the filling into the center. Repeat with two more layers. Top with the final cake layer. Now frost the outside and sides with the remaining frosting.
Refrigerate for at least four hours before slicing. I know it’s hard to wait, but this step is crucial. The cake needs time to set so you get clean, beautiful slices. I usually make it the day before and let it chill overnight.
Tips for the Perfect Cake
Here are the things I wish someone had told me before I started making layer cakes. These will save you from the most common pitfalls.
- Room temperature ingredients matter. Cold eggs and cold milk won’t emulsify properly with the butter. Set everything out an hour before you start.
- Don’t overmix the batter. Mix until just combined. Overmixing develops gluten and gives you a dense cake. This is the number one reason for a dense cake.
- Measure flour correctly. Spoon it into the measuring cup and level it off. Scooping directly from the bag packs in too much flour and dries out the cake.
- Toss cranberries in flour. This keeps them suspended in the batter instead of sinking to the bottom.
- Use fresh orange juice. Bottled juice has a flat, cooked flavor. Fresh juice and zest are what make this cake sing.
- Cool everything completely. Warm cake layers will melt your frosting. Warm filling will do the same. Patience pays off.
Pro Tip: How to Prevent Buttercream from Curdling
The Issue: Citrus juice can cause buttercream to separate and look grainy.
The Fix: Make sure your white chocolate is cooled to room temperature before adding it. Add the orange juice one tablespoon at a time, mixing well after each. If it starts to look curdled, add a tablespoon of powdered sugar and beat on medium-high until smooth. The sugar absorbs the excess liquid and brings the emulsion back together.
How to Assemble the Layer Cake
Let me walk you through the assembly in more detail, because this is where most people get nervous. You’ve got four cake layers, a batch of cranberry filling, and a bowl of white chocolate frosting. Here’s how to put it all together without losing your mind.
First, make sure your cake layers are completely cool. I mean completely. If they’re even slightly warm, the frosting will slide right off. I like to chill my layers in the fridge for about thirty minutes before I start. Cold layers are easier to handle and less likely to crumb.
Level each layer with a serrated knife. Place your hand flat on top of the cake and use a gentle sawing motion. You’re removing the dome so the layers stack evenly. It’s okay if they’re not perfectly level, the frosting will fill in gaps.
Now for the assembly. Place the first layer on your cake board or serving plate. Spread a thin layer of frosting on top, about a quarter cup. Build a rim around the edge with your offset spatula. This rim acts like a dam to keep the cranberry filling contained. Spoon a third of the filling into the center and spread it evenly, but don’t let it touch the rim. Repeat with the next two layers. Place the final layer on top, cut side down for a flat surface.
Give the whole cake a thin crumb coat. This is a thin layer of frosting that seals in the crumbs. Don’t worry about making it pretty. Chill the cake for thirty minutes to set the crumb coat, then apply the final layer of frosting. Use an offset spatula for smooth sides. If you want a decorative pattern, drag the tip of your spatula up the sides in gentle waves.
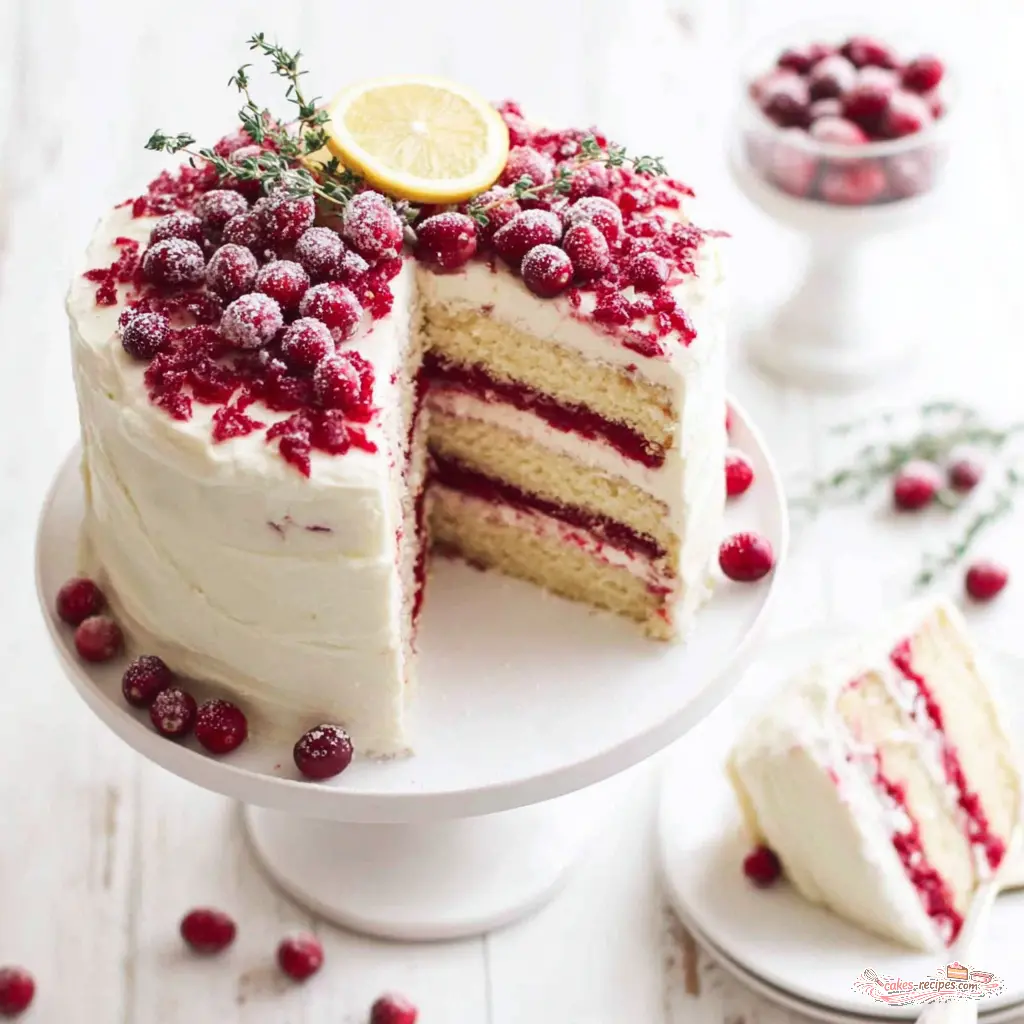
Pipe shells of frosting around the top edge if you’re feeling fancy. Decorate with fresh cranberries and thin slices of orange. It looks like something from a bakery window.
Storage and Make-Ahead Tips
This cake actually gets better after a day in the fridge. The flavors meld together and the texture becomes even more tender. Here’s what I’ve found works best.
To store: Keep the frosted cake in an airtight container in the refrigerator for up to three days. Let it sit at room temperature for about an hour before serving. Cold cake doesn’t taste as flavorful, and the frosting needs to soften slightly.
To make ahead: You can bake the cake layers up to three days in advance. Wrap them tightly in plastic wrap and store at room temperature. Or freeze them for up to three months. Double wrap in plastic wrap and then foil. Thaw overnight in the fridge before using. The cranberry filling can be made up to a week ahead and stored in the fridge. The frosting can be refrigerated for a week or frozen for three months. Bring it to room temperature and rewhip it before using.
To freeze the whole cake: Freeze the assembled, unfrosted cake layers for an hour, then wrap tightly and freeze for up to three months. Thaw in the fridge overnight, then frost and serve.
Frequently Asked Questions
I hope this cranberry orange layer cake becomes one of your go-to recipes. It’s the kind of cake that makes people ask for the recipe before they’ve even finished their slice. And if your first attempt isn’t perfect, that’s okay. My first layer cake was a disaster, and look at me now. You’ve got this.
If you make this cake, I’d love to hear about it. Tag me on Pinterest or leave a comment. And if you want to see more of my recipes, follow me on Pinterest for weekly inspiration and baking tips.
Source: Nutritional Information