
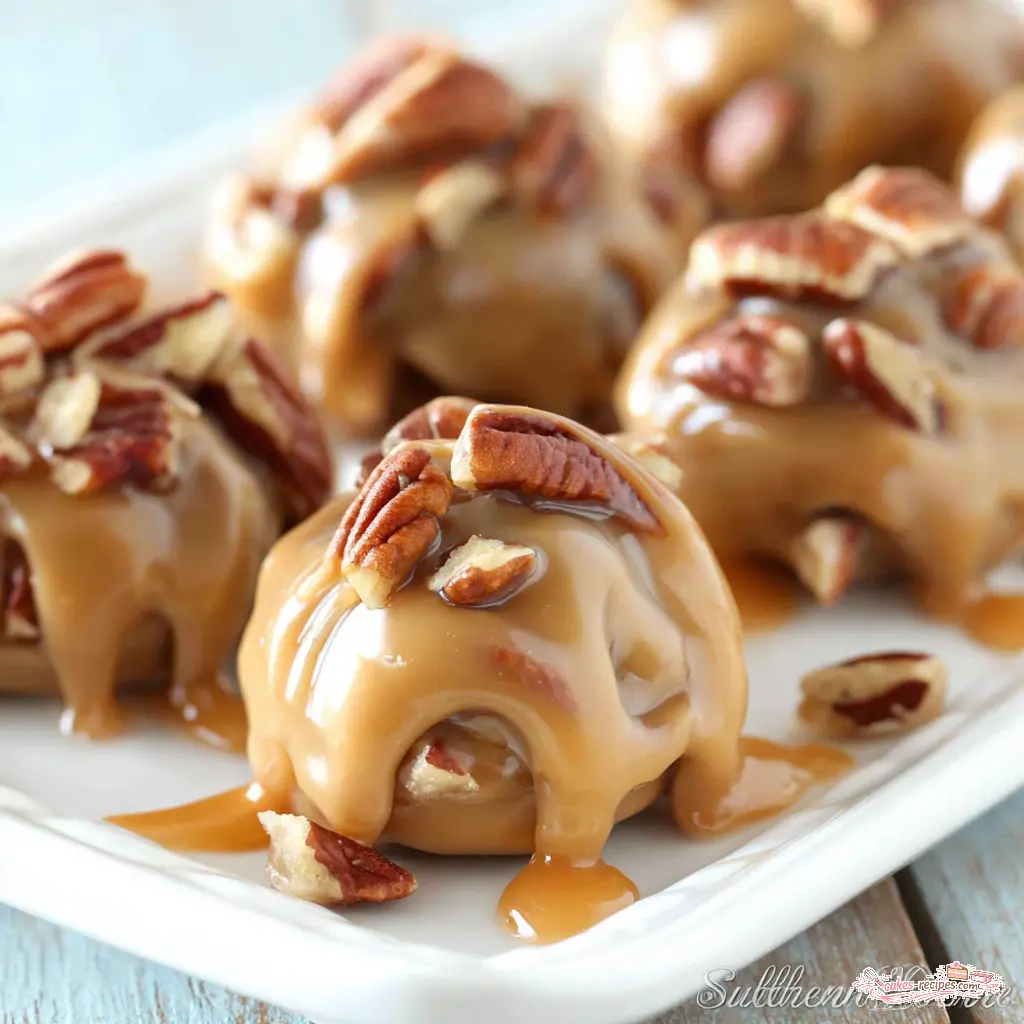
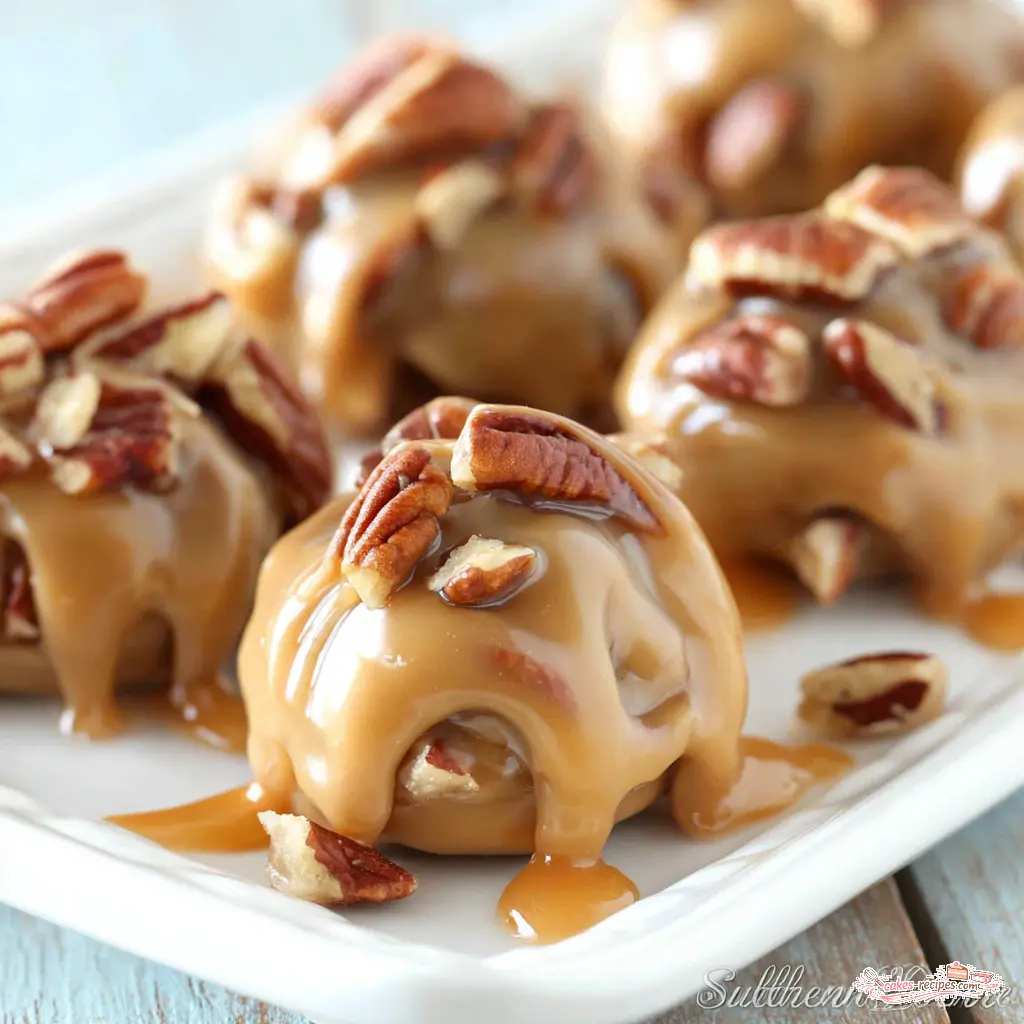
Classic Buttermilk Pecan Pralines
Ingredients
Method
- Line two large baking sheets with waxed paper and set aside.
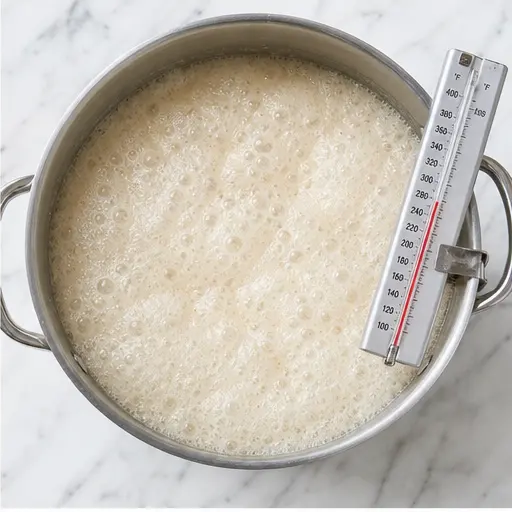
- In a large pot (at least 5 quarts), combine buttermilk, sugar, corn syrup, baking soda, and salt. Bring to a boil over medium heat, stirring constantly.
- Continue stirring until the sugar is fully dissolved and the mixture reaches 236°F (soft ball stage). Be careful—the baking soda will cause the mixture to foam and rise as it boils.
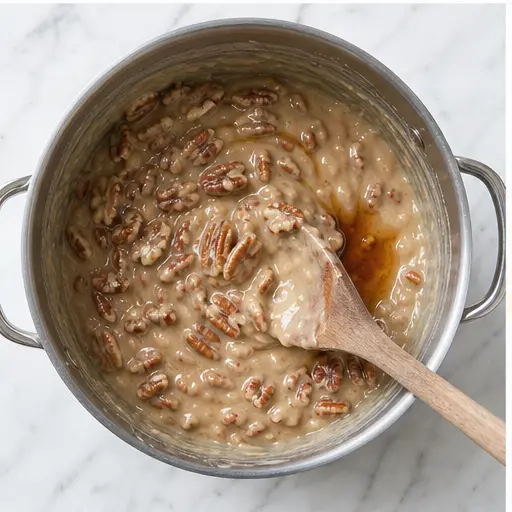
- Once the mixture hits the soft ball stage, remove the pot from heat. Stir in the pecans, vanilla extract, and butter.
- Beat the mixture by hand until it starts to thicken and hold its shape. It will become thick and creamy. This can take several minutes—enlist a helper if possible.
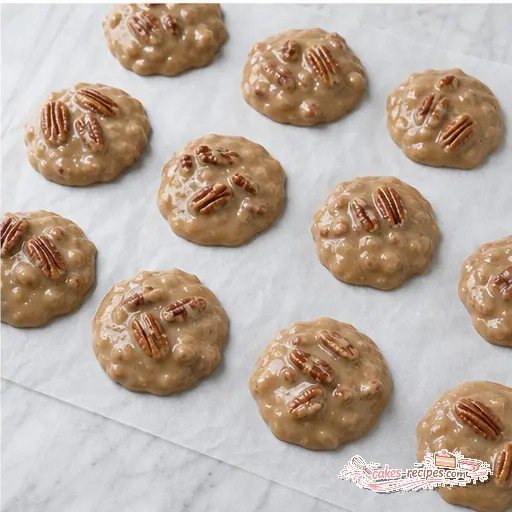
- Quickly drop spoonfuls of the thickened mixture onto the prepared waxed paper. Let the pralines cool completely at room temperature.
- Store the cooled pralines in an airtight container for up to 2 weeks.
Nutrition
Notes
Tried this recipe?
Let us know how it was!Why You’ll Love These Buttermilk Pecan Pralines
The first time I made buttermilk pecan pralines, they set into a rock-hard brick. I’m not exaggerating. I was sixteen, trying to impress my mom, and I ended up with something that could have doubled as a doorstop. That’s the thing about candy making it’s equal parts science and art, and it doesn’t care how much you want it to work.
But here’s the deal: once you understand a few key principles, these buttermilk pecan pralines become one of the most rewarding things you can make in your kitchen. They’re smooth, creamy, with a slight crunch from the toasted pecans. They melt on your tongue in a way that feels almost magical. And when you serve them at your Fourth of July BBQ, everyone will ask for the recipe. No question.
This recipe is a classic Southern praline recipe that works even in hot, humid weather. That’s the real victory here. I’ve made these in July in Brooklyn, when the air is thick enough to swim through, and they still came out perfect. The secret is in the technique and a little help from buttermilk and corn syrup to control sugar crystallization.
Ingredients You’ll Need
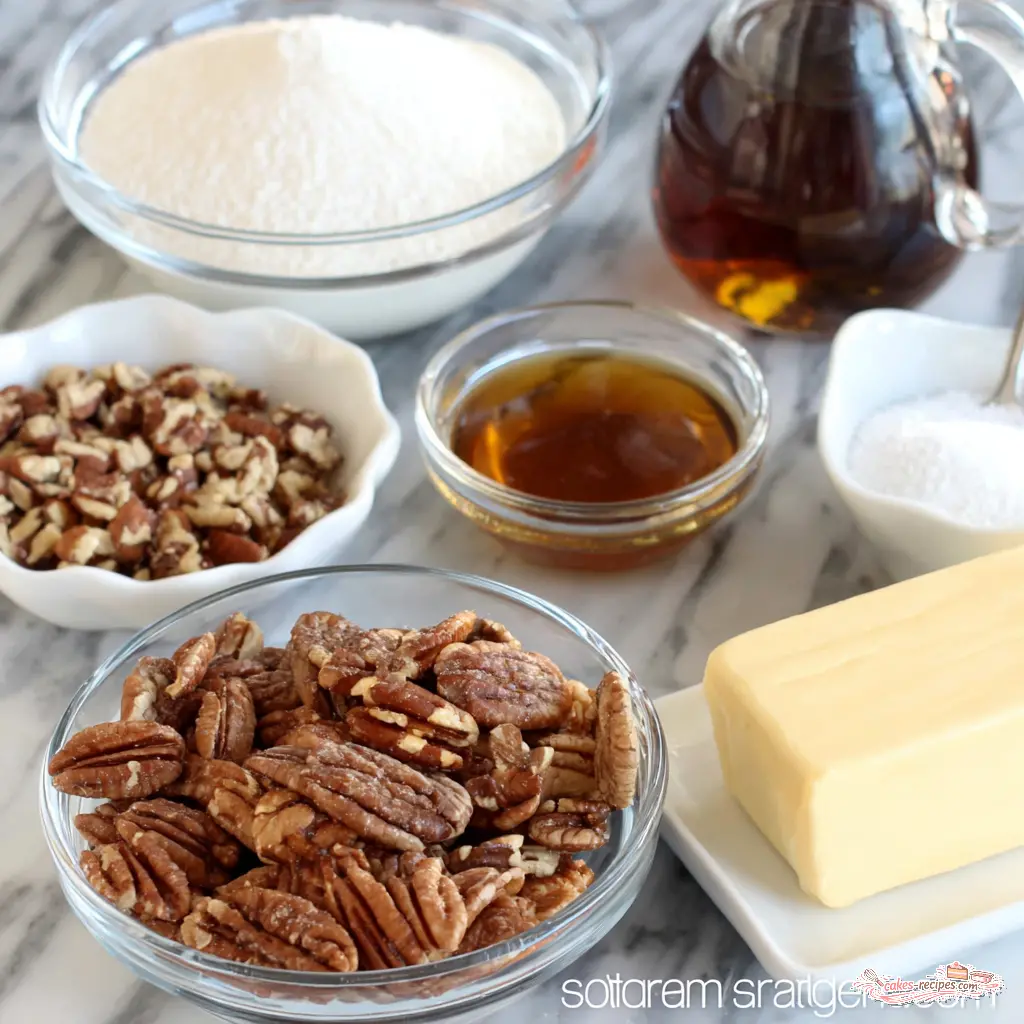
Let’s talk about what goes into these buttermilk pecan pralines. The ingredient list is short, but every single one plays a specific role. That’s what I love about this easy praline recipe no fuss, no exotic stuff you’ll never use again.
- Buttermilk – This is the star. The acidity in buttermilk helps control sugar crystallization, which is the main reason pralines turn grainy. It also adds a tangy depth that balances the sweetness. Real talk: don’t substitute with regular milk unless you absolutely have to. If you’re in a pinch, you can make DIY buttermilk by mixing 1 cup whole milk with 1 tablespoon lemon juice or vinegar, let it sit for 5 minutes.
- Granulated sugar – Three cups might seem like a lot, but this is candy. The sugar provides the structure and sweetness that makes pralines what they are.
- Light corn syrup – This is your insurance policy against graininess. Corn syrup is an invert sugar, which means it interferes with sugar crystals forming. It’s the reason these pralines stay smooth and creamy instead of turning into sugary gravel.
- Baking soda – This causes the mixture to foam as it boils. That foam helps incorporate air and gives the pralines a lighter texture. Don’t skip it.
- Salt – Just a quarter teaspoon to balance the sweetness. Makes sense.
- Pecan halves – Two cups of pecan halves, toasted if you have the time. Toasting brings out their nutty flavor and adds a lovely crunch. I usually toast them in a dry skillet over medium heat for 3-5 minutes until fragrant. Watch them closely they burn fast.
- Vanilla extract – Two teaspoons for warmth and depth.
- Butter – One tablespoon of unsalted butter stirred in at the end adds richness and helps with the texture.
Step-by-Step Instructions
Here’s where the magic happens. I’ll walk you through the four major stages of making these buttermilk pecan pralines. Pay attention to the visual cues and temperatures they’re your best friends here.
Stage 1: Combine and Boil
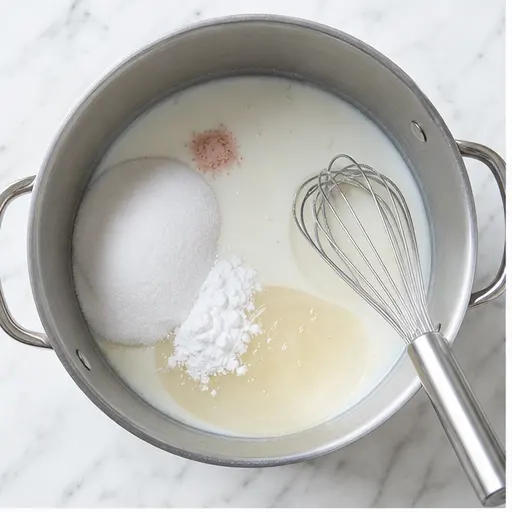
Start by lining two large baking sheets with waxed paper or parchment paper for candy. Set them aside. In a large pot at least 5 quarts combine the buttermilk, granulated sugar, light corn syrup, baking soda, and salt. Bring this to a boil over medium heat, stirring constantly. You need to keep stirring until the sugar is fully dissolved. The baking soda will cause the mixture to foam and rise as it boils, so keep an eye on it. That’s normal. That’s what you want.
Stage 2: Reach the Soft Ball Stage
This is the most critical part. You need to cook the mixture to 236°F the soft ball stage candy temperature. Clip a candy thermometer to the side of your pot, making sure the tip is submerged in the liquid but not touching the bottom. Continue stirring gently until it reaches that temperature. In my experience, this takes about 10-15 minutes depending on your stove. If you’re making these in high humidity, cook to 240°F instead of 236°F. The extra few degrees compensate for the moisture in the air.
No candy thermometer? Fair enough. You can use the cold water test: drop a small amount of the hot syrup into a bowl of cold water. If it forms a soft, pliable ball that flattens when you press it, you’re there. That’s the soft ball stage.
Stage 3: Beat Until Thickened
Once the mixture hits the correct temperature, remove the pot from heat immediately. Stir in the pecan halves, vanilla extract, and butter. Now comes the beating. Beat the mixture by hand until it starts to thicken and hold its shape. This can take several minutes I usually beat for about 1 minute, rest for 20 seconds, then beat again. Repeat until the mixture is thick and creamy but still slightly shiny. Do not beat until it’s completely dull. Stop while it still has a bit of gloss. That’s the sweet spot.
This works for me: if the mixture starts to look matte, you’ve gone too far. You want it thick enough that a spoonful holds its shape when you drop it, but not so thick that it sets up in the pot.
Stage 4: Drop and Cool
Work quickly now. Drop spoonfuls of the thickened mixture onto the prepared waxed paper. You want each mound to be about 2 tablespoons worth. The mixture sets fast, so don’t dawdle. If it starts to thicken too much in the pot, add a few drops of hot water and beat until smooth again. Let the pralines cool completely at room temperature. This usually takes about 20-30 minutes on a cool surface, but up to 1-2 hours in a warm kitchen. They’re ready when they’re firm to the touch and lift easily off the paper.
Expert Tips for Perfect Pralines
Over the years, I’ve learned a few things that make the difference between good pralines and great ones. Here’s what I wish someone had told me the first time.
Troubleshooting Common Mistakes
❌ Mistake: Beating the candy until completely dull before dropping.
✅ Solution: Stop beating while the mixture is still slightly shiny. Over-beating causes the pralines to set too quickly and become grainy.
❌ Mistake: Under-cooking the mixture.
✅ Solution: Cook to at least 236°F. Under-cooked pralines will be sugary and brown instead of creamy. Use a candy thermometer for accuracy.
❌ Mistake: Stirring after the sugar has melted.
✅ Solution: Once the sugar dissolves, stop stirring. Agitation can cause crystallization. Let it boil undisturbed.
❌ Mistake: Adding cold pecans.
✅ Solution: Use room temperature or toasted pecans. Cold pecans can cause the candy to harden before you can scoop it.
❌ Mistake: Doubling the recipe.
✅ Solution: Stick to a single batch. Doubling means the mixture cools too quickly during the dropping stage, and you’ll end up with a pan of solidified candy.
Here are a few more tips that make a difference:
- Calibrate your candy thermometer before use. Boil water and check that it reads 212°F. If it’s off, adjust your target temperature accordingly.
- Beat in a rhythm: beat for 1 minute, rest 20 seconds, repeat. This prevents over-beating and gives you control.
- If the candy sets up in the pan before you’re done dropping, add a few drops of hot water and beat until smooth again. It works like a charm.
- For sticky bottoms on your pralines, flip them over to dry on a clean sheet of waxed paper for a few hours.
Variations & Add-Ins
Once you’ve mastered the classic buttermilk pecan pralines, feel free to play around. Here are some ideas:
- Toast the pecans in the oven at 350°F for 7-10 minutes until fragrant. This deepens their flavor significantly.
- Substitute other nuts like almonds, pistachios, or hazelnuts. Any raw, unflavored, unsalted nut works.
- Dip one side of the cooled praline in melted chocolate for a new twist. Let it set on waxed paper.
- Add a sprinkle of flaked salt on top while the pralines are still warm for a sweet-salty combination that’s incredible.
How to Store Pralines
Storing homemade candy properly is key to keeping it fresh. Here’s what works for me:
- Room temperature: Store in an airtight container with layers separated by parchment paper. They’ll keep for up to 2 weeks in a cool, dry place.
- Avoid refrigeration unless your kitchen is very warm and humid. The fridge can cause condensation, which makes pralines sticky.
- Freezing: You can freeze pralines in a freezer-safe bag or container for up to 2 months. Line layers with parchment to prevent sticking. Thaw at room temperature before serving.
- Gifting candies: These make wonderful homemade gifts. Pack them in a decorative tin with waxed paper between layers.
Frequently Asked Questions
More Southern Desserts to Try
If you love these buttermilk pecan pralines, you might enjoy other classic treats. Check out our recipes for pecan pie, banana pudding, and peach cobbler. Each one brings that same comforting Southern flavor to your table.
When you make these, I’d love to hear how they turn out. Drop a comment below or tag me in your photos. And if you’re looking for more inspiration, follow me on Pinterest where I share my favorite dessert ideas and candy-making tips. Happy cooking!
Source: USDA Nutritional Data















3 Responses
I made these for a family gathering last weekend and they turned out perfectly! The texture was so smooth and creamy, just like you described. I was a bit nervous about the candy-making part, but your tip about using corn syrup to control crystallization really helped. Thank you for sharing this recipe!
These pralines were delicious, but mine came out a bit grainy instead of smooth. I followed the instructions exactly—any idea what might have gone wrong? Could it be the humidity or did I not cook it long enough?
Hi James, sorry to hear about the graininess! That’s usually a sign of sugar crystallization. Next time, try brushing down the sides of the pot with a wet pastry brush while the mixture is cooking to prevent any sugar crystals from forming. Also, make sure not to stir once it starts boiling—just swirl the pan gently. Hope that helps!