
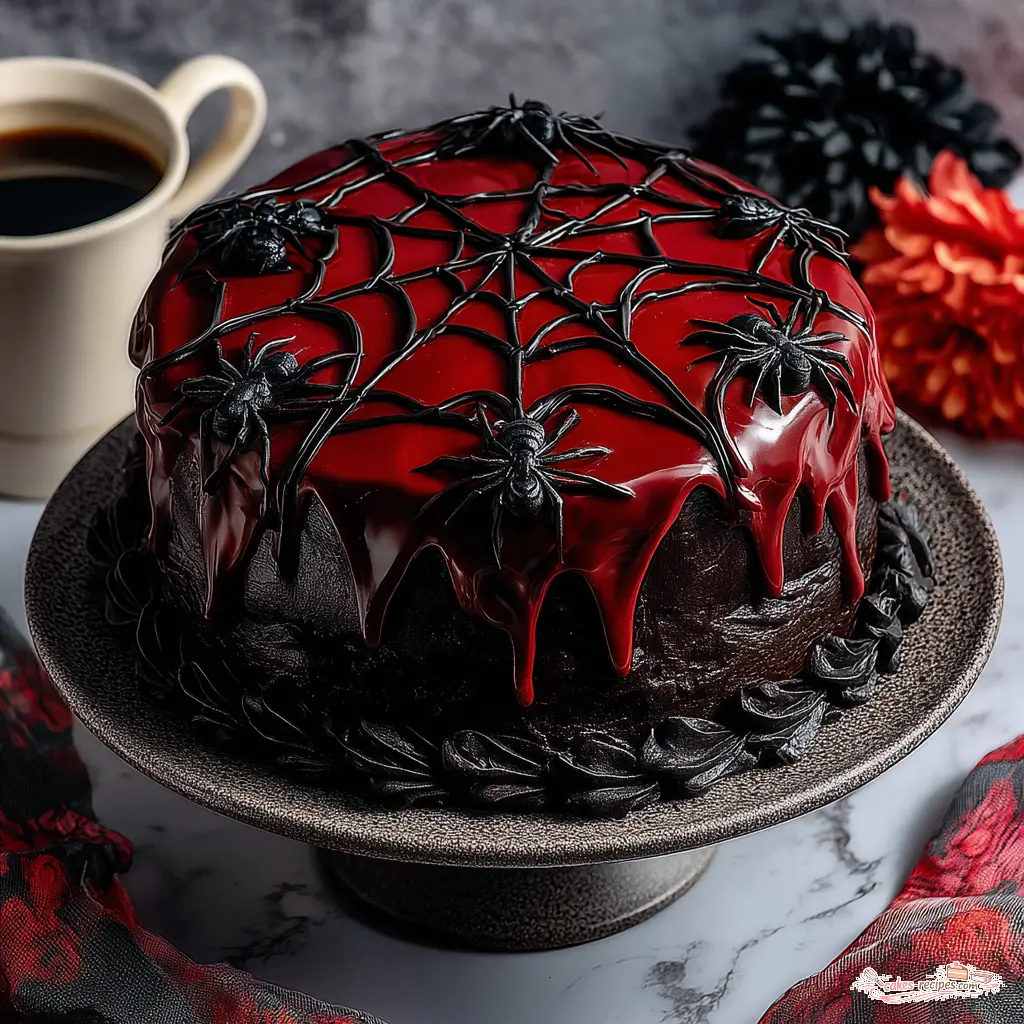
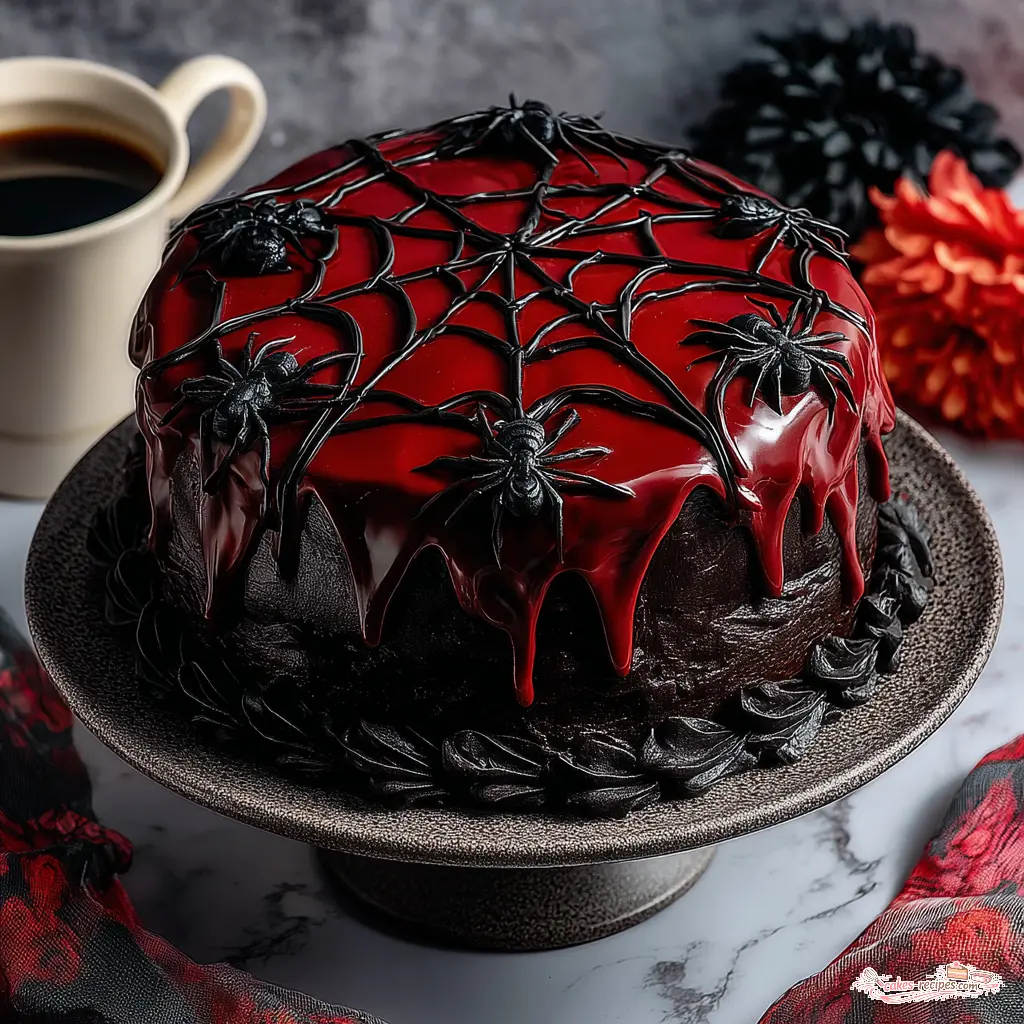
Dark Chocolate Mount Doom Cake
Ingredients
Method
- Preheat your oven to 350°F. Grease three 9-inch cake pans with shortening. Line the bottoms with parchment paper circles, then grease over the paper. Dust the inside of each pan with flour, tapping out any excess.
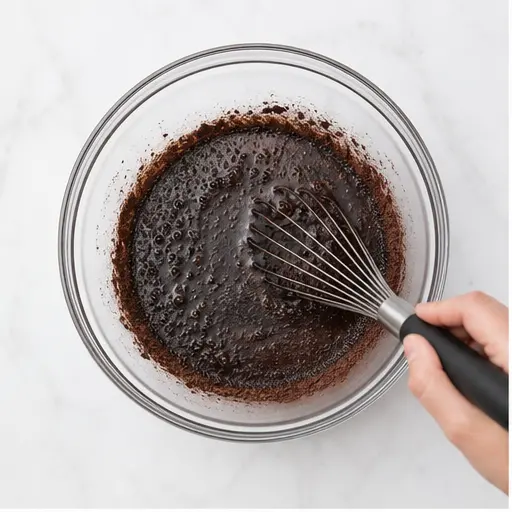
- In a 4-cup glass measuring cup or a medium bowl, whisk the hot water with the black cocoa powder until completely dissolved. Set aside to cool to room temperature.
- In a large mixing bowl, whisk together the cake flour, brown sugar, and granulated sugar, breaking up any brown sugar lumps. Then whisk in the baking soda, baking powder, salt, and espresso powder.
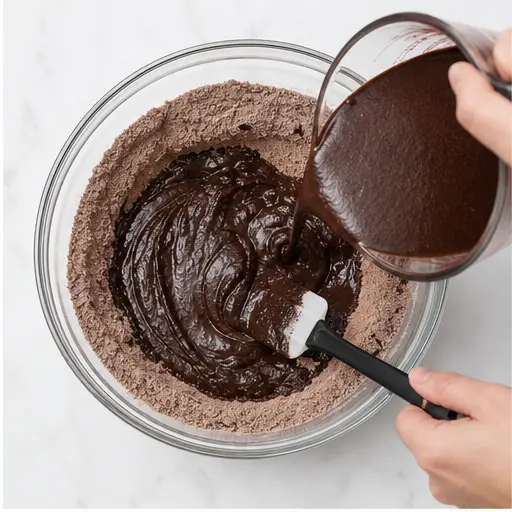
- Add the sour cream, buttermilk, and vegetable oil to the cooled cocoa mixture and whisk well. Pour this into the bowl with the dry ingredients. Crack the eggs into the same measuring cup, lightly beat them, and add them to the bowl. Whisk until just combined; a few small lumps are fine. Scrape the sides and bottom of the bowl to incorporate any stray dry bits.
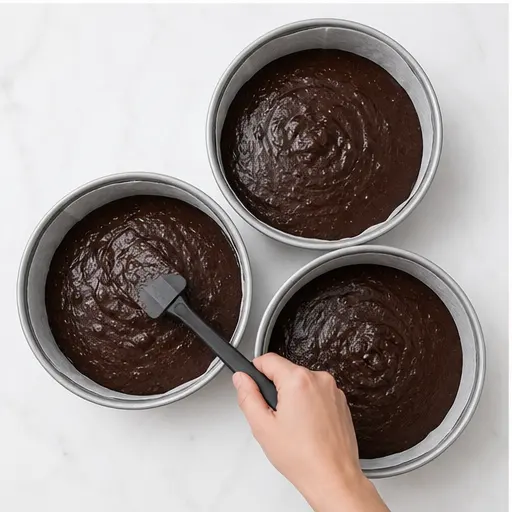
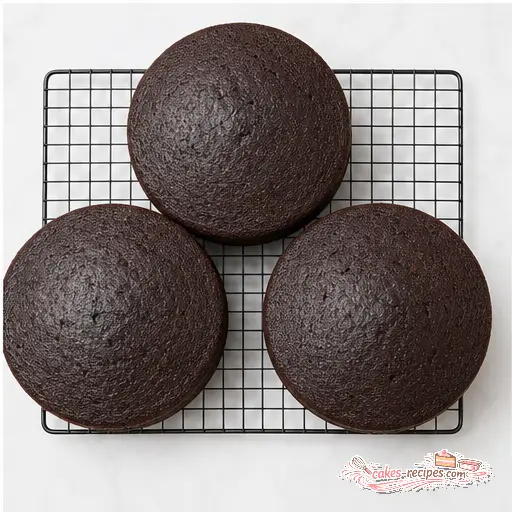
- Divide the batter evenly among the three pans (about 770 grams per pan). Bake for 24 to 27 minutes, rotating the pans halfway through, until a toothpick inserted in the center comes out with moist crumbs. Let the cakes cool in the pans on wire racks for 10 minutes, then run a knife around the edges and invert onto the racks to cool completely.
- In a large bowl, beat the softened butter until creamy, about 30 seconds. Gradually add the powdered sugar in three additions, mixing well after each. Add 1 to 2 tablespoons of milk as needed to keep the mixture coming together. Beat in the vanilla and a pinch of salt, then the black cocoa powder. Finally, beat in the cream cheese until smooth. If the frosting seems too soft, chill the bowl in the fridge for a few minutes.
- Place one cake layer on a cake stand on a turntable. Spread 1 1/4 cups (about 345 grams) of frosting over the layer, letting it go slightly past the edge. Pipe a border around the edge, then spoon 1/3 cup of raspberry preserves into the center and spread evenly to the border. Place the second layer on top, pressing gently to seal any frosting that squeezes out. Chill for 10 to 15 minutes.
- Repeat the frosting and preserves on the second layer, then chill again for 10 to 15 minutes. Add the final layer. Apply a thin crumb coat of frosting to the top and sides, smoothing with a cake scraper. Refrigerate for 30 minutes until set. Then frost the top and sides generously, smoothing with the scraper. Chill for at least 1 hour before decorating.
- If making meringue ghosts, prepare a Swiss meringue by whisking the egg whites, sugar, cream of tartar, and salt in a heatproof bowl over simmering water until the sugar dissolves and the mixture reaches 160°F. Transfer to a stand mixer and whip on high until stiff peaks form, then beat in the vanilla. Pipe small ghost shapes onto a parchment-lined baking sheet and bake at 200°F for 1 to 1 1/2 hours, then let cool.
- For marshmallow ghosts, use kitchen scissors to cut each marshmallow into a rounded ghost shape. Dot eyes and a mouth with black gel frosting.
- To create spiderwebs, microwave the marshmallows in a small bowl for 10 to 20 seconds until puffed. Stir until smooth, let cool slightly, then dip your fingertips into the marshmallow and stretch it across the sides and top of the cake to form webs.
- Place the ghosts on the cake. Slice and serve. Store leftovers in an airtight container in the fridge for 3 to 4 days.
Nutrition
Notes
Tried this recipe?
Let us know how it was!Why This Dark Chocolate Mount Doom Cake Recipe Works
If you’ve ever dreamed of a cake worthy of Mordor, this is it. I’m talking about a cake so dark it looks like it was forged in the fires of Mount Doom itself. This dark chocolate mount doom cake isn’t just about the look though. It’s about that intensely rich, fudgy crumb that comes from using black cocoa powder and the perfect balance of wet ingredients.
Let me think about what makes this work. The key is a dark cocoa blend and a high-ratio butter-to-sugar for that fudgy texture. But here’s the thing black cocoa powder is heavily Dutch-processed. That means it’s low in fat and alkaline. It won’t react with baking soda on its own, so we add extra acidity from sour cream and buttermilk to get the lift we need. That tracks with what I learned from my mom, who used to say that baking is just chemistry you can eat.
This recipe is a decadent chocolate layer cake that’s perfect for a fantasy birthday party, Halloween, or any time you want to impress your fellow Lord of the Rings fans. The raspberry jam filling adds a bright tangy note that cuts through the deep chocolate, and the frosting is silky and dark as night. It’s a party centerpiece cake that tastes as good as it looks.
Tools You’ll Need
Before we get into the ingredients, let’s talk about what you’ll need to pull this off. Generally speaking, you don’t need anything too fancy, but a few specific tools make a big difference.
- Three 9-inch cake pans This recipe makes three layers. You can use two pans and adjust baking time, but three gives you that impressive height.
- Stand mixer I’d rather use a stand mixer for this. Hand-mixing doesn’t incorporate air the same way, and the texture suffers. That’s just my experience though.
- Turntable Not strictly necessary, but it makes frosting and decorating so much easier. Worth considering if you plan to make this more than once.
- Cake scraper For those clean, smooth sides. A bench scraper works too.
- Piping bags For the frosting border and any decorative elements. You can use zip-top bags with a corner snipped off in a pinch.
- Kitchen scale This recipe calls for about 770 grams of batter per pan. A scale ensures even layers.
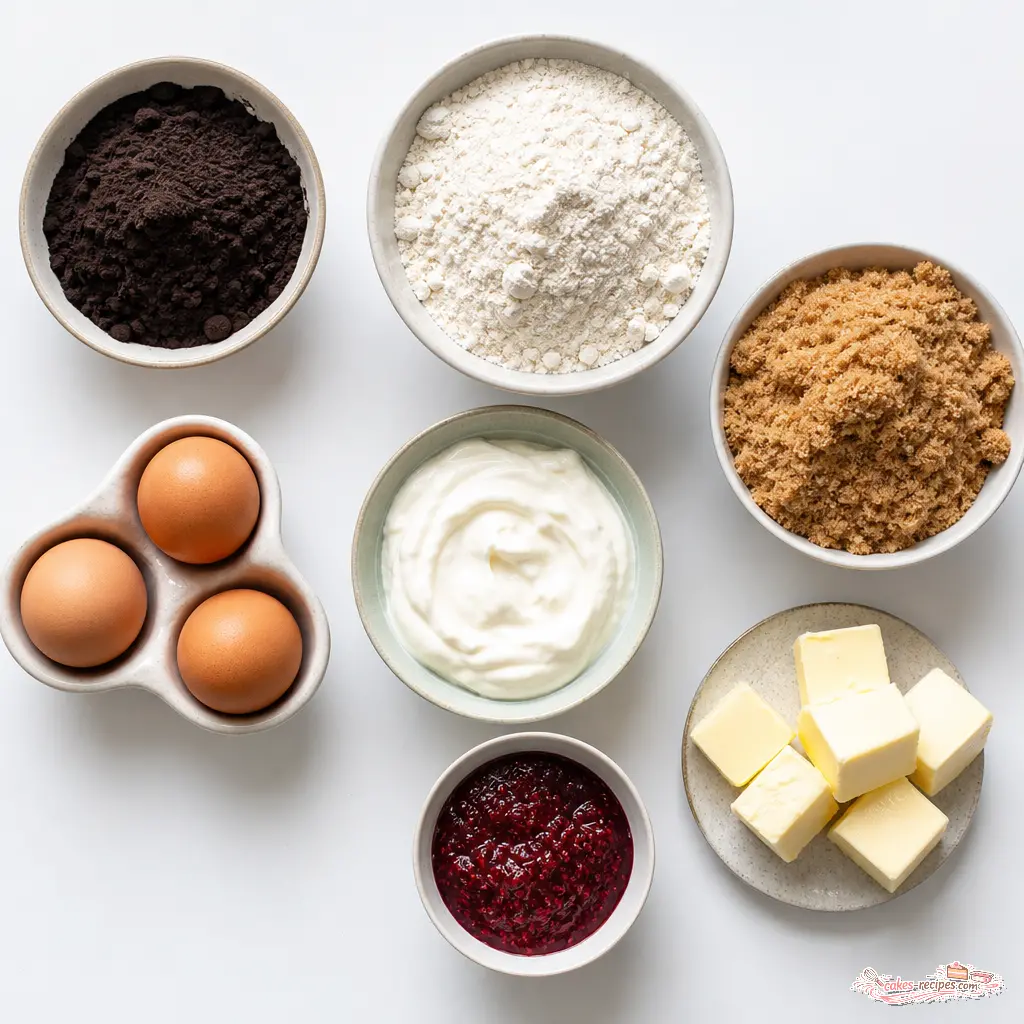
Ingredients for Dark Chocolate Mount Doom Cake
The ingredient list might look long, but trust me, each component plays a role. Let me break it down by section so you know what’s happening in each part.
For the Chocolate Cake
The star here is black cocoa powder. This is what gives the cake its intense dark color and that Oreo-cookie-like flavor. If you can’t find it, Dutch-process cocoa works but the color won’t be as dramatic. The hot water helps bloom the cocoa, bringing out its full depth. Espresso powder doesn’t make the cake taste like coffee it just intensifies the chocolate flavor. Fair point if you’re skeptical, but try it once.
The combination of sour cream and buttermilk adds acidity for leavening and keeps the crumb incredibly moist. That’s why they need to be at room temperature cold ingredients can cause the batter to break. I learned that the hard way with my first flourless chocolate cake back in eighth grade. It came out flat, dense, and weirdly rubbery. My science teacher wrote ‘Good effort, needs refinement’ which is basically the story of my entire baking career.
For the Frosting
This frosting is a beast. It uses cream cheese and butter as the base, with black cocoa powder for color and flavor. The corn syrup adds a subtle sheen and helps keep it smooth. If the frosting seems too soft after mixing, just pop the bowl in the fridge for a few minutes. That usually does the trick.
For the Filling and Decorations
Raspberry preserves are the filling here. The tartness cuts through the rich chocolate perfectly. For decorations, you can make meringue ghosts or use marshmallows for a quicker option. Black gel frosting gives them faces. It’s all optional, but it really sells the theme.
Step-by-Step Instructions
Now let’s walk through the process. I’ll break it into stages so you can see the flow. This works for me, but feel free to adapt as you go.
Stage 1: Prep and Bake the Cake
Start by preheating your oven to 350°F. Grease three 9-inch cake pans with shortening, line the bottoms with parchment, and dust with flour. This sounds fussy, but it guarantees the layers release cleanly. While that’s happening, whisk the hot water with the black cocoa powder until it’s completely dissolved. Set it aside to cool you don’t want hot liquid hitting your eggs.
In a large bowl, whisk together the cake flour, both sugars, baking soda, baking powder, salt, and espresso powder. Make sure to break up any brown sugar lumps. In another bowl or the measuring cup, combine the cooled cocoa mixture with sour cream, buttermilk, and vegetable oil. Add that to the dry ingredients, then crack in the eggs and whisk until just combined. A few small lumps are fine. Scrape the bottom of the bowl to catch any stray dry bits.
Divide the batter evenly among the pans about 770 grams each. Bake for 24 to 27 minutes, rotating halfway through. A toothpick should come out with moist crumbs, not wet batter. Let the cakes cool in the pans for 10 minutes, then invert onto wire racks to cool completely.
Stage 2: Make the Frosting
While the cakes cool, make the frosting. Beat the softened butter until creamy, about 30 seconds. Gradually add the powdered sugar in three additions, mixing well after each. Add a tablespoon or two of milk as needed to keep it coming together. Beat in the vanilla, salt, and black cocoa powder. Finally, beat in the cream cheese until smooth. If it’s too soft, chill the bowl for a few minutes. This frosting is rich and stable perfect for a layered cake.
Stage 3: Assemble the Layers
Place one cake layer on your stand or plate. Spread about 1 1/4 cups of frosting over it, letting it go slightly past the edge. Pipe a border around the edge this keeps the jam from leaking out. Spoon 1/3 cup of raspberry preserves into the center and spread to the border. Place the second layer on top and press gently. Chill for 10 to 15 minutes. Repeat for the second layer, then add the third.
Apply a thin crumb coat to the top and sides. This is a thin layer of frosting that traps any crumbs. Refrigerate for 30 minutes until set. Then frost generously, smoothing with a cake scraper. Chill for at least an hour before decorating.
Stage 4: Decorate and Serve
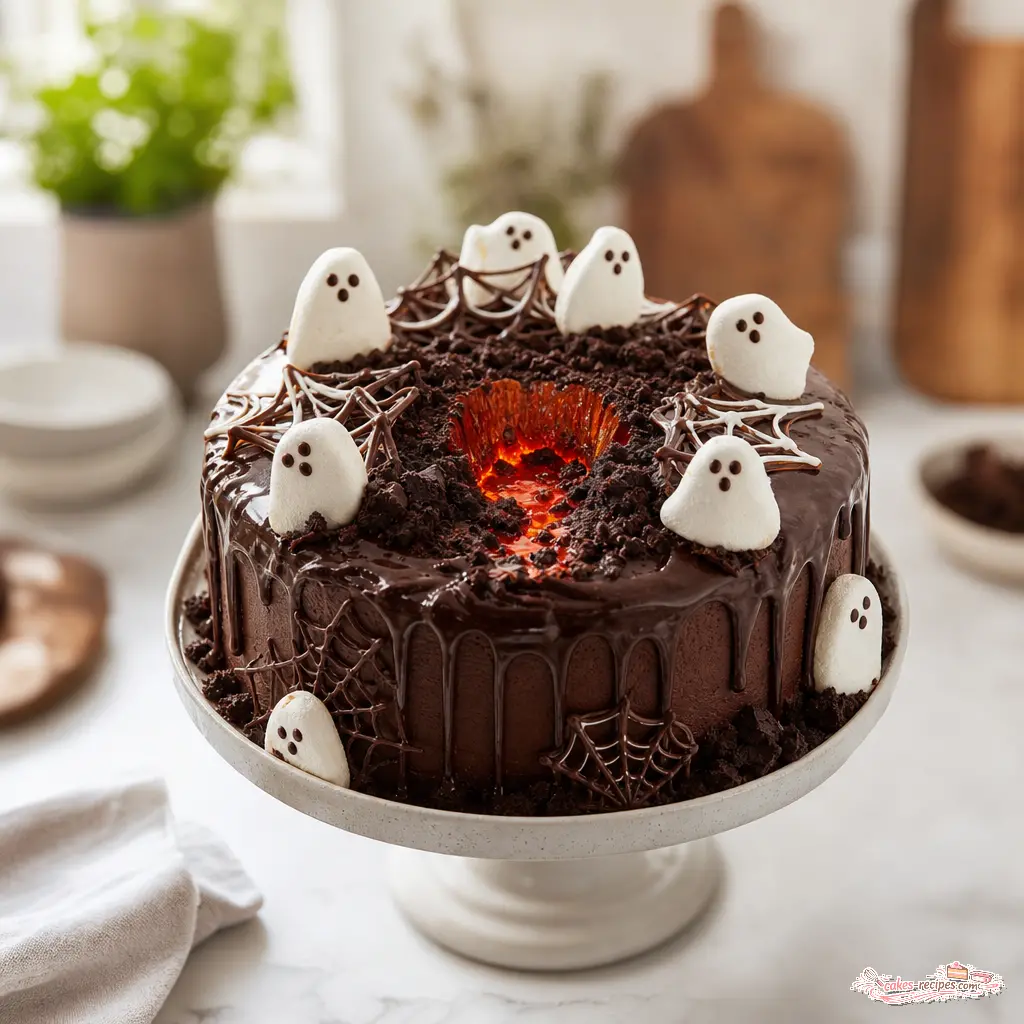
Now the fun part. For the spiderwebs, microwave a few marshmallows in a small bowl for 10 to 20 seconds until puffed. Stir until smooth, let cool slightly, then dip your fingertips into the marshmallow and stretch it across the sides and top of the cake. It creates these creepy, web-like strands. For the ghosts, you can make meringue ghosts by whipping egg whites with sugar and baking them at 200°F, or use marshmallows cut into ghost shapes with black gel frosting for eyes and mouths. Place them on top and around the cake.
Slice and serve. The contrast of the dark cake, red jam, and white ghosts is stunning. Now that’s proper chocolate work.
How to Decorate Like Mount Doom
This is where you really make it a theme cake. The dark chocolate mount doom cake is already impressive on its own, but the decorations take it to another level. Here’s what I recommend:
- Spiderwebs Use melted marshmallows stretched across the cake. It looks like something crawled out of Mordor.
- Meringue ghosts These take some time but look amazing. Pipe small ghost shapes and bake low and slow until dry.
- Marshmallow ghosts The quick version. Cut marshmallows into ghost shapes with scissors and add black gel frosting faces.
- Black gel frosting Use it for details like eyes and mouths on the ghosts.
- Raspberry jam drizzle If you want a lava effect, warm a little extra jam and drizzle it over the top before adding the ghosts. It looks like molten lava flowing down the sides.
The goal is to make it look like a scene from Mordor. Dark, dramatic, and a little spooky. Perfect for a Lord of the Rings cake or any fantasy-themed gathering.
Serving Suggestions
This cake is intensely rich. A thin slice goes a long way. I like to serve it with a scoop of vanilla ice cream or a dollop of whipped cream to balance the intensity. The cold creaminess cuts through the dark chocolate beautifully.
For a themed party, place slices next to some whimsical decorations maybe a few plastic rings or little figurines. It makes the whole experience more fun. Pair it with a strong coffee for a mid-day escape, or serve it after a savory dinner to ground the palate. My niece, who’s seven and can identify 60% versus 70% dark chocolate by taste, says this cake is ‘Uncle Marcus fudgy.’ That’s the highest compliment she gives.
Storage and Make-Ahead Tips
This is a great make-ahead dessert. You can bake the cake layers a day ahead cool them completely, wrap tightly in plastic, and store at room temperature. The frosting can also be made a day ahead and refrigerated. Just let it come to room temperature and re-beat before using.
For the assembled cake, store it under a glass cloche or in an airtight container at room temperature for up to 3 days. The high oil content keeps the sponge moist. You can also freeze individual slices wrapped in plastic and foil for up to 3 months. Thaw at room temperature before serving. If you want to warm a slice, microwave for about 20 seconds.
Frequently Asked Questions
Common Mistakes and Troubleshooting
Even experienced bakers run into issues. Here are a few common problems and how to fix them. This is the stuff I wish someone had told me when I started.
- ❌ Cake sinks in the middle → ✅ This usually means the oven wasn’t hot enough or the batter was overmixed. Make sure your oven is fully preheated and mix just until combined. A few lumps are fine.
- ❌ Frosting is too soft → ✅ Chill the bowl in the fridge for 10 to 15 minutes. If it’s still soft, add a little more powdered sugar. The cream cheese can make it loose if it’s too warm.
- ❌ Layers are not level → ✅ Use a serrated knife to trim the domed tops after cooling. A cake leveler is even easier. This ensures even stacking and a stable cake.
- ❌ Cake sticks to the pan → ✅ Make sure you grease and flour the pans thoroughly, including the parchment paper. Let the cakes cool for exactly 10 minutes before inverting.
- ❌ Batter is too thick → ✅ The batter should be thick and glossy, like a rich ganache. If it’s too thick to spread, add a tablespoon of buttermilk. Room temperature ingredients help prevent this.
Now gather your fellowship and enjoy this dark masterpiece! If you make it, I’d love to hear how it turned out. Share your photos and tag me I’m always on Pinterest looking for inspiration from fellow bakers.
Source: USDA Nutritional Data
What makes this dark chocolate mount doom cake so intensely dark and moist?
The secret is black cocoa powder, which is heavily Dutch-processed for an intense dark color. The sour cream and buttermilk add moisture and acidity, creating a fudgy, tender crumb that stays moist for days.
Can I substitute black cocoa powder with regular cocoa powder in this decadent chocolate layer cake?
You can, but the cake won’t be as dark. Use Dutch-process cocoa for a deeper color. Regular natural cocoa will work but the flavor will be brighter and the color more brown than black.
How do I make the raspberry jam filling for this dark chocolate mount doom cake?
Use store-bought raspberry preserves for convenience. Spoon about 1/3 cup into the center of each frosting layer and spread evenly to the piped border. The tartness balances the rich chocolate perfectly.
What is the best way to store leftover dark chocolate mount doom cake?
Store in an airtight container in the fridge for 3 to 4 days. Let slices come to room temperature before serving for the best texture. You can also freeze individual slices wrapped in plastic for up to 3 months.
How can I adjust the frosting consistency for this decadent chocolate layer cake?
If the frosting is too soft, chill the bowl in the fridge for a few minutes. If it’s too stiff, add a little more milk, one teaspoon at a time. The corn syrup helps keep it smooth and spreadable.
Can I use natural cocoa powder instead of Dutch-processed?
You can, but the cake won’t be as dark and the flavor will be more acidic. Dutch-process cocoa gives a milder, darker result. If using natural cocoa, you may need to adjust the baking soda slightly.














One Response
This cake is absolutely stunning and tastes even better than it looks. The raspberry jam filling was genius—it really cuts through the richness. I used buttermilk instead of sour cream since that’s what I had on hand, and it worked perfectly. Definitely adding this to my regular rotation.