Why This No Knead Dutch Oven Bread Works
Oh my goodness, I have to tell you about this recipe. I used to be terrified of yeast breads. Seriously. I’d look at a packet of yeast and think, “Nope, that’s for professionals.” My first attempt at homemade bread? It looked like a deflated pancake. My second? Somehow both burnt on the outside and raw in the middle. It was bad.
Then I stumbled on this lazy method. And I mean lazy in the best way possible. This dutch oven bread recipe requires exactly five minutes of active work. That’s it. The rest is just waiting and baking. If I can do it, anyone can. I promise you can handle this.
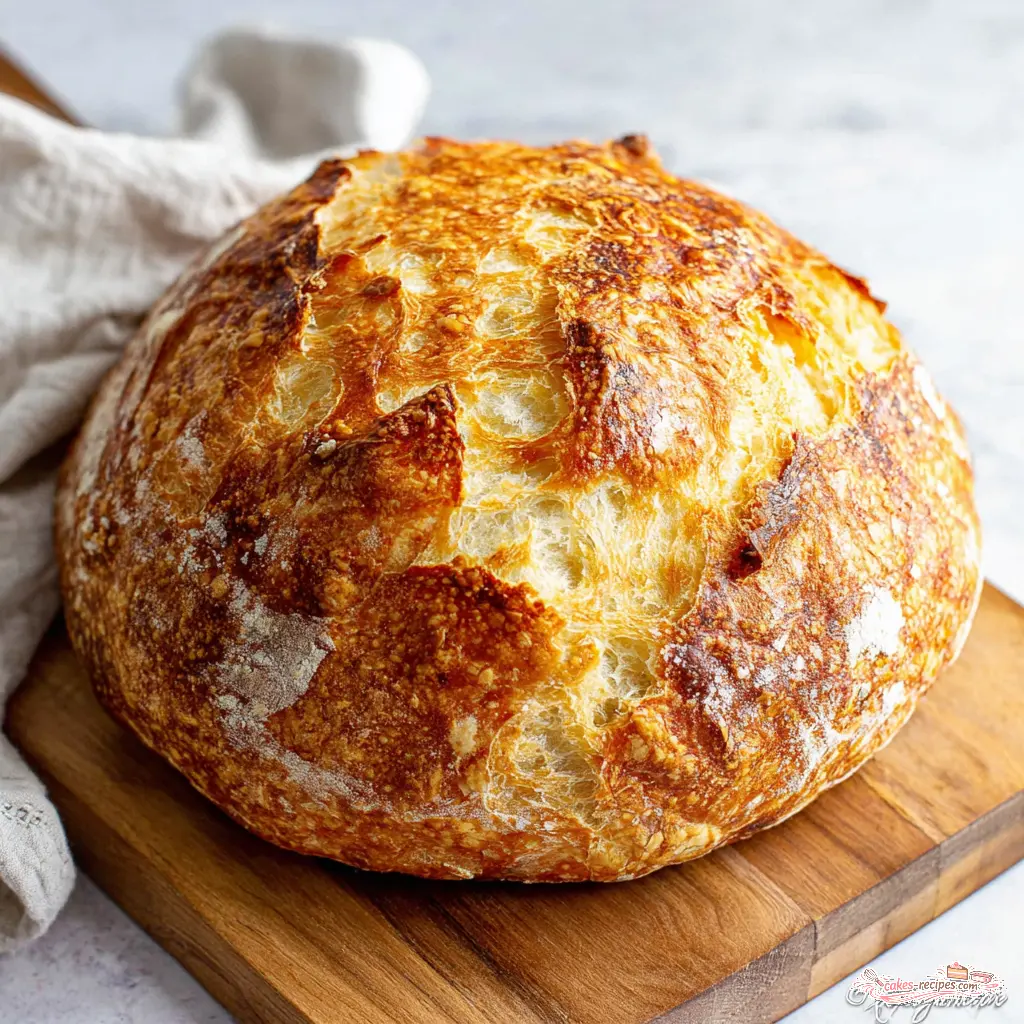
What makes it work? The Dutch oven. That heavy pot with a lid creates the perfect steamy environment for the bread. It traps moisture from the dough, which gives you that incredible crackling crust. And the high heat? That’s what creates the soft, airy interior. It’s basically a tiny bread oven on your countertop.
Plus, this easy dutch oven pot bread has no added sugar. Zero. That makes it perfect if you’re watching your blood sugar levels. It’s a diabetic friendly bread recipe that actually tastes amazing. And it’s a simple bread recipe with few ingredients just flour, water, salt, and yeast. That’s it.
Ingredients for Dutch Oven Bread
Here’s the thing about this recipe. You probably already have everything in your pantry. Seriously. Let me walk you through what you need.
What You’ll Need
The Ingredients:
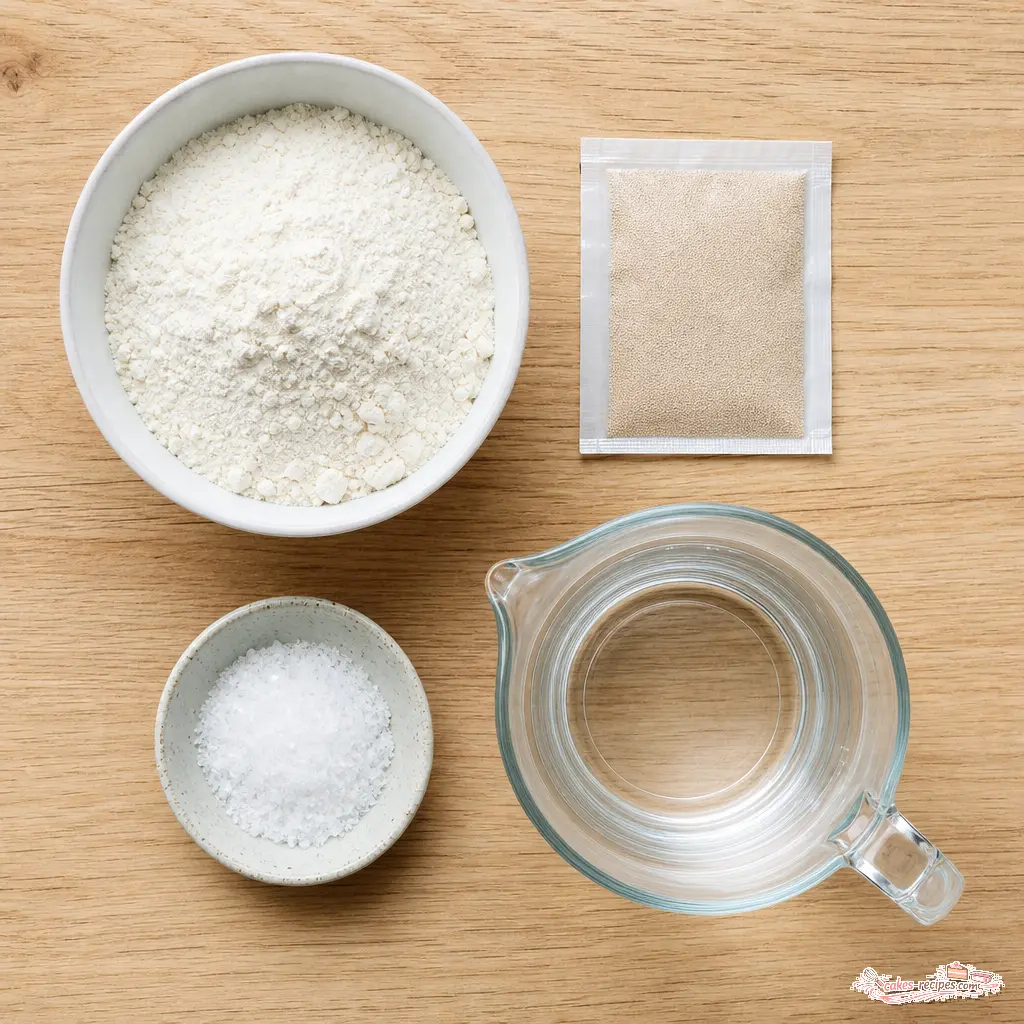
- 1 1/2 cups warm water (about 100°F) Not too hot! If it’s hotter than 110°F, it will kill the yeast. Think warm bath water.
- 1 packet active dry yeast (2.25 teaspoons) Make sure it’s fresh. Check the expiration date.
- 1 1/2 teaspoons fine sea salt I prefer fine sea salt because it dissolves easily. Kosher salt works too, but use 2 teaspoons.
- 3 1/4 cups all-purpose flour Spoon it into your measuring cup and level it off. Don’t scoop! That packs the flour and makes dry dough.
The Equipment:
- A Dutch oven (4-6 quarts works great)
- Parchment paper (trust me on this)
- A large mixing bowl
- A wooden spoon
- A clean kitchen towel
Want to switch things up? You can replace up to 1 cup of the all-purpose flour with white whole wheat flour. That gives it a slightly nuttier flavor. Or add some dried herbs like rosemary or thyme. Just mix them in with the flour. But the base recipe? It’s perfect as is.
Step by Step: How to Make No Knead Bread
Okay, let me walk you through this. I’ll tell you what to look for at each stage, because that’s what helped me when I was starting out.
Stage 1: Mix the Dough
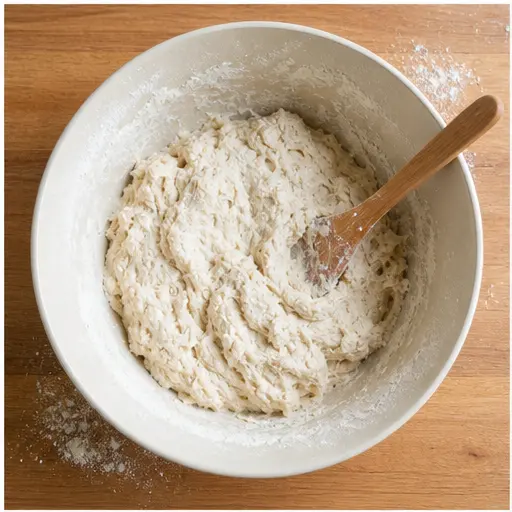
In a large mixing bowl, whisk together the warm water, yeast, and salt until everything is dissolved. The water should feel warm but not hot on your wrist. Then add all the flour at once. Stir with a wooden spoon until a shaggy, sticky dough forms. It won’t look pretty. That’s fine. Do not knead. I repeat, do not knead. This is a no-knead bread, and that’s the whole point.
You’re looking for a dough that’s sticky and rough. If it seems too dry, add a tablespoon of water. If it seems too wet, add a tablespoon of flour. But honestly? It’s forgiving. Don’t overthink it.
Stage 2: Let It Rise
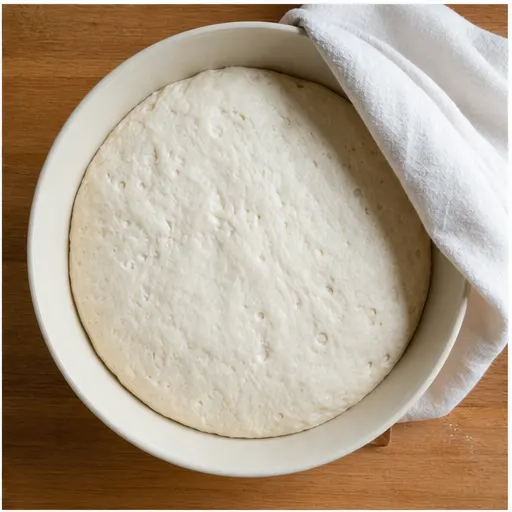
Cover the bowl with a clean kitchen towel and let it rise in a warm, draft-free spot for 2 to 3 hours. You want it to double in size. My kitchen is usually cold, so I put the bowl near the stove while I’m cooking something else. Or I turn the oven light on and put it in there with the door cracked. It works.
The dough should look puffy and full of bubbles. If it doesn’t double after 3 hours, your yeast might be dead. That happened to me once. I used a packet that had been sitting in my pantry for a year. Don’t be me. Check the date.
Stage 3: Shape and Preheat
About 30 minutes before baking, preheat your oven to 450°F with your Dutch oven (with its lid on) inside. This is crucial. The hot pot is what gives you that incredible crust. Don’t skip this step.
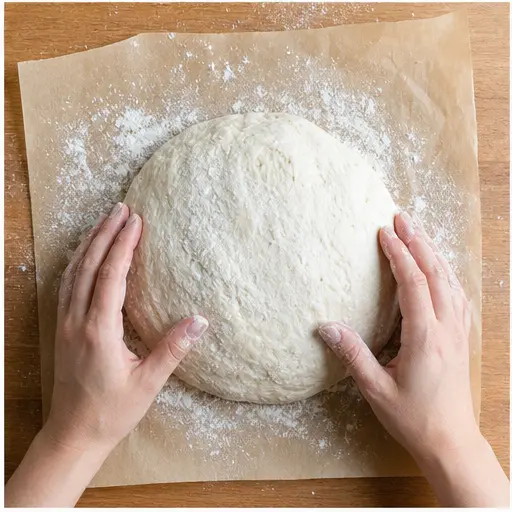
When the dough is ready, turn it out onto a lightly floured sheet of parchment paper. Gently shape it into a round loaf. Don’t punch it down. Don’t knead it. Just fold the edges under gently to create a smooth top. Then carefully lift the parchment and lower the dough into the hot Dutch oven. The parchment makes this so easy. No sticking, no burned fingers.
Stage 4: Bake to Golden Perfection
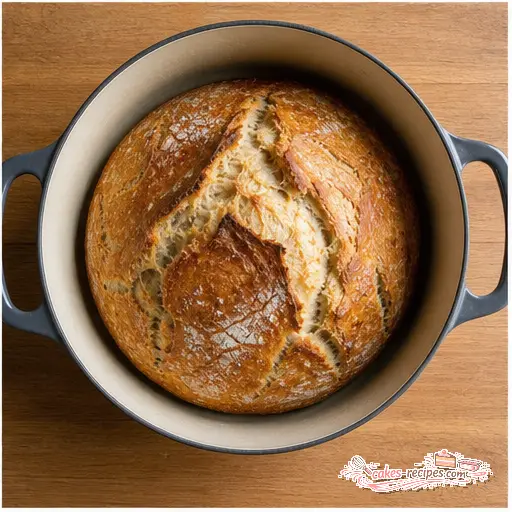
Cover the Dutch oven with its lid and bake for 35 to 40 minutes. The lid traps steam, which creates that beautiful crackling crust. Then remove the lid and continue baking for 5 to 10 minutes more, until the crust is deep golden brown. Your kitchen will smell incredible. Like a bakery.
How do you know it’s done? The crust should be deep golden brown and sound hollow when you tap the bottom. If you have an instant-read thermometer, the internal temperature should be about 200°F. Let it cool on a wire rack for at least 10 minutes before slicing. I know it’s hard to wait. But if you cut too soon, the inside will be gummy. Trust me on this.
Tips for Perfect Crust and Texture
Okay, let me share some things I’ve learned the hard way. These tips will make your crusty bread absolutely perfect every time.
- Preheat the Dutch oven. This is non-negotiable. A hot pot creates instant steam, which gives you that crackling crust. Cold pot = sad bread.
- Use warm water. 100°F is ideal. Too hot kills the yeast. Too cold and the rise takes forever. Think warm bath water.
- Let it rise long enough. 2 to 3 hours minimum. If your kitchen is cold, it might take longer. Look for doubled size, not the clock.
- Don’t skip the lid. The first 35-40 minutes with the lid on creates steam. Without it, your bread will be dry and dense.
- Cool completely. I know you want to tear into it immediately. But waiting 10 minutes prevents a gummy texture. Your patience will be rewarded.
Common Mistakes (And How to Fix Them)
❌ Dense, flat bread? Your yeast might be dead. Test it by dissolving in warm water with a pinch of sugar. If it doesn’t foam after 5-10 minutes, get fresh yeast.
❌ Burnt bottom? Your oven might run hot. Place a baking sheet on the rack below the Dutch oven to diffuse the heat.
❌ Gummy texture? You cut too soon! Let it cool for at least 10 minutes. Or your dough was too wet. Add a little more flour next time.
❌ Not enough rise? Your kitchen might be cold. Try the oven-with-light-on trick. Or let it rise longer.
Storage and Reheating Tips
So you made this amazing artisan bread at home. Now what? Here’s how to keep it fresh.
Short-term storage: Store leftover bread in a paper bag at room temperature for up to 2 days. A paper bag lets the crust stay crispy. Plastic bags make it soft and soggy. Not ideal.
Freezing: This bread freezes beautifully. Wrap the whole loaf tightly in plastic wrap, then place in a freezer-safe bag. It’ll keep for up to 3 months. Or slice it first and freeze individual slices. That way you can grab one for toast or a sandwich.
Reheating: To re-crisp the crust, pop slices in a toaster or a 350°F oven for a few minutes. For a whole loaf, wrap it in foil and heat in a 350°F oven for 10-15 minutes. Don’t microwave it. Please. That turns crusty bread into a sad, chewy mess.
What to Serve with This Bread
This homemade bread with pot is so versatile. Here are some of my favorite ways to enjoy it.
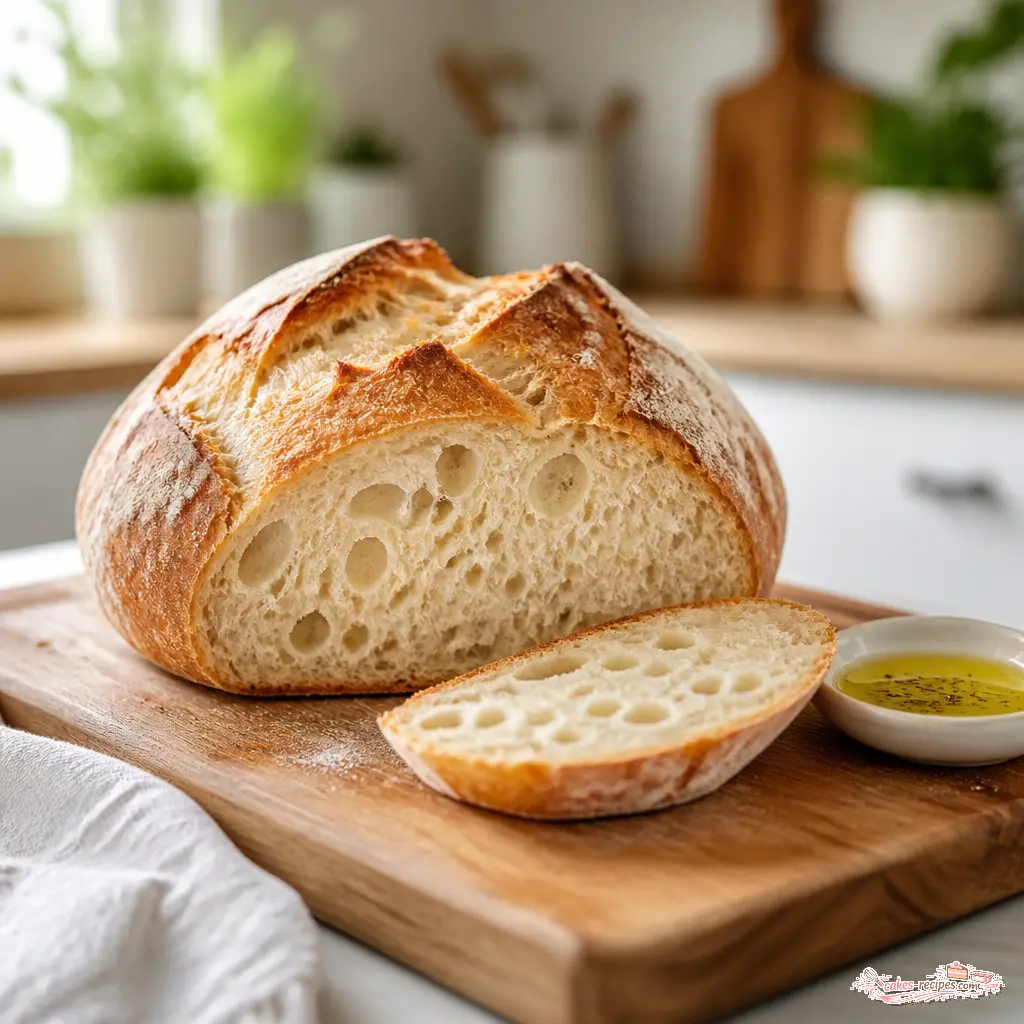
- With olive oil for dipping. A good California olive oil with a sprinkle of sea salt? Perfection.
- Alongside soup. Tomato soup, minestrone, or a hearty vegetable stew. The crusty bread is perfect for dipping.
- For sandwiches. This bread makes incredible grilled cheese. Or try it with turkey and avocado.
- With pasta. Use it to sop up sauce. Trust me.
- Just with butter. Sometimes simple is best. A warm slice with salted butter is heaven.
Frequently Asked Questions
Final Thoughts
I hope you try this dutch oven bread recipe. It changed the way I think about baking. No more fear of yeast. No more complicated techniques. Just simple, delicious, crusty bread that makes your kitchen smell amazing.
And hey, if your first loaf looks a little wonky? That’s okay. My first one looked like a potato. My second one was better. My third one was actually pretty. You’ll get there. And even the ugly loaves taste incredible.
I’d love to see your creations! Tag me or share your photos. And if you have questions, drop them in the comments. I read every single one. You’ve got this.
Happy baking, friends. And don’t forget to save this recipe on Pinterest for later!
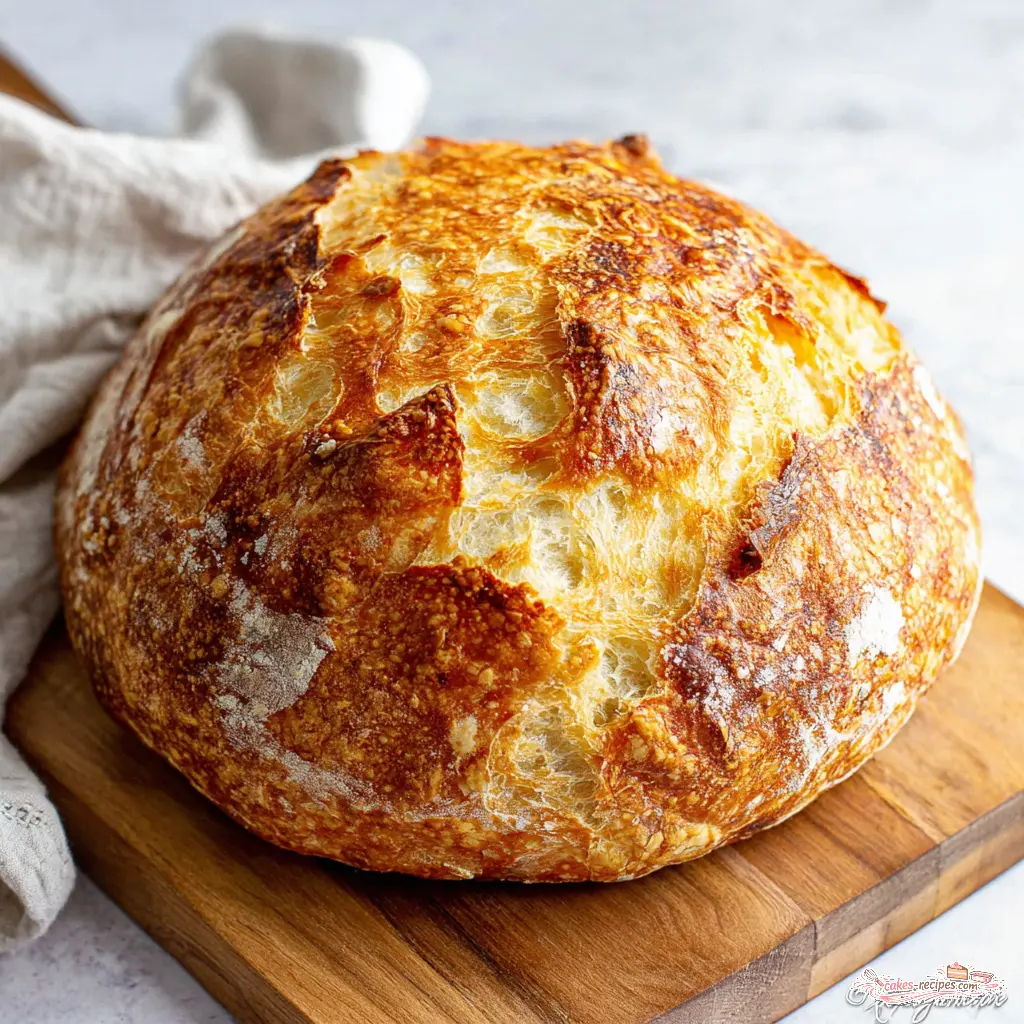
Easy Dutch Oven Pot Bread
Ingredients
Method
- In a large mixing bowl, whisk together the warm water, yeast, and salt until the yeast and salt are fully dissolved.
- Add the flour all at once and stir with a wooden spoon until a shaggy, sticky dough forms. Do not knead.
- Cover the bowl with a clean kitchen towel and let it rise in a warm, draft-free spot for 2 to 3 hours, until the dough has doubled in size.
- About 30 minutes before baking, preheat your oven to 450°F with your Dutch oven (with its lid on) inside the oven so it gets hot.
- Turn the risen dough out onto a lightly floured sheet of parchment paper. Gently shape it into a round loaf, then carefully lift the parchment and lower the dough into the hot Dutch oven.
- Cover the Dutch oven with its lid and bake for 35 to 40 minutes. Remove the lid and continue baking for 5 to 10 minutes more, until the crust is deep golden brown.
- Transfer the bread to a wire rack and let it cool for at least 10 minutes before slicing.
Nutrition
Notes
Tried this recipe?
Let us know how it was!Source: Nutritional Information
Is homemade bread ok for diabetics?
This particular dutch oven bread recipe has no added sugar, which makes it a better choice than many store-bought breads. But it still contains carbohydrates that affect blood sugar. I’d recommend pairing it with protein or fat (like cheese or olive oil) to slow digestion. And as always, check with your doctor about what works for you.
Is it better to bake bread in a Dutch oven?
Absolutely. The Dutch oven traps steam from the dough, which creates that incredible crackling crust. It also distributes heat evenly, so your bread bakes perfectly. It’s basically a tiny bread oven. For this easy dutch oven pot bread, it’s the secret to success.
What is a poor man’s Dutch oven?
If you don’t have a Dutch oven, you can use any heavy oven-safe pot with a lid. A cast iron skillet with a metal bowl inverted over it works too. Or a heavy roasting pan covered with foil. The key is trapping steam. Just make sure whatever you use can handle 450°F heat.
Can you use a pot instead of a Dutch oven for bread?
Yes! Any heavy oven-safe pot with a tight-fitting lid works. A stainless steel stockpot, a cast iron pot, or even a ceramic casserole dish. Just make sure it’s oven-safe to 450°F. The lid is important because it traps the steam that creates the crust.
What is the #1 worst food for your blood sugar?
That’s a tough one, but many experts point to sugary drinks like soda. They spike blood sugar quickly with no nutritional value. For bread, white bread with added sugar can be problematic. That’s why I love this low sugar bread it has no added sugar at all.
What bread won’t spike my blood sugar?
Breads with no added sugar and high fiber content are best. This dutch oven bread recipe has no sugar and you can add whole wheat flour for extra fiber. Sourdough breads are also great because the fermentation process lowers the glycemic impact. Pair with protein for best results.
When should you not use a Dutch oven?
Don’t use a Dutch oven on high heat on the stovetop without liquid inside it can damage the enamel. Also avoid using metal utensils on enameled Dutch ovens. And never put a cold Dutch oven directly into a hot oven; let it preheat gradually to prevent cracking.
What do bakers spray on bread before baking?
Professional bakers often spray water or use a steam injector to create a humid environment in the oven. That steam helps develop a crispy, crackling crust. With this dutch oven bread recipe, you don’t need to spray anything the covered pot creates steam naturally.
What did the pioneers use instead of yeast?
Pioneers used natural leavening methods like sourdough starter, which is a fermented mixture of flour and water containing wild yeast and bacteria. They also used beer barm (the foam from brewing) or potato water. This recipe uses modern active dry yeast for reliability.
What is a Dutch oven nasty?
“Dutch oven nasty” is a term for the smell that builds up in a Dutch oven if you leave food in it too long without cleaning. For bread baking, it’s not an issue since you’re just baking dough. Just clean your pot after each use and it’ll stay fresh.
What size Dutch oven do I need for a loaf of bread?
For this dutch oven bread recipe, a 4 to 6-quart Dutch oven works perfectly. A 5-quart is ideal. If your pot is smaller (2.75 quarts), the loaf will be taller and rounder. If it’s larger (6+ quarts), the loaf will be flatter and wider. Both work fine.
Does Taylor Swift like to bake?
Taylor Swift has mentioned baking cookies and making homemade gifts in interviews. She’s shared photos of her baking adventures on social media. I like to think she’d enjoy this simple bread recipe with few ingredients. It’s perfect for a cozy day in.
What is the biggest mistake beginners make with sourdough bread?
The biggest mistake is not letting the starter get active enough before baking. A weak starter leads to dense, flat bread. For this no-knead bread (which uses commercial yeast, not sourdough), the biggest mistake is using water that’s too hot and killing the yeast.
What flour is best for Dutch oven bread?
All-purpose flour works perfectly for this recipe. Bread flour gives a slightly chewier texture. You can replace up to 1 cup with white whole wheat flour for more fiber. Just avoid cake flour or self-rising flour they don’t have enough protein for good bread structure.
What not to do with le creuset Dutch oven?
Never use high heat on an empty Le Creuset it can damage the enamel. Avoid metal utensils that can scratch the surface. Don’t put a cold pot into a hot oven. And never use oven cleaner, which can dull the enamel. Hand wash with gentle soap.