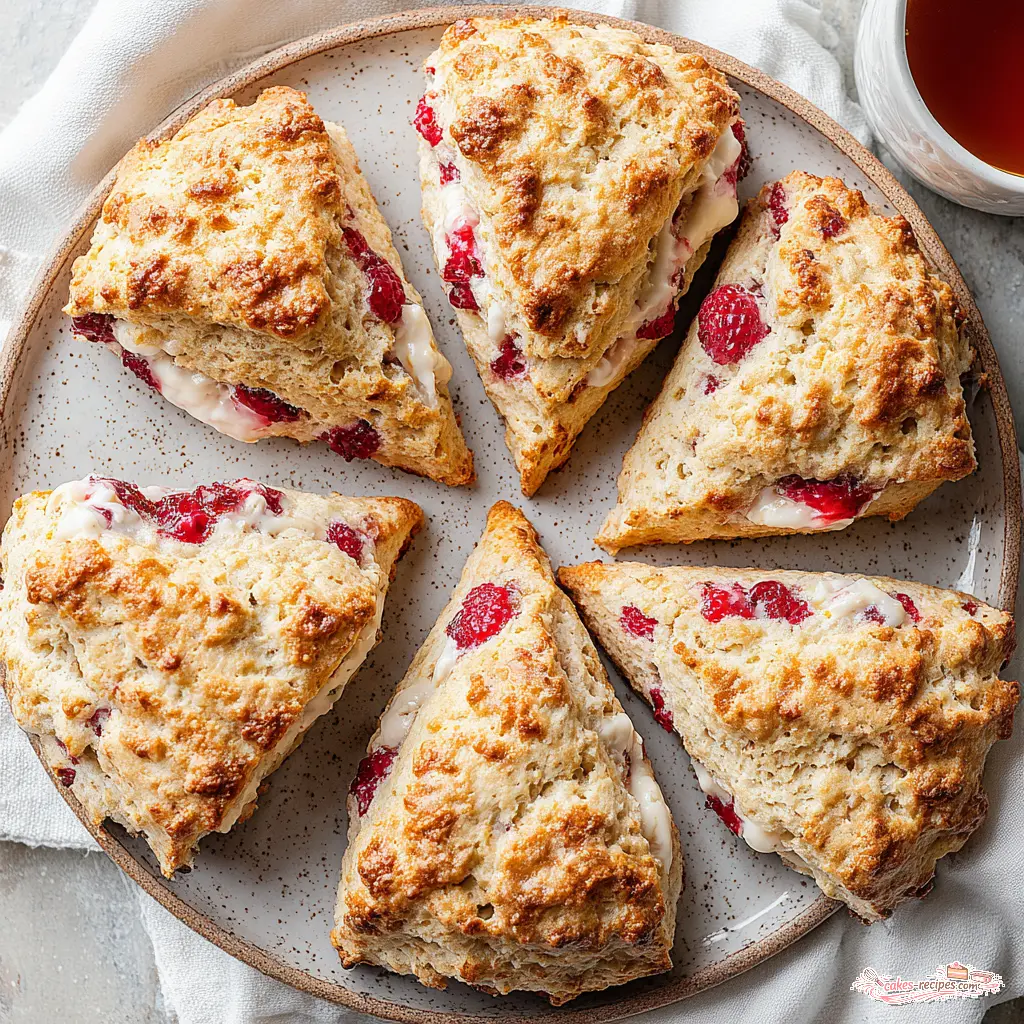
Why You’ll Love This Colonial Scones Recipe
There’s something about pulling a tray of warm scones from the oven that feels like a direct line to the past. The smell of butter and flour baking together, that golden crust cracking just slightly as they cool. I remember the first time I tried a reproduction of a colonial-era scone at a historic site in Virginia. It was dense, a little dry, and honestly? I thought, I can do better than this.
So I did. This colonial scones recipe is the result of many batches, a few too-crumbly disasters, and one breakthrough where I finally understood the folding technique that gives these scones their signature flaky layers. It’s not a fussy recipe. It uses ingredients you probably already have in your pantry. And it comes together in under an hour, which means you can have warm, historic scones on your table without spending all day in the kitchen.
What I love most about this early American baking project is how it connects me to the cooks who came before. They didn’t have electric mixers or convection ovens. They had their hands, a bowl, and a fire. And yet they created something genuinely satisfying. This recipe honors that tradition while working beautifully in a modern kitchen. Let’s think this through together.
Ingredients for Colonial Scones
The beauty of this historic scones recipe is its simplicity. Colonial-era cooks worked with what they had, and that’s exactly the spirit here. You don’t need exotic ingredients or specialty flours. Just good, honest pantry staples that come together to create something special.
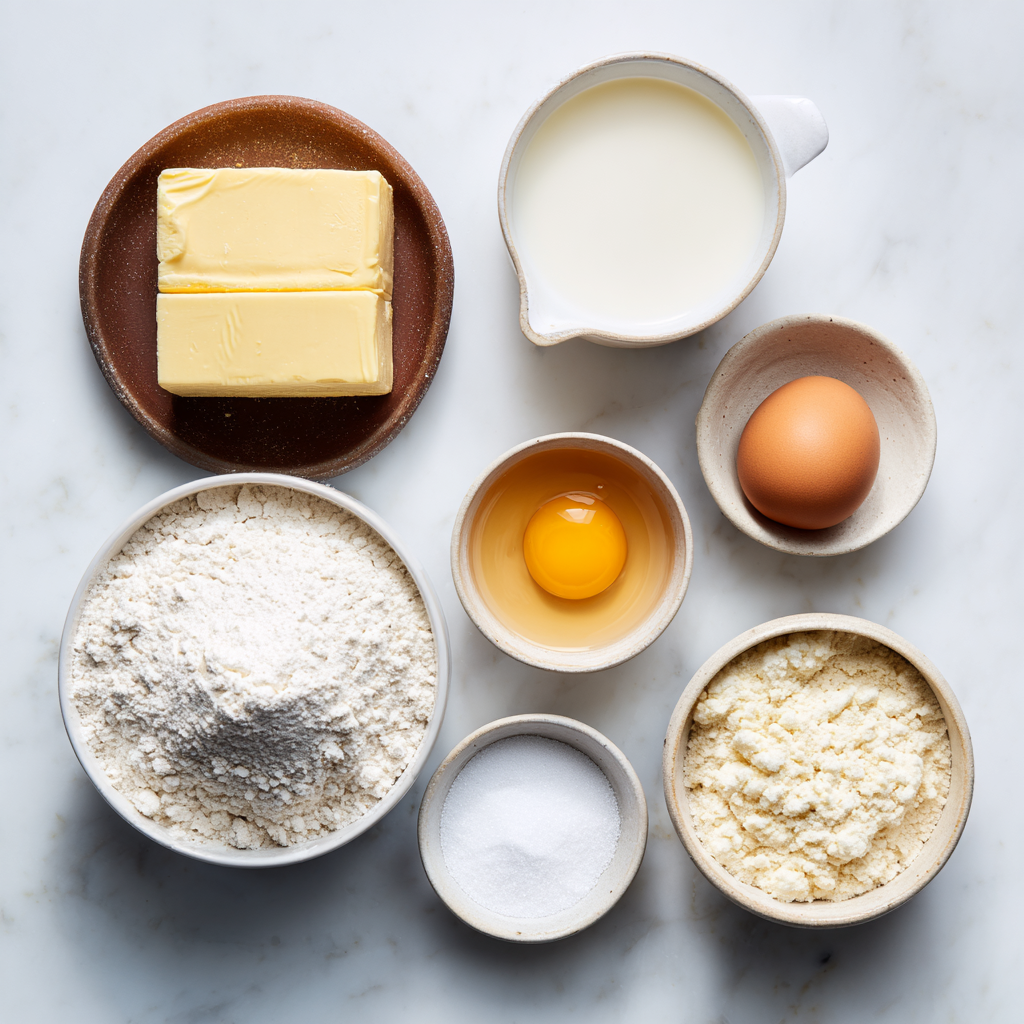
Here’s what you’ll need for the base dough:
- 2 1/4 cups all-purpose flour – Standard all-purpose works perfectly. If you want to get fancy, you can substitute up to half with stone-ground whole wheat for a more authentic texture.
- 1/2 cup granulated sugar – Just enough sweetness. Colonial cooks would have used molasses or maple sugar, but granulated gives a cleaner flavor that lets the butter shine.
- 1 tablespoon baking powder – Modern leavening, yes, but it gives the lift that colonial cooks would have gotten from beaten eggs and careful folding.
- 1/2 teaspoon salt – Don’t skip it. Salt balances the sweetness and strengthens the gluten structure.
- 1/2 cup cold unsalted butter – This is the star. Cold butter creates steam pockets as it bakes, which gives you those tender flakes. I prefer European-style butter with higher fat content, but any unsalted butter works.
- 1/2 cup buttermilk – The acidity tenderizes the gluten and reacts with the baking powder for extra lift. If you don’t have buttermilk, you can sour regular milk with a tablespoon of lemon juice.
- 1 teaspoon vanilla extract – A small but important addition. It rounds out the flavor without being obvious.
- 1 large egg – Binds everything together and adds richness.
And here’s where you can make it your own. The optional add-ins are where this simple scone recipe becomes endlessly customizable. You can use up to 1 1/2 cups total of any combination:
- Chocolate chips
- White chocolate chips
- Fresh raspberries
- Blueberries
- Chopped strawberries
Fair enough, chocolate chips aren’t exactly colonial. But they’re delicious. For a more historically accurate version, try dried currants or chopped dried apples instead. That makes more sense to me if you’re going for authenticity.
How to Make Colonial Scones
Now we’re getting somewhere. This is where the magic happens. I’ll walk you through the four main stages, with tips I’ve learned from testing this recipe at least a dozen times. My first batch was too crumbly until I discovered the importance of keeping everything cold. Worth trying.
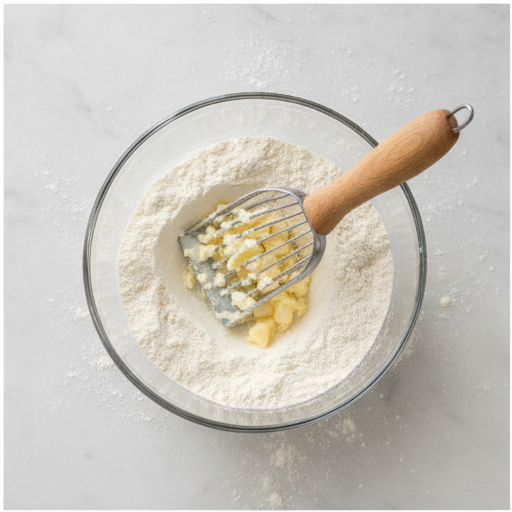
Stage 1: Cut the butter into the flour. In a large bowl, whisk together the flour, sugar, baking powder, and salt. Add the cold butter cubes. Use your fingertips or a pastry cutter to work the butter into the flour until you have pea-sized crumbs. This is the most important step. The butter pieces need to remain distinct, not fully incorporated. They’re what create the flaky layers. If the butter starts to feel warm, pop the bowl in the fridge for five minutes.
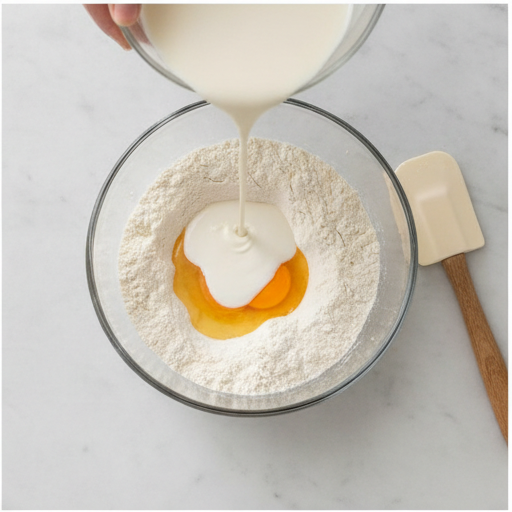
Stage 2: Combine wet and dry ingredients. Make a well in the center of the flour mixture. Pour in the buttermilk, vanilla, and the egg. Stir gently with a spatula until a thick, sticky dough forms. Here’s where the 15-minute rule comes in – not for resting, but for gentle handling. Overmixing develops gluten and makes scones tough. Stop as soon as the dough comes together. Fold in your chosen add-ins at this point.
Stage 3: The folding technique for flaky layers. Lightly flour a work surface and turn out the dough. Knead gently just until it comes together. Now for the secret to those beautiful layers: flatten the dough into a rectangle, fold it in half, press down, then turn 90 degrees and fold again. Repeat this folding and turning 4 to 5 times. This creates those distinct layers that make old-fashioned scones so satisfying. Shape the dough into an 8- to 10-inch disc about 1 1/2 to 2 inches thick. Refrigerate for 5 to 10 minutes to firm up.
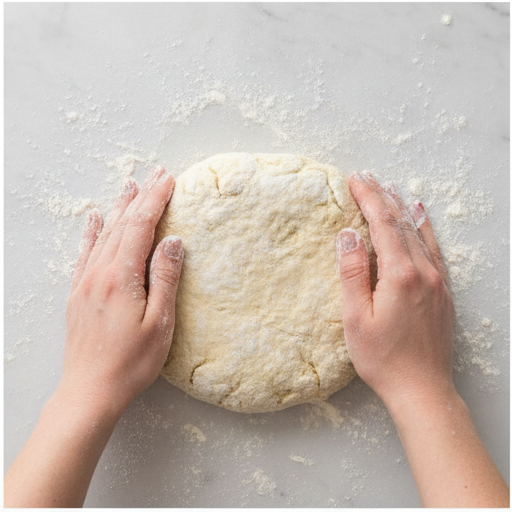
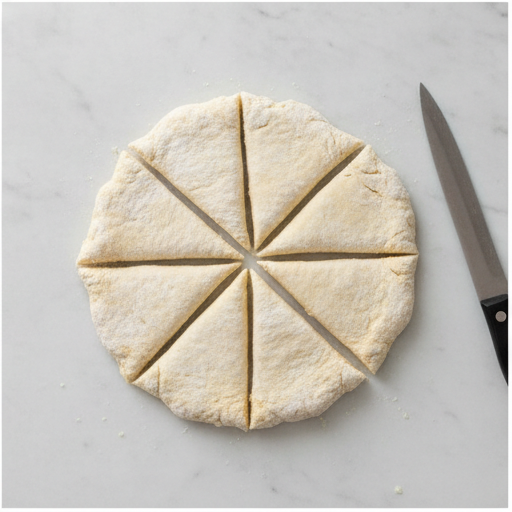
Stage 4: Cut, freeze, and bake. Using a sharp knife or pizza cutter, cut the disc into 8 equal wedges. Place them 2 to 3 inches apart on a parchment-lined baking sheet. Here’s a trick I learned the hard way: freeze the scones for 30 minutes before baking. This solidifies the butter, which means the scones will rise tall instead of spreading flat. During the last 5 minutes, preheat your oven to 400 degrees F. Brush the tops with egg wash, buttermilk, or heavy cream. Sprinkle with coarse sanding sugar if you want that bakery-style sparkle. Bake for 20 to 26 minutes, until lightly golden.
Recipe Tips for Perfect Scones
Let me share what I’ve found works after testing this colonial scones recipe more times than I care to count. Your oven might behave differently, so these tips should help you adjust.
Common Mistakes and Fixes
❌ Overmixing the dough: This develops too much gluten, making scones tough and dense. ✅ Solution: Mix just until the dough comes together. A few streaks of flour are fine.
❌ Not using cold butter: Warm butter gets absorbed into the flour instead of creating steam pockets. ✅ Solution: Keep the butter in the fridge until the last minute. If your kitchen is warm, chill the bowl and flour too.
❌ Not freezing before baking: Scones spread into flat, sad discs. ✅ Solution: Freeze the shaped wedges for at least 30 minutes. For extra-tall scones, freeze them overnight.
Here are a few more tips that make a real difference:
- Use a pastry blender for cutting in butter. Your hands work too, but a pastry blender is faster and keeps the butter colder.
- If using fresh berries, add extra flour. Raspberries need 3/4 cup extra flour. Blueberries or strawberries need 1/4 cup extra. This absorbs the moisture so your scones don’t turn soggy.
- For the flakiest texture, don’t skip the folding step. That 4 to 5 times repetition creates the layers that make these scones special.
- Visual cue for doneness: The bottoms should be golden brown, and the tops should be just lightly colored. If you tap one, it should sound hollow.
Storage and Make-Ahead Tips
One of the best things about this buttermilk scones recipe is how well it works for meal prep. Here’s what I’ve found works:
- Store baked scones in an airtight container at room temperature for up to 2 days. They’ll still be good, but they’re best the first day.
- Refrigerate baked scones for up to 5 days. Reheat by splitting and toasting, or wrap in foil and warm in a 300 degree F oven for 5 to 7 minutes.
- Make ahead and refrigerate: Shape and cut the scones, then refrigerate overnight. Bake straight from the fridge the next morning.
- Freeze unbaked scones: Place the shaped wedges on a baking sheet until solid, then transfer to a freezer bag for up to 2 months. Bake from frozen, adding 2 to 3 extra minutes.
I like to make a full batch and freeze most of them. Then on a weekend morning, I can pull out exactly how many I need and have fresh-baked scones in under 30 minutes. It’s the kind of heritage recipe that fits into a modern schedule beautifully.
Frequently Asked Questions
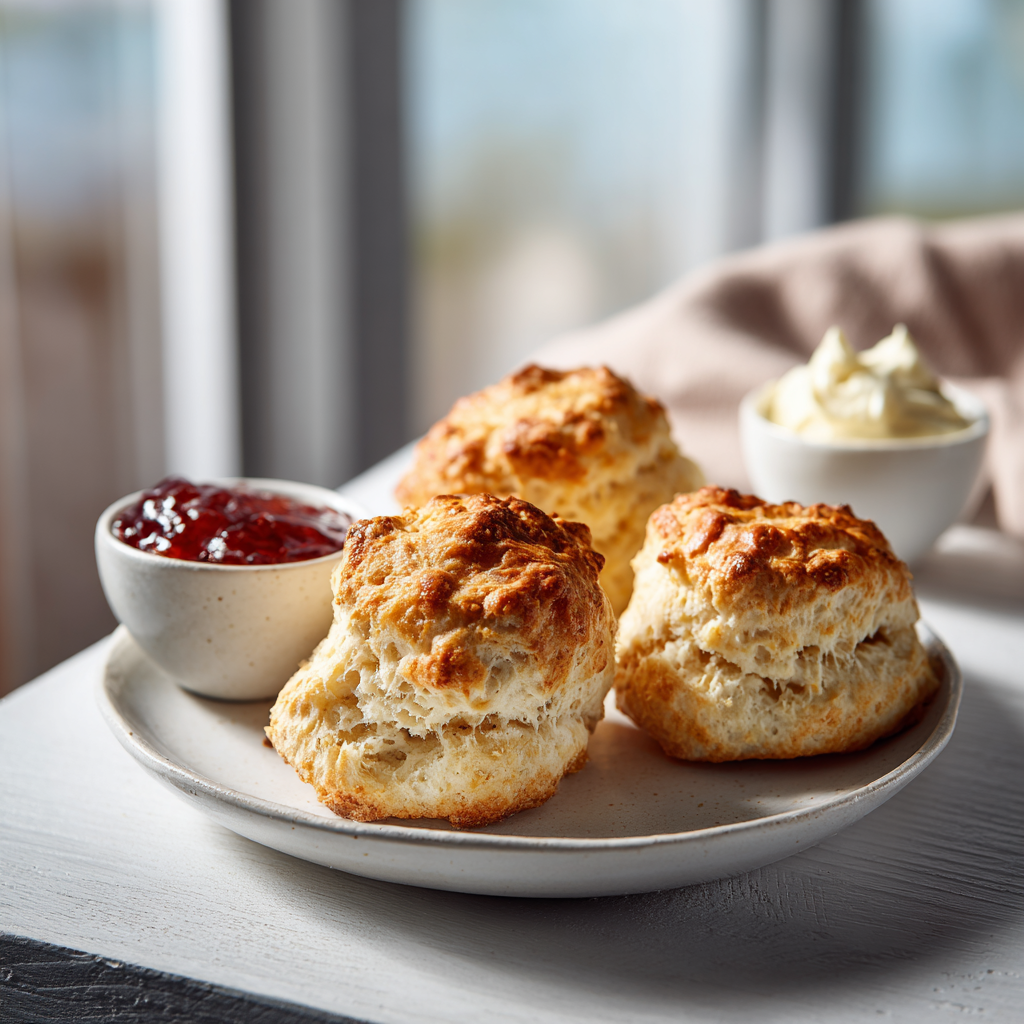
I hope this colonial scones recipe becomes a favorite in your kitchen. It’s one of those recipes that feels both historic and completely fresh. The process of mixing butter into flour by hand, folding the dough into layers, and watching them rise in the oven is deeply satisfying. It connects you to generations of bakers who did the same thing, with the same ingredients, by the same fire.
If you give these a try, I’d love to hear how they turned out. Share your colonial scone story in the comments. What add-ins did you use? Did you serve them with clotted cream and jam? Did anyone in your family ask for the recipe? That’s the best compliment, isn’t it?
And if you’re looking for more inspiration, come find me on Pinterest. I’m always pinning historic recipes, baking tips, and seasonal ideas. Let’s keep this early American baking tradition alive, one batch of scones at a time.
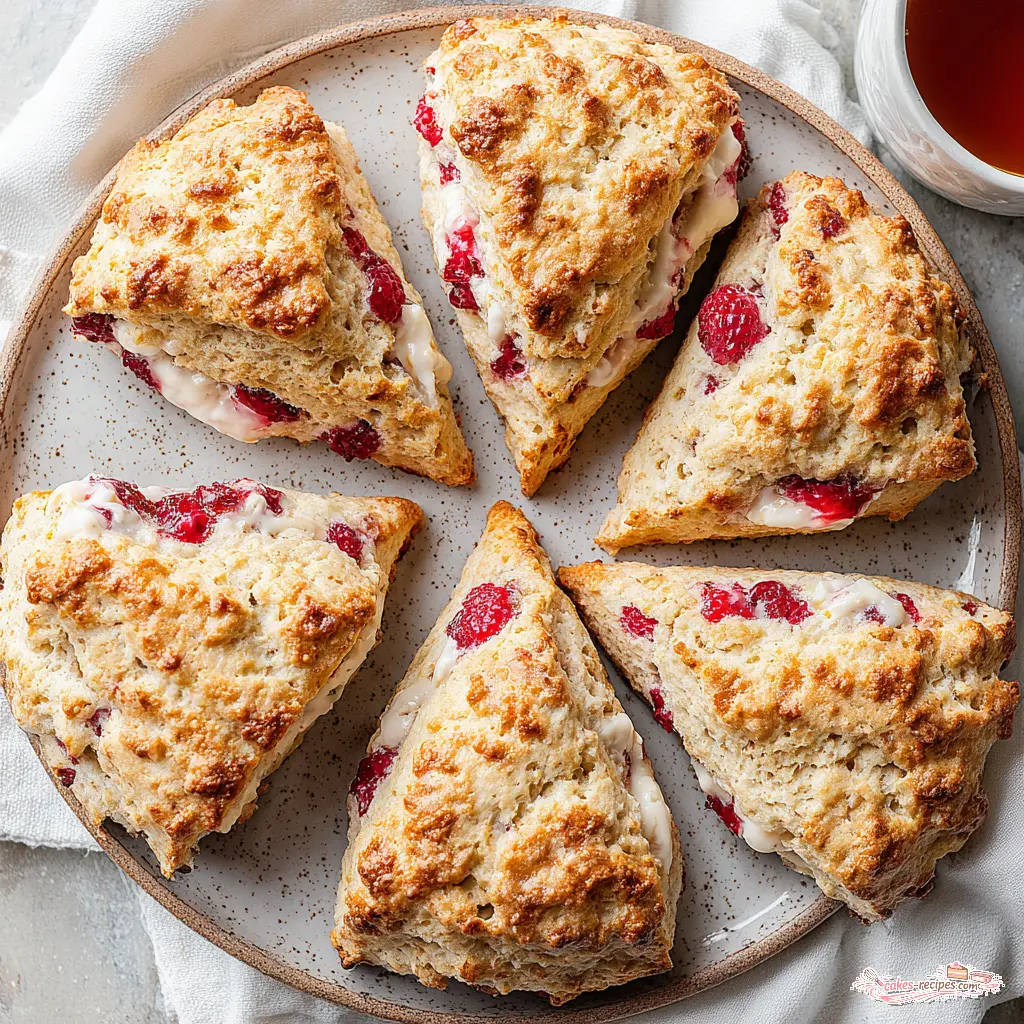
California Colonial Scones Recipe
Ingredients
Method
- If using raspberries, add an extra 3/4 cup (90g) flour. For blueberries or strawberries, add an extra 1/4 cup (30g) flour to absorb extra moisture.
- In a large bowl, whisk together the flour, sugar, baking powder, and salt. Add the cold butter cubes and use your fingertips or a pastry cutter to work the butter into the flour until pea-sized crumbs form.
- Make a well in the center. Pour in the buttermilk, vanilla, and egg. Stir gently with a spatula until a thick, sticky dough forms. Fold in your chosen add-ins (e.g., 1 cup chocolate chips, or 1 cup berries).
- Lightly flour a work surface and turn out the dough. Knead gently just until it comes together—add 1–2 tablespoons more flour if it's too sticky.
- For flaky layers: Flatten the dough into a rectangle, fold it in half, press down, then turn 90° and fold again. Repeat this folding and turning 4–5 times.
- Shape the dough into an 8- to 10-inch disc about 1 1/2 to 2 inches thick. Refrigerate the disc for 5–10 minutes to firm up.
- Using a sharp knife or pizza cutter, cut the disc into 8 equal wedges.
- Place the wedges 2–3 inches apart on a baking sheet lined with parchment paper or a silicone mat.
- Freeze the scones for 30 minutes. During the last 5 minutes, preheat your oven to 400°F.
- Brush the tops with egg wash (1 egg beaten with 1 tablespoon water), buttermilk, or heavy cream. Sprinkle with coarse sanding sugar if desired.
- Bake for 20–26 minutes, until the scones are lightly golden. Let cool on the baking sheet for a few minutes, then transfer to a wire rack.
Nutrition
Notes
Tried this recipe?
Let us know how it was!Source: Nutritional Information
What is the difference between American scones and British scones?
American scones tend to be richer, slightly sweeter, and a bit more moist. They often use butter and buttermilk, which gives them a tender, almost cake-like texture. British scones are drier and crumblier, with less sugar and richness. They’re typically served with clotted cream and jam, while American scones are often enjoyed on their own or with a simple glaze.
What is the 15 minute rule for scones?
The 15-minute rule is a guideline for baking scones without overbrowning. It suggests checking your scones at the 15-minute mark to see if they’re done. Overbaking dries them out and makes them flavorless. For this colonial scones recipe, bake for 20 to 26 minutes at 400 degrees F, and start checking for golden edges at 20 minutes.
What is the secret to making good scones?
The secret is cold butter and minimal handling. Use butter straight from the fridge, cut it into pea-sized pieces, and work quickly. Don’t overmix the dough, and freeze the shaped scones before baking. This keeps the butter solid, which creates steam pockets as it melts, giving you those tender, flaky layers that make a great scone.
What is a traditional British scone?
A traditional British scone is a lightly sweetened or savory baked good made with self-rising flour, milk, sugar, and butter. It’s typically round, about 2 inches across, and served split with clotted cream and jam. British scones are less sweet than American versions and have a drier, crumblier texture. They’re a staple of afternoon tea.
Can I use blueberries instead of currants in this colonial scones recipe?
Absolutely. If using fresh blueberries, add an extra 1/4 cup of flour to absorb the moisture. Frozen blueberries work too, but don’t thaw them first. Fold them in gently to avoid turning the dough purple. Dried blueberries are also great and don’t need the extra flour. This colonial scones recipe is very flexible with add-ins.
Do scones have eggs?
Yes, this colonial scones recipe uses one large egg. The egg adds richness, helps bind the dough, and contributes to a tender crumb. Some traditional British scone recipes don’t use eggs, relying on self-rising flour and butter for structure. But for American-style scones, an egg is standard and gives a better texture.
How is scone pronounced?
There’s a friendly debate about this. In the United States, it’s typically pronounced u0022skohn,u0022 rhyming with u0022bone.u0022 In the United Kingdom, both u0022skohnu0022 and u0022skonu0022 (rhyming with u0022goneu0022) are used, with regional variations. Either pronunciation is correct. What matters is how they taste, not how you say it.