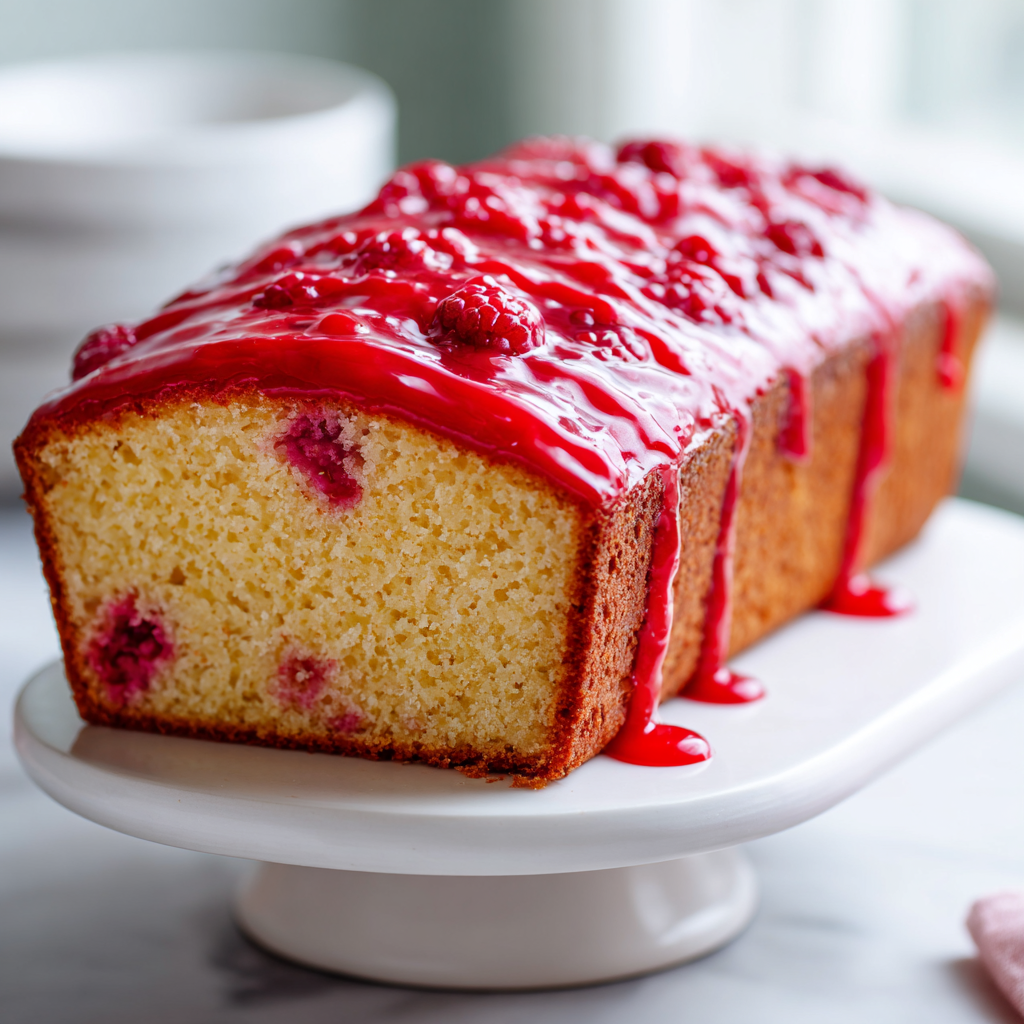
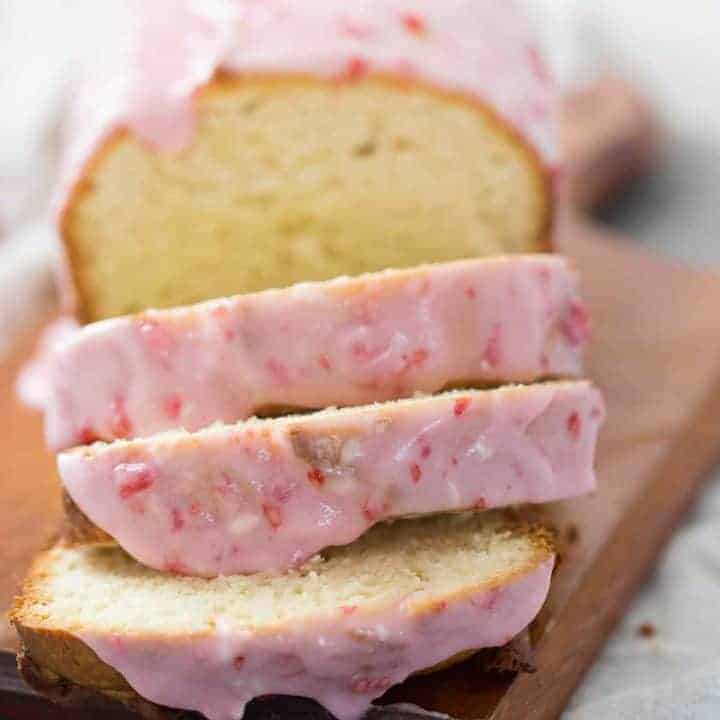
Raspberry Glazed Key Lime Cake
Ingredients
Method
- Preheat the oven to 350°F. Spray a 9x5-inch loaf pan with nonstick cooking spray and set aside.
- In the bowl of a stand mixer fitted with the paddle attachment, cream together the softened butter and granulated sugar until light and fluffy, about 3 minutes. Beat in the eggs one at a time, scraping down the bowl as needed. Stir in the key lime zest, vanilla extract, and key lime juice until combined.
- In a small bowl, whisk together the flour, salt, and baking soda. Gradually add the dry ingredients to the wet mixture, mixing on low speed until just combined. Fold in the sour cream until the batter is smooth and uniform.
- Pour the batter into the prepared loaf pan and spread evenly. Bake for 50 minutes, or until the cake is golden brown and a toothpick inserted into the center comes out clean. Let the cake cool in the pan on a wire rack for 10 minutes, then turn out onto the rack to cool completely.
- In a small bowl, whisk together the softened butter, sifted powdered sugar, and heavy cream until smooth. If the glaze is too thick, add a few more drops of cream; if too thin, add a little more powdered sugar.
- Gently fold the finely chopped fresh raspberries into the glaze. Spread the glaze evenly over the completely cooled cake. Let the glaze set for about 10 minutes before slicing and serving.
Nutrition
Notes
Tried this recipe?
Let us know how it was!What Is a Key Lime Cake?
The first time I made a key lime cake, I ended up with a pucker-inducing puck of sadness. It was dense, dry, and about as exciting as cardboard. My Oma, who emigrated from Bavaria with sixteen Gugelhupf pans in her luggage, would have taken one look and known exactly where I went wrong. I didn’t understand the balance between acid and fat, or the importance of room temperature ingredients.
This raspberry glazed key lime cake is the opposite of that first disaster. It’s a tender, moist pound cake with a subtle key lime tang, topped with a sweet, fresh raspberry glaze. The key lime flavor isn’t overwhelming it’s more of a background note that makes the raspberry glaze pop. Think of it as a citrus cake that’s perfect for summer gatherings, July 4th barbecues, or just a Tuesday afternoon when you need something bright.
The beauty of this recipe is how the tartness of the key lime juice and zest plays against the sweetness of the glaze. That’s what we want to see. A cake that’s balanced, not cloying. And the raspberry glaze? It’s not a thick frosting that hides the cake’s texture. It’s a thin, glossy layer that lets the cake breathe. I like glazes on the thinner side for exactly this reason.
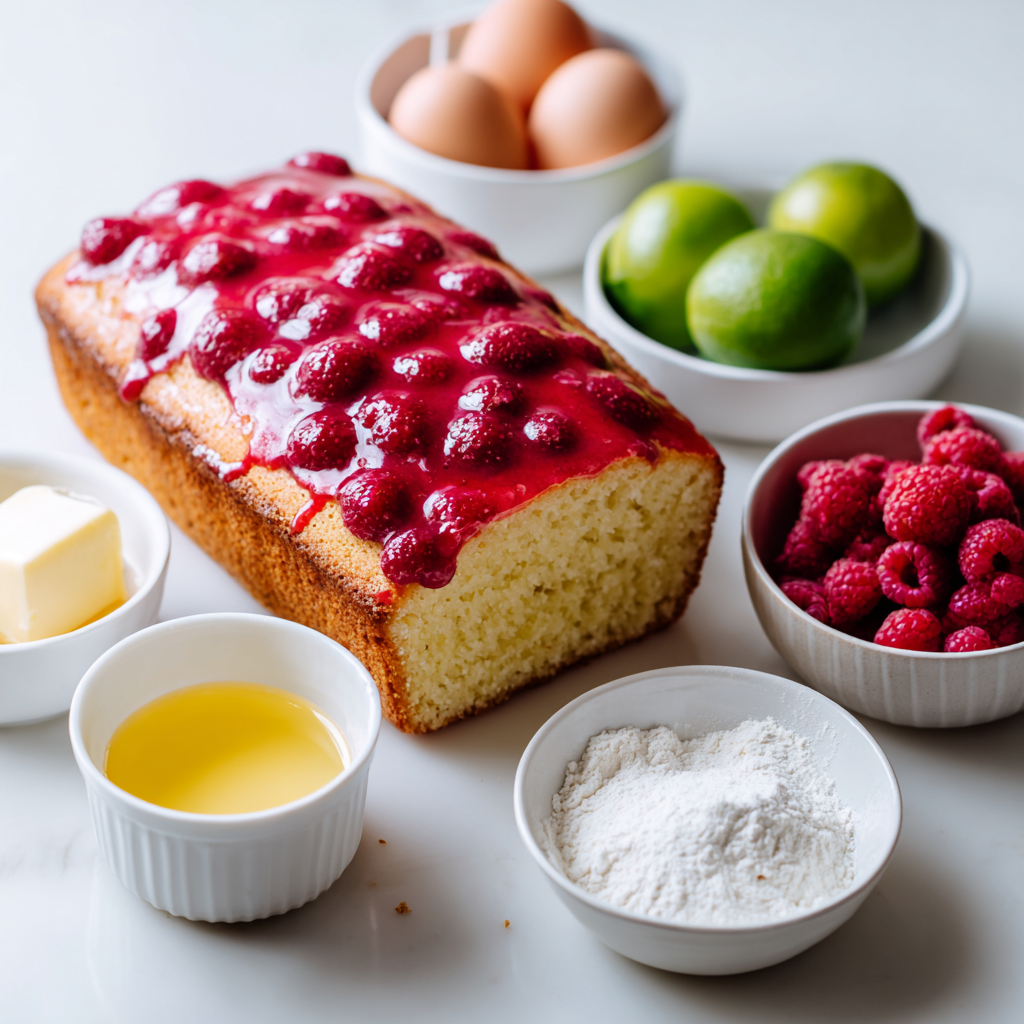
How to Make Raspberry Glazed Key Lime Cake
Let me walk you through the process. This is an easy key lime cake that comes together in about 20 minutes of prep. The key is understanding the creaming method and why each step matters.
Stage 1: Creaming the Butter and Sugar
Start with softened butter. Not melted, not cold softened. I take mine out about an hour before I start baking. In the bowl of a stand mixer with the paddle attachment, cream the butter and sugar until light and fluffy. That takes about 3 minutes. You’re looking for a pale yellow, almost whipped texture. This is where the air gets incorporated, and that air is what makes your cake tender.
The aroma at this stage is pure butter and vanilla. It smells like Saturday mornings at Oma’s house, watching her prepare her pans with such care and patience.
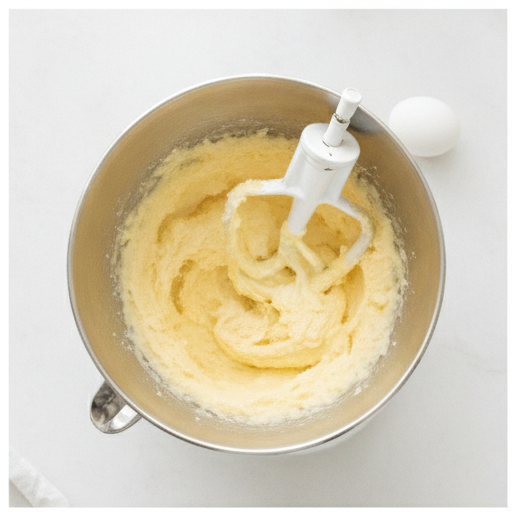
Stage 2: Adding the Eggs and Key Lime
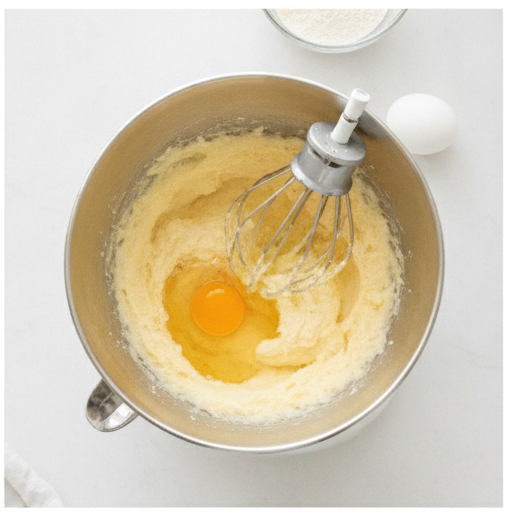
Beat in the eggs one at a time. Scrape down the bowl after each addition. Then stir in the key lime zest, vanilla extract, and key lime juice. The zest is where most of the flavor lives. I use 2-3 teaspoons, depending on how tangy I want it. If you’re using regular limes instead of key limes a totally fine substitution add a little extra zest to compensate.
The color shifts here. The batter turns a pale cream with tiny flecks of green from the zest. It smells bright and citrusy, like summer in a bowl.
Stage 3: Folding in the Dry Ingredients
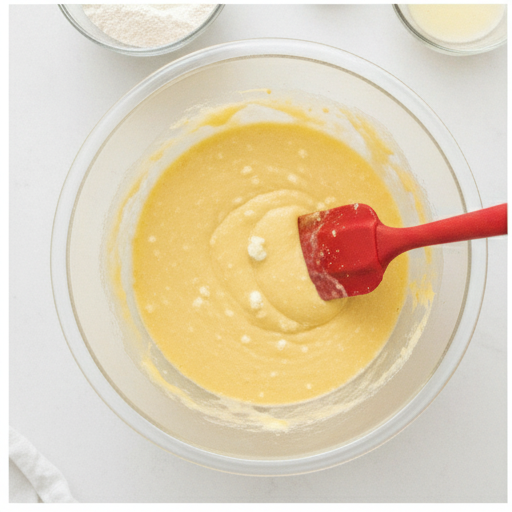
Whisk together the flour, salt, and baking soda in a separate bowl. Gradually add the dry ingredients to the wet mixture on low speed. Mix until just combined. Overmixing at this stage develops gluten, which makes the cake dense and tough. That’s the number one mistake I see.
After the flour is incorporated, fold in the sour cream. Full-fat sour cream gives the best texture it adds moisture and a slight tang that complements the key lime. The batter should be smooth and uniform, but don’t keep stirring once it comes together.
Stage 4: Baking and Cooling
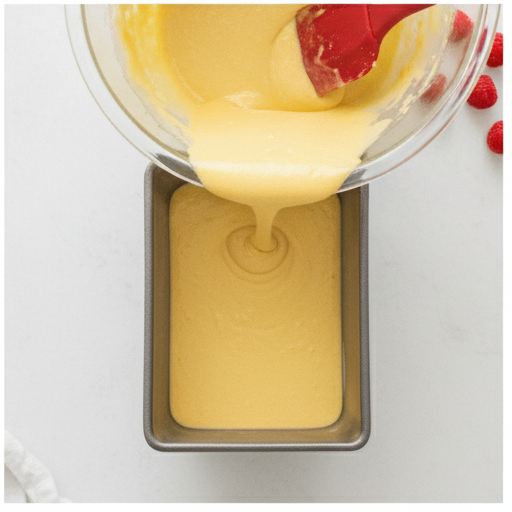
Pour the batter into a greased 9×5-inch loaf pan and spread it evenly. Bake at 350°F for 50 minutes. You’ll know it’s done when the top is golden brown and a toothpick inserted into the center comes out clean. The edges will start pulling away from the pan slightly that’s what we want to see.
Let the cake cool in the pan on a wire rack for 10 minutes. Then turn it out onto the rack to cool completely. This is critical. If you glaze the cake while it’s still warm, the glaze will melt right off and pool on the plate. I learned that the hard way.
Key Lime Cake Recipe Tips
These tips come from my testing. Generally I find that small adjustments make a big difference in the final result.
- Room temperature ingredients: This isn’t negotiable. Cold eggs and cold sour cream won’t emulsify properly with the butter. The batter will look curdled, and the cake will be denser. Take everything out an hour before you start.
- Key lime substitution: If you can’t find fresh key limes, use the zest from a regular lime and bottled key lime juice. The bottled juice works surprisingly well. Just don’t skip the zest that’s where the real flavor lives.
- Glaze consistency: The glaze should be thick enough to spread but thin enough to drip slightly over the edges. Add heavy cream a few drops at a time until you get that texture. If it’s too thin, add more powdered sugar. This glaze goes from spreadable to drippy pretty quickly, so go slow.
- Fresh vs. frozen raspberries: You can use frozen raspberries for the glaze if fresh aren’t available. Thaw them first and drain off any excess liquid. Frozen berries tend to be a bit more tart, so you might want to add an extra tablespoon of powdered sugar to balance it.
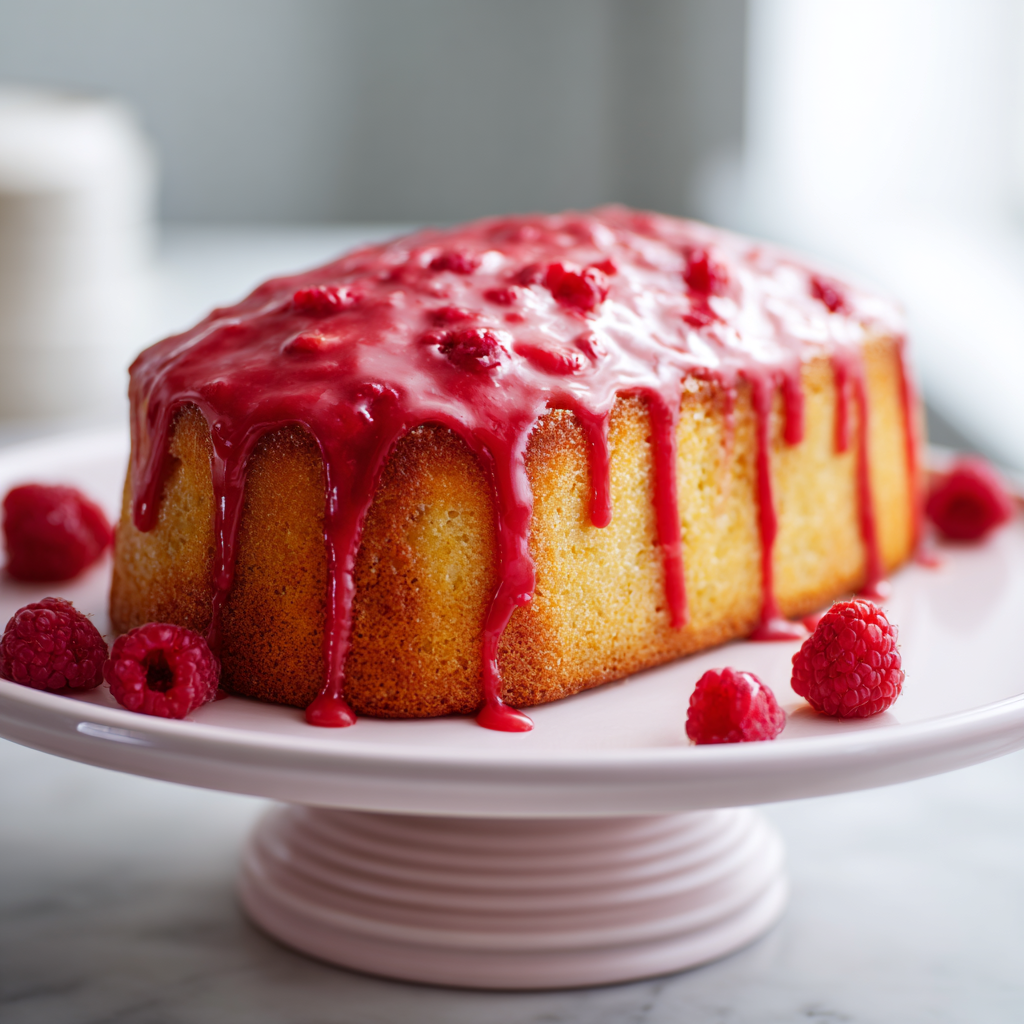
The color of the glaze is stunning. The chopped raspberries create tiny red flecks throughout the white glaze, like confetti. It’s perfect for patriotic desserts imagine this on a July 4th table alongside a berry pie and some vanilla ice cream.
Storage and Leftovers
Store leftover cake in an airtight container at room temperature for up to 2 days. If your kitchen is warm, refrigerate it to keep the glaze from melting. The cake will last up to 5 days in the fridge.
For longer storage, wrap the unglazed loaf tightly in plastic wrap and aluminum foil. Freeze for up to 3 months. When you’re ready to serve, thaw it at room temperature before glazing. This is a great make-ahead strategy for parties.
I like to slice the cake and freeze individual pieces. That way I can pull out one slice when the “gotta have a sweet” craving hits. Let it come to room temperature before serving for the best texture.
Common Mistakes to Avoid
Let me save you some trouble. Here are the most common issues I’ve seen (and made myself):
- ❌ Glazing the cake while it’s still warm → ✅ Wait until the cake is completely cool. The glaze will melt off and make a mess.
- ❌ Overmixing the batter after adding flour → ✅ Mix until just combined. A few streaks of flour are fine they’ll disappear when you fold in the sour cream.
- ❌ Not greasing the pan thoroughly → ✅ Use butter and flour, or cooking spray with flour. Pay special attention to the corners and the center of the loaf pan.
- ❌ Inverting the cake too soon → ✅ Let it cool in the pan for exactly 10 minutes. Too soon and it will fall apart. Too late and it will stick.
- ❌ Using cold ingredients → ✅ Room temperature butter, eggs, and sour cream. This is worth the extra step.
Most of these are totally fixable. The first time I made this cake, I glazed it while it was still warm and ended up with a puddle of pink sugar on my counter. We ate it as “raspberry key lime crumble” with ice cream. My Oma didn’t say “I told you so,” but her look said everything.
Does This Cake Need Refrigeration?
Not necessarily. The cake itself is fine at room temperature for up to 2 days. The glaze has butter and cream, but the powdered sugar acts as a preservative. In warmer weather, or if your kitchen runs hot, I’d refrigerate it to be safe. Just let slices come to room temperature before serving the texture is much better.
If you refrigerate the cake, the glaze will firm up. That’s fine. It’s still delicious. I actually prefer it slightly chilled on a hot summer day.
More Key Lime Recipes to Try
If you love this key lime cake with raspberry glaze, you might also enjoy a classic key lime pie or key lime bars. The flavor combination works in so many desserts. I’ve been experimenting with a key lime bundt cake version of this recipe the glaze pools beautifully in the crevices of a bundt pan. That’s next on my list.
This raspberry glazed key lime cake is one of those recipes that looks impressive but doesn’t require advanced skills. It’s the kind of cake you bring to a potluck and watch disappear. Serve it with fresh raspberries on the side for a beautiful presentation. Or go all out with a scoop of vanilla bean ice cream.
I’d love to see your results. Share your photos on Pinterest and tag me I’m always looking for inspiration. You can find me here on Pinterest. Happy baking!
Frequently Asked Questions
Source: USDA Nutritional Data
Can I Freeze This Key Lime Cake?
Absolutely. Wrap the unglazed loaf tightly in plastic wrap and aluminum foil. Freeze for up to 3 months. Thaw at room temperature before glazing and serving. I often bake two and freeze one for later.
Can I make this in a bundt pan instead of a loaf pan?
Yes, but adjust the baking time. A bundt pan will likely bake faster start checking at 35 minutes. Grease the pan thoroughly, especially if it has intricate designs. The glaze will look beautiful drizzled over a bundt cake.
Can I skip the glaze?
You can, but the glaze adds sweetness and moisture that balance the tangy key lime cake. If you skip it, dust the cake with powdered sugar or serve with fresh berries instead. The cake is still delicious on its own.
Is this recipe kid-friendly?
Very much so. The key lime flavor is mild think lemon cake but more subtle. Kids love the sweet raspberry glaze. My eleven-year-old helps me make this all the time. He’s in charge of greasing the pan and chopping the raspberries.