
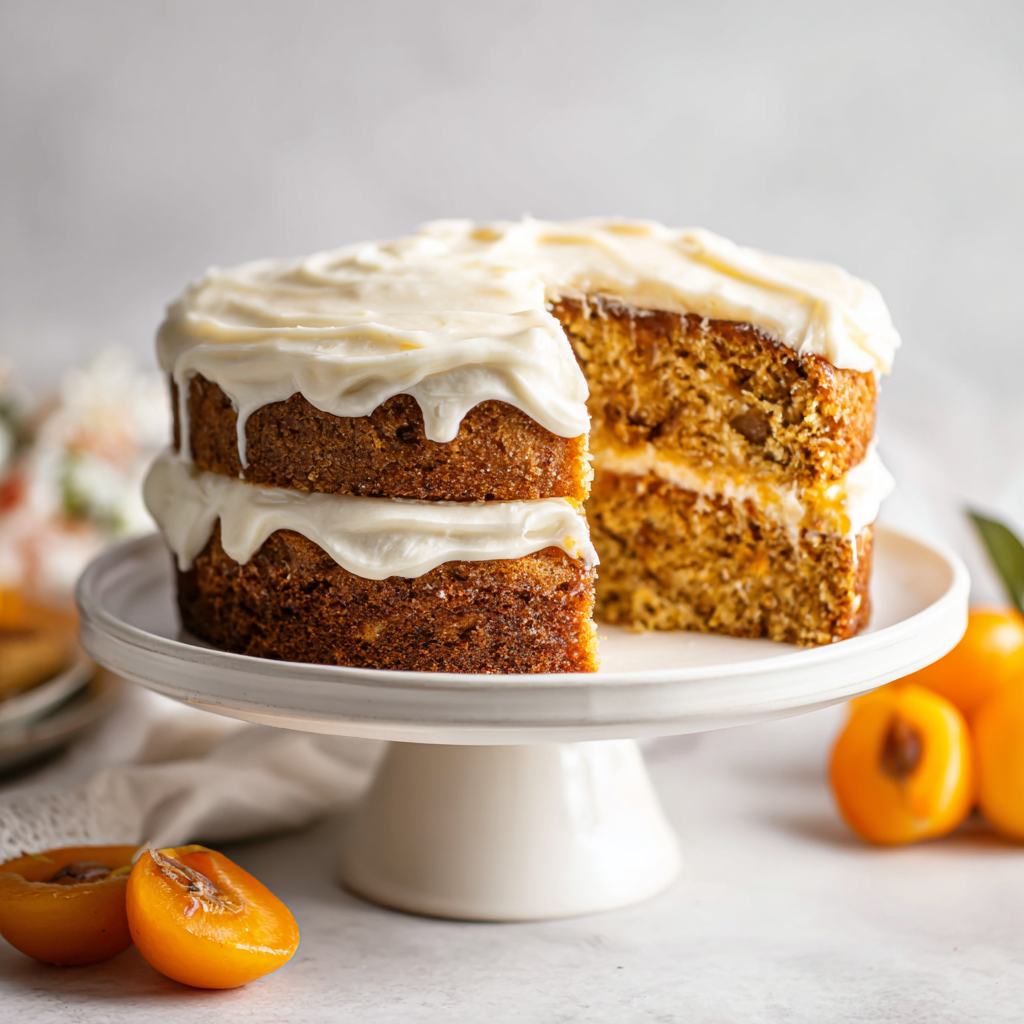
What Is Dr. Bird Cake?
I first stumbled across a Dr. Bird cake recipe at a tiny bakery in Kingston, Jamaica, years ago. I was there for a food tour, and honestly, I was just looking for a good cup of coffee. But the moment I walked in, the smell hit me. Warm bananas, cinnamon, something sweet and tropical baking in the oven. The baker, a woman named Miss Pat, saw me sniffing the air and just laughed. She cut me a slice of this towering, golden-brown cake, still warm, and poured a glossy white icing right over the top.
That first bite? I’ll never forget it. It was moist and tender, with chunks of soft banana and little bursts of pineapple. It wasn’t like any banana bread I’d ever had. It was richer, more aromatic, and somehow both homey and exotic at the same time. Miss Pat called it Dr. Bird cake, named after a specific type of Jamaican banana called the Dr. Bird banana. She told me it was a family recipe, passed down for generations. I bought two more slices for the road.
This dr. bird cake recipe is my adaptation of that incredible cake. It’s a Jamaican banana cake that uses ripe bananas and crushed pineapple for a super moist crumb. I’ve made it dozens of times since that trip, tweaking it to work with ingredients I can find at my local Ralphs or Trader Joe’s here in Seattle. I promise this is easier than it sounds. And the smell? It’ll transport you straight to the Caribbean.
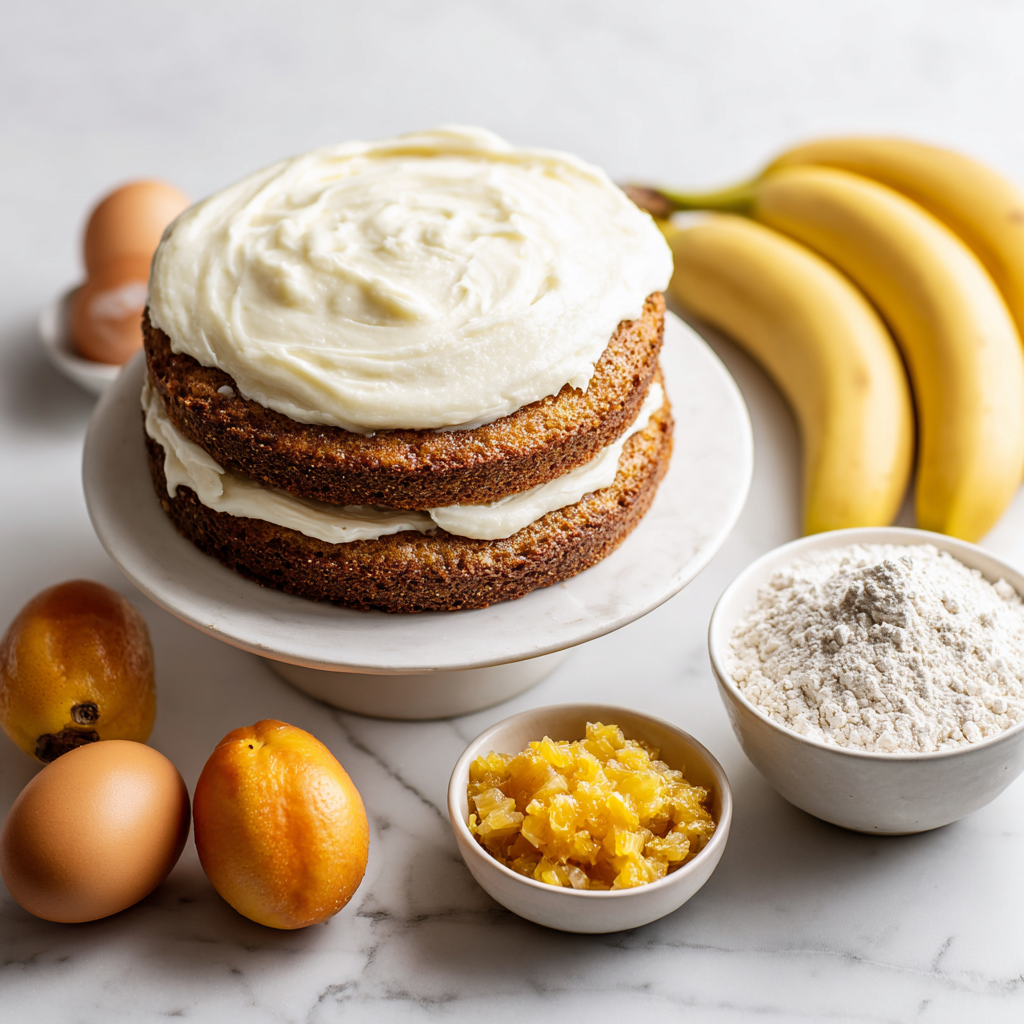
Ingredients You’ll Need
One of the things I love about this Jamaican dr. bird cake is that the ingredient list is surprisingly simple. You don’t need any hard-to-find tropical ingredients, except maybe the bananas themselves. Let’s break it down.
For the cake:
- 3 cups all-purpose flour This gives the cake structure. Don’t use self-rising flour unless you adjust the leavening, but we’ll get to that in the FAQ.
- 1 tsp baking soda The only leavening agent. It reacts with the acidic pineapple and bananas to create lift.
- 1 tsp ground cinnamon That warm, comforting spice that pairs so perfectly with bananas.
- 1 tsp salt Balances the sweetness and enhances all the flavors.
- 2 cups granulated sugar For sweetness and moisture. This is a sweet cake, but it’s balanced by the fruit.
- 1 1/2 cups vegetable or canola oil This is key. Oil keeps the cake incredibly moist, much more than butter would. I’ve tried both, and oil wins every time for texture.
- 1 can (8 oz) crushed pineapple, undrained The juice is important! Don’t drain it. The pineapple adds moisture and a subtle tang that cuts through the sweetness.
- 2 tsp vanilla extract A flavor enhancer that rounds everything out.
- 3 large eggs, lightly beaten They bind everything together and add richness.
- 2 large ripe bananas, diced (about 2 cups) The star of the show. They need to be very ripe, with brown spots on the peel. That’s when they’re sweetest and softest.
For the icing:
- 1/2 cup unsalted butter, melted The base for a simple, creamy butter icing.
- 2 1/2 cups powdered sugar For sweetness and structure.
- 5 tbsp whole milk To thin the icing to the perfect pourable consistency.
That’s it. No weird extracts, no complicated ingredients. Just simple, wholesome things you probably already have in your pantry.
Step-by-Step Instructions
Let’s walk through this together. Take your time. I’ve made this cake so many times I could do it in my sleep, but I still follow these steps carefully. That’s the secret to a perfect crumb.
Stage 1: Prep and Mix Dry Ingredients
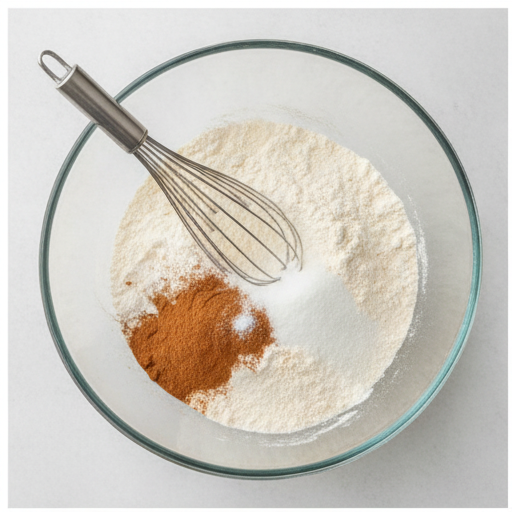
First things first. Preheat your oven to 350°F. Spray a 9×13-inch baking pan with nonstick cooking spray. I like to use a metal pan for even baking, but glass works too. In a large bowl, whisk together the flour, baking soda, cinnamon, salt, and sugar until everything is evenly distributed. This takes about 30 seconds. Set it aside.
Stage 2: Combine Wet Ingredients
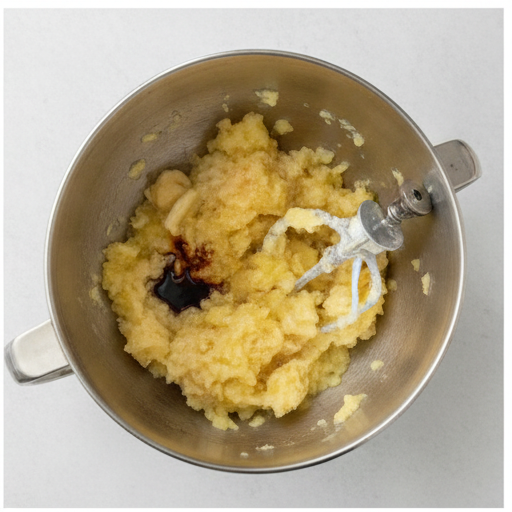
In the bowl of a stand mixer fitted with the paddle attachment or in a large bowl with a hand mixer combine the oil, crushed pineapple (with its juice), vanilla, beaten eggs, and diced bananas. Mix on low speed until just lightly combined. You’ll see the bananas break down a bit, but don’t worry about getting it perfectly smooth. A few lumps are fine. In fact, they’re desirable. They’ll become little pockets of banana goodness in the baked cake.
Stage 3: Combine Wet and Dry
With the mixer on the lowest setting, gradually add the dry ingredients to the wet mixture. Mix only until the batter comes together. Do not overmix. This is the most important rule. Overmixing develops gluten, which will make your cake tough and dense instead of tender and moist. Stop the mixer as soon as you can’t see any more streaks of flour. A few small lumps are perfectly fine.
Stage 4: Bake and Cool
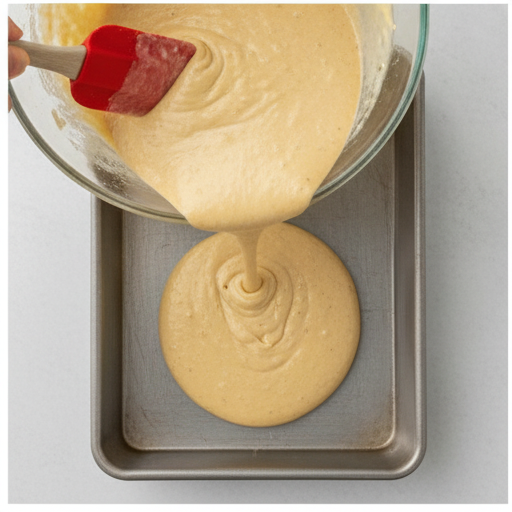
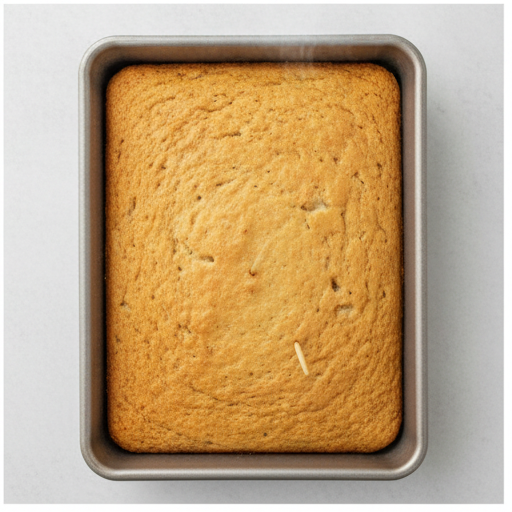
Pour the batter into the prepared pan and spread it evenly. Bake for 45 to 50 minutes, or until a toothpick inserted into the center comes out clean. Every oven is different, so start checking at 45 minutes. The top should be a deep golden brown. Remove from the oven and let the cake cool in the pan for about 10 minutes. While it’s still warm, make the icing.
Stage 5: Make the Icing and Finish
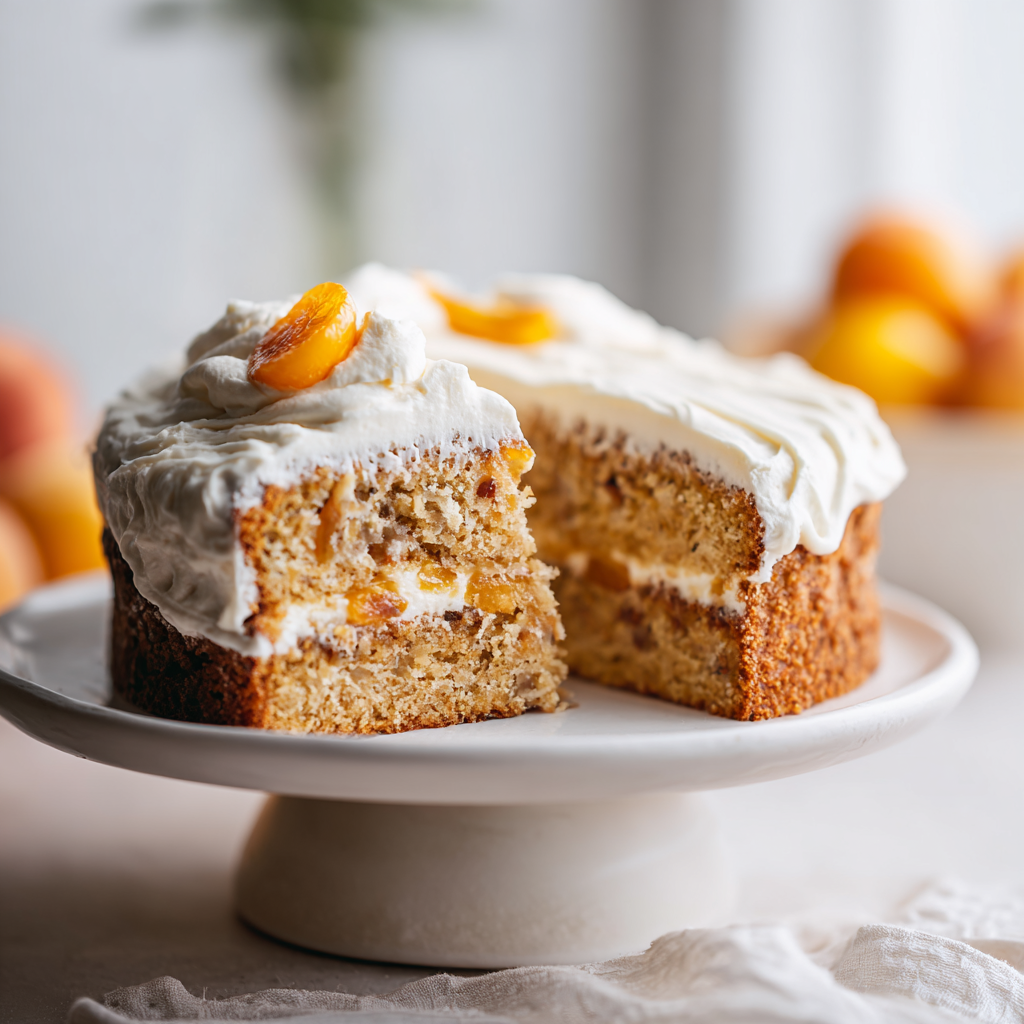
In a medium bowl, whisk together the melted butter, powdered sugar, and milk until smooth and free of lumps. Pour the icing over the warm cake and spread it evenly. The warmth will help the icing soak into the top slightly, creating a lovely, slightly crackly top. Allow the cake to cool completely before slicing and serving. I know it’s tempting, but be patient. The cake needs to set up so the slices are clean.
Tips for the Best Dr. Bird Cake
Over the years, I’ve learned a few things that make this dr. bird cake recipe turn out perfectly every time. Here are my top tips.
- Use very ripe bananas. The ones with brown spots or even completely black peels. They’re sweeter and have a more intense banana flavor. Green or barely yellow bananas won’t give you the same result.
- Don’t overmix the batter. I know I said it before, but it’s worth repeating. Mix until just combined. A few lumps are fine. Overmixing leads to a tough cake.
- Check for doneness early. Ovens vary. Start checking at 45 minutes. A toothpick inserted in the center should come out clean or with just a few moist crumbs. If it’s still wet, give it another 5 minutes.
- Pour the icing over a warm cake. This helps it spread evenly and creates that beautiful, slightly glossy finish. If the cake is too cool, the icing will thicken and be harder to spread.
- Let it cool completely before slicing. This is the hardest part, I know. But if you slice it while it’s still warm, the cake will crumble and the icing will slide off. Be patient. It’s worth the wait.
Why Oil Instead of Butter?
Great question. This is a common one. In my experience, oil creates a much more tender and moist crumb than butter. Butter contains water and milk solids, which can make a cake slightly drier and denser. Oil, on the other hand, is pure fat. It coats the flour proteins and prevents them from forming too much gluten. The result is a cake that stays moist for days. So for this Jamaican dessert recipe, stick with oil. You won’t regret it.
Variations to Try
Once you’ve mastered the basic dr. bird cake recipe, feel free to experiment. Here are a few variations I’ve tried and loved.
- Add some spice. For a warmer, more complex flavor, add 1/2 tsp ground nutmeg and 1/4 tsp ground cloves along with the cinnamon. It gives the cake a lovely Jamaican spice cake vibe.
- Make it a little healthier. You can substitute 1 cup of the all-purpose flour with whole wheat pastry flour. It adds a bit of nuttiness and fiber without making the cake too dense.
- Turn it into cupcakes. Divide the batter into 16 lined cupcake tins and bake for about 20 minutes. The icing works perfectly on cupcakes too.
- Add some coconut. Fold 1 cup of shredded coconut into the batter before baking. It adds texture and a tropical flavor that pairs beautifully with the banana and pineapple.
These are just starting points. The beauty of this cake is that it’s incredibly forgiving. Feel free to make it your own.
Storage and Leftovers
This cake keeps beautifully, which is one of the reasons I love it for meal prep or holiday baking.
- At room temperature: Store the cake covered with plastic wrap or in an airtight container for up to 3 days. The icing will stay soft and the cake will remain moist.
- In the refrigerator: You can refrigerate it for up to a week. Just make sure it’s tightly wrapped so it doesn’t dry out. The cold will firm up the icing, which some people actually prefer.
- In the freezer: This cake freezes beautifully. Wrap the cooled, un-iced cake tightly in plastic wrap, then in foil. Freeze for up to 2 months. When you’re ready to serve, thaw it overnight in the refrigerator, then make the icing and pour it over the cake while it’s still slightly cool.
Honestly, I think this cake tastes even better the next day. The flavors have time to meld together, and the texture becomes even more tender. It’s a great make-ahead dessert for parties or family gatherings.
Frequently Asked Questions
Final Thoughts
This dr. bird cake recipe is more than just a dessert to me. It’s a memory of that bakery in Kingston, of Miss Pat’s warm smile, and of discovering a whole new world of flavor. Every time I bake it, I’m transported back there. The smell of warm bananas and cinnamon filling my kitchen, the anticipation of that first bite, the joy of sharing it with friends and family.
I hope you give it a try. Whether you’re looking for a moist banana cake for a summer barbecue, a traditional Jamaican cake for a holiday gathering, or just a comforting banana bread variation for a rainy afternoon, this cake delivers. It’s simple, forgiving, and absolutely delicious.
Tag me when you bake yours – I want to see your island moment! You can find me on Pinterest sharing more of my favorite recipes.
Ultimate Dr. Bird Cake Recipe
Ingredients
Method
- Preheat your oven to 350°F. Spray a 9x13-inch baking pan with nonstick cooking spray and set aside.
- In a large bowl, whisk together the flour, baking soda, cinnamon, salt, and sugar until combined. Set aside.
- In the bowl of a stand mixer fitted with the paddle attachment, combine the oil, crushed pineapple (with its juice), vanilla, beaten eggs, and diced bananas. Mix on low speed until just lightly combined.
- With the mixer on the lowest setting, gradually add the dry ingredients to the wet mixture, mixing only until the batter comes together. Do not overmix.
- Pour the batter into the prepared pan and spread it evenly.
- Bake for 45 to 50 minutes, or until a toothpick inserted into the center comes out clean. Remove from the oven and let the cake cool in the pan for about 10 minutes.
- In a medium bowl, whisk together the melted butter, powdered sugar, and milk until smooth and free of lumps.
- Pour the icing over the warm cake and spread it evenly. Allow the cake to cool completely before slicing and serving.
Nutrition
Notes
Tried this recipe?
Let us know how it was!Source: Nutritional Information
Can I sub butter for the oil?
Technically yes, but I don’t recommend it. Oil creates a much moister, tender crumb because it’s pure fat. Butter contains water and milk solids, which can make the cake denser and drier. If you must use butter, melt it and let it cool slightly before adding. But for the best texture, stick with vegetable or canola oil.
Can I use self-rising flour?
You can, but you’ll need to adjust the recipe. Self-rising flour already contains baking powder and salt, so omit the baking soda and reduce the salt to 1/2 tsp. The cake might be slightly less tender because of the extra leavening, but it will still work. I prefer all-purpose flour for more control over the final texture.
Does ‘scant 2 cups’ mean 2 cups of banana filling?
Great question. In the context of this recipe, ‘scant 2 cups’ means just under 2 cups of diced ripe bananas. So you want about 1 3/4 to 1 7/8 cups. Two large bananas usually give you exactly that amount. Don’t pack the bananas tightly into the measuring cup. Just gently spoon them in.















5 Responses
I made this for a family gathering and it was a huge hit! The pineapple and banana combination is genius. I did add a little extra cinnamon because I love the warmth it brings. Thanks for sharing this recipe, Nathan!
I tried this with gluten-free flour (a 1:1 blend) and it came out a bit dense. Any suggestions for adjustments? Also, could I use coconut oil instead of vegetable oil for a more tropical flavor?
Great questions, David! For gluten-free flour, try adding an extra tablespoon of milk to the batter to help with moisture. Coconut oil works wonderfully—just make sure it’s melted and cooled slightly before mixing. Enjoy!
This cake turned out really moist, but I felt it was a bit too sweet for my taste. Maybe I’ll cut the sugar by half a cup next time. Also, the icing was super runny—any tips on getting it thicker?
I love the story about Miss Pat in Jamaica! This recipe reminds me of a banana cake my grandmother used to make, but with a tropical twist. The crumb was so tender and the icing was perfect. I’ll definitely be making this again.