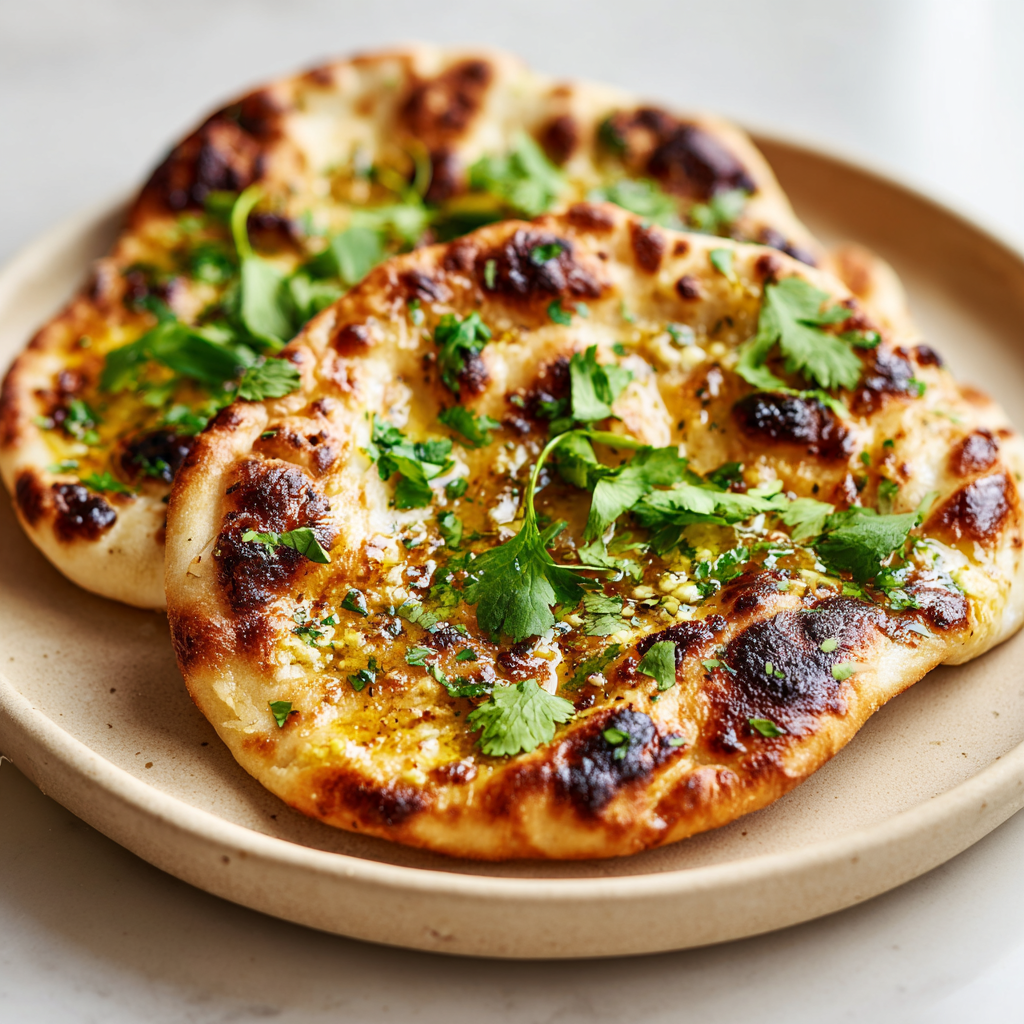
Why This Easy Garlic Naan Bread Works Every Time
I used to order naan just to avoid making it. And I’m not proud of that. For years, I’d be at the Indian grocery store, picking up my weekend curry fix, and I’d grab that stack of pre-made naan from the cooler. It was fine. But it wasn’t mine.
Then one Tuesday night, I was out of naan and my kids were begging for butter chicken. I had flour, yogurt, and garlic in the pantry. So I took a deep breath and tried. My first batch? Let’s just say it was… dense. Like a leathery hockey puck with garlic on it.
But I kept tweaking. And now? This easy garlic naan bread is my go-to for curry nights, lazy Sundays, and even quick weeknight dinners. It’s soft, it’s fluffy, and that garlic butter seeps into every little pocket. Trust me on this: once you make it yourself, you won’t go back.
Here’s the thing no tandoor needed. No special equipment. Just a hot skillet, a little patience, and the right technique. I’ll show you exactly how I do it.
What Makes This Recipe So Easy?
Mira, I know what you’re thinking. Bread from scratch sounds like a project. But this easy garlic naan bread recipe is different. Here’s why:
- No fancy equipment. A cast iron skillet or even a non-stick pan works perfectly. You don’t need a tandoor or a special oven.
- Simple ingredients. Flour, yeast, yogurt, garlic, butter. You probably have most of this in your kitchen right now.
- No complicated techniques. If you can mix dough and roll it out, you can make this naan. I promise.
- Ready in about 2 hours. Most of that is just waiting for the dough to rise. Active time is maybe 30 minutes.
And the best part? The smell of garlic butter hitting that hot naan as it comes off the skillet. It’s like a warm hug for your kitchen.
Ingredients for Easy Garlic Naan Bread
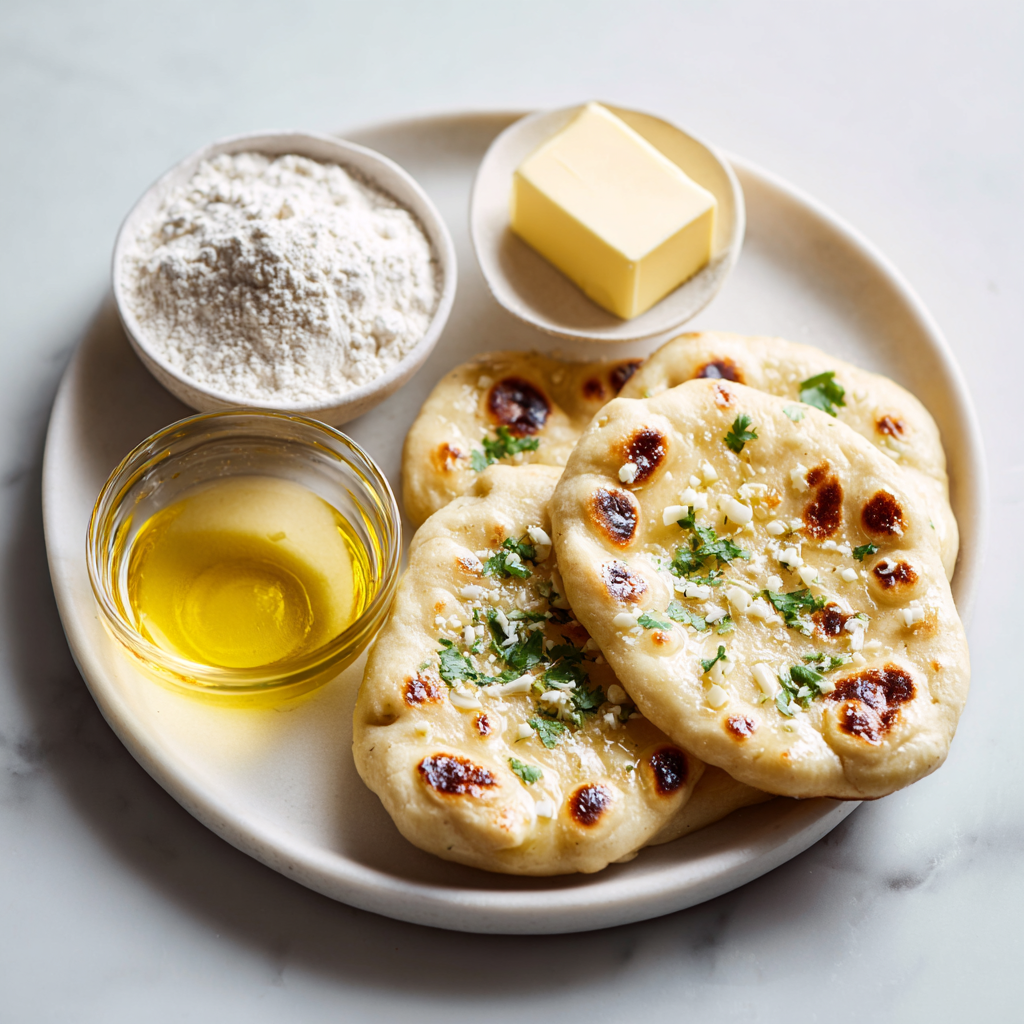
Let’s talk about what you need. The ingredient list is short, but every item has a job. Claro que sí, you can make substitutions I’ll note those as we go.
For the Dough:
- 3 1/2 cups all-purpose flour plus more for dusting. I use standard all-purpose flour from Ralphs or Vons. Bread flour works too, but it makes the naan a bit chewier.
- 1 1/2 teaspoons active dry yeast this gives the naan its rise and that lovely airy texture. You can also use instant yeast; just skip the blooming step and mix it directly with the flour.
- 1 teaspoon granulated sugar just enough to feed the yeast. Don’t skip it, it helps the yeast wake up.
- 1 teaspoon kosher salt for flavor. I prefer Diamond Crystal, but any kosher salt works.
- 1 cup warm water about 110°F. Not too hot, or you’ll kill the yeast. Think warm bath water.
- 3 tablespoons plain yogurt whole milk is best. The yogurt adds tenderness and a slight tang. If you only have low-fat, it still works.
- 2 tablespoons olive oil or melted butter. I use olive oil for the dough; it keeps things soft.
For the Garlic Butter:
- 4 cloves garlic minced fresh. Please don’t use jarred garlic here. Fresh makes a huge difference.
- 4 tablespoons unsalted butter melted. You’ll also want extra for brushing after cooking.
For Garnish (optional but recommended):
- 2 tablespoons fresh cilantro chopped. My kids call this “the green stuff,” but they eat it anyway.
That’s it. Simple, right? Now let’s get to the fun part.
Step-by-Step: Making Your Easy Garlic Naan Bread
Alright, let’s walk through this together. I’ll share my tips and tricks so you don’t end up with hockey pucks like I did.
Step 1: Activate the Yeast
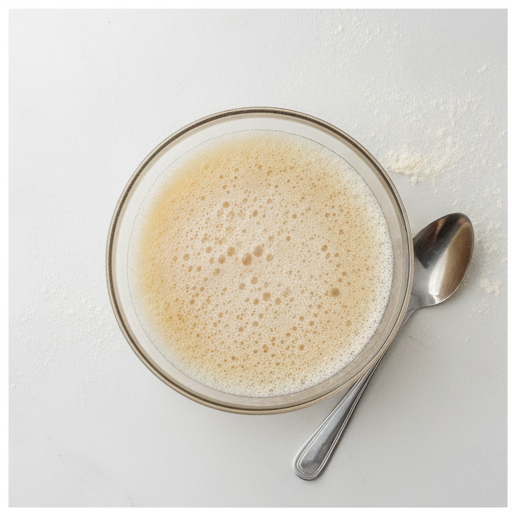
In a small bowl, combine the warm water and sugar. Sprinkle the yeast over the top. Don’t stir it in just let it float. Set a timer for 5 to 10 minutes and walk away. When you come back, it should be foamy and fragrant. If it’s not, your yeast might be old. Start over with fresh yeast.
That foamy top is the yeast saying “I’m awake and ready to work.” It’s a good sign.
Step 2: Make and Knead the Dough
In a large mixing bowl, whisk together 3 cups of flour and the salt. Create a well in the center like a little volcano. Pour in the yeast mixture, yogurt, and olive oil. Stir with a wooden spoon until a shaggy dough forms. It’ll look messy at first. No te preocupes.
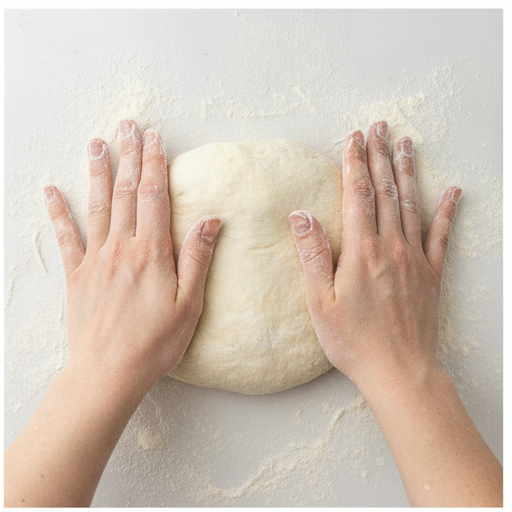
Turn the dough out onto a lightly floured surface. Now comes the kneading. For 8 to 10 minutes, push the dough away from you with the heel of your hand, fold it back, and turn it a quarter turn. Repeat. Add more flour a tablespoon at a time if it’s too sticky, but go easy too much flour makes tough naan.
When it’s ready, the dough should be smooth and elastic. Press it with your finger; it should spring back. That’s the gluten working its magic.
Step 3: First Rise
Lightly grease a large bowl with oil. Place the dough in the bowl, turning to coat all sides. Cover with a clean kitchen towel. Find a warm spot in your kitchen near the stove while you’re cooking something else, or on top of the fridge. Let it rise for about 1 hour, or until doubled in size.
This is the waiting game. But it’s worth it. The dough needs time to develop flavor and texture.
Step 4: Prepare the Garlic Butter
While the dough rises, mix the minced garlic with the melted butter in a small bowl. Set it aside. The smell alone will make you hungry.
Step 5: Shape the Naan
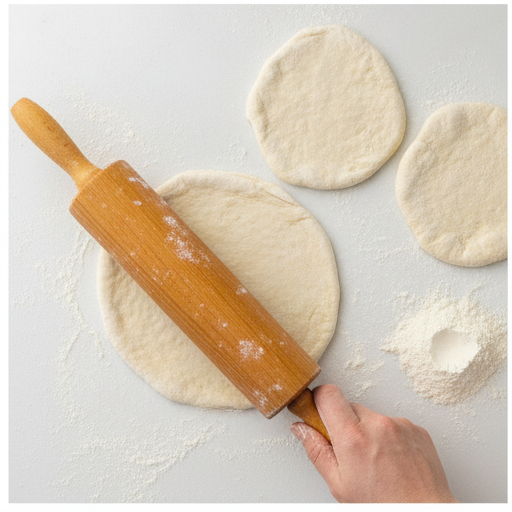
Once risen, punch down the dough. Turn it out onto a lightly floured surface. Divide into 8 equal pieces. Roll each piece into an oval or teardrop shape, about 1/4 inch thick. The thinner you roll them, the more air pockets form while cooking. That’s what gives naan its lovely puffy texture.
Don’t worry about making them perfect. Mine are never exactly the same shape. That’s part of the charm.
Step 6: Cook the Naan
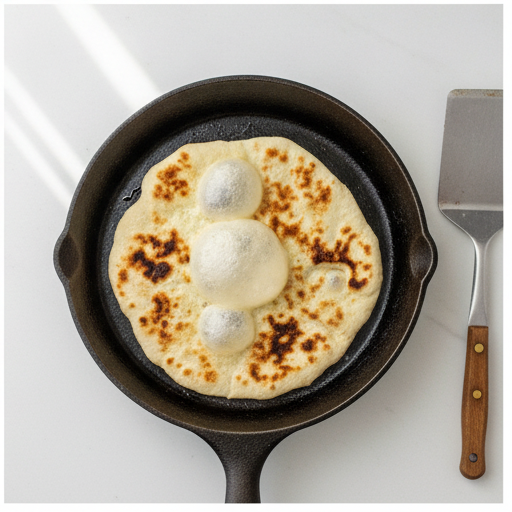
Heat a large cast-iron skillet or griddle over medium-high heat. Working one at a time, place a naan in the hot skillet. Cook for 1 to 2 minutes, until bubbles form on the surface and the bottom is golden. Flip and cook for another 1 to 2 minutes.
That sizzle when the dough hits the skillet? That’s the sound of success. The bubbles mean the naan is puffing up. If you want more char marks, press down gently with a spatula. Así mero.
Step 7: Garlic Butter and Serve
Remove the naan from the skillet. Immediately brush it generously with the garlic butter. Sprinkle with cilantro if using. Repeat with remaining naan.
Serve warm. I mean it don’t let them sit around. Naan is best fresh off the skillet, when the butter is still melting and the edges are slightly crisp.
Tips for Perfect Naan Every Time
I learned most of these the hard way. So you don’t have to.
- Use high heat. The high heat makes the dough rise fast and fills the bread with air. Don’t be shy with the temperature.
- Roll the dough thin enough. Too thick and it won’t puff up. Aim for about 1/4 inch. You want it thin enough that you can almost see through it.
- Let the dough rest. After shaping, let the rolled naan rest for a few minutes before cooking. This relaxes the gluten and helps them puff.
- Don’t over-knead. Eight to ten minutes is plenty. Over-kneading makes the naan tough.
- Use a cast iron skillet if you have one. It holds heat better and gives those beautiful char marks. But a non-stick pan works too just don’t go too high with the heat or it might smoke.
- Flatten with a spatula while cooking. This ensures even cooking and helps those bubbles form.
Common Mistakes and How to Fix Them
We all make mistakes. Here’s what I’ve learned:
❌ Rolling dough too thick → ✅ Roll to 1/4 inch. It should be almost translucent in spots.
❌ Not letting the dough rest long enough → ✅ Give it the full hour. Rushing the rise means dense naan.
❌ Using a non-stick pan that can’t handle high heat → ✅ Cast iron is best. If using non-stick, keep the heat medium-high, not screaming hot.
❌ Not brushing with butter immediately → ✅ The butter needs to melt into the hot naan. Brush it on within 30 seconds of removing from the skillet.
Storage and Reheating
If you have leftovers and that’s a big if here’s how to keep them soft.
Storage: Store plain naan (no garlic butter) in a zip-top bag at room temperature for up to 2 days. Refrigerate for up to 4 days. The butter can make them soggy over time, so I usually store them plain and reheat with fresh butter.
Reheating: The best way to reheat naan is on a dry skillet over medium heat. About 30 seconds per side. It brings back that fresh-off-the-skillet texture. You can also microwave for 10 seconds, but it won’t be as crispy. If you’re reheating frozen naan, let it come to room temperature first, then use the skillet method.
Freezing: Freeze plain naan for up to two months. Stack them with parchment paper between each piece so they don’t stick. Thaw at room temperature, then reheat in a skillet.
Make-Ahead Option
This is a game-changer for busy weeknights. You can make the dough a day ahead. After the first rise, punch it down, wrap it tightly in plastic wrap, and refrigerate. When you’re ready to cook, let the dough come to room temperature for about 30 minutes before shaping and cooking.
The flavor actually improves overnight. Something about the slow fermentation in the fridge. My abuela would approve.
Variations to Try
Once you’ve mastered the basic easy garlic naan bread, mix it up:
- Cheese naan: Before cooking, stuff the dough with shredded mozzarella or Monterey Jack. Fold the edges to seal, then roll out gently. Cook as usual. The cheese gets all melty and amazing.
- Herb naan: Add chopped fresh cilantro or mint to the dough before the first rise. Or sprinkle dried fenugreek leaves (kasuri methi) into the flour.
- Spicy naan: Add a pinch of chili flakes to the garlic butter. Or sprinkle them on top after brushing.
- Seed naan: Brush the uncooked naan with a little water or egg wash, then sprinkle with nigella seeds, cumin seeds, or sesame seeds before cooking.
Serving Ideas
This easy garlic naan bread is incredibly versatile. Here are some of my favorite ways to use it:
- With curries: Butter chicken, dal makhani, palak paneer any curry is better with warm naan for dipping.
- As a wrap: Use it for chicken tikka wraps or even as a tortilla substitute for quesadillas.
- Naan pizza: Top with pizza sauce, cheese, and your favorite toppings. Bake at 400°F for 5-7 minutes. It’s a quick weeknight dinner.
- With grilled meats: Serve alongside grilled chicken tikka, kebabs, or even burgers. The garlic butter complements any grilled protein.
- For breakfast: Toast leftover naan and spread with butter and jam. Or use it for a breakfast sandwich.
Frequently Asked Questions
Final Thoughts
Making easy garlic naan bread at home is one of those kitchen skills that feels intimidating until you actually do it. And then you wonder why you didn’t try sooner.
That first bite when you tear into a piece and see the steam rise, the garlic butter dripping down is pure satisfaction. It’s the taste of homemade, of knowing you made something from scratch. And honestly? It tastes better than any restaurant naan I’ve ever had.
So go ahead. Make these for your next curry night. Your family will be impressed. And when they ask for more, you’ll already know the recipe by heart.
I’d love to see your results. Tag me on Pinterest or leave a comment I want to see those char marks! And if you’re looking for more inspiration, follow my Pinterest board for more easy bread recipes and weeknight dinner ideas.
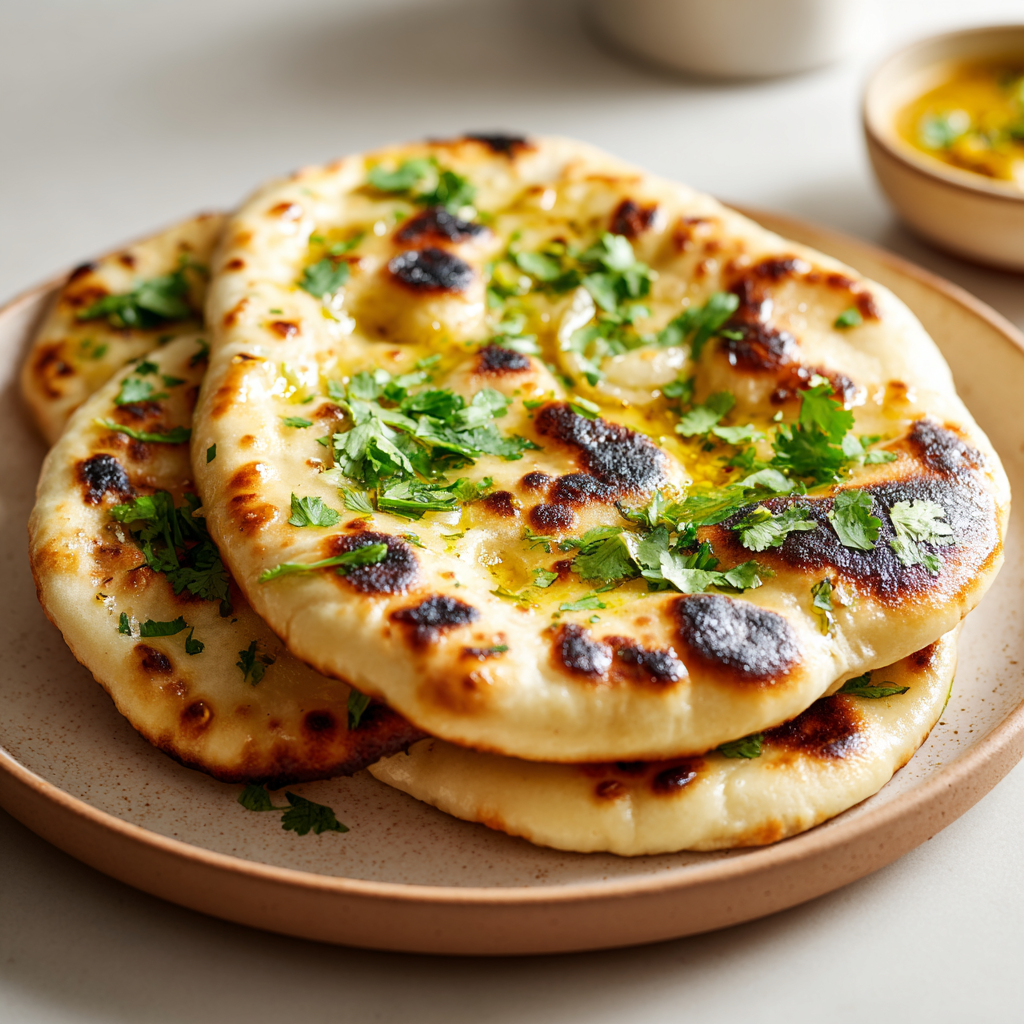

Easy Garlic Naan Bread: A Simple Homemade Recipe
Ingredients
Method
- In a small bowl, combine the warm water and sugar. Sprinkle the yeast over the top and let it sit for 5 to 10 minutes until foamy and fragrant.
- In a large mixing bowl, whisk together 3 cups of flour and the salt. Create a well in the center and pour in the yeast mixture, yogurt, and olive oil. Stir with a wooden spoon until a shaggy dough forms.
- Turn the dough out onto a lightly floured surface and knead for 8 to 10 minutes, adding more flour a tablespoon at a time as needed, until the dough is smooth and elastic. It should spring back when gently pressed.
- Lightly grease a large bowl with oil. Place the dough in the bowl, turning to coat. Cover with a clean kitchen towel and let rise in a warm spot for about 1 hour, or until doubled in size.
- While the dough rises, mix the minced garlic with the melted butter in a small bowl. Set aside.
- Once risen, punch down the dough and turn it out onto a lightly floured surface. Divide into 8 equal pieces. Roll each piece into an oval or teardrop shape, about 1/4 inch thick.
- Heat a large cast-iron skillet or griddle over medium-high heat. Working one at a time, place a naan in the hot skillet. Cook for 1 to 2 minutes, until bubbles form on the surface and the bottom is golden. Flip and cook for another 1 to 2 minutes. Remove from the skillet and brush generously with the garlic butter. Sprinkle with cilantro if using. Repeat with remaining naan.
Nutrition
Notes
Tried this recipe?
Let us know how it was!Source: Nutritional Information
At stage 5 when the rolled round dough is returned to a bowl with tea towel – are these left to rest again or just roll into ovals straight away?
Great question! After dividing the dough into 8 pieces, I like to let them rest for 5-10 minutes covered with a towel before rolling. This relaxes the gluten and makes them easier to shape. Then roll into ovals and cook immediately. No second rise needed for this easy garlic naan bread.