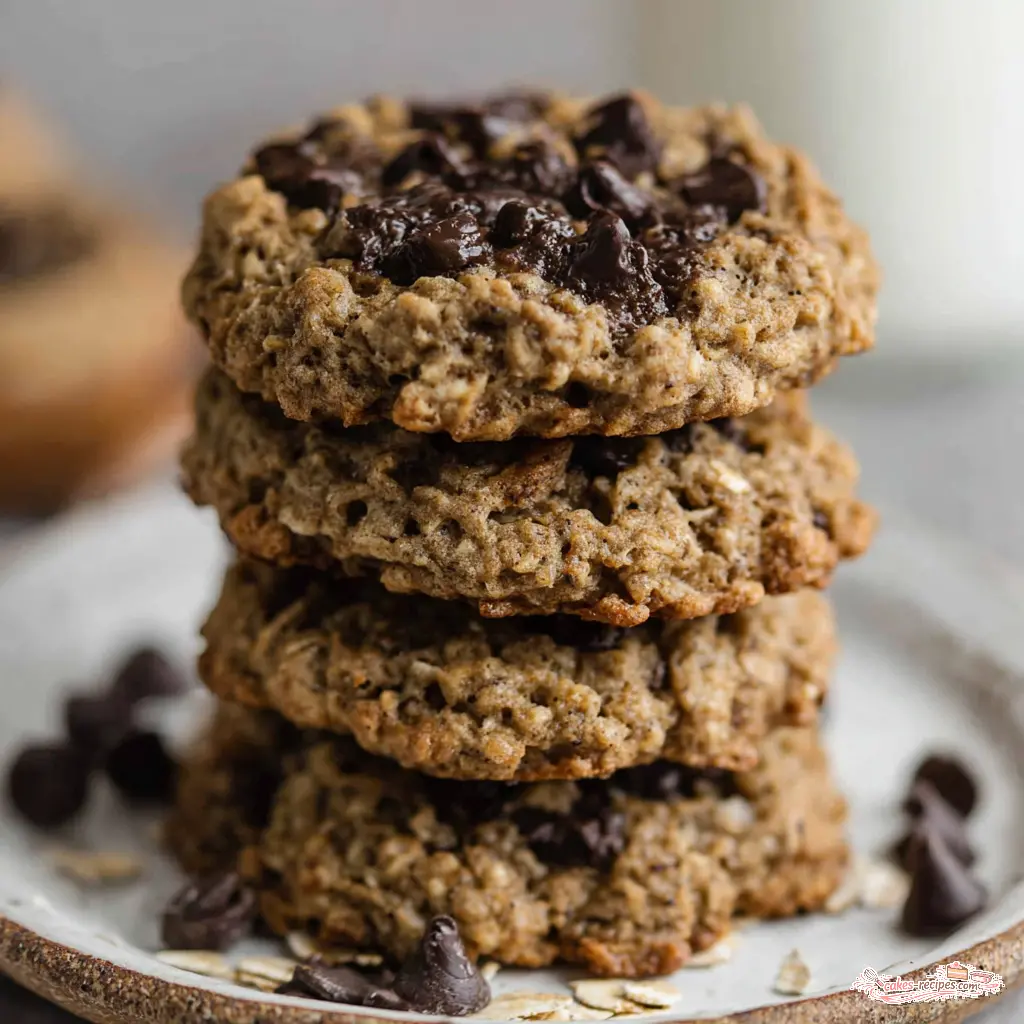
Ultimate Chocolate Oatmeal Cookies
Ingredients
Method
- Preheat your oven to 350°F. Line a large baking sheet with parchment paper and set aside.
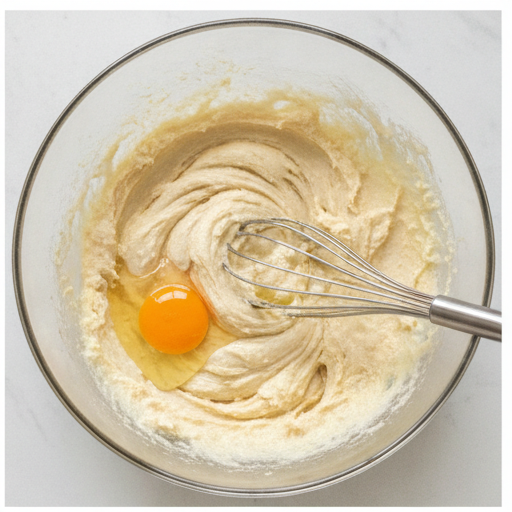
- In a large bowl, beat the softened butter, brown sugar, and granulated sugar together until smooth and creamy. Add the egg and vanilla extract, then beat for about 3 minutes until the mixture is light and fluffy.
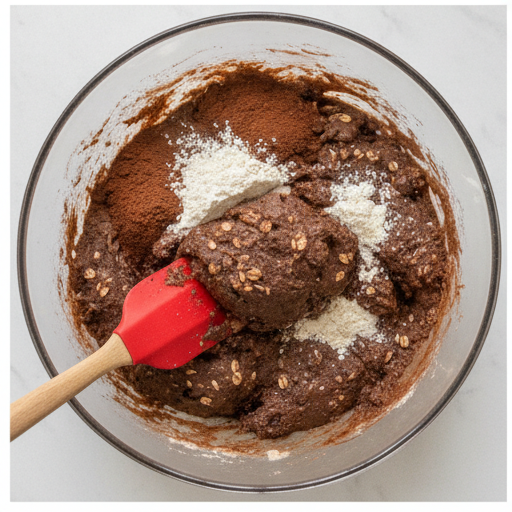
- Stir in the flour, rolled oats, cinnamon, baking soda, and salt, scraping down the sides of the bowl as needed, until just combined. Gently fold in the milk chocolate chips.
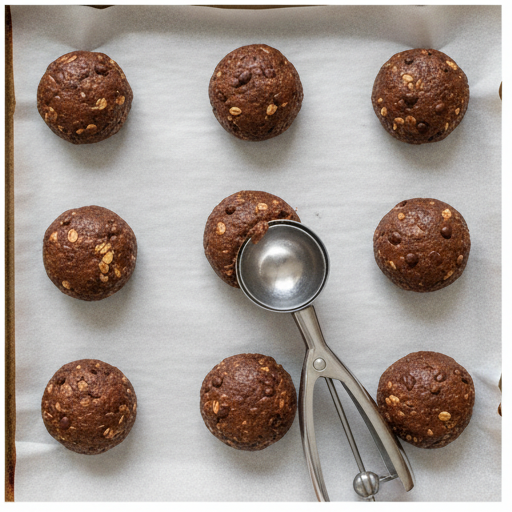
- Using a large cookie scoop (about 3 tablespoons), portion the dough into 8 equal balls and arrange them on the prepared baking sheet, spacing them about 3 inches apart. Gently press each ball down to about 1 inch thick. Bake for 11 to 12 minutes, until the edges are set and lightly golden but the centers still look soft. Do not overbake.
- Let the cookies cool on the baking sheet for 20 minutes, then transfer them to a wire rack to cool completely.
Nutrition
Notes
Tried this recipe?
Let us know how it was!Why You’ll Love This Recipe
You know that feeling when you pull a tray of cookies out of the oven and they’re flat, dry, or just… disappointing? Ándale, I’ve been there more times than I care to admit. Especially with oatmeal cookies. They can be so finicky, right?
But these chocolate oatmeal cookies? They’re different. They come out thick, soft, and perfectly chewy every single time. No more guessing games or crossed fingers. This is the recipe I turn to when I need a guaranteed win.
I first made these for my daughter’s back-to-school party last August. The kitchen was a mess, the four-year-old was “helping” crack eggs, and I was sweating in the summer heat. But when those cookies came out of the oven, golden at the edges and soft in the center, the whole house smelled like comfort. The kids devoured them before I could even pack them for the party.
So here’s the thing: this isn’t just another chocolate oatmeal cookie recipe. It’s the one I’ve tested and tweaked until it was perfecto. And now I’m sharing all my secrets with you.
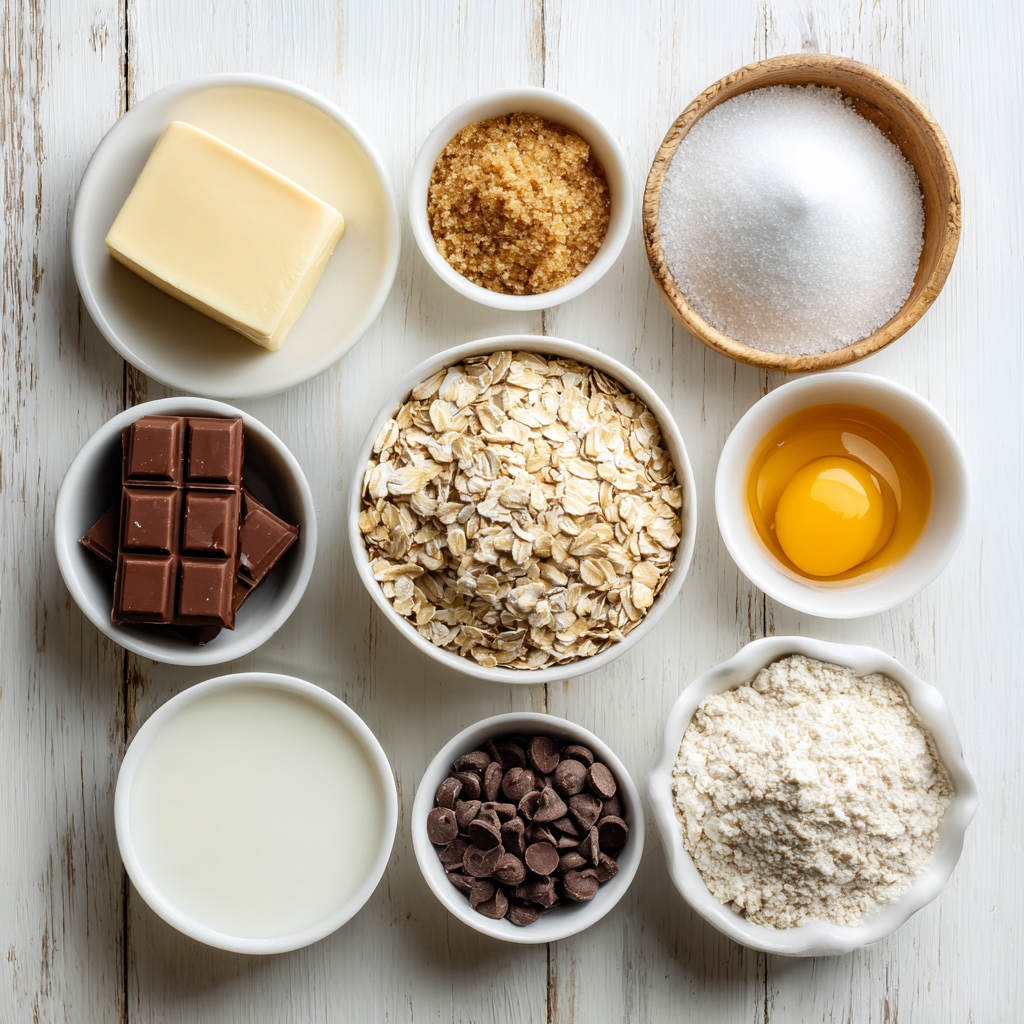
Ingredients You’ll Need
Let’s talk about what goes into these little beauties. The ingredient list is simple, but each one plays a specific role. Trust me on this.
- Unsalted butter – Softened to room temperature. This is key for creaming properly. If your butter is too cold, the cookies won’t spread right. Too soft, and they’ll flatten out.
- Brown sugar and granulated sugar – The brown sugar gives moisture and that deep caramel flavor. The white sugar helps with spreading and crisp edges. Together, they’re magic.
- Vanilla extract – A full tablespoon. Don’t skimp here. It rounds out all the flavors.
- One large egg – Room temperature, por supuesto. Cold eggs can seize the butter and ruin your emulsion.
- Old-fashioned rolled oats – This is important. Rolled oats give you that chewy texture. Quick oats will make your cookies mushy and flat. Save those for breakfast.
- All-purpose flour – Measure it correctly. Spoon and level, or use a scale. Too much flour makes dry, crumbly cookies.
- Ground cinnamon – Just a pinch. It’s not overpowering, but it adds this warm, cozy undertone that makes these cookies unforgettable.
- Baking soda and salt – The leavening and seasoning team.
- Milk chocolate chips – I use milk chocolate because it’s what my kids love. But you can swap for dark chocolate or semi-sweet if you prefer a less sweet cookie.
That’s it. No weird ingredients, no special equipment. Just pantry staples that come together beautifully.
How to Make Chocolate Oatmeal Cookies
Now for the fun part. I’ll walk you through the process, stage by stage. And I’ll tell you exactly what to look for so you know you’re on the right track.
Stage 1: Cream the Butter and Sugars
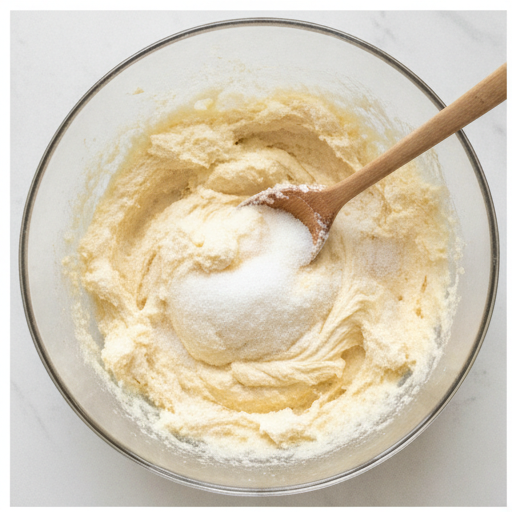
Start by beating your softened butter with both sugars until the mixture is smooth and creamy. This should take about 2-3 minutes. You want it light and fluffy, almost like a thick paste. Scrape down the sides of the bowl once or twice. If you’re using a hand mixer, that’s fine. I often do it by hand with a wooden spoon when I want to feel more connected to the process. En mi experiencia, the texture matters more than the tool.
Stage 2: Add the Egg and Vanilla
Add your room-temperature egg and the vanilla extract. Beat for another 3 minutes. I know that sounds like a long time, but trust me. This is where the magic happens. The mixture will become pale, thick, and almost mousse-like. This extra beating incorporates air, which helps your cookies stay soft and tender instead of dense.
Stage 3: Mix in the Dry Ingredients
Now stir in the flour, rolled oats, cinnamon, baking soda, and salt. Mix until just combined. Overmixing at this stage develops gluten, which makes cookies tough. You want to see a few flour streaks remaining. Then gently fold in the chocolate chips. The dough will be thick and slightly sticky. That’s exactly right.
Stage 4: Scoop and Bake
Use a large cookie scoop (about 3 tablespoons) to portion the dough into 8 equal balls. Space them about 3 inches apart on your parchment-lined baking sheet. Gently press each ball down to about 1 inch thick. Bake at 350°F for 11 to 12 minutes. The edges should be set and lightly golden, but the centers will still look soft and slightly underdone. Do not overbake. This is the most common mistake people make. The cookies will continue to set as they cool on the sheet for 20 minutes.
Pro Tips for Perfect Cookies
Over the years, I’ve learned a few things that make a real difference. These are the oatmeal cookie secrets I wish someone had told me when I started baking.
- Chill your dough in summer. If your kitchen is warm, the butter can soften too much and cause spreading. Pop the scooped dough balls in the fridge for 20-30 minutes before baking. This is especially helpful for baking cookies in summer when the heat is relentless.
- Use a cookie scoop for even sizing. This ensures all your cookies bake at the same rate. No more burnt edges on small ones and raw centers on big ones.
- Let them cool completely on the sheet. I know it’s tempting to move them to a rack right away. But those 20 minutes on the hot pan are crucial for setting the centers. If you move them too soon, they’ll fall apart.
- Don’t overbake. The cookies are done when the edges are set and the centers are still soft. They’ll look underdone, but that’s what you want. They firm up as they cool.
- Measure flour correctly. Use the spoon-and-level method. Fluff the flour, spoon it into your measuring cup, and level it off with a knife. Scooping directly from the bag packs in too much flour and leads to dry cookies.
- Toast your oats for extra flavor. Spread the rolled oats on a baking sheet and toast at 350°F for 5-7 minutes until fragrant. Let them cool completely before adding to the dough. This deepens the nutty flavor beautifully.
Storage and Freezing Instructions
These cookies keep beautifully, which is great for lunchbox cookies or back-to-school cookies. Store them in an airtight container at room temperature for up to 5 days. If you want them to stay extra soft, add a slice of bread to the container. It absorbs excess air and keeps the cookies moist.
You can also refrigerate them for up to a week. Just reheat in the microwave for 5-10 seconds before serving for that gooey, fresh-from-the-oven texture.
For longer storage, these cookies freeze wonderfully for up to 3 months. Place them in a single layer in a freezer-safe bag or container. Thaw at room temperature before enjoying. You can also freeze the raw dough balls. Scoop them, freeze them on a baking sheet, then transfer to a bag. Bake from frozen, adding 1-2 minutes to the bake time.
Common Mistakes to Avoid
Let’s be real for a second. Even experienced bakers mess up sometimes. Here are the most common pitfalls and how to avoid them.
- ❌ Mistake: Overmixing the dough → ✅ Solution: Mix until just combined. A few flour streaks are fine. Overmixing develops gluten and makes cookies tough.
- ❌ Mistake: Using cold ingredients → ✅ Solution: Bring your butter and egg to room temperature. Cold ingredients don’t cream properly and lead to dense, flat cookies.
- ❌ Mistake: Overbaking → ✅ Solution: Pull the cookies when the edges are set but the centers are still soft. They continue to cook on the hot sheet. This is the number one reason for dry cookies.
- ❌ Mistake: Not measuring flour correctly → ✅ Solution: Use the spoon-and-level method. Too much flour makes dry, crumbly cookies that don’t spread properly.
- ❌ Mistake: Baking on a hot sheet → ✅ Solution: Always start with a cool baking sheet. If you reuse a hot sheet, the dough will spread too quickly and your cookies will be thin and crispy.
Frequently Asked Questions
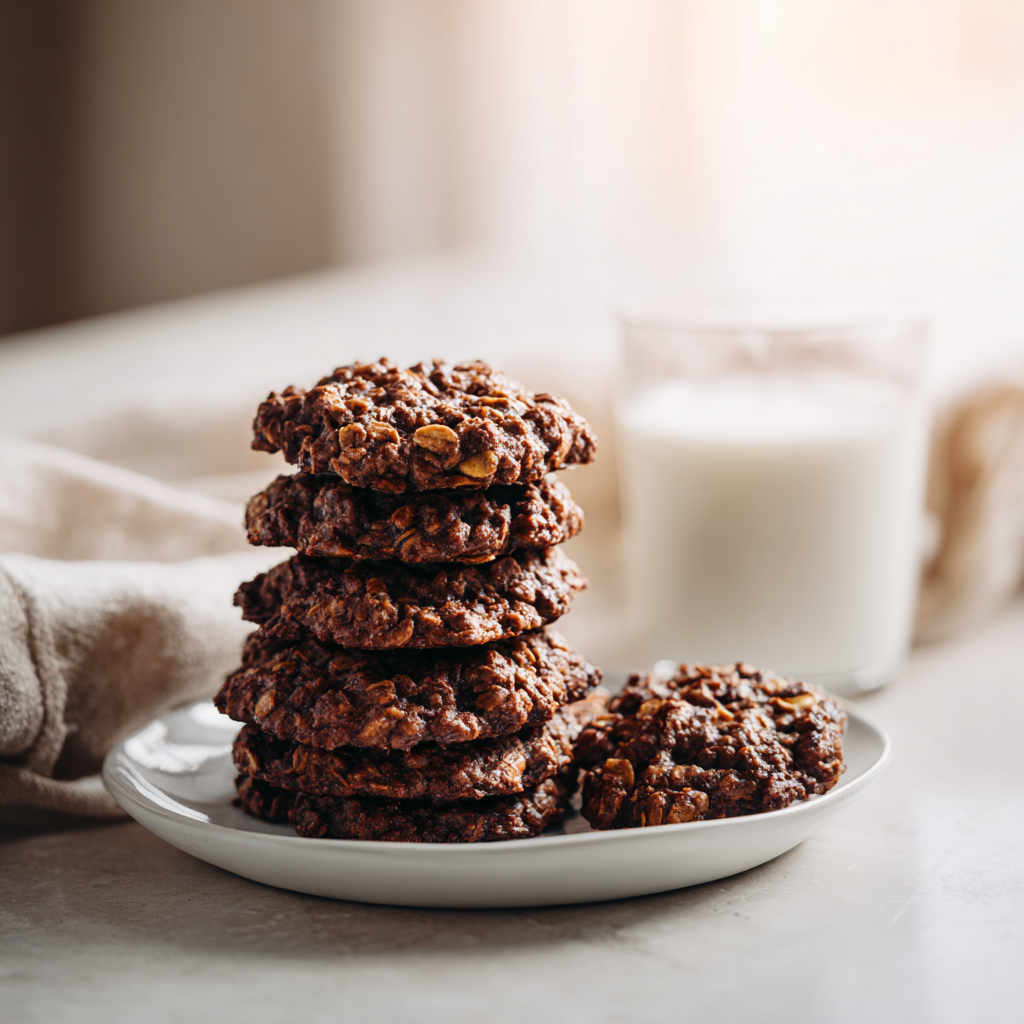
So there you have it. My tried-and-true recipe for the best chocolate oatmeal cookies. They’re soft, chewy, packed with chocolate, and completely foolproof. Go ahead, bake a batch. You’ll be amazed at how easy it is to get perfect results every time. And when your family asks for the recipe, just smile and tell them it’s a secret. Or share it. That’s what I’d do.
If you loved this recipe, I’d love to see your creations! Share your photos and tag me on Pinterest I’m always looking for new baking inspiration.
Source: Nutritional Information
Why did my chocolate oatmeal cookies not set up?
This usually happens if the dough was too warm or the butter was too soft. The cookies spread too much before they could set. Next time, chill the scooped dough balls for 20-30 minutes before baking. Also, make sure your baking soda is fresh. Old leavener won’t give enough lift.
How long can you store the cookie dough for?
You can refrigerate the dough, well wrapped, for up to 1 week. For longer storage, freeze the scooped dough balls for up to 3 months. Bake from frozen, adding 1-2 minutes to the bake time. This is perfect for spontaneous cookie cravings.
How long will the chocolate oatmeal cookies keep for?
Store them in an airtight container at room temperature for up to 5 days. Add a slice of bread to the container to keep them extra soft. You can also refrigerate them for up to a week. Reheat in the microwave for 5-10 seconds for that fresh-baked texture.