Why You’ll Love These 4th of July Cupcakes
You’ve got the grill going, the kids are running through the sprinklers, and you still need a show-stopping dessert. I’ve been there. Last year I spent the entire morning trying to make a flag cake that ended up looking more like a melted abstract painting. My five-year-old son, who has appointed himself Chief Cupcake Taster, looked at it and said, “Mom, it’s pretty… but it’s not perfect.” Kids, right?
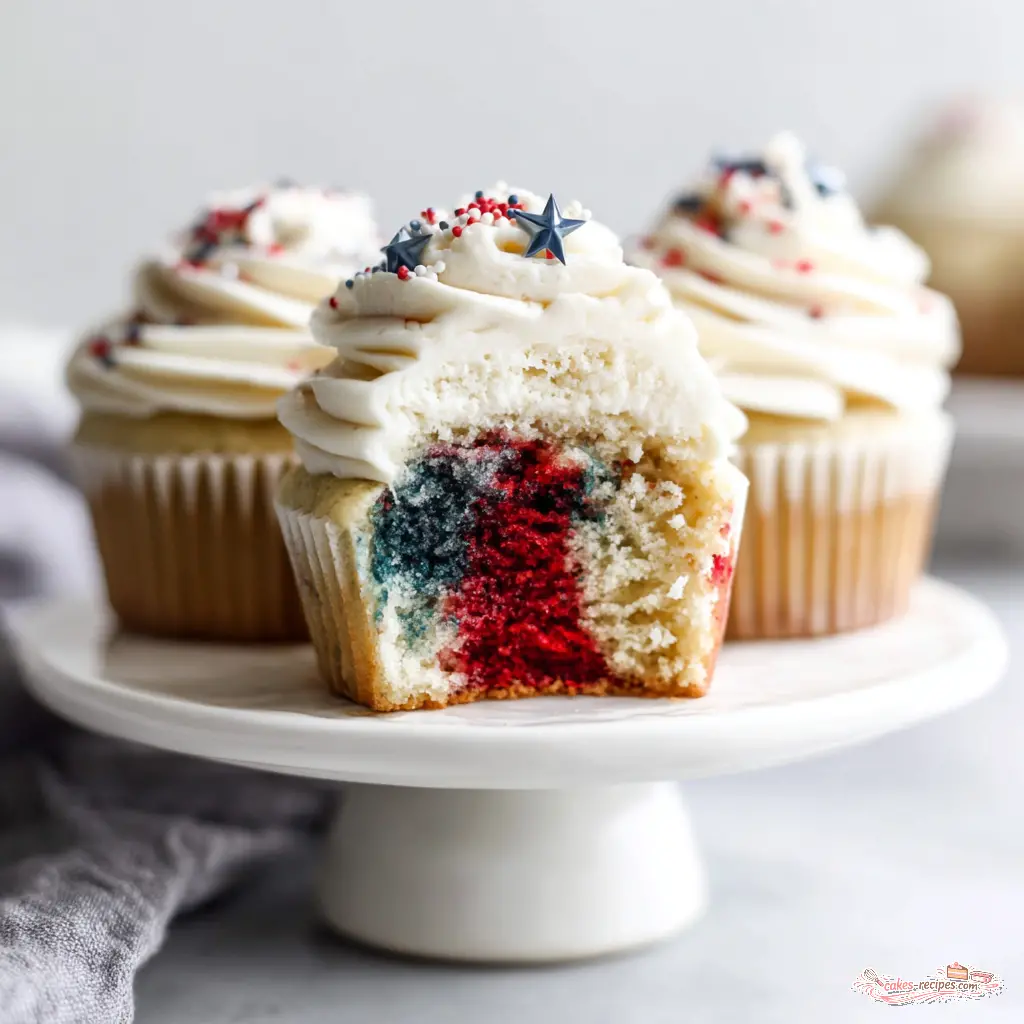
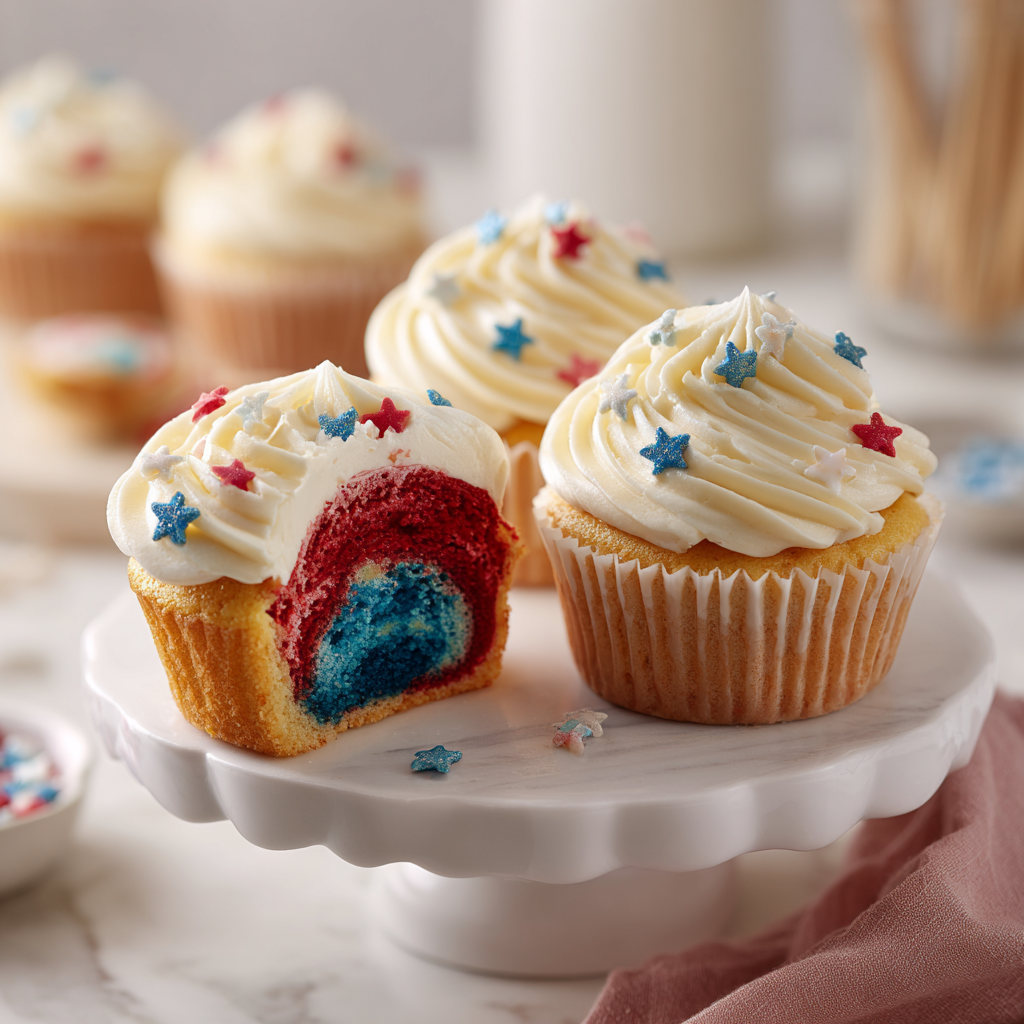
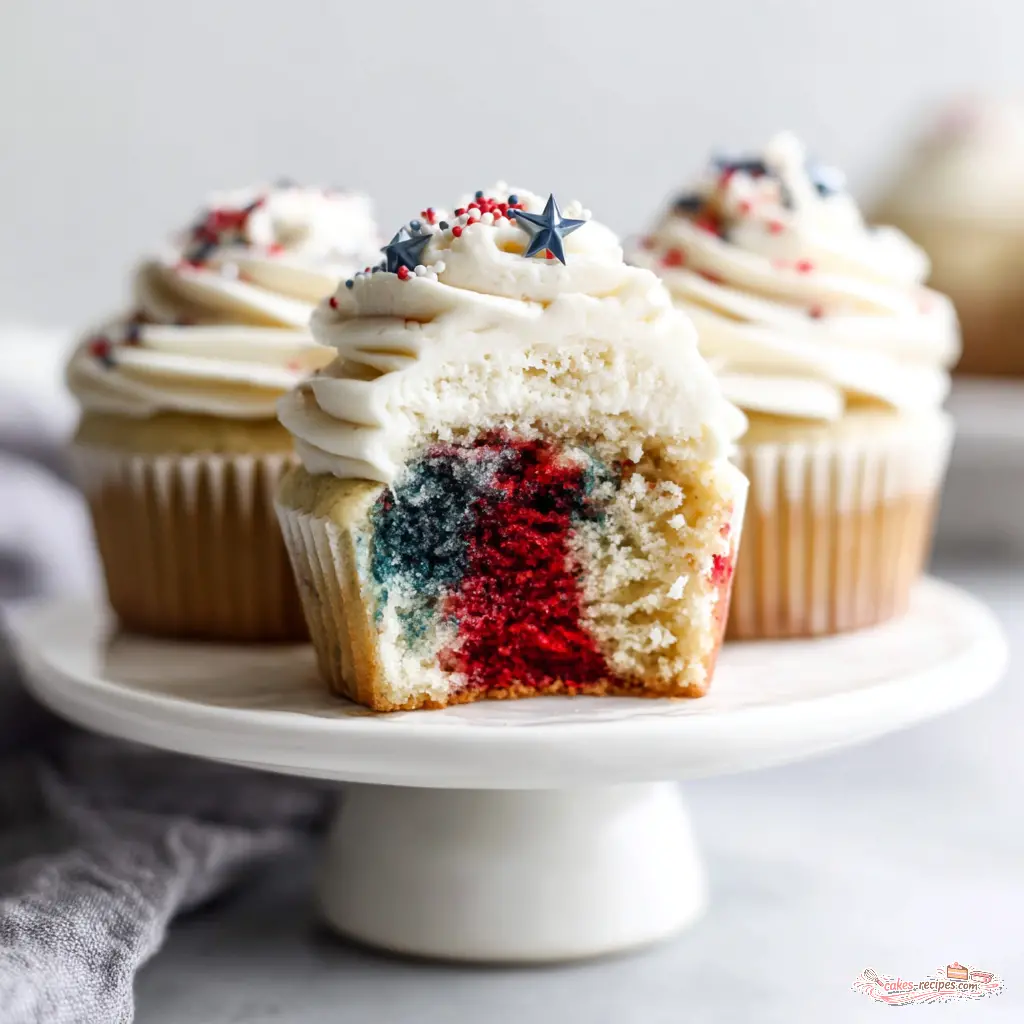
These 4th of July cupcakes are my answer to that chaos. They’re tender, moist, and marbled with red and blue velvet swirls that look incredible when you bite into them. The vanilla buttercream on top is perfectly sweet and holds up better than most frostings in summer heat. And the best part? They look way more complicated than they actually are.
Oh my goodness, I’m obsessed with how the colors come together. Each cupcake has its own unique marble pattern, so no two look exactly alike. That makes me so happy. It’s like a little surprise in every bite.
These patriotic cupcakes are totally doable for a busy parent. You can make the batter in one bowl, the frosting takes five minutes, and the decorating is as simple or as fancy as you want. Plus, they’re an easy 4th of July dessert that travels well to picnics and barbecues.
This works for me, but you might prefer a different approach if you’re short on time. I’ll show you how to make it work either way.
Recipe Tips
Let me save you from my mistakes. Here’s what I’ve learned after testing these red white and blue cupcakes more times than I care to admit.
Pro Tip: Heat-Resistant Frosting
Keep your buttercream from melting: American buttercream is naturally more stable than Swiss or Italian meringue. But for outdoor parties, add 2 tablespoons of cornstarch to the powdered sugar. It helps the frosting hold its shape even on a warm July afternoon. Also, keep your cupcakes in a cool spot away from direct sun until serving time.
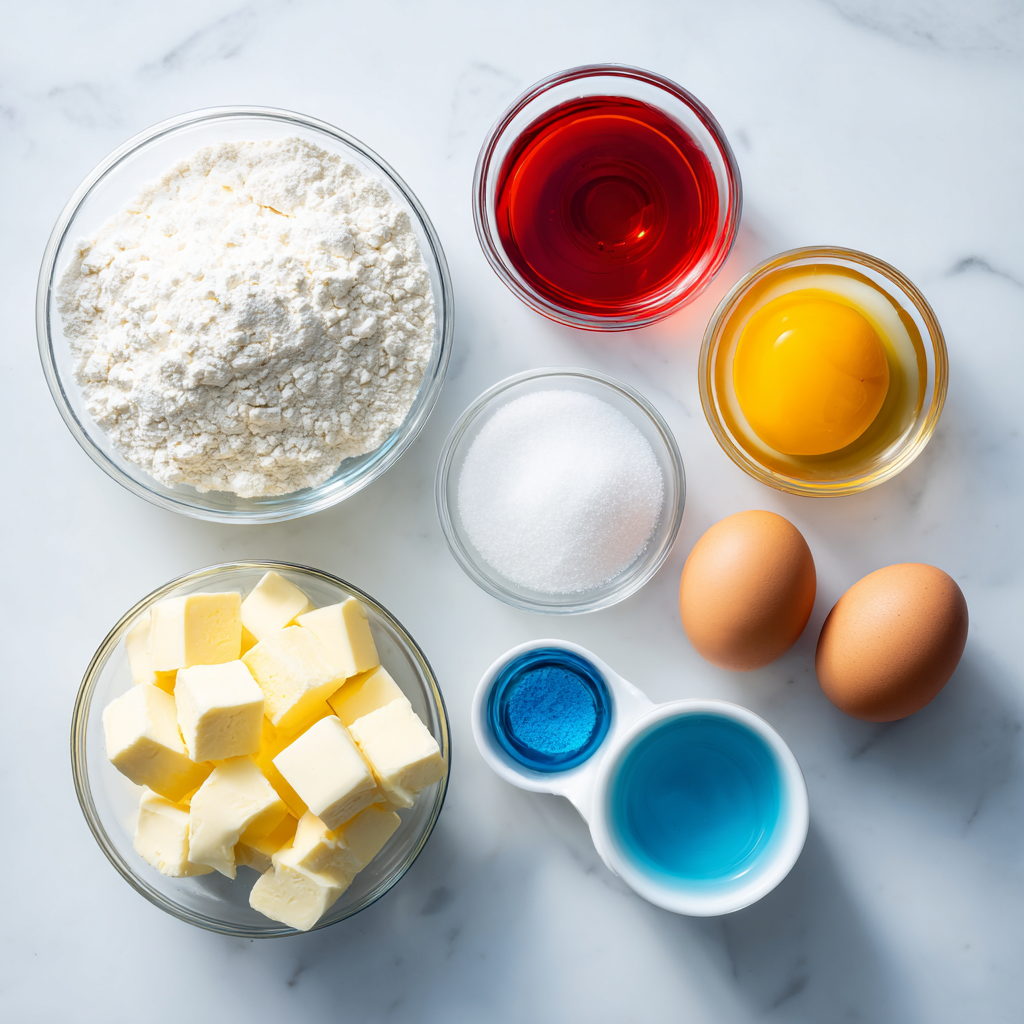
Use gel food coloring. This is non-negotiable for vibrant red and blue. Liquid food coloring will thin out your batter and give you pastel shades at best. I love the Americolor brand, but Wilton works great too. You can find them at Michaels or online. For a more natural approach, you can try beet powder for red and butterfly pea flower for blue, but honestly? The colors won’t be as bright. For Independence Day, I go full gel.
Room temperature ingredients matter. I know, I know, it’s an extra step. But your eggs, sour cream, and buttermilk need to be at room temperature for the batter to come together smoothly. Cold ingredients make the butter seize up, and you’ll end up with dense, heavy cupcakes. Pull everything out of the fridge 30 minutes before you start baking.
Don’t overmix the batter. Mix just until the flour disappears. Overmixing develops gluten, which makes cupcakes tough. We want tender, fluffy cakes here. Love that for you.
Measure your flour correctly. Spoon it into the measuring cup and level it off with a knife. Scooping directly from the bag packs the flour down and you’ll end up with too much. That’s a common mistake that leads to dry cupcakes.
Fill liners only 2/3 full. I used to overfill them thinking I’d get bigger cupcakes. Nope. They mushroom over the top and look messy. Halfway to two-thirds full is the sweet spot.
How to Make 4th of July Cupcakes
This is where the magic happens. The red and blue velvet swirls are easier than you think. Let me walk you through it.
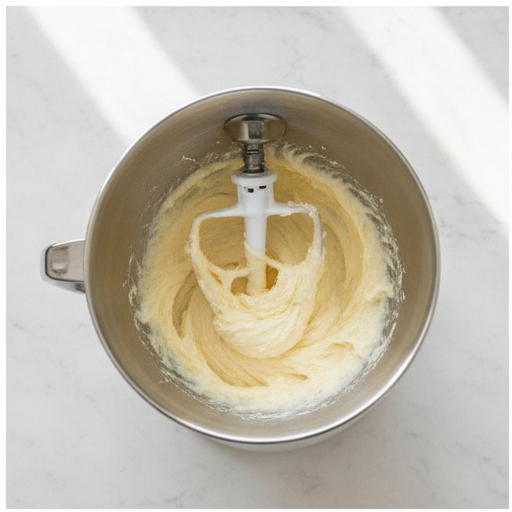
Stage 1: Make the base batter. Start by creaming your butter and sugar until they’re light and fluffy. That takes about 3 minutes with a stand mixer. Add the eggs one at a time, then the sour cream and vanilla. Alternate adding the dry ingredients and buttermilk, starting and ending with the dry. You’ll have a beautiful, thick vanilla batter.
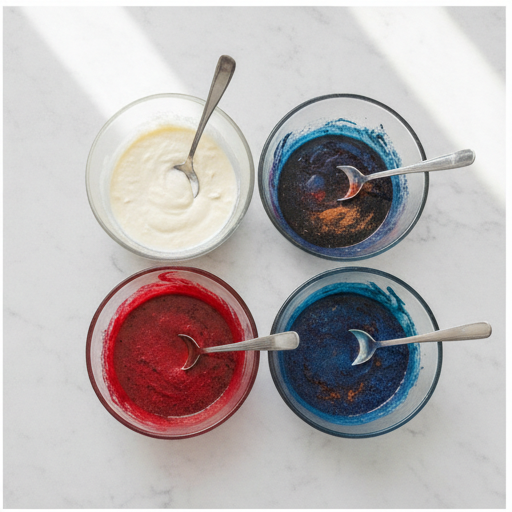
Now here’s the fun part. Scoop out 1 cup of that batter into a separate bowl. Stir in the cocoa powder and a splash of buttermilk. This creates your velvet base. Then split that chocolate batter in half and tint one half red and the other blue. You’ll have three bowls of batter: white, red, and blue.
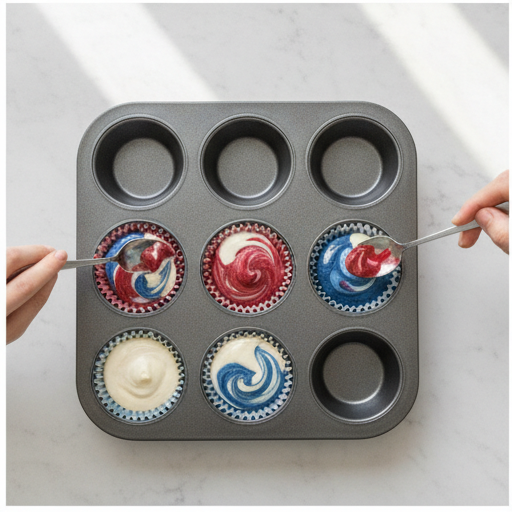
Stage 2: Layer the colors. Grab your lined muffin tin. Drop a teaspoon of red batter into each liner, then a teaspoon of blue. Top with a tablespoon of the white batter. Repeat the layering until each liner is about two-thirds full. You should use almost all the batter.
Gently tap the pan on the counter to level everything out. Then take a toothpick and swirl through each cupcake a few times. Don’t over-swirl or the colors will blend into a muddy brown. Just a few figure-eight motions and you’re done.
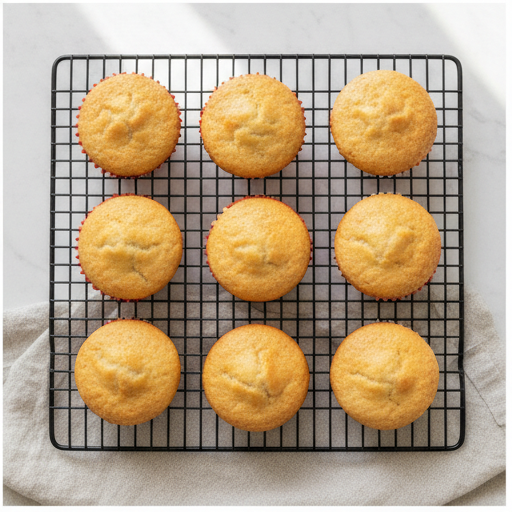
Stage 3: Bake to perfection. Pop them in a 350°F oven for 18 to 22 minutes. You’ll know they’re done when a toothpick inserted in the center comes out clean. Let them cool in the pan for 5 minutes, then transfer to a wire rack. And here’s the thing: wait until they’re completely cool before frosting. Warm cupcakes will melt your buttercream into a sad puddle. I learned this the hard way.
Stage 4: Make the vanilla buttercream. Beat your softened salted butter until it’s creamy. Add the sifted powdered sugar and mix on low until it comes together. It’ll look powdery at first, but don’t panic. Scrape the bowl, then turn the mixer to high and add the vanilla and a teaspoon of boiling water. Mix for about 20 seconds until it’s smooth and silky. That’s it. You’ve got perfect buttercream frosting for summer.
How to Decorate 4th of July Cupcakes
This is where you can get creative. Or keep it simple. Either way, these cupcakes will look amazing.
Piping a swirl. Use a large star tip like the Wilton 1M or 2D. Fill your piping bag with buttercream, hold it straight up over the cupcake, and pipe a spiral from the outside in. Finish with a little peak in the center. If your swirls look like tornadoes (my son’s specialty), call it a “chaos cupcake” and move on. They still taste incredible.
Simple sprinkle situation. Not into piping? Just spread the buttercream with a knife and top with patriotic sprinkles. You can find star sprinkles, red white and blue jimmies, and little flag toppers at craft stores or online. Look for them early in the season, they sell out fast.
California twist. For a nod to my home state, top each cupcake with a small slice of fresh California strawberry. The bright red against the white buttercream is gorgeous. Or add a few toasted almond slivers for crunch. Totally optional but so good.
Flag cupcake designs. Arrange a few cupcakes in a rectangle shape on a platter. Pipe white buttercream on all of them, then use blueberries to create the blue star section and raspberries or strawberries for the red stripes. It’s a fun way to make a flag without a complicated cake.
For minimal decorating, a plain white rosette with a sprinkle of star sprinkles is elegant and festive. The inside is already colorful, so you don’t need to go overboard on top.
Cupcake Storing Tips
You can absolutely make these ahead. Here’s how to keep them fresh.
Unfrosted cupcakes: Wrap them individually in plastic wrap and store at room temperature for up to 2 days. Or freeze them for up to 3 months. When you’re ready to serve, thaw them at room temperature (still wrapped) and then frost.
Frosted cupcakes: Store in an airtight container at room temperature for up to 2 days. If it’s really hot, you can refrigerate them, but let them come to room temperature for about 30 minutes before serving. Cold buttercream isn’t as fluffy.
For outdoor parties: Keep the cupcakes in a cooler or shaded area until serving time. If you’re worried about melting, you can transport them unfrosted and pipe the buttercream at the party. It takes just a few minutes and guarantees perfect swirls.
Frequently Asked Questions
What to Serve with 4th of July Cupcakes
These cupcakes are the perfect ending to a backyard barbecue. Pair them with grilled favorites like burgers, hot dogs, or BBQ chicken. For sides, coleslaw, potato salad, or baked beans round out the meal nicely.
If you’re going all out, serve these alongside other July 4th party dessert ideas like no-bake pies, strawberry shortcake, or vanilla ice cream. A scoop of ice cream next to a warm cupcake? That’s the kind of summer memory worth making.
And don’t forget the drinks. Lemonade, iced tea, or sparkling water with fresh berries keep things refreshing and festive.
Final Thoughts
These 4th of July cupcakes have become my go-to for every Independence Day celebration. They’re beautiful, delicious, and surprisingly easy. My son still critiques my swirls, but he eats every single one. That’s a win in my book.
I’d love to see your creations! Tag me on Pinterest when you make them. Follow me on Pinterest for more easy dessert ideas.
Even if your cupcakes aren’t perfect, they’re made with love, and that’s what matters. Happy 4th of July!
California Dreamin' 4th of July Cupcakes
Ingredients
Method
- Preheat your oven to 350°F. Line a 12-cup muffin tin with paper liners and set aside.
- In a medium bowl, whisk together the flour, salt, baking powder, and baking soda. Set aside.
- In the bowl of a stand mixer fitted with the paddle attachment, cream the butter and sugar on medium-high speed until light and fluffy, about 3 minutes.
- Add the eggs one at a time, beating well after each addition. Scrape down the bowl as needed. Add the sour cream and vanilla and beat until combined. Gradually add the dry ingredients and 2/3 cup buttermilk in three additions, starting and ending with the dry ingredients. Mix just until combined.
- Scoop out 1 cup of the batter and stir in the cocoa powder and the remaining 2 tablespoons buttermilk. Divide this chocolate batter in half and tint one half with red food coloring and the other with blue. Place a teaspoon of red batter and a teaspoon of blue batter into each cupcake liner. Top with 1 tablespoon of the white batter. Repeat layering with the red, blue, and white batters until the liners are about 2/3 full (you should use almost all the batter).
- Gently tap the pan on the counter to level the batter. Use a toothpick to swirl the colors together for a marbled effect. Bake for 18 to 22 minutes, or until a toothpick inserted into the center comes out clean. Let the cupcakes cool in the pan for 5 minutes, then transfer them to a wire rack to cool completely.
- In the bowl of a stand mixer fitted with the paddle attachment, beat the butter on medium speed until soft, about 30 seconds. Add the sifted powdered sugar, attach the splash guard, and mix on low speed until the sugar is just incorporated, about 3 minutes. The mixture will look powdery at first. Scrape down the sides and bottom of the bowl, then mix again to incorporate any loose sugar.
- Turn the mixer to high, immediately add the vanilla and hot water, and mix until smooth, about 20 seconds. If desired, transfer the buttercream to a piping bag and decorate the cooled cupcakes as you like.
Nutrition
Notes
Tried this recipe?
Let us know how it was!Source: Nutritional Information
Can I make these 4th of July cupcakes with a cake mix?
Absolutely. Use a white or vanilla cake mix and follow the package instructions. Then scoop out 1 cup of batter, add cocoa powder and food coloring, and layer as directed. The texture will be slightly different, but the patriotic effect is the same. Love that for you.
What if I only have liquid food coloring?
You can use it, but the colors will be more pastel than vibrant. Reduce the amount of liquid in the batter slightly to compensate for the extra liquid from the coloring. For bold red and blue, gel food coloring is worth the trip to the store.
Can I layer the colors instead of swirling them?
Yes! For a cleaner look, layer the red, white, and blue batters without swirling. The cupcakes will have distinct colored stripes. Just be careful not to mix the layers when adding each spoonful. It’s a great option if you want a more structured design.