Why You’ll Love These Apple Gorgonzola Tartlets
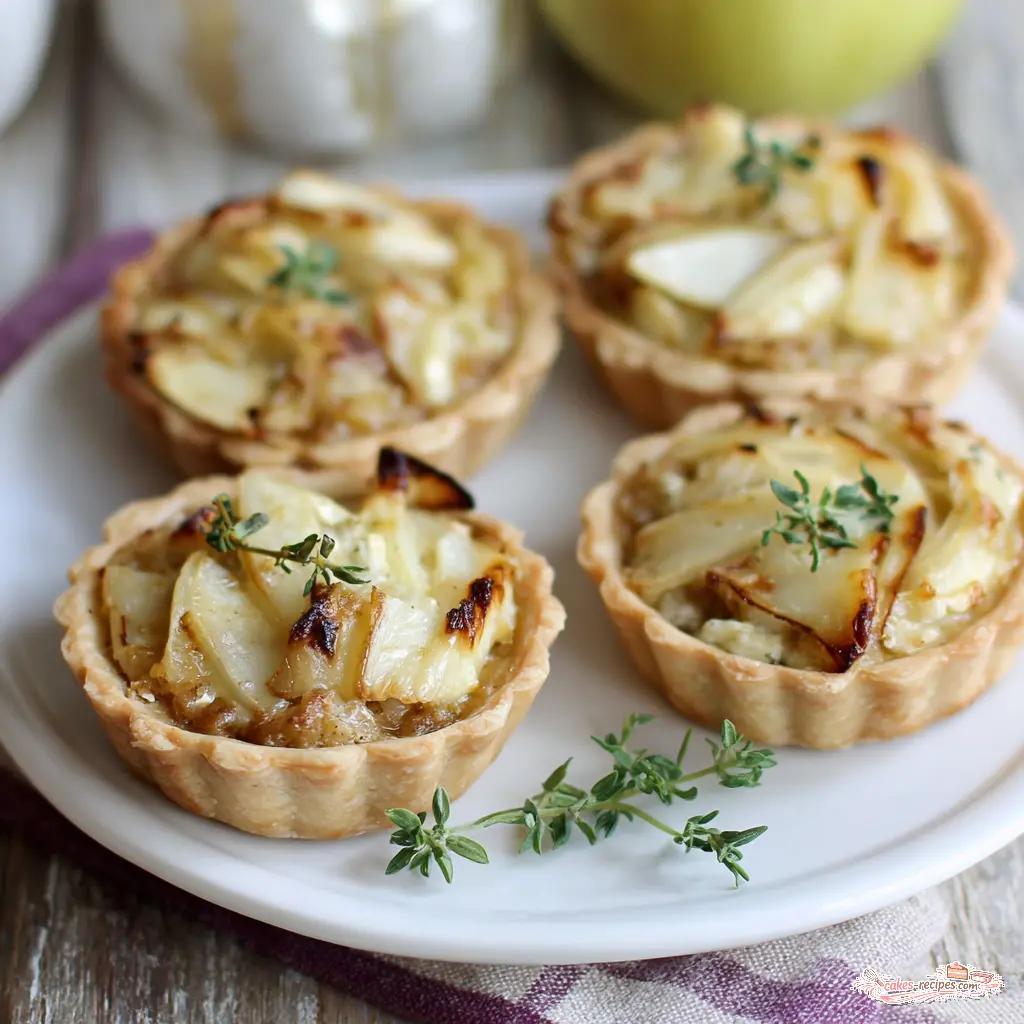
Let me tell you about the first time I made these apple gorgonzola tartlets. It was a Sunday afternoon, and my wife’s family was coming over for an early dinner. I had this vision of something elegant, something that would make them forget about my uncle Sal’s cheesecake for a minute. I pulled these little biscuit tartlets out of the oven, and the smell of butter and thyme hit me first. Then I saw the golden crust, the soft apples peeking through, and the crumbled gorgonzola melted into little pockets of tangy goodness.
Here’s the thing about these apple gorgonzola tartlets. They look like you spent hours in the kitchen, but the secret is in the technique, not the time. The biscuit dough comes together in about ten minutes. The filling is just apples, maple syrup, lemon juice, and fresh thyme. That’s it. No complicated custards, no blind baking, no stress.
What you get is a perfect balance of sweet and savory. The apples soften and caramelize in the oven, the gorgonzola gets creamy and slightly funky, and the biscuit crust stays tender and flaky. Every bite has that crackle of butter and that burst of sweet-tangy filling. That’s exactly what you want from a party appetizer.
And let’s be honest. Hosting is stressful enough without worrying about complicated recipes. These apple gorgonzola tartlets are the kind of thing you can make ahead, pop in the oven when guests arrive, and watch disappear in minutes. No question about it.
Here’s what you’re getting:
- Flaky, tender biscuit crust with bits of gorgonzola baked right in
- Sweet, spiced apples that hold their shape without getting mushy
- A make-ahead strategy that actually works
- Elegant presentation that impresses without fuss
- Real crowd-pleasing flavor that gets people asking for the recipe
Ingredients for Apple Gorgonzola Tartlets
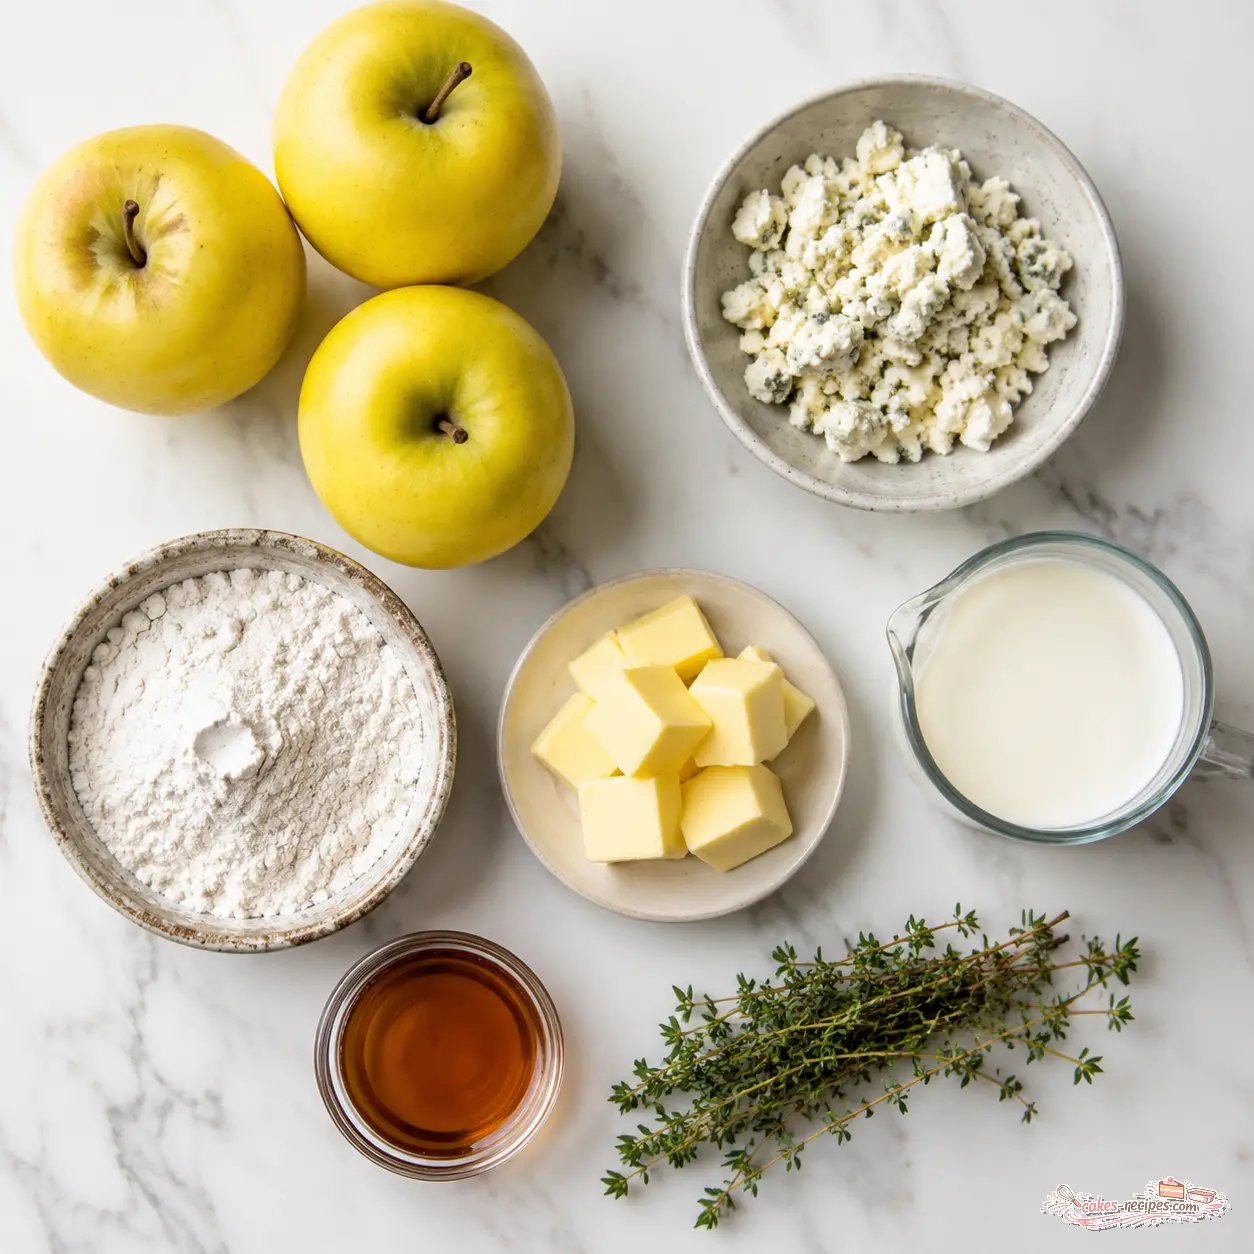
The ingredient list is short, and that’s by design. Each component has a job to do. Let me walk you through what you need and why it matters.
For the biscuit dough: All-purpose flour, baking powder, salt, and black pepper are your dry base. The pepper is subtle, but it adds a little warmth that plays off the gorgonzola. Cold unsalted butter is non-negotiable here. You want it straight from the fridge, cut into small pieces. The butter creates steam pockets in the oven, which gives you that flaky texture. Crumbled gorgonzola goes right into the dough. This is the move that makes these tartlets special. You get little pockets of melted cheese throughout the crust. Buttermilk brings everything together. It adds a slight tang and helps the dough stay tender.
For the apple filling: Golden Delicious apples are my choice here. They hold their shape well during baking and have a nice balance of sweet and tart. Maple syrup adds sweetness without being cloying. Fresh lemon juice keeps the apples from browning and adds brightness. Fresh thyme leaves are the surprise element. That herbal, slightly floral note cuts through the richness of the cheese and butter. A little more flour helps thicken the juices so the filling stays put. And a pinch of salt rounds everything out.
Most of the time, I find that simple ingredients are the ones that shine brightest. This recipe proves that point perfectly.
How to Make Apple Gorgonzola Tartlets
The process breaks down into four main stages. Each one is straightforward, and I’ll explain the why behind each step so you understand what’s happening. This works for me, and it’ll work for you.
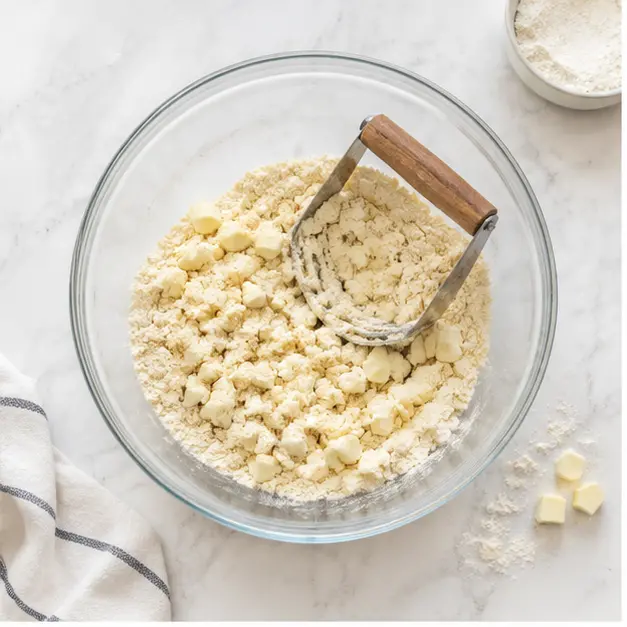
Stage 1: Make the biscuit dough. Start by whisking your dry ingredients together. Then cut in the cold butter using a pastry cutter or two forks. You want the mixture to look like coarse crumbs with some pea-sized butter bits remaining. Those butter bits are what create flaky layers. Stir in the crumbled gorgonzola, then add the buttermilk and stir just until the dough comes together. Overmixing develops gluten, which makes the crust tough. You don’t want that. Shape the dough into a disk, wrap it in plastic, and refrigerate for at least 30 minutes. This rest lets the gluten relax and the butter firm up again. That’s the move for a tender crust.
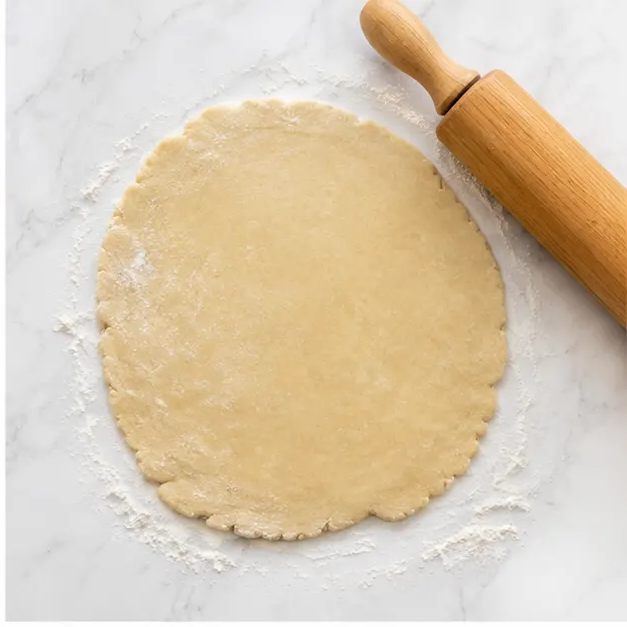
Stage 2: Roll and shape the dough. Preheat your oven to 375°F. Lightly grease your tart pans or muffin tin. On a floured surface, roll the chilled dough to about 1/4-inch thickness. Use a round cutter or the rim of a glass to cut out circles slightly larger than your pans. Press each circle into a pan, letting the edges drape over slightly. Don’t worry about perfection here. The rustic look is part of the charm. Poke a few holes in the bottom of each dough cup with a fork. This lets steam escape and prevents the crust from bubbling up.
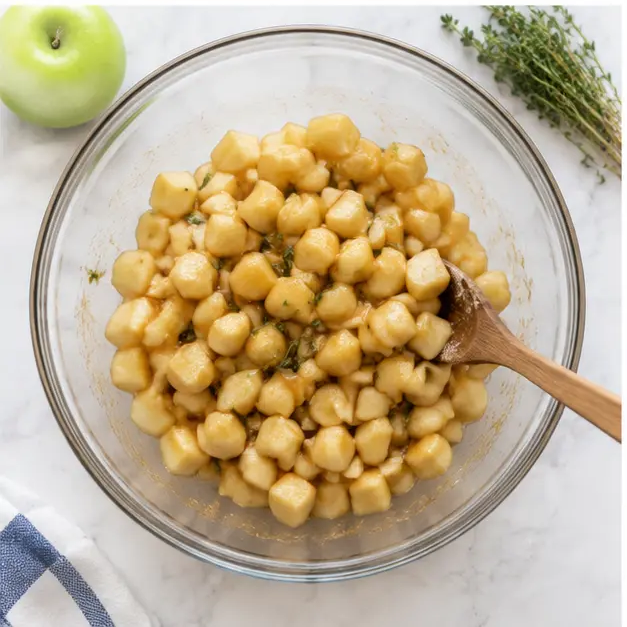
Stage 3: Prepare the apple filling. In a medium bowl, combine the diced apples, maple syrup, lemon juice, fresh thyme, flour, and a pinch of salt. Toss until the apples are evenly coated. The flour helps thicken the juices as they cook. The lemon juice prevents the apples from turning brown. And the thyme is where the magic happens. That herbal note is what makes these tartlets feel sophisticated without being complicated.
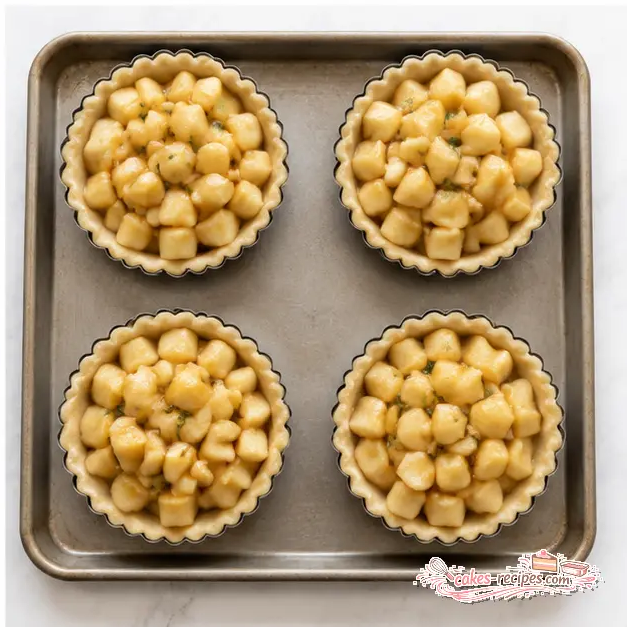
Stage 4: Assemble and bake. Divide the apple mixture evenly among the four dough-lined pans. Place the pans on a baking sheet and bake for 20 to 25 minutes. You’re looking for the crust to turn golden brown and the apples to be tender. Listen for the crackle of the butter as it sizzles in the oven. That sound means the crust is doing its job. Let the tartlets cool in the pans for 5 minutes, then carefully remove them. Serve warm or at room temperature.
Tips for the Best Tartlets
Over the years, I’ve learned a few things that make these apple gorgonzola tartlets turn out perfectly every time. Here’s what I’ve found matters most.
Keep everything cold. The butter needs to be cold when it goes into the flour. If it warms up, it’ll melt into the dough instead of creating steam pockets. That means a dense, tough crust instead of a flaky one. If your kitchen is warm, pop the flour and butter in the fridge for 10 minutes before you start.
Don’t overwork the dough. This is the most common mistake. Stir just until the dough comes together. A few dry spots are fine. Overmixing develops gluten, and gluten makes crusts tough. Fair enough?
Chill the dough. That 30-minute rest in the fridge isn’t optional. It firms up the butter and relaxes the gluten. If you skip this step, the dough will be sticky and hard to work with, and the crust won’t be as flaky.
Poke holes in the dough. Before you add the filling, use a fork to prick the bottom of each dough cup. This lets steam escape and prevents the crust from puffing up into a bubble. Simple step, big difference.
Use fresh thyme. Dried thyme won’t give you the same bright, herbal flavor. Fresh thyme is worth seeking out for this recipe. It’s what makes the tartlets feel fresh and balanced.
Watch the baking time. Every oven runs a little differently. Start checking at 20 minutes. The crust should be golden brown, and the apples should be tender when pierced with a fork. If the edges are browning too fast, tent the tartlets with foil for the last few minutes.
Variations and Substitutions
One of the things I love about this recipe is how flexible it is. Here are some ways to make it your own.
Apple varieties: Golden Delicious is my go-to, but Honeycrisp or Fuji apples work beautifully too. They’re sweeter, so you might want to reduce the maple syrup slightly. Granny Smith apples add more tartness, which is a nice contrast with the gorgonzola. In my experience, any firm apple that holds its shape during baking will work here.
Cheese swaps: If gorgonzola is too intense for your crowd, try blue cheese or goat cheese. Both melt beautifully and add their own character. Blue cheese is milder than gorgonzola but still gives you that tangy, creamy element. Goat cheese is even milder and adds a fresh, tangy note.
Herb options: Fresh rosemary is a natural partner for apples and cheese. Finely chop a teaspoon and add it to the filling. Or try a pinch of dried herbs de Provence for a more complex flavor. Just go easy with dried herbs. They’re more concentrated than fresh.
Crust alternatives: Store-bought pie crust or puff pastry can stand in for the biscuit dough. If you use puff pastry, cut it into squares and press them into muffin tins. The baking time might be slightly shorter, so keep an eye on them.
Add-ins: A handful of chopped walnuts or pecans adds crunch and nuttiness. Sprinkle them over the apples before baking. A drizzle of honey after baking adds extra sweetness and a beautiful glossy finish.
Storage and Make-Ahead Tips
This is where these apple gorgonzola tartlets really shine. They’re designed to be made ahead, which is a lifesaver when you’re hosting.
Make the dough ahead: The biscuit dough can be made up to 2 days in advance. Wrap it tightly in plastic wrap and keep it in the fridge. When you’re ready to bake, let it sit at room temperature for 10 minutes so it’s easier to roll.
Prepare the filling ahead: You can dice the apples and toss them with the maple syrup, lemon juice, and thyme up to 1 day in advance. Store the mixture in an airtight container in the fridge. The lemon juice will keep the apples from browning.
Assemble and bake fresh: The best approach is to assemble the tartlets just before baking. Roll the dough, fill the pans, add the apples, and bake. This gives you the freshest, flakiest result.
Store leftovers: Baked tartlets can be stored in an airtight container in the fridge for up to 2 days. The crust will soften slightly, but the flavor will still be great.
Reheat properly: To restore some of the crispness, reheat the tartlets in a 350°F oven for 5 minutes. Don’t use the microwave. It’ll make the crust soggy.
Freeze for later: You can freeze the unbaked, assembled tartlets. Place them on a baking sheet and freeze until solid, then transfer to a freezer bag. Bake from frozen, adding 5 to 7 minutes to the baking time.
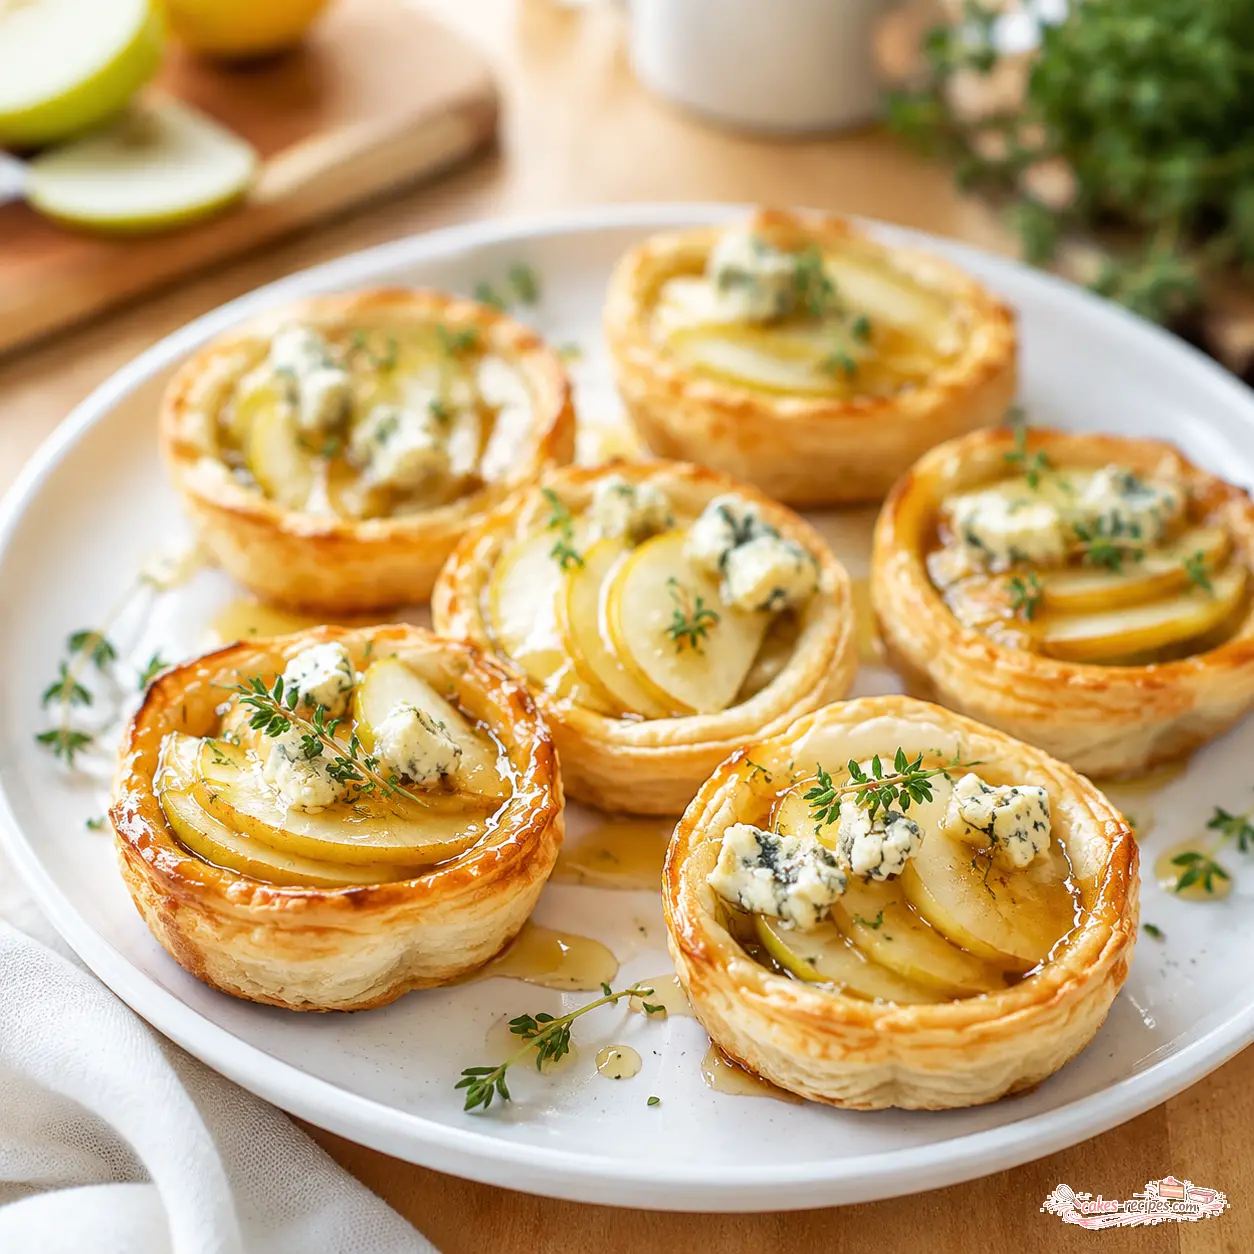
These apple gorgonzola tartlets have become my secret weapon for parties and family dinners. They’re elegant enough for a holiday gathering but simple enough for a casual Sunday lunch. And every time I serve them, someone asks for the recipe. That’s the kind of feedback that makes all the effort worthwhile.
If you’re looking for more appetizer inspiration, I’d love for you to follow me on Pinterest. I’m always pinning new recipes that work for real people with real kitchens.
You’ll be the host everyone talks about. Trust me on that.
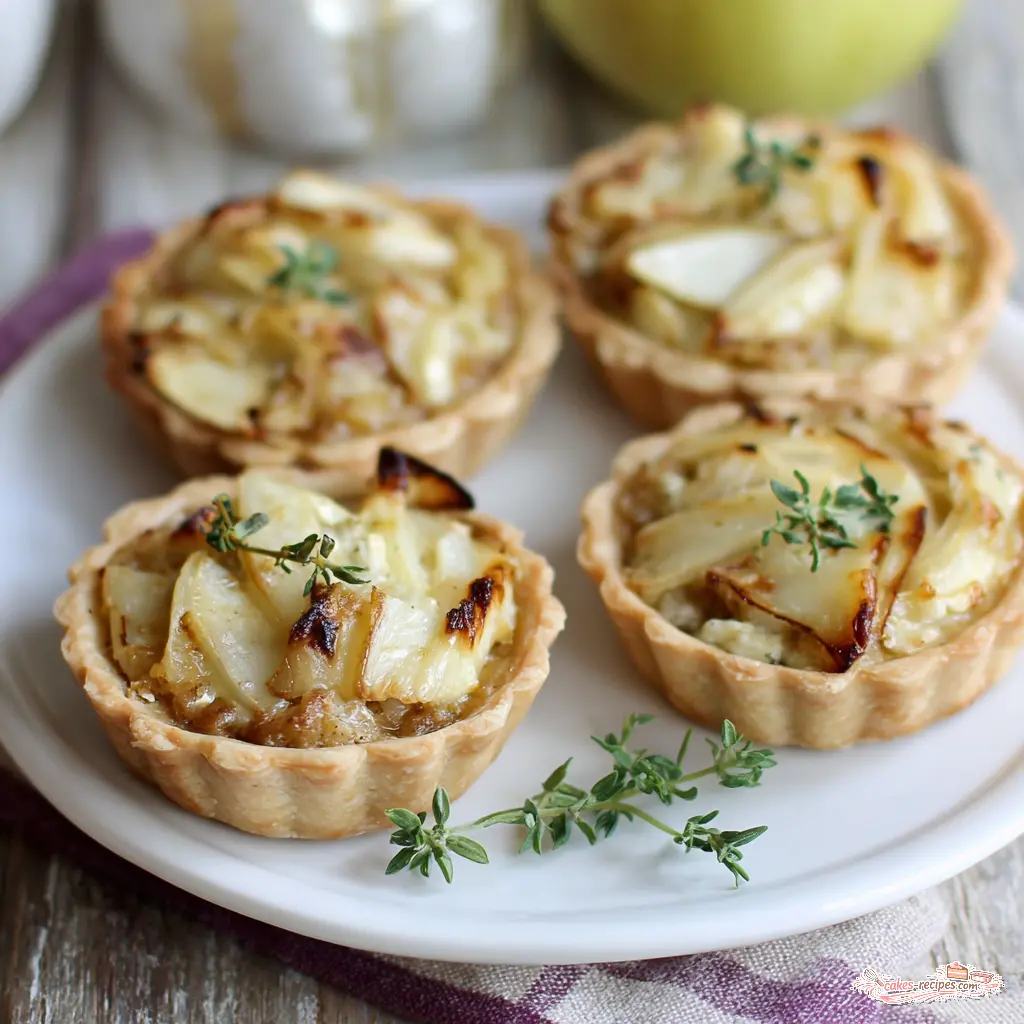
Apple Gorgonzola Tartlets with California Thyme
Ingredients
Method
- In a large mixing bowl, whisk together the flour, baking powder, salt, and black pepper until well combined.
- Using a pastry cutter or two forks, cut the cold butter pieces into the flour mixture until it resembles coarse crumbs with some pea-sized butter bits remaining.
- Stir in the crumbled Gorgonzola cheese, then make a well in the center of the mixture. Pour the buttermilk into the well and gently stir with a fork until the dough just comes together. Do not overmix.
- Turn the dough out onto a lightly floured surface, shape it into a disk, wrap tightly in plastic wrap, and refrigerate for at least 30 minutes (or up to 2 days).
- Preheat your oven to 375°F. Lightly grease 4 individual tart pans (about 4 inches in diameter) or a standard muffin tin.
- On a floured surface, roll the chilled dough out to about 1/4-inch thickness. Using a round cutter or the rim of a glass, cut out 4 circles slightly larger than your tart pans. Gently press each circle into a prepared pan, allowing the edges to drape over slightly.
- In a medium bowl, combine the diced apples, maple syrup, lemon juice, fresh thyme, flour, and a pinch of salt. Toss until the apples are evenly coated.
- Divide the apple mixture evenly among the 4 dough-lined pans. Place the pans on a baking sheet and bake for 20 to 25 minutes, until the crust is golden brown and the apples are tender.
- Let the tartlets cool in the pans for 5 minutes, then carefully remove them. Serve warm or at room temperature, optionally over a bed of mixed greens for a light lunch.
Nutrition
Notes
Tried this recipe?
Let us know how it was!Frequently Asked Questions
Source: Nutritional Information
Can I use puff pastry instead of the biscuit dough for these apple gorgonzola tartlets?
Absolutely. Thaw frozen puff pastry in the fridge overnight, cut it into squares, and press them into muffin tins. The baking time might be slightly shorter, so watch for golden brown edges. Puff pastry gives you an even flakier, more delicate crust.
What kind of blue cheese is best for an apple gorgonzola tartlet?
Gorgonzola dolce is ideal. It’s creamy, mild, and melts beautifully. If you want a stronger flavor, use Gorgonzola piccante or a traditional blue cheese like Roquefort or Stilton. For a milder option, goat cheese works great and won’t overpower the apples.