
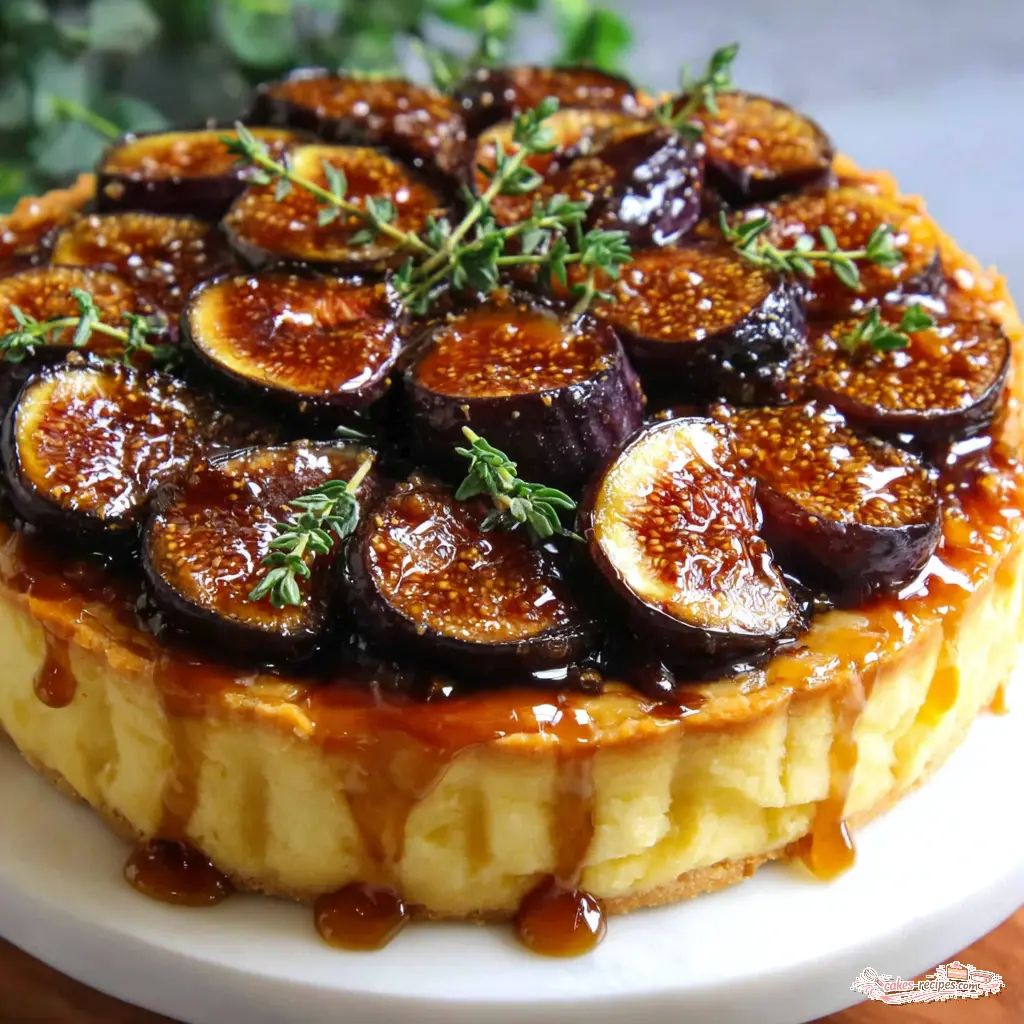
Why You’ll Love This Fig and Honey Ricotta Tart
Every summer, around mid-July, I start getting that itch. You know the one. The farmers’ markets are overflowing with stone fruits and berries, and suddenly all I want to do is bake something that celebrates the season. That’s where this fig and honey ricotta tart comes in.
Here’s the deal. I first made this tart a few years ago for a dinner party, and I was nervous. Figs aren’t cheap, and I’d had my share of soggy-bottomed tarts that looked promising going into the oven and came out a mess. But this one? Nailed it. The combination of a buttery, flaky crust with a creamy, lightly sweetened ricotta filling and those jammy, caramelized fig slices is just perfect texture. It’s the kind of dessert that makes people stop mid-conversation and say, “Wait, you made this?”
This isn’t a complicated project. It’s a rustic tart, which means it’s forgiving. The crust gets pressed into a rough circle, the filling is whisked together in minutes, and the figs get arranged however you like. Real talk: if you can roll out dough and slice fruit, you can make this. And it looks like it came from a fancy bakery.
- Simple ingredients – nothing fancy, just good ricotta, fresh figs, honey, and a few pantry staples
- Make-ahead friendly – you can prep the dough and filling a day ahead, then assemble and bake when you’re ready
- Rustic and forgiving – no tart pan needed, no perfect edges required
- Showstopper presentation – the fig slices and honey glaze make it look bakery-perfect
Ingredients You’ll Need
Let’s talk about what goes into this fig and honey ricotta tart. The ingredient list is short, which means each one matters. That’s the move with a recipe like this.
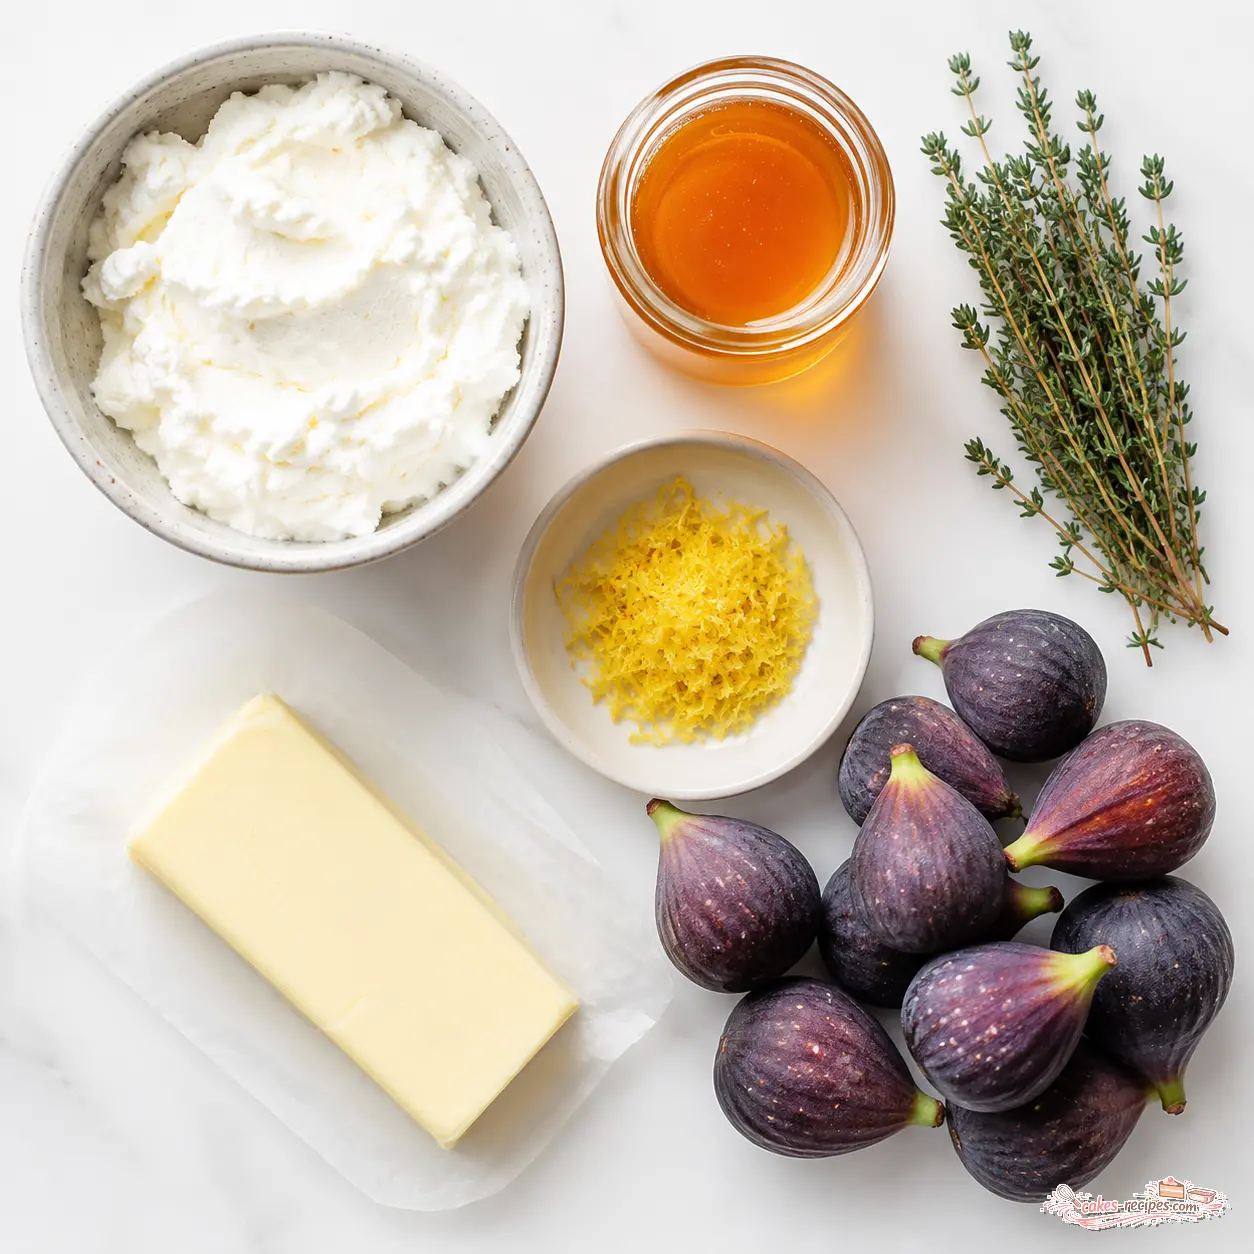
For the crust: You’ll need all-purpose flour, a little granulated sugar, kosher salt, cold unsalted butter, one egg yolk, and ice water. That’s it. The key here is keeping everything cold. I’m serious. If your butter starts to soften, pop the bowl in the fridge for ten minutes. The cold butter creates steam pockets in the oven, which gives you that flaky texture. No question about it.
For the filling: Whole milk ricotta is non-negotiable. The low-fat stuff has too much water and will make your tart weepy. You’ll also need honey (orange blossom is lovely, but any good honey works), fresh thyme leaves, vanilla extract, and Meyer lemon zest. That lemon zest brightens everything up. It’s a small detail, but it makes a difference.
For the topping: Five to six fresh Mission figs, sliced. Look for figs that are plump, soft to the touch, and have a deep purple color. They should feel heavy for their size. More honey for drizzling after baking, and a few fresh thyme sprigs for garnish.
Ingredient Tip
On figs: If you can’t find Mission figs, any ripe fig variety works. Black Mission, Brown Turkey, Kadota they all bring something different. Just make sure they’re ripe but not mushy. Underripe figs are bland and tough. Give them a gentle squeeze; they should yield slightly, like a ripe avocado.
How to Make the Fig and Honey Ricotta Tart
This is where the magic happens. I’ll walk you through the four main stages. Each one is straightforward, and I’ll share the little tricks I’ve picked up along the way. That’s the move.
Stage 1: Make the Dough
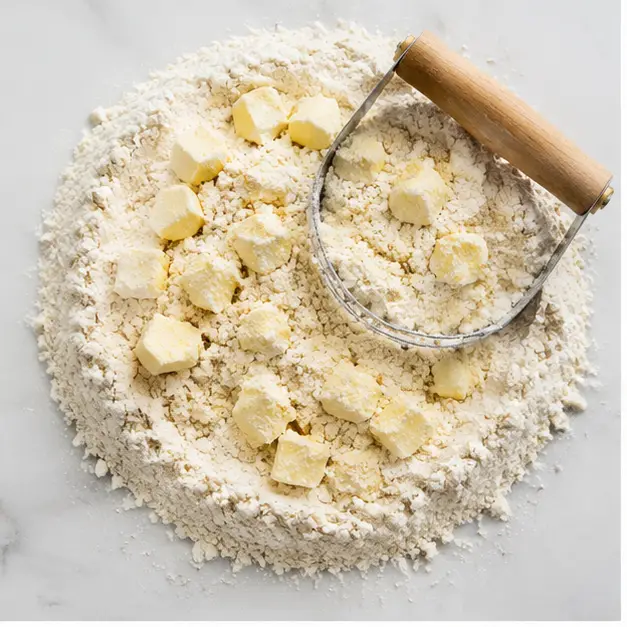
Start by whisking your dry ingredients together in a large bowl. Add the cold butter cubes and cut them in using a pastry blender or your fingertips. You want the mixture to look like coarse crumbs with some pea-sized butter pieces still visible. That’s what you want. Those butter pieces are what create the flaky layers.
Stir in the egg yolk, then add ice water one tablespoon at a time, mixing with a fork. The dough is ready when it holds together when you press it. Wrap it in plastic and refrigerate for at least 30 minutes. This rest is crucial. It lets the gluten relax and the butter firm up again. In my experience, skipping this step leads to a tough, shrinking crust.
Stage 2: Prepare the Filling
While the dough chills, make the filling. In a medium bowl, whisk together the ricotta, honey, chopped thyme, vanilla extract, and lemon zest. Whisk until it’s smooth and creamy. That’s it. No cooking, no complicated steps. The filling should taste subtly sweet with a hint of herbaceousness from the thyme. The lemon zest keeps it from being heavy.
One thing I learned the hard way: if your ricotta seems watery, drain it first. Line a sieve with cheesecloth, add the ricotta, and let it sit in the fridge for an hour or overnight. This prevents a soggy bottom. Fair enough, it’s an extra step, but it’s worth it.
Stage 3: Assemble the Tart
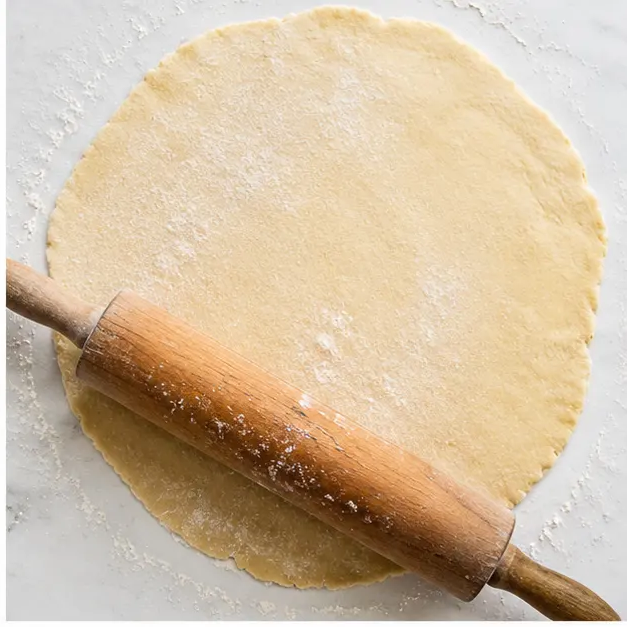
Preheat your oven to 375°F. Line a rimmed baking sheet with parchment paper. On a lightly floured surface, roll the dough into a rough 12-inch circle, about 1/8-inch thick. Don’t stress about making it perfect. Rustic is the whole point here.
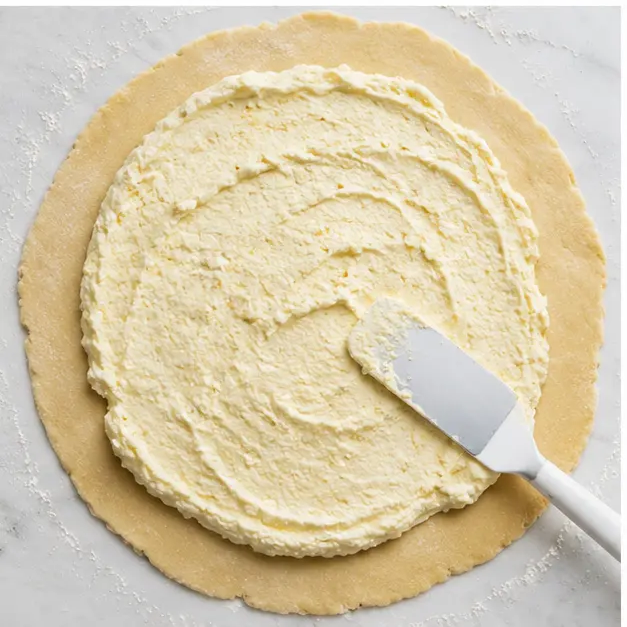
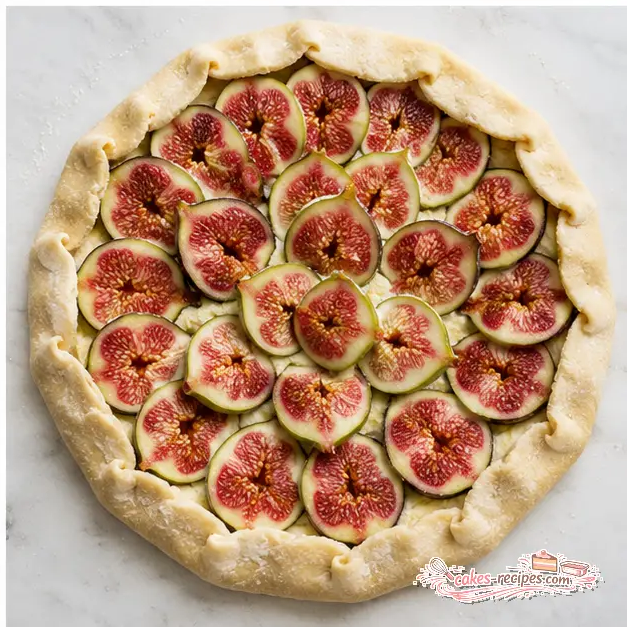
Transfer the dough to the prepared baking sheet. Spread the ricotta filling evenly over the dough, leaving a 2-inch border. Now for the fun part: arrange the sliced figs on top. You can go for a precise overlapping pattern, or just scatter them in a casual, organic way. I’ve done both. The precise pattern is meditative; the rustic scatter is faster. Both look beautiful.
Fold the edges of the dough over the filling, pleating as needed. Lightly brush the exposed dough with a little water or a beaten egg for a golden finish.
Stage 4: Bake and Finish
Bake for 35 to 40 minutes. You’re looking for a golden brown crust and figs that are soft and slightly caramelized. Check after 30 minutes to prevent over-browning. Every oven runs a little differently, so trust your eyes more than the timer.
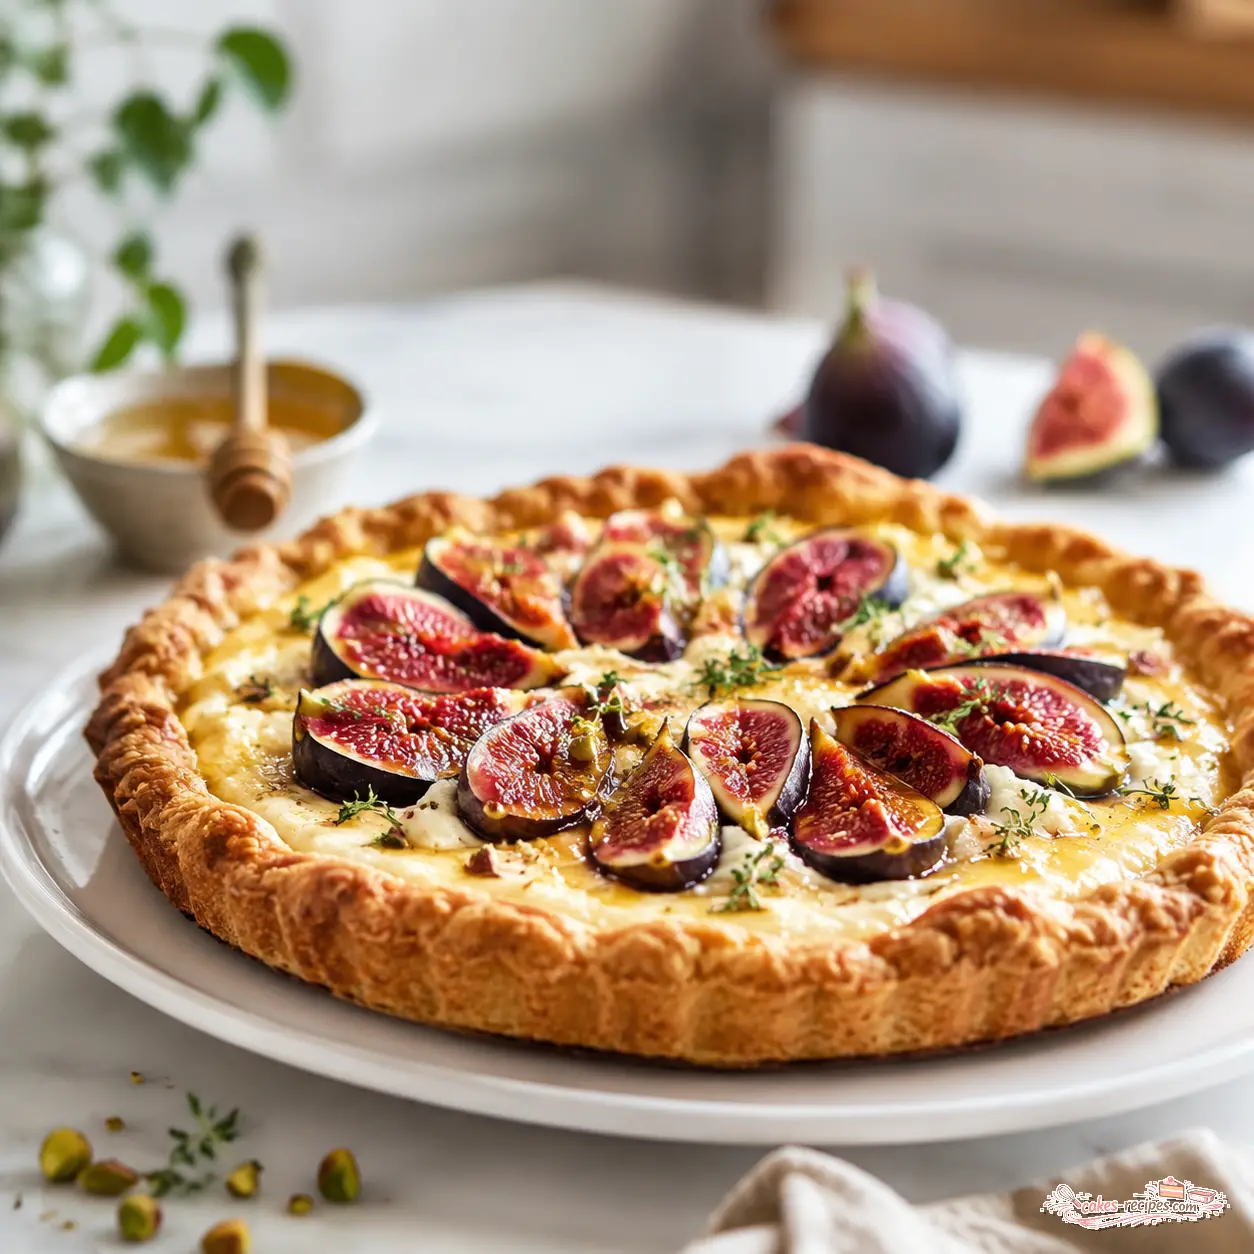
When it comes out of the oven, immediately drizzle the remaining 2 tablespoons of honey over the warm tart. The heat will make the honey runny and glossy. Garnish with fresh thyme sprigs. Let it cool slightly before slicing. That’s what you want.
Tips for the Perfect Tart
I’ve made this fig and honey ricotta tart enough times to know where things can go sideways. Here’s what I’ve learned.
- Keep everything cold. The dough, the butter, your hands if possible. Warm dough is sticky dough, and sticky dough makes a tough crust.
- Don’t overwork the dough. Mix until it just comes together. Overmixing develops gluten, which makes the crust tough instead of tender.
- Let the dough rest. That 30-minute chill in the fridge isn’t optional. It relaxes the gluten and firms up the butter. This works for me every time.
- Drain the ricotta if needed. If your ricotta looks wet, drain it. A watery filling will make the crust soggy.
- Check the tart at 30 minutes. Ovens vary, and you want a golden crust, not a burnt one.
Variations to Try
Once you’ve mastered the basic fig and honey ricotta tart, you can start playing around. Here are a few ideas.
- Different nuts: Try adding finely chopped walnuts or almonds to the crust. Replace 1/4 cup of the flour with almond flour for a nuttier flavor and texture.
- Herb swaps: Not a thyme fan? Rosemary works beautifully here. Use the same amount, finely chopped. The piney, aromatic flavor pairs perfectly with figs and honey.
- Fruit substitutions: When figs aren’t in season, try sliced ripe pears or nectarines. The baking time stays about the same.
- Goat cheese twist: Swap half the ricotta for fresh goat cheese. It adds a tangy, savory note that balances the sweetness.
- Balsamic drizzle: For a more sophisticated finish, drizzle a little balsamic reduction over the tart before serving. The acidity cuts through the richness.
- Toasted almonds: Sprinkle sliced almonds over the top before baking for added crunch.
How to Store Leftovers
Here’s the thing about this tart: it’s best the day you make it. The crust stays crisp, the figs are at their peak, and the whole thing just sings. But leftovers are still good, as long as you handle them right.
Store leftover tart loosely covered at room temperature for up to one day. If you need to keep it longer, refrigerate it in an airtight container for up to three days. But here’s the catch: the ricotta filling will release moisture in the fridge, which can soften the crust. To fix that, bring the tart to room temperature before serving. You can even pop it in a 300°F oven for five minutes to re-crisp the edges.
Generally, I don’t recommend making this tart more than a day ahead. The pastry gets soggy. But you can absolutely prep the components ahead. Make the dough and refrigerate it for up to two days, or freeze it for a month. Make the filling a day ahead and keep it covered in the fridge. Then assemble and bake when you’re ready.
Serving Suggestions
This fig and honey ricotta tart is a showstopper on its own, but a few simple additions can make it even better.
- With ice cream: A scoop of vanilla gelato or good vanilla ice cream is a classic pairing. The cold, creamy ice cream against the warm, jammy figs is perfect texture.
- With whipped cream: A dollop of lightly sweetened whipped cream adds a touch of elegance. Add a tiny pinch of salt to the cream to balance the sweetness.
- With Greek yogurt: For a lighter option, serve with plain Greek yogurt. The tanginess cuts through the richness of the ricotta and honey.
- At room temperature: This tart is excellent at room temperature. It’s the kind of dessert you can set out on a buffet table and let people help themselves.
- For brunch: Don’t limit this to dessert. It’s fantastic with a cup of coffee for a late-morning brunch. The figs and honey feel special without being overly sweet.
Common Mistakes to Avoid
I’ve made every mistake in the book so you don’t have to. Here are the most common ones and how to fix them.
❌ Mistake: Not keeping the dough cold enough.
✅ Solution: If your dough gets warm and sticky, wrap it and put it back in the fridge for 15 minutes. Cold butter is essential for a flaky crust.
❌ Mistake: Not letting the dough rest before rolling.
✅ Solution: Always refrigerate the dough for at least 30 minutes. This relaxes the gluten and prevents shrinkage during baking.
❌ Mistake: Making the tart too far in advance.
✅ Solution: This tart is best the day it’s made. Prep the components ahead, but bake the same day you plan to serve it.
❌ Mistake: Using watery ricotta.
✅ Solution: Drain the ricotta in a cheesecloth-lined sieve for at least an hour. This removes excess moisture and prevents a soggy crust.
❌ Mistake: Overbaking the tart.
✅ Solution: Check at 30 minutes. The crust should be golden brown and the figs soft. The filling will continue to set as it cools.
Frequently Asked Questions
When you bring this fig and honey ricotta tart to the table, everyone will stop and stare. That’s not an exaggeration. The deep purple figs against the golden crust, the glossy honey sheen, the little green thyme sprigs it’s a beautiful thing. And when they take that first bite and get the creamy ricotta, the sweet honey, and the jammy fig all in one mouthful, you’ll know you’ve nailed it.
This is the kind of recipe that becomes a summer tradition. It’s easy enough for a weeknight, impressive enough for a dinner party, and delicious enough that people will ask for the recipe. And you’ll be happy to share it.
If you make this tart, I’d love to hear about it. Drop me a comment or tag me on Pinterest. I love seeing what you create.
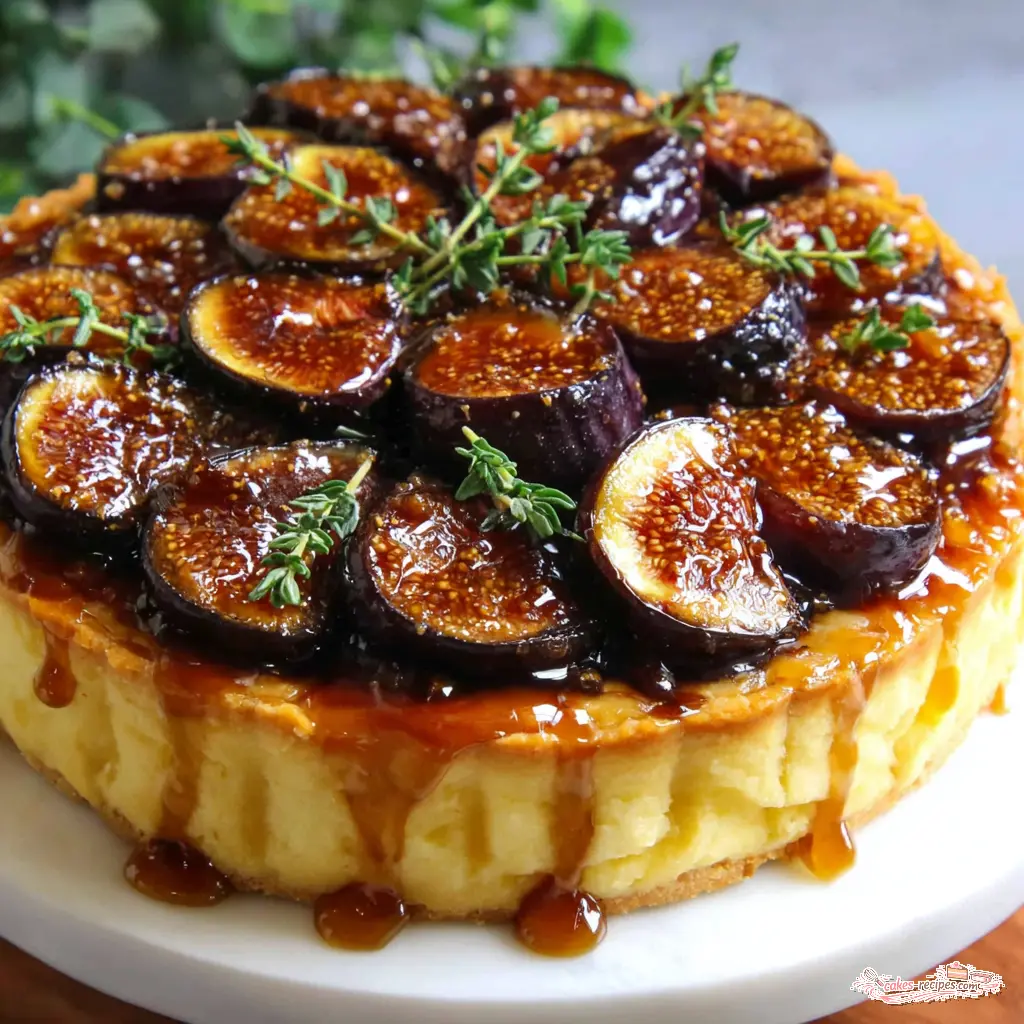
Fig and Honey Ricotta Tart with Thyme
Ingredients
Method
- In a large bowl, whisk together the flour, sugar, and salt. Add the cold butter cubes and cut them into the flour using a pastry blender or your fingertips until the mixture looks like coarse crumbs with some pea-sized butter pieces, about 3 to 5 minutes.
- Stir in the egg yolk. Add the ice water, 1 tablespoon at a time, mixing gently with a fork until the dough just holds together when pressed. Wrap the dough in plastic wrap and refrigerate for at least 30 minutes.
- While the dough chills, in a medium bowl, whisk together the ricotta, 2 tablespoons honey, chopped thyme, vanilla extract, and lemon zest until smooth and creamy. Set aside.
- Preheat the oven to 375°F. Line a rimmed baking sheet with parchment paper.
- On a lightly floured surface, roll the dough into a rough 12-inch circle, about 1/8-inch thick. Transfer the dough to the prepared baking sheet.
- Spread the ricotta filling evenly over the dough, leaving a 2-inch border around the edges. Arrange the sliced figs on top in a single layer, slightly overlapping them.
- Fold the edges of the dough over the filling, pleating as needed to form a rustic border. Lightly brush the exposed dough edges with a little water or a beaten egg for a golden finish.
- Bake for 35 to 40 minutes, until the crust is golden brown and the figs are soft and slightly caramelized. Check after 30 minutes to prevent over-browning.
- Remove from the oven and immediately drizzle the remaining 2 tablespoons honey over the warm tart. Garnish with fresh thyme sprigs. Let cool slightly before slicing and serving.
Nutrition
Notes
Tried this recipe?
Let us know how it was!Source: Nutritional Information
When is fig season?
Fresh fig season runs from late spring through early fall, but the peak is typically July through September. That’s when you’ll find the best figs at farmers’ markets and grocery stores. Look for plump, soft fruit with deep color and a sweet, honeyed aroma.
Can I make this fig and honey ricotta tart ahead of time?
You can prep the components ahead, but I don’t recommend baking the full tart more than a few hours before serving. Make the dough up to 2 days ahead and refrigerate it, or freeze it for a month. The filling can be made a day ahead. Then assemble and bake the day you plan to serve it for the best texture.
Can store bought pie dough be used?
Sure, if you’re short on time. A good quality store-bought pie dough or puff pastry works in a pinch. Just roll it out to a 12-inch circle and proceed with the recipe. The homemade walnut shortbread crust is better, but store-bought is a perfectly fine shortcut.









6 Responses
Made this for a small dinner party last weekend and it was a hit! The ricotta and thyme combo is so unexpected but works perfectly with the figs. I did have a bit of trouble with the crust cracking when I rolled it out—any tips for keeping it together?
Hey Emily, so glad it was a hit! For the cracking, make sure your dough is well-chilled but not too cold when you roll it—if it cracks, just press it back together with your fingers. A little extra ice water can help too.
The photos are gorgeous, and the recipe sounds lovely, but I found the crust a bit dry. Maybe I overworked the dough? I’ll try adding an extra tablespoon of water next time. Still, the filling was delicious—especially with the lemon zest.
I’m dairy-free—could I substitute the ricotta with a plant-based version, like cashew cream or tofu? Also, would coconut oil work in the crust? I’d love to make this for a friend with allergies.
Great question, David! For the ricotta, a thick cashew cream or silken tofu blended with a bit of lemon juice and honey should work well. For the crust, coconut oil can be used but it will change the texture a bit—chill it well and handle it gently. Let me know how it goes!
This was my first time working with fresh figs and I was nervous, but your instructions made it so easy. The flavors were incredible—earthy, sweet, and creamy all at once. Already planning to make it again for a fall gathering.