
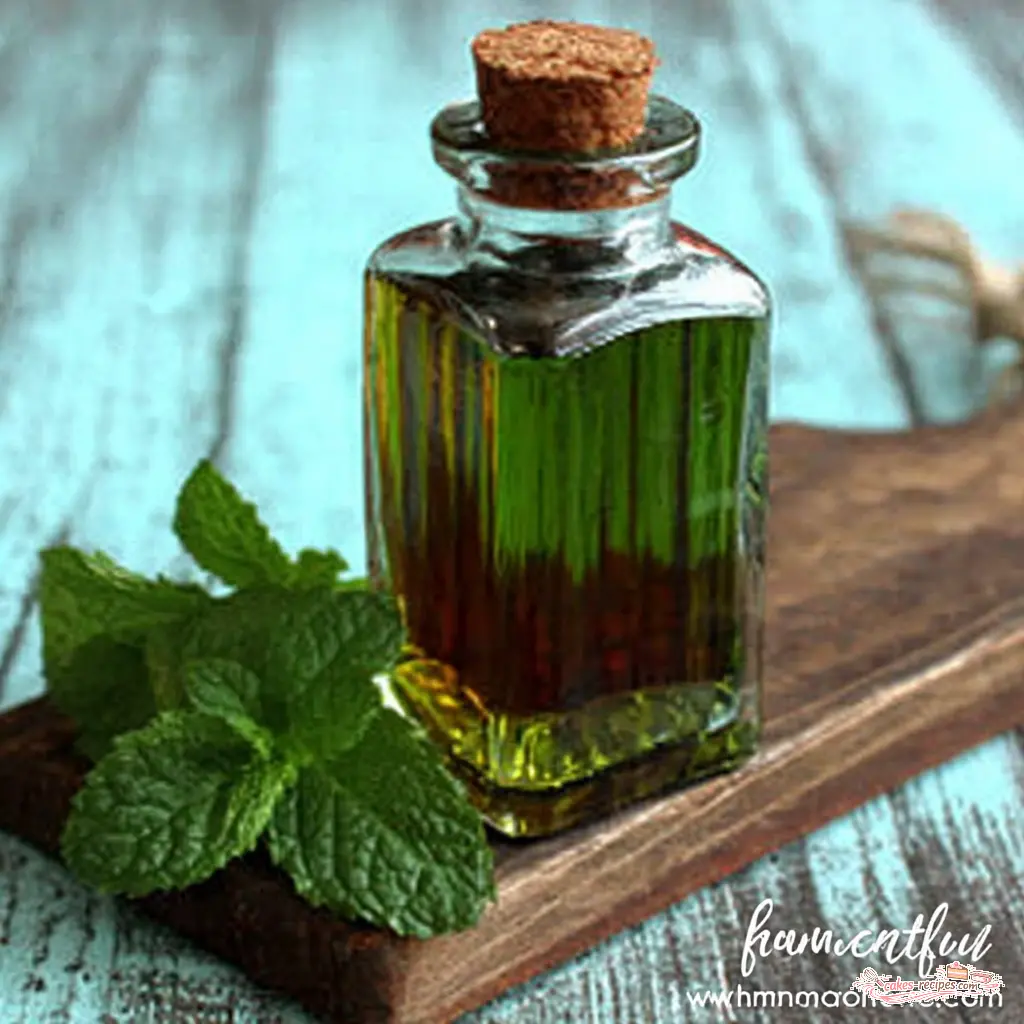
Why You’ll Love This Homemade Mint Extract
Ever opened a bottle of store-bought mint extract and wished it smelled like you just picked leaves from the garden? Oh my goodness, me too. That faint, slightly artificial scent just doesn’t cut it when you’re baking something special.
This homemade mint extract is the answer. It’s pure, it’s potent, and it takes about ten minutes of active work. The rest is just patience. And trust me, the payoff is huge.
I first started making my own extracts a few summers ago when my mint plant went absolutely wild. You know how that goes. One day you have a cute little herb pot, the next you’re drowning in mint and giving it away to neighbors. I was making mojitos and mint tea, but I still had more than I knew what to do with. That’s when I remembered Mimi, my grandmother, who owned a pâtisserie in Lyon. She made her own vanilla extract, and I thought, why not mint?
This recipe is so simple. You just need fresh mint leaves and a good quality vodka. That’s it. No weird additives, no preservatives, just pure mint flavor. It’s totally doable, even for a beginner.
Plus, you get to control the strength. Want a super concentrated mint extract for your brownies? Steep it longer. Prefer a lighter touch for teas? Strain it earlier. You’re the boss.
Key Ingredients
Like I said, this recipe is beautifully simple. Let’s talk about what you need.
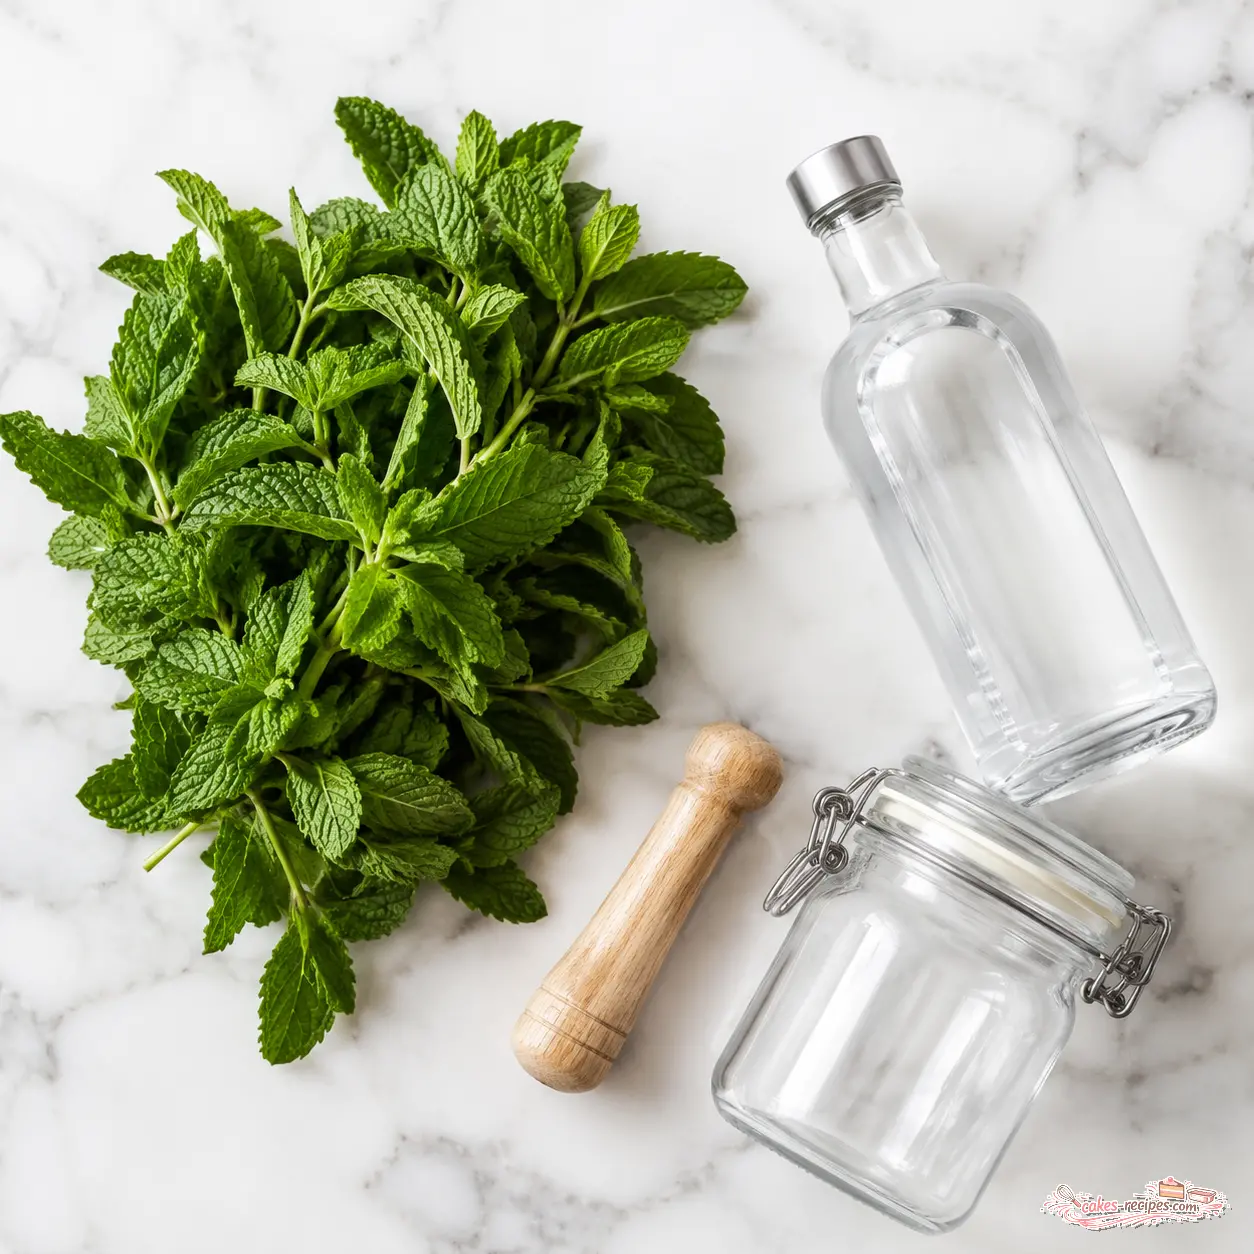
- Fresh mint leaves (packed): About one cup, which is roughly one ounce. You can use any variety you like. Spearmint is classic and sweet. Peppermint is stronger and more cooling. Or try chocolate mint or apple mint for something fun. Just make sure the leaves are bone dry before you start.
- Vodka (80 proof or higher): This is your extraction liquid. Vodka is neutral, so it won’t add any off-flavors. The higher the proof, the better it extracts the oils and compounds that carry mint’s flavor and aroma. Don’t use anything flavored.
That’s the whole list. I love that about this recipe. No hunting for obscure ingredients.
Step-by-Step Instructions
Alright, let’s get to the fun part. Making your own homemade mint extract is a little ritual, and I love it. Here’s how it goes.
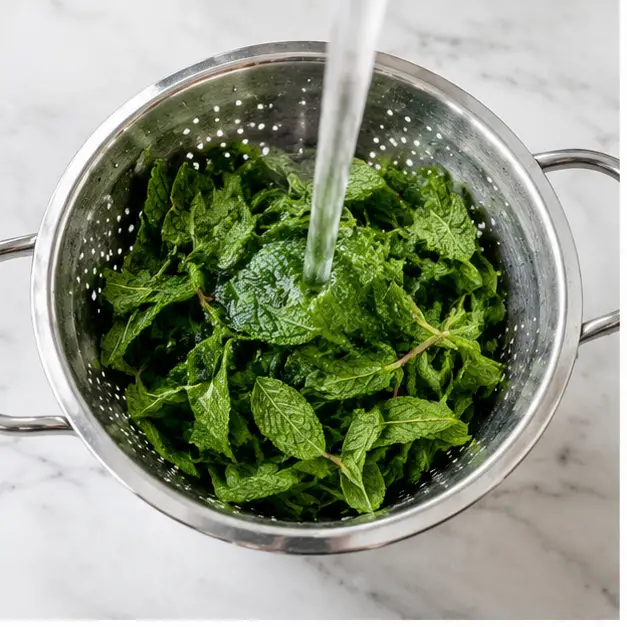
Step 1: Prep the mint. Rinse your fresh mint leaves under cool water. This is important because you don’t want any dirt or little critters in your extract. Then pat them completely dry with a clean kitchen towel or paper towels. This is crucial. Any water on the leaves can dilute your extract or, worse, cause mold. Don’t skip this.
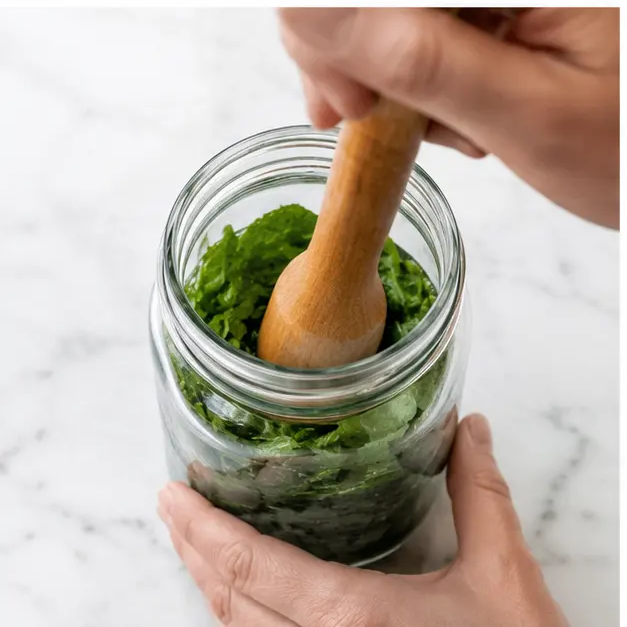
Step 2: Strip and bruise. Strip the leaves from the stems and discard the stems. Place the leaves in a clean glass jar. Then gently muddle them with the back of a spoon. You’re not trying to pulverize them, just bruise them a bit to release their oils. You’ll smell that incredible mint aroma right away.
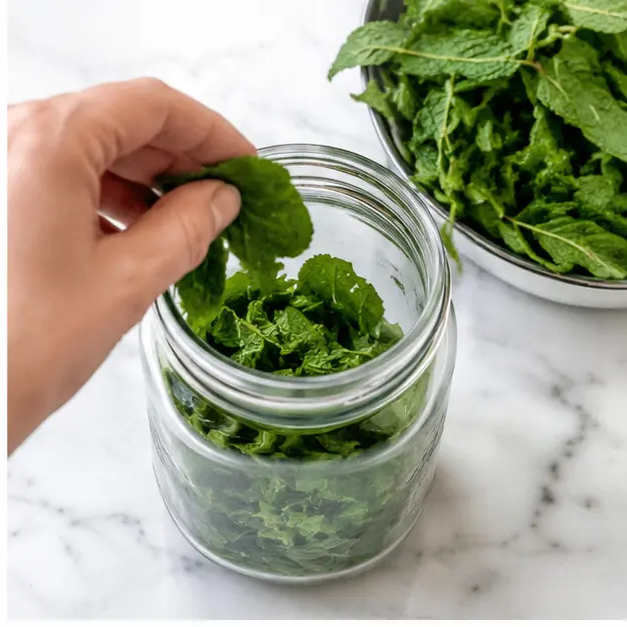
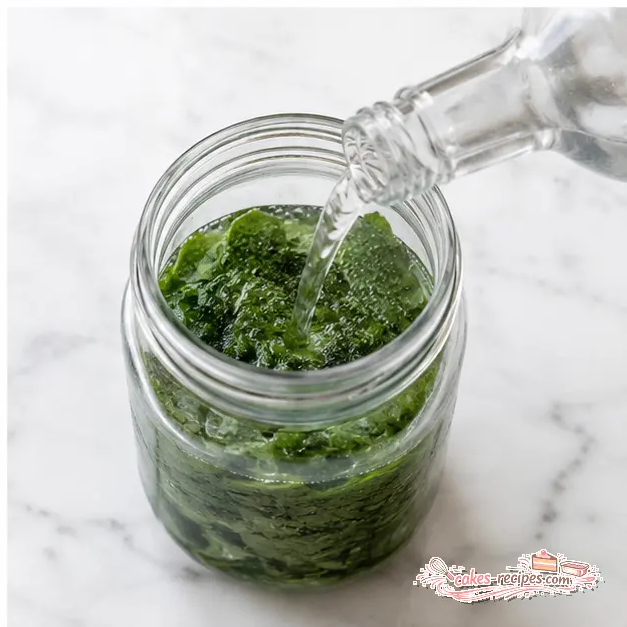
Step 3: Add the vodka. Pour the vodka over the mint leaves. Use your spoon to press the leaves down so they are fully submerged. This is key. Any leaves poking out above the alcohol can get moldy. Make sure they’re all under the surface.
Step 4: Wait and shake. Seal the jar with a tight-fitting lid and store it in a dark cupboard for 3 to 4 weeks. Shake the jar gently every few days. This helps the extraction process. You’ll see the color change from clear to a beautiful deep amber-green. That’s the magic happening.
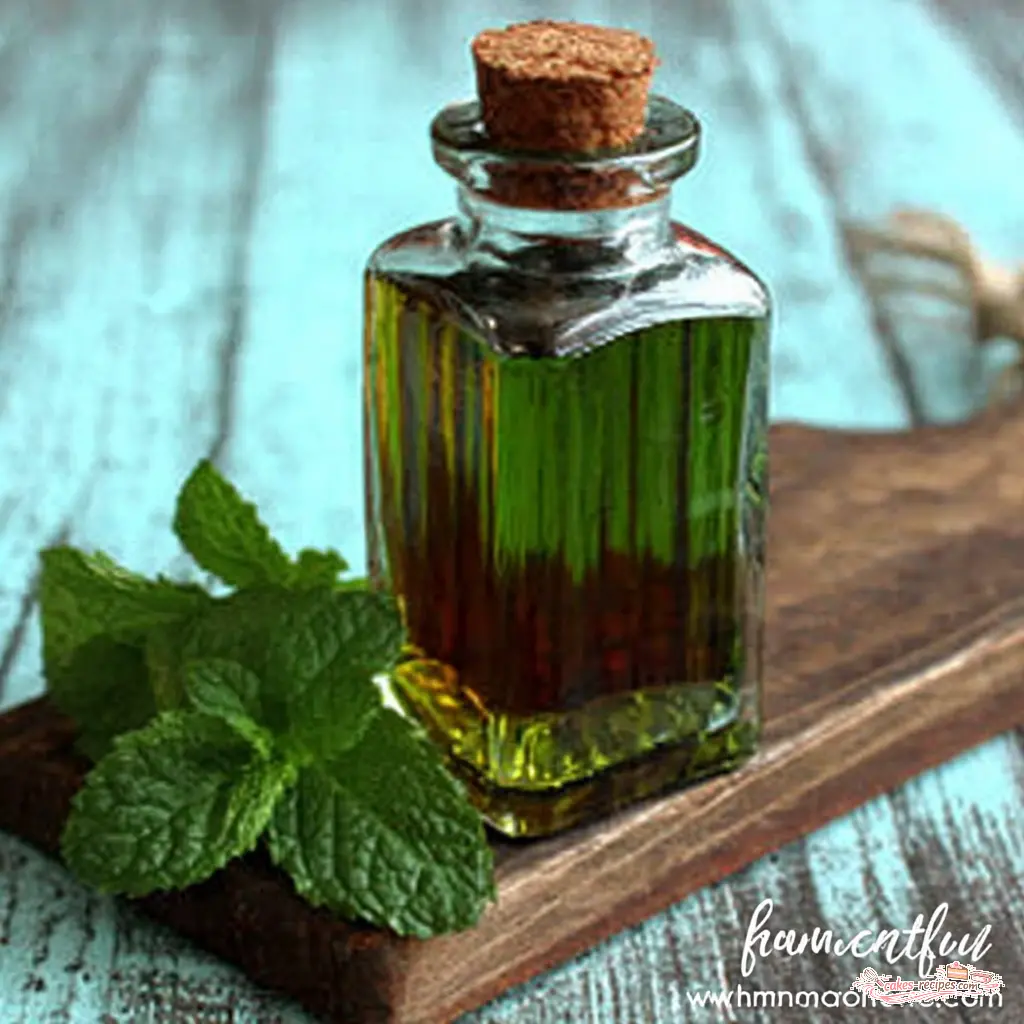
After 3 to 4 weeks, or when it reaches your desired strength, strain out the leaves through a fine-mesh sieve or cheesecloth. Transfer the extract to a dark glass bottle or a jar kept in a dark cabinet for long-term storage. You’ll know it’s ready when the alcohol turns a deep amber-green and feels heavy on the tongue.
Recipe Tips and Troubleshooting
Even simple recipes can have hiccups. Don’t worry, I’ve got you covered. Here are some common issues and how to fix them.
Common Mistakes
❌ Mistake: Not completely submerging leaves, leading to mold.
✅ Solution: Always press the leaves down so they are fully covered by the vodka. Use a smaller jar if needed.
❌ Mistake: Using wet mint leaves, which can dilute extract or cause mold.
✅ Solution: Pat the leaves bone dry after rinsing. This is non-negotiable.
❌ Mistake: Not shaking the jar regularly.
✅ Solution: Give it a gentle shake every few days. It helps the alcohol circulate and extract flavor better.
❌ Mistake: Using low-proof alcohol, which may not extract flavor well.
✅ Solution: Stick with 80 proof vodka or higher. Everclear works great too, just be careful with the strength.
❌ Mistake: Not labeling jars with preparation date.
✅ Solution: Always label your jars. You’ll thank yourself in a month when you can’t remember which batch is which.
If your extract turns brown, don’t panic. That’s normal. The chlorophyll in the mint breaks down over time, and the color can shift. The flavor is still great. If the flavor is weak, just let it steep longer. Patience is key here.
How to Store Your Mint Extract
Storing your homemade mint extract is easy. Transfer it to a dark glass bottle or a jar with a tight-fitting lid. Keep it in a cool, dark place like your pantry or a cupboard. Avoid direct sunlight and heat, which can degrade the flavor over time.
Properly stored, this extract will keep indefinitely. I’ve had bottles that were perfectly fine after two years. The flavor might mellow a bit, but it’s still delicious. If you ever see any cloudiness or off smells, that’s a sign it’s gone bad. But honestly, with the alcohol content, that’s pretty rare.
I love labeling my bottles with the date and the type of mint I used. It makes me feel so organized. Plus, they make the cutest gifts.
Ways to Use Homemade Mint Extract
So you’ve made your own homemade mint extract. Now what? Oh my goodness, the possibilities are endless. This is so fun.
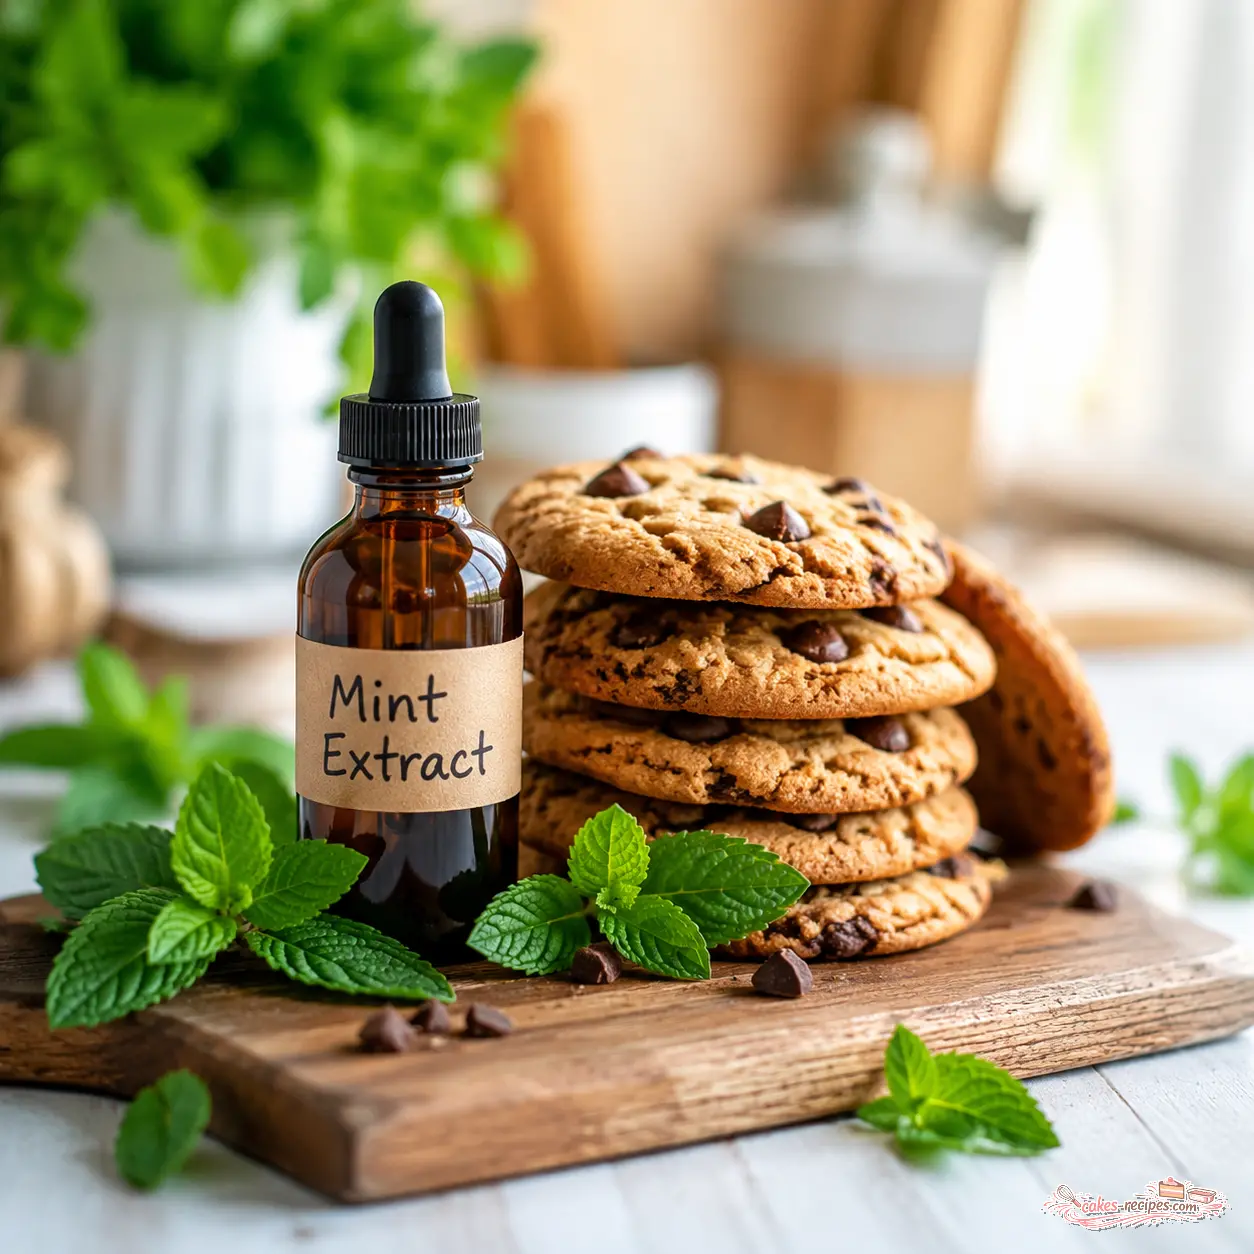
- Baking: This is where it shines. Add a teaspoon to brownies, chocolate chip cookies, or frosting. It takes your baked goods to another level.
- Beverages: A few drops in hot chocolate, coffee, or tea is incredible. Or use it in homemade mint simple syrup for cocktails and lemonade.
- Desserts: Drizzle it over ice cream, stir it into whipped cream, or use it in homemade marshmallows. Mint and chocolate are a match made in heaven.
- Gifts: Pour your extract into small bottles with a cute label and a ribbon. It’s a thoughtful, homemade gift that anyone would love.
When substituting for store-bought extract, use a 1:1 ratio. But taste first. Homemade is often stronger, so you might need a little less. Start with a teaspoon and go from there.
Pour a dab into your next batch of cookies and taste the difference. I promise you won’t go back to store-bought.
Frequently Asked Questions
I hope you love making this homemade mint extract as much as I do. It’s such a rewarding little project. If you try it, let me know how it goes. And if you’re looking for more inspiration, follow me on Pinterest for more fun kitchen ideas.
Quick and Easy Homemade Mint Extract
Ingredients
Method
- Rinse the mint leaves under cool water and pat them completely dry with a clean kitchen towel or paper towels.
- Strip the leaves from the stems and discard the stems.
- Place the leaves in a clean glass jar. Gently muddle them with the back of a spoon to bruise them and release their oils.
- Pour the vodka over the mint leaves. Use the spoon to press the leaves down so they are fully submerged in the alcohol.
- Seal the jar with a tight-fitting lid and store it in a dark cupboard for 3 to 4 weeks. Shake the jar gently every few days. Once the extract reaches your desired strength, strain out the leaves through a fine-mesh sieve or cheesecloth. Transfer the extract to a dark glass bottle or a jar kept in a dark cabinet for long-term storage.
Notes
Tried this recipe?
Let us know how it was!Source: Health & Nutrition Research
Can I use spearmint instead of peppermint?
Absolutely. Spearmint gives a sweeter, milder flavor, while peppermint is more intense and cooling. Both work beautifully in this homemade mint extract recipe. Try using a mix of both for a more complex flavor profile.
Why did my mint extract turn brown?
Don’t worry, that’s totally normal. The chlorophyll in the mint leaves breaks down over time, causing the color to shift from bright green to a deeper amber or brown. The flavor is still perfectly fine and delicious.
Can I use mint extract in soap or candles?
You can, but it’s not ideal. This homemade mint extract is made for culinary use. For soap or candles, you’re better off using mint essential oil, which is much more concentrated and formulated for those applications.
How long does homemade mint extract last?
Stored properly in a cool, dark place, your homemade mint extract will keep indefinitely. The flavor may mellow slightly over time, but it stays safe to use for years. If you see mold or an off smell, discard it.















3 Responses
Made this last week with vodka and it turned out fantastic. Used it in my chocolate chip cookies and the mint flavor was so fresh and bright. Much better than the artificial stuff from the store. I’ll definitely be making this again.
I love this idea! My mint plant is taking over the garden too, so I’m definitely trying this. Quick question: do you think I could use peppermint leaves instead of spearmint? I have a ton of peppermint right now.
Great question! Yes, peppermint works beautifully here. It actually gives a stronger, more classic mint extract flavor that’s perfect for baking. Just keep in mind it’s more intense, so you might want to start with a shorter steeping time.