Why These 3 Ingredient Cookies Are My Go-To
You know those days when you crave a cookie but don’t have the energy for a baking project? That’s exactly why I created this recipe. These 3 ingredient cookies are the answer to that very specific, very real problem.
I remember standing on a step stool at Grandma Ruth’s bakery counter, watching her pull trays of simple butter cookies from the oven. She’d let me press the cookie cutters into the dough, and I’d mess up the edges every single time. She never cared. She’d just say, “Rustic is charming, Claire. The taste is what matters.”
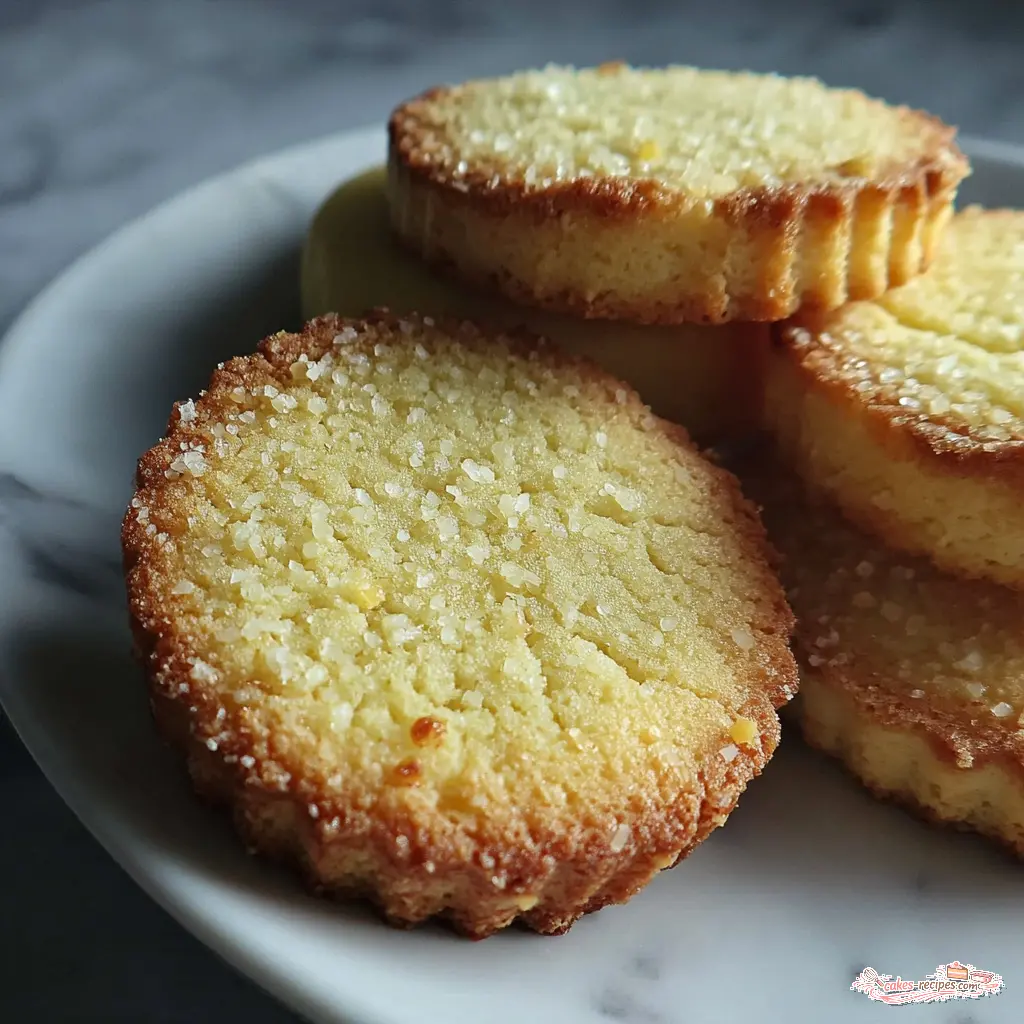
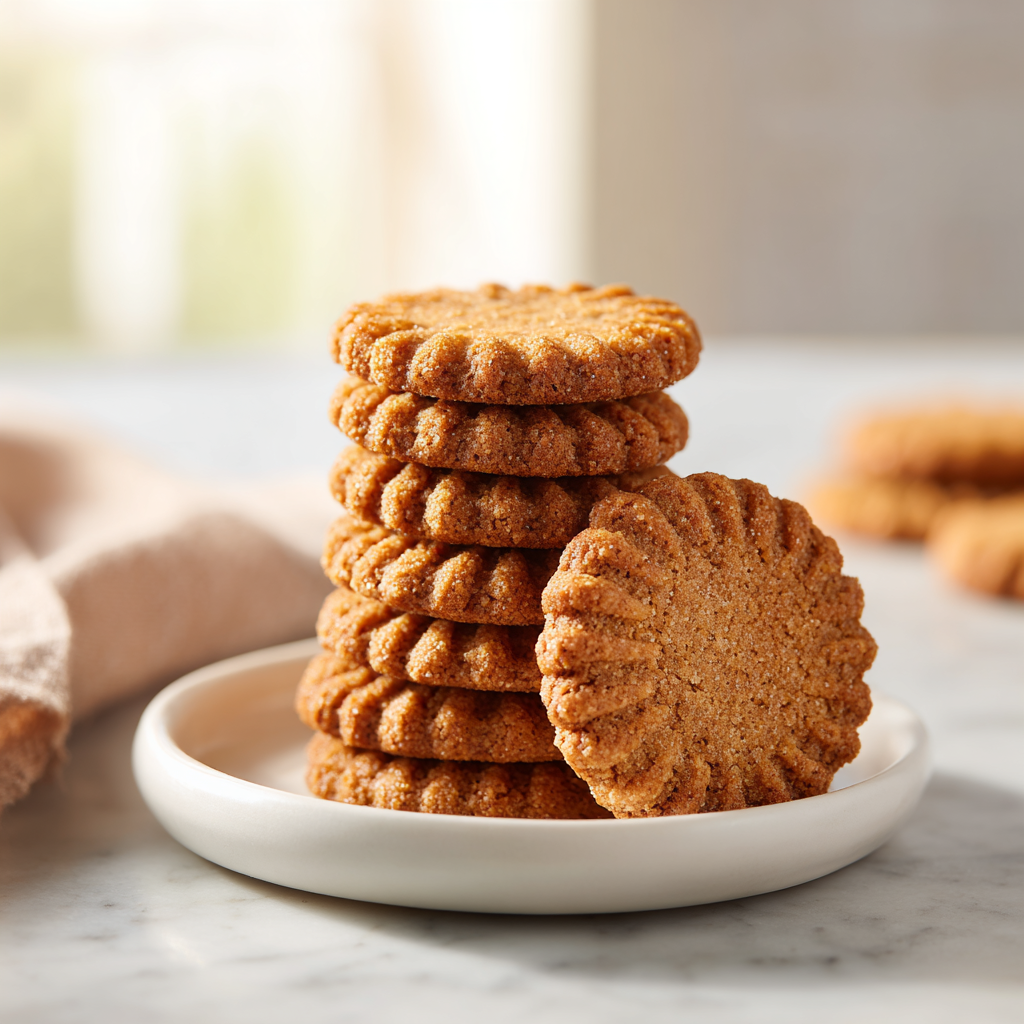
These easy three ingredient cookies taste like those mornings. They’re buttery, crisp, and melt in your mouth. And they only need three things you probably already have in your kitchen: butter, sugar, and flour. That’s it. No eggs, no vanilla, no fancy equipment. Just pure, simple, delicious cookies.
I’ve tested this recipe more times than I can count. The first time I made these, I forgot to chill the dough. The cookies spread into thin, lacy puddles. Still tasted amazing, though. So don’t worry if they aren’t perfectly round rustic is charming, remember?
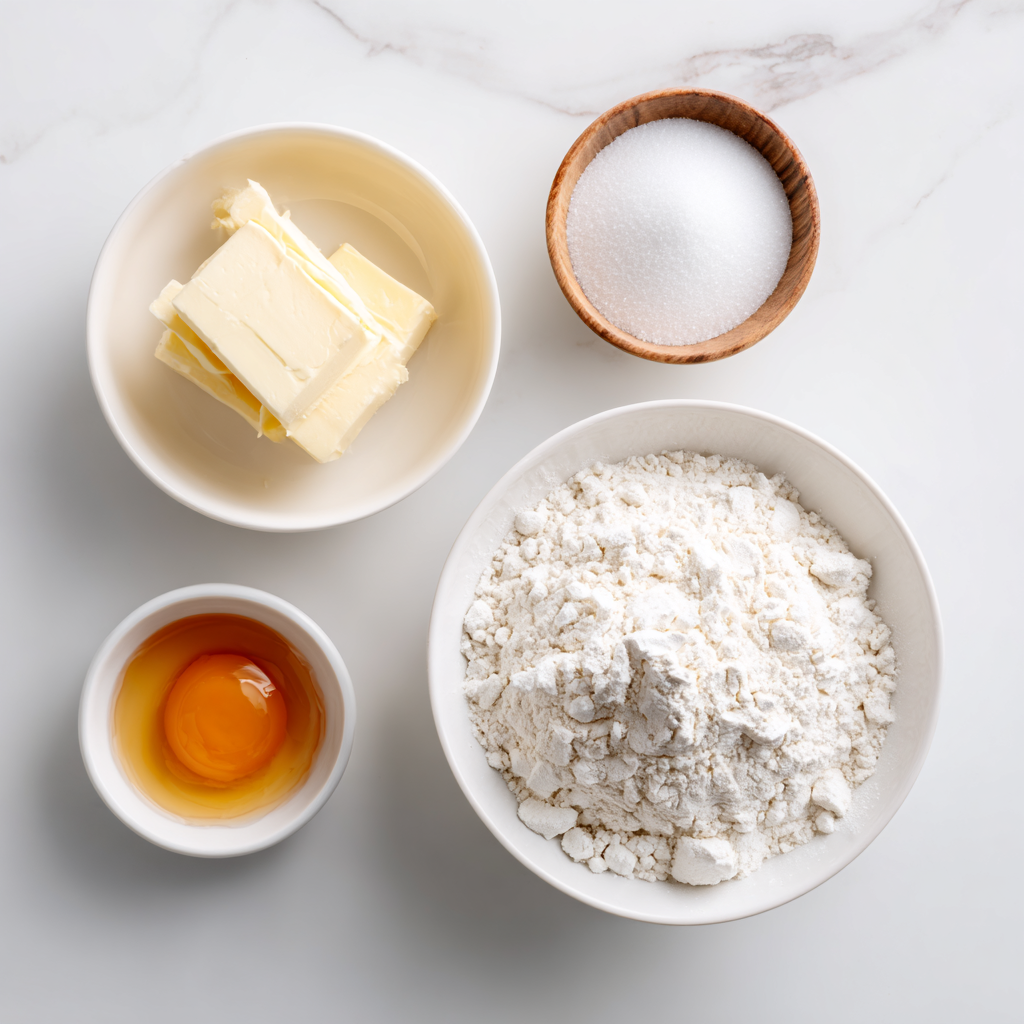
Ingredients You’ll Need
Let’s talk about the three stars of this show. Each one plays a specific role, and choosing the right version makes all the difference. Here’s what I’ve found works best:
- Unsalted butter 1 cup, softened to room temperature. Not melted, not cold. Real butter is non-negotiable here. Margarine won’t give you that melt-in-your-mouth texture. I prefer European-style butter with higher fat content the flavor difference is subtle but real, and the texture is noticeably better. If you only have salted butter, reduce or omit any added salt and expect a slightly saltier cookie.
- Granulated sugar 1/2 cup. Regular white sugar. It sweetens the cookies and helps create that crisp, golden edge. Brown sugar would change the texture and flavor, making them softer and more caramel-like. That’s a variation worth trying, but for the classic butter cookie, stick with granulated.
- Cake flour or all-purpose flour 2 cups. This is where you have a choice. Cake flour gives a more tender, delicate crumb. All-purpose flour works perfectly too just avoid overmixing to keep the cookies light. I tend to prefer cake flour for these, though that’s personal. Your oven might behave differently, so try both and see which you like.
That’s it. Three ingredients. No eggs, no baking powder, no vanilla. These cookies with 3 ingredients are proof that simple can be spectacular.
Step-by-Step Instructions
Let me walk you through the process. I’ll explain why each step matters, so you understand what’s happening. That way, even if you’ve never baked before, you can nail these on the first try.
Stage 1: Cream the Butter and Sugar
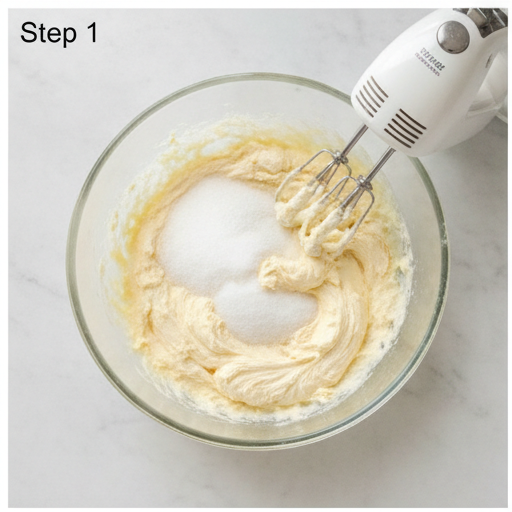
In a large mixing bowl, beat the softened butter and granulated sugar together with an electric mixer on medium speed. This is the most important step. You want to beat it for about 5 to 8 minutes, until the mixture is pale, light, and fluffy. I know that sounds like a long time, but trust me this is where the magic happens.
The creaming process incorporates air into the butter, which gives the cookies their light, crisp texture. If you rush this step, your cookies will be dense and flat. I set a timer on my phone so I don’t cheat. The mixture should look almost like whipped butter, soft and voluminous.
Stage 2: Add the Flour
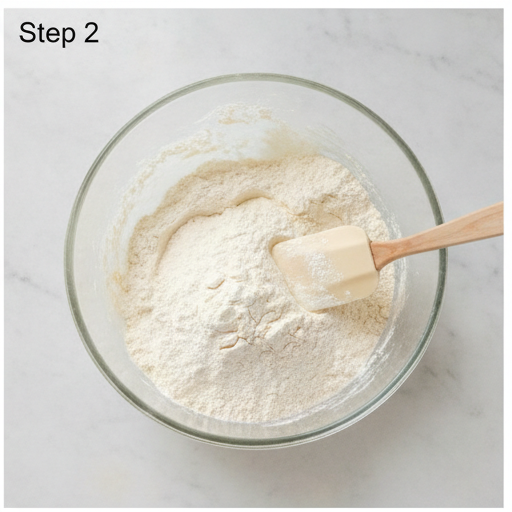
Sift the flour into the creamed butter mixture. Sifting removes lumps and aerates the flour, which keeps the cookies light. Then gently fold with a spatula or mix on low speed just until a soft dough forms. Do not overmix.
Overmixing develops gluten, which makes cookies tough. You want to stop as soon as the flour is incorporated. The dough should be soft and slightly sticky but hold together when pressed. If the dough seems dry, mix in 1 to 2 teaspoons of warm water until it comes together.
Stage 3: Chill the Dough
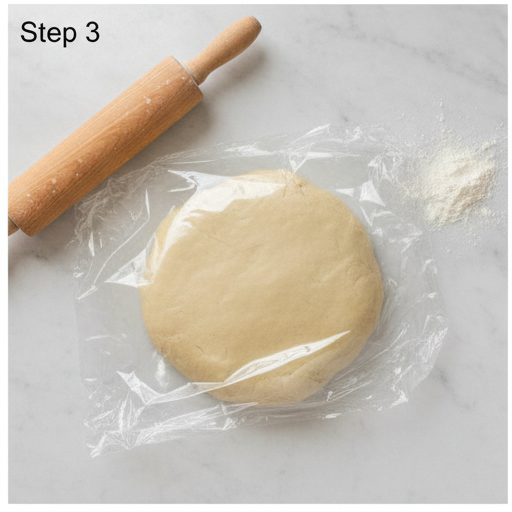
Wrap the dough tightly in plastic wrap and refrigerate for 30 minutes. This is essential. Skip it and the cookies will spread too much and lose their crisp shape. Chilling firms up the butter, which means the cookies hold their shape in the oven.
I know waiting is hard. But this short chill time makes rolling and cutting so much easier. The dough becomes firm and less sticky. You can even chill it longer up to 2 days if you want to prep ahead.
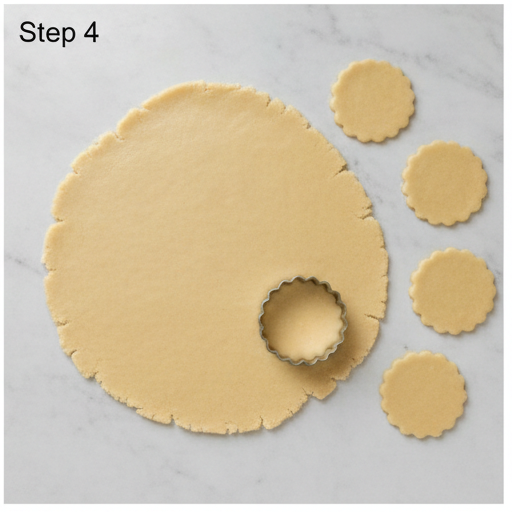
Stage 4: Roll, Cut, and Bake
Lightly flour your work surface. Turn the chilled dough out and roll it to 1/4 inch (6 mm) thickness. Use cookie cutters to cut into desired shapes. For cleaner cuts, dip the cutters in flour. I like using scalloped round cutters, but stars, hearts, or simple circles all work beautifully.
Place the cut cookies on a baking sheet lined with parchment paper, spacing them about 1 inch apart. Bake in a preheated 320°F (160°C) oven for 12 to 15 minutes. The edges should be lightly golden and the centers set. Let the cookies cool on the baking sheet for 5 minutes before transferring to a wire rack to cool completely.
Your kitchen will smell like warm butter and sugar that specific smell that means something good is happening. It reminds me of Grandma Ruth’s bakery at 5am, that smell of butter and sugar creaming together that meant the day was starting.
Tips for Perfect Cookies
After making these dozens of times, I’ve learned a few things. Here are my best tips to ensure success every time:
- Use real butter. I can’t say this enough. Margarine or spreads have different water content and won’t give you the same texture. Real unsalted butter is the key to that rich, melt-in-your-mouth result.
- Don’t skip the chill. The 30-minute rest in the fridge is non-negotiable. It prevents spreading and makes the dough easy to handle.
- Rotate your baking sheet. Halfway through baking, give the sheet a turn. Ovens have hot spots, and this ensures even browning.
- Cool before moving. The cookies are fragile when hot. Let them sit on the baking sheet for 5 minutes before transferring to a wire rack. Moving them too early causes crumbling.
- Check for doneness visually. The edges should be lightly golden and the centers should look set but not browned. They’ll continue to firm up as they cool.
Common mistakes and how to fix them:
- ❌ Cookies spread too much Dough wasn’t chilled enough, or butter was too soft. Chill the dough longer next time.
- ❌ Cookies are too crumbly Dough was too dry. Add 1-2 teaspoons of warm water until it holds together.
- ❌ Cookies are tough Overmixed the dough after adding flour. Mix just until combined.
- ❌ Cookies are too pale Oven temperature might be too low. Check with an oven thermometer.
Variations to Try
Once you’ve mastered the basic recipe, here are some fun variations. Remember, these are optional additions the base recipe is perfect as is.
- Chocolate chip version Fold in 1 cup of chocolate chips after adding the flour. Use mini chips for better distribution.
- Citrus twist Add 1 tablespoon of lemon or orange zest to the creamed butter and sugar. The bright flavor pairs beautifully with the buttery cookie.
- Spiced cookies Add 1/2 teaspoon of cinnamon and 1/4 teaspoon of nutmeg to the flour before mixing. Perfect for fall baking.
- Sandwich cookies Bake as plain rounds and sandwich with your favorite jam or buttercream. These make a lovely 3 ingredient dessert for parties.
- Sprinkle tops Before baking, press colored sprinkles or coarse sugar into the tops of the cookies for a festive look.
These are all kid friendly cookies, by the way. My eight-year-old helps me test recipes, and she’s in charge of pressing the cookie cutters. Last week she asked why we chill the dough, and I explained it helps the cookies keep their shape. She listened carefully, then said “so we’re making the butter sleepy?” That’s exactly it.
Storage and Freezing
These cookies store beautifully, which makes them perfect for making ahead.
- Room temperature: Store cooled cookies in an airtight container at room temperature for up to one week. Add a slice of bread to the container to absorb moisture and keep the cookies fresh. Replace the bread slice every few days.
- Freezing baked cookies: Place cooled cookies in a single layer in a freezer-safe container, with parchment paper between layers. Freeze for up to 3 months. Thaw at room temperature for 15 minutes before serving.
- Freezing dough: Roll the dough into a log, wrap tightly in plastic wrap, and freeze for up to 3 months. When ready to bake, slice and bake directly from frozen, adding 1-2 minutes to the baking time. Or shape into balls, freeze on a baking sheet, then transfer to a freezer bag. Thaw in the fridge overnight before baking.
I like to keep a log of dough in the freezer. It means I can have fresh, warm cookies in under 20 minutes, any time the craving hits. And it hits often.
Frequently Asked Questions
Final Thoughts
These 3 ingredient cookies have become a staple in my kitchen. They’re the recipe I turn to when I need something quick, when the kids are demanding snacks, or when I just want that warm, buttery smell filling the house. They’re proof that you don’t need a dozen ingredients or complicated techniques to make something truly delicious.
I promise, even if you’ve never baked before, you can nail these. They’re forgiving, adaptable, and absolutely worth making. And if your first batch isn’t perfect? That’s okay. My first batch spread into thin puddles, and my mom ate two pieces anyway. She told me it was the best gift she’d ever received. I still have the photo of that terrible cookie sheet on my desk to remind me everyone starts somewhere.
Now go grab a bowl and make some magic. And if you need more inspiration, I’d love for you to follow along on Pinterest where I share all my favorite simple baking recipes.
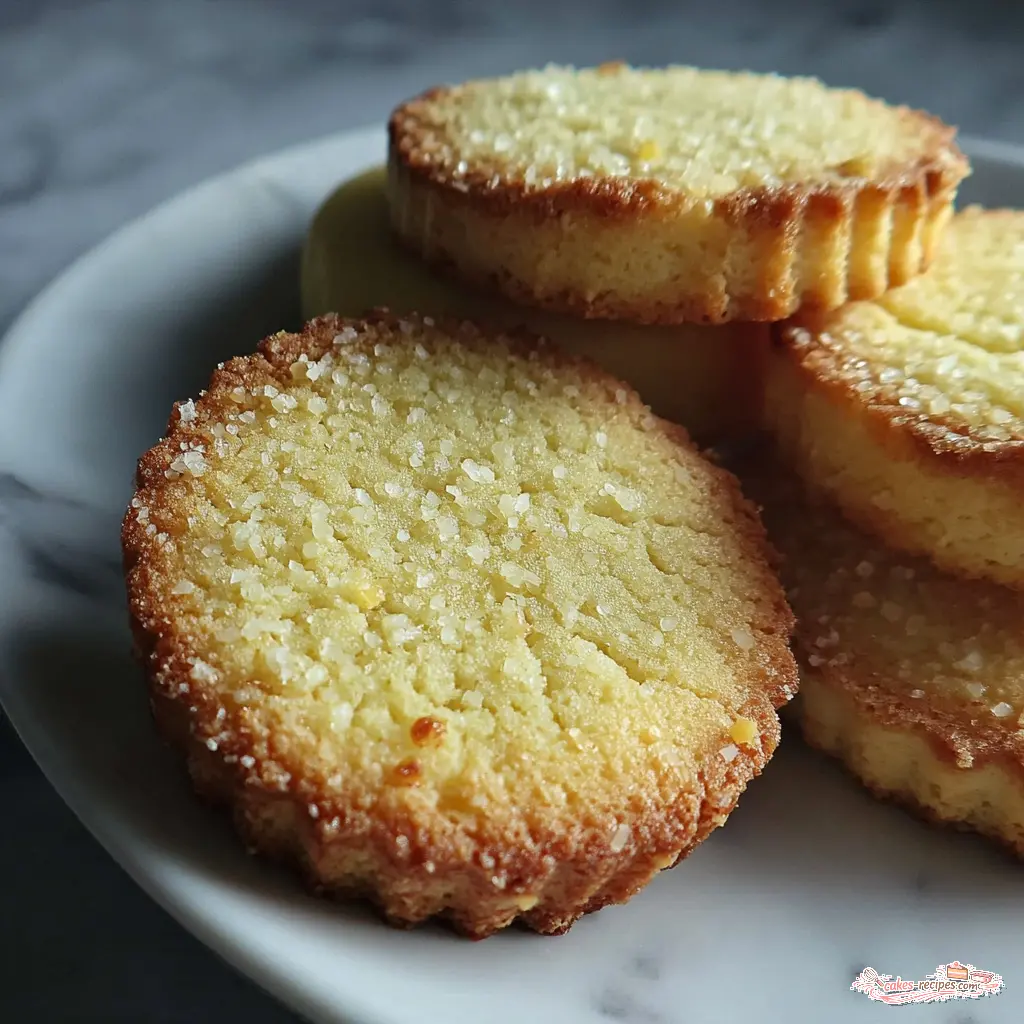
3 ingredient cookies: Classic Danish Butter Cookies
Ingredients
Method
- In a large mixing bowl, beat the softened butter and granulated sugar together with an electric mixer on medium speed for about 5 to 8 minutes, until the mixture is pale, light, and fluffy.
- Sift the flour into the creamed butter mixture, then gently fold with a spatula or mix on low speed just until a soft dough forms. Do not overmix.
- Wrap the dough tightly in plastic wrap and refrigerate for 30 minutes to firm up for easier rolling and cutting.
- Lightly flour your work surface. Turn the chilled dough out and roll it to 1/4 inch (6 mm) thickness. Use cookie cutters to cut into desired shapes. For cleaner cuts, dip the cutters in flour.
- Place the cut cookies on a baking sheet lined with parchment paper, spacing them about 1 inch apart. Bake in a preheated 320°F (160°C) oven for 12 to 15 minutes, until the edges are lightly golden and the centers are set. Let the cookies cool on the baking sheet for 5 minutes before transferring to a wire rack to cool completely.
Nutrition
Notes
Tried this recipe?
Let us know how it was!More Simple Cookie Recipes
If you loved these 3 ingredient cookies, you might also enjoy other easy three ingredient cookies like banana oat cookies or peanut butter cookies. The beauty of simple baking is that once you understand the basic formula, you can adapt it endlessly. Happy baking!
Source: Nutritional Information
Can I use crunchy peanut butter in this recipe?
This recipe is for classic butter cookies, not peanut butter cookies. If you want to make a peanut butter version, you’ll need a different recipe with peanut butter as a main ingredient. Crunchy peanut butter would work well in that variation, adding extra texture.
Can I use brown sugar instead?
You can, but it will change the texture and flavor. Brown sugar adds moisture and creates a softer, chewier cookie with a deeper caramel-like taste. For the classic crisp butter cookie, stick with granulated sugar. Brown sugar works great as a variation though.
Can you use a sugar replacement like Truvia or Splenda, and if so how much?
You can use a cup-for-cup sugar replacement like Truvia or Splenda in the same 1/2 cup amount. However, the texture may be slightly different since sugar contributes to structure and browning. The cookies may be paler and slightly less crisp. I recommend testing with a small batch first.
Could I add chocolate chips also, and if so how much?
Absolutely! Fold in 1 cup of chocolate chips after the flour is incorporated. Mini chocolate chips work best for even distribution. Semi-sweet or dark chocolate chips balance the buttery sweetness nicely. This is one of my favorite variations for these 3 ingredient cookies.
Can this sugar cookie recipe be used for cut-out cookies?
Yes, absolutely. This recipe works perfectly for cut-out cookies. The dough holds its shape well when chilled, and the cookies don’t spread much during baking. Just roll to an even 1/4 inch thickness and use your favorite cookie cutters. Dip cutters in flour for clean edges.
Can these sugar cookies be frosted?
Yes, they take frosting beautifully. Let the cookies cool completely before frosting, or the frosting will melt. A simple powdered sugar glaze or buttercream works well. For decorated sugar cookies, use a royal icing that hardens. The buttery base pairs wonderfully with sweet frosting.