
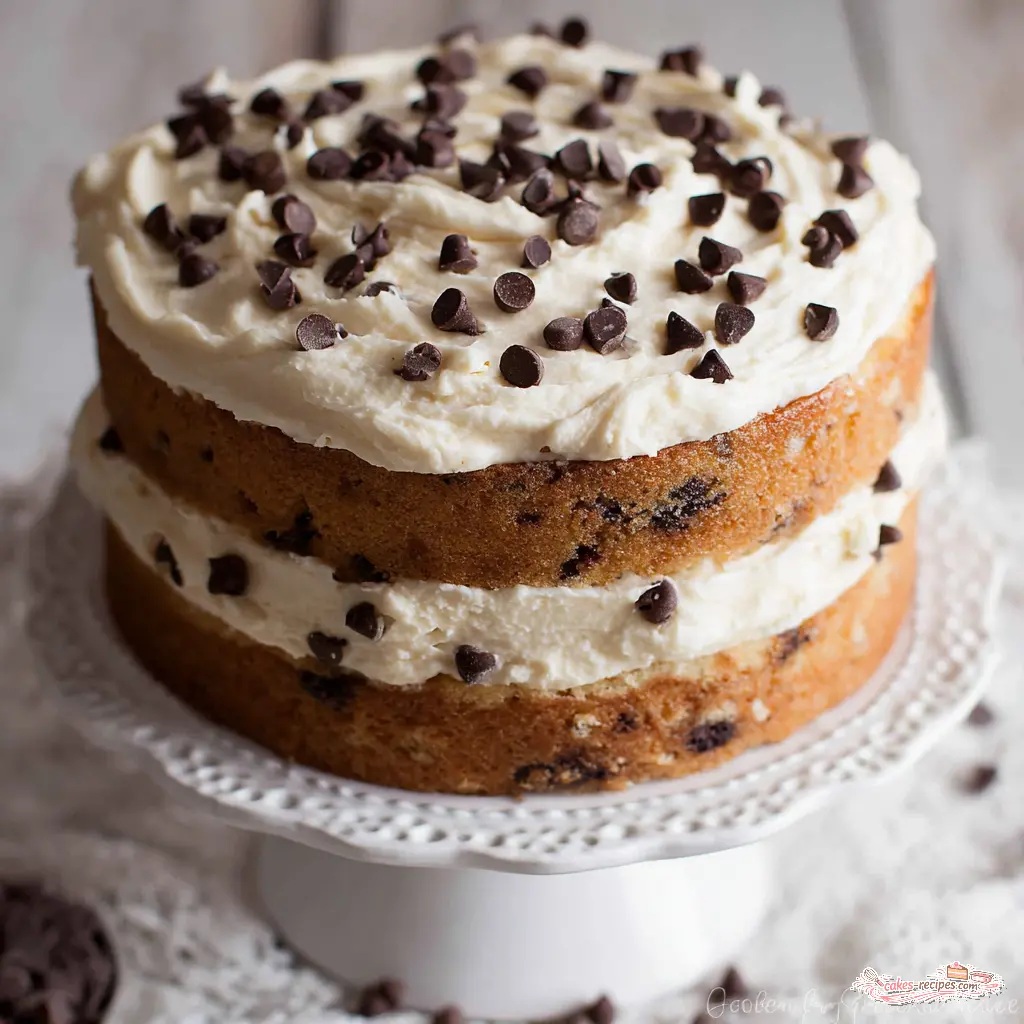
Why You’ll Love This Chocolate Chip Cake
Remember that time you pulled a cake out of the oven only to see all the chocolate chips had sunk to the bottom? Yeah, me too. It’s a classic baking heartbreak. You spend all that time mixing and waiting, and then every single chip is just stuck there at the bottom, like they gave up.
This chocolate chip cake recipe is the solution to that problem. It’s the cake I make when I want something that feels special but doesn’t require a whole afternoon. We’re talking moist, tender crumb, a flavor that’s pure vanilla comfort, and chocolate chips suspended perfectly throughout every single slice. No sinking allowed.
I’ve been making this version for years, tweaking it until it was just right. It started as a simple chocolate chip cake from scratch that I wanted to be foolproof. Something I could throw together for a potluck, a birthday, or honestly, just a Tuesday. And let me tell you, this is it.
Here’s what you’re getting:
- Incredibly moist texture. Thanks to a combination of butter and oil, plus whole milk, this cake stays soft for days.
- Perfectly distributed chips. The flour coating technique actually works. I promise, no science lecture needed.
- Simple ingredients. You probably have most of this in your pantry right now. No weird specialty items.
- A showstopper frosting. The chocolate chip buttercream is the perfect finish. It’s creamy, not too sweet, and has little pockets of melted chocolate.
My seven-year-old niece, who has surprisingly strong opinions about cake, declared this one “Uncle Marcus approved.” That’s the highest praise I can offer. She knows her chocolate.
Ingredients for Chocolate Chip Cake
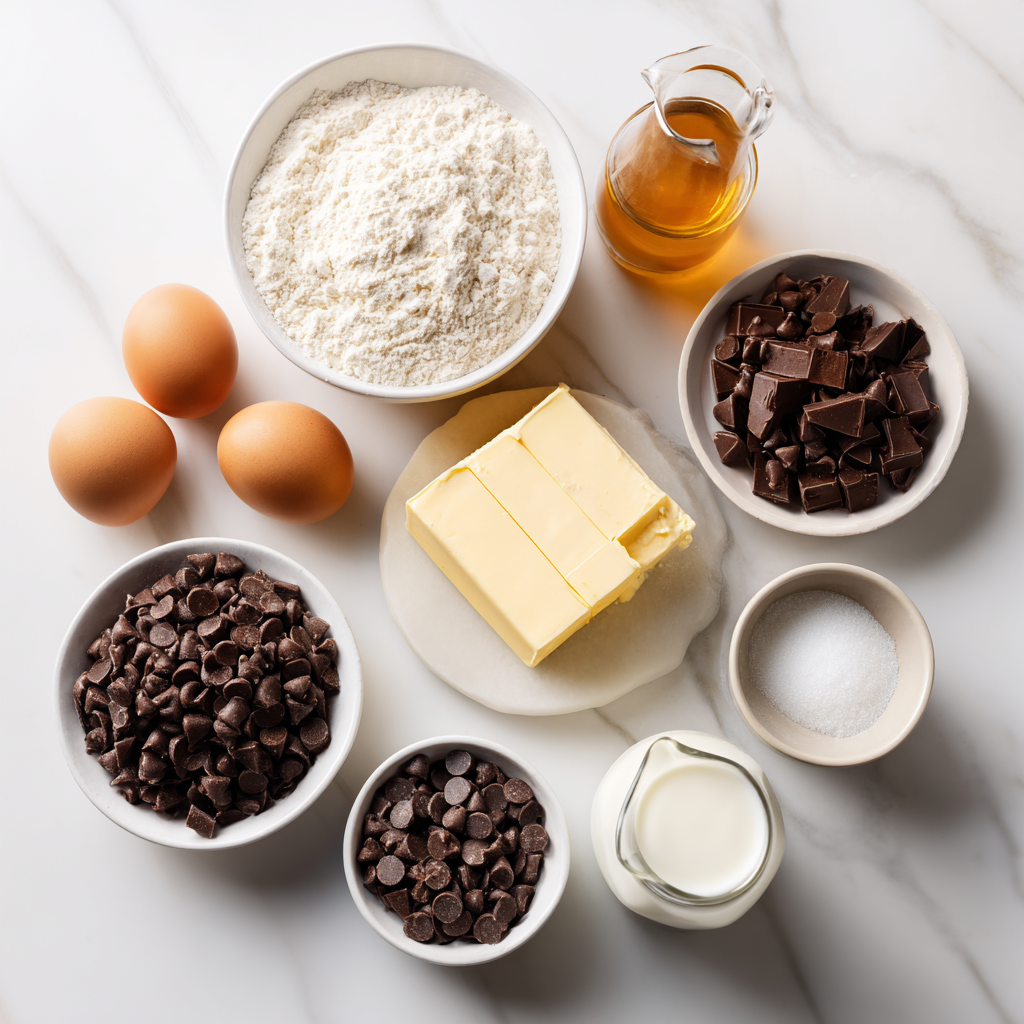
Let’s talk about what goes into this easy chocolate chip cake recipe. The ingredient list is straightforward, but a few things make a real difference. Fair point, you could probably throw this together without thinking too hard, but taking a moment to understand why each ingredient is here will make your cake better.
For the cake:
- All-purpose flour: The structure of our cake. Simple and reliable.
- Baking powder: Our leavening agent. Makes the cake rise and gives it that light, fluffy texture.
- Salt: Just a quarter teaspoon. It balances the sweetness and enhances the chocolate flavor.
- Unsalted butter, softened: We’re using a half cup. It adds richness and flavor. Make sure it’s truly softened, not melted.
- Granulated sugar: One and a half cups. Sweetens the cake and helps with that tender crumb.
- Eggs: Two large ones, at room temperature. They bind everything together and add moisture.
- Vegetable oil: A quarter cup. This is my secret for a moist chocolate chip cake that stays soft for days. Oil doesn’t solidify like butter, so the cake stays tender.
- Whole milk: One cup, at room temperature. Adds moisture and helps create a tender crumb.
- Vanilla extract: A full tablespoon. Don’t skimp here. It’s the backbone of the flavor.
- Mini semisweet chocolate chips: One cup. I prefer mini chips for this cake. They distribute more evenly and are less likely to sink. They’re the star of the show.
For the chocolate chip buttercream frosting:
- Unsalted butter, softened: One cup. The base of our frosting. Make sure it’s soft but not greasy.
- Powdered sugar, sifted: Four cups. Sifting is important to avoid lumps. Trust me on this one.
- Vanilla extract: One teaspoon. For that classic buttercream flavor.
- Heavy cream: A quarter cup. It thins the frosting to the perfect spreading consistency.
- Mini semisweet chocolate chips: A quarter cup. Folded in at the end for little chocolate surprises in every bite.
Ingredient Swap
Can’t find mini chips? You can use regular semisweet chocolate chips, but I’d still recommend chopping them up a bit. The smaller pieces are less likely to sink. Also, if you’re out of whole milk, you can substitute 2% or even a mix of half-and-half and water. It won’t be quite as rich, but it’ll still work.
Step-by-Step Instructions
Okay, let’s get to the good part. Here’s how to make this chocolate chip cake from scratch. I’ll walk you through each stage, and I’ll point out where things can go wrong so you can avoid my early mistakes. That tracks, right?
Stage 1: Prep Your Pans and Oven
First things first. Position a rack in the center of your oven and preheat it to 350°F. While that’s heating up, lightly coat two 8-inch round cake pans with baking spray. I’m a fan of the kind with flour in it. For extra insurance, line the bottoms with parchment paper rounds. This is the kind of step that seems unnecessary until you have a cake stick and you’re trying to salvage it with a butter knife. Do yourself a favor and just do it.
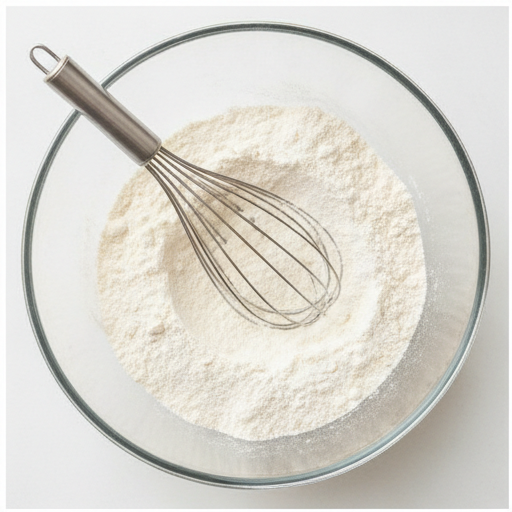
In a medium bowl, whisk together the flour, baking powder, and salt. Here’s the trick: set aside about 2 to 3 tablespoons of this flour mixture in a small bowl. We’re going to use it to coat the chocolate chips. This one weird trick actually works – I promise, no science lecture needed.
Stage 2: Cream Butter and Sugar
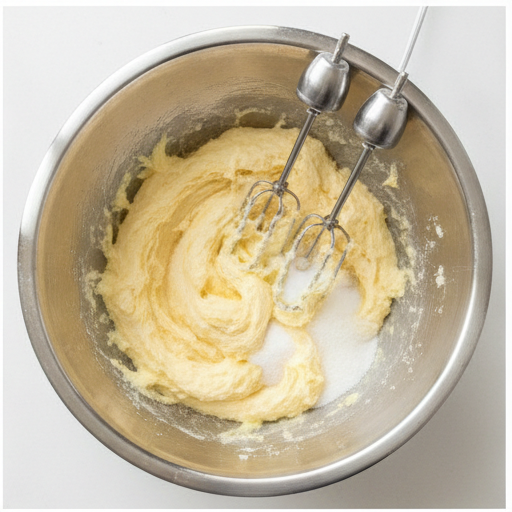
In a large bowl, beat the softened butter and sugar together until light and fluffy. This should take about 2 minutes with a hand mixer or stand mixer. You’re looking for a pale, creamy mixture. Then beat in the eggs one at a time. Make sure each one is fully incorporated before adding the next.
Now add the oil, milk, and vanilla. Mix until everything is well combined. The batter might look a little curdled at this point, but that’s totally normal. Don’t panic.
Stage 3: Combine Wet and Dry, Add Chips
Add the dry ingredients (minus the reserved 2 to 3 tablespoons) to the wet mixture. Stir until just combined. A few streaks of flour are fine. Overmixing at this stage will make your cake dense and tough. We want tender, not tough.
Now, take those mini chocolate chips and toss them with the reserved flour mixture. This is the flour coating technique for chips. It creates a little barrier of flour around each chip, which helps keep them suspended in the batter instead of sinking to the bottom. Fold them into the batter gently. The batter will be thick but spreadable.
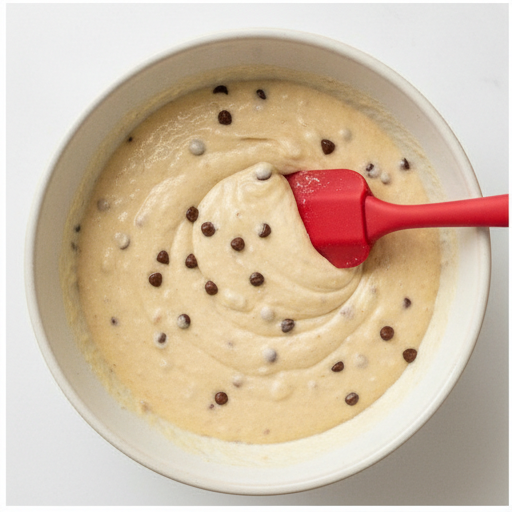
Stage 4: Bake and Cool
Divide the batter evenly between the prepared pans and smooth the tops. Bake for 32 to 35 minutes, or until a toothpick inserted into the center comes out clean. The top should be golden brown and spring back when you lightly touch it.
Let the cakes cool in the pans for 10 minutes. Then turn them out onto wire racks to cool completely. This is crucial. If you try to frost a warm cake, your frosting will melt into a sad puddle. I learned this the hard way.
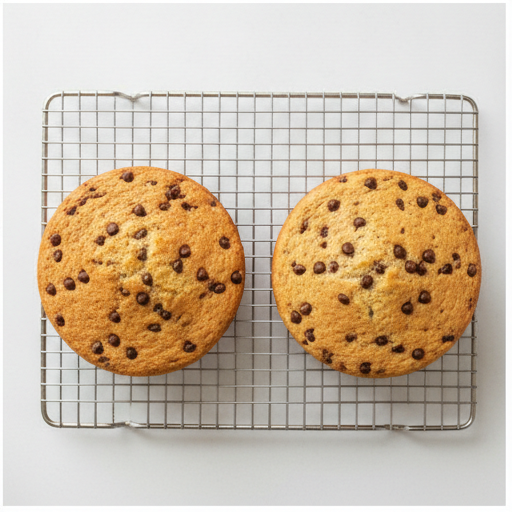
Make the Frosting:
While the cakes cool, make the chocolate chip buttercream. Beat the softened butter on medium-high speed until smooth and creamy, about 2 to 3 minutes. Gradually add the sifted powdered sugar, one cup at a time, mixing on low speed. Add the vanilla and heavy cream, then beat on medium speed until light and fluffy, about 1 minute. Fold in the mini chocolate chips with a spatula just before frosting the cake.
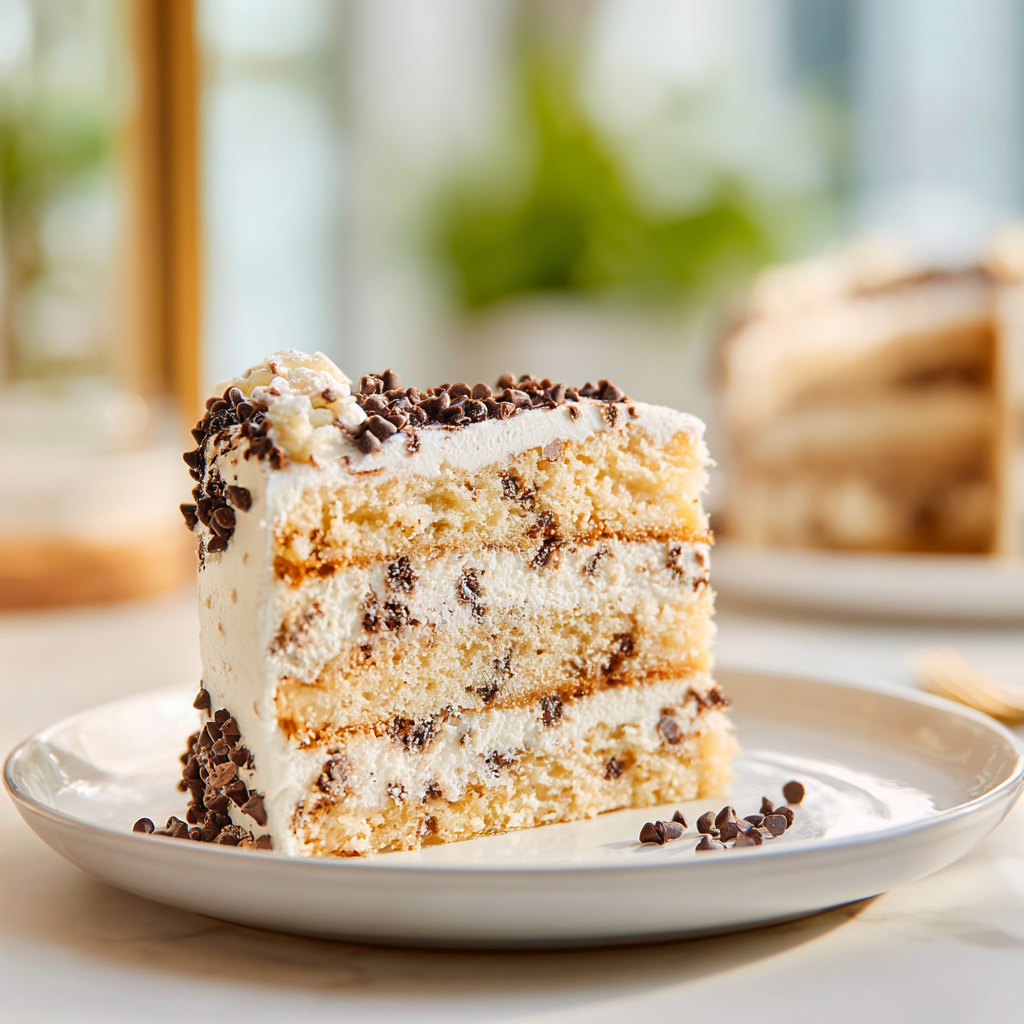
Place one cooled cake layer on a serving plate. Spread a generous amount of frosting on top. Add the second layer. Frost the top and sides of the cake with the remaining buttercream. Slice and serve.
Expert Baking Tips
I’ve made this chocolate chip cake more times than I can count. Here are the things I’ve learned that make the difference between a good cake and a great one.
Room temperature ingredients matter. This isn’t just baking dogma. Cold eggs and milk won’t emulsify properly into the butter and sugar mixture. You’ll end up with a lumpy batter and a less tender crumb. Take them out of the fridge about 30 minutes before you start. In a hurry? You can warm your milk in the microwave for about 15 seconds and place your eggs in a bowl of warm water for 5 minutes.
Don’t overmix the batter. This is the number one mistake I see. Once you add the flour, mix only until it disappears. Overmixing develops gluten, which makes the cake tough and dense. We want a tender crumb, not a bread loaf.
❌ Mistake: Chocolate chips sinking to the bottom.
✅ Solution: Toss your chips in a tablespoon or two of the flour mixture before folding them into the batter. This creates a little barrier that helps them stay suspended. Also, using mini chocolate chips for cake helps because they’re smaller and lighter.
❌ Mistake: Cake sinking in the middle after removing from the oven.
✅ Solution: This usually means the cake is underbaked. Make sure your oven is at the right temperature (an oven thermometer is a cheap investment) and test the center with a toothpick. If it comes out clean or with just a few moist crumbs, it’s done. Also, don’t open the oven door during the first 25 minutes of baking. The rush of cold air can cause the cake to collapse.
❌ Mistake: Overmixing the batter (makes cake dense).
✅ Solution: Mix the wet and dry ingredients until just combined. A few streaks of flour are fine. Then fold in the chocolate chips gently.
Baking temperature: I bake this cake at 350°F. Some recipes suggest 325°F for a more even rise, but 350°F works perfectly for this recipe. The cake bakes in 32 to 35 minutes, which is about right for a 9×13 chocolate chip cake or two 8-inch rounds.
Should I use cake strips? Cake strips are fabric bands you soak in water and wrap around your cake pans. They help the cake bake more evenly and prevent doming. I’ve used them, and they work well, but they’re not necessary for this recipe. If you want a perfectly flat top for easier frosting, go for it. If not, you can just trim the domes off with a serrated knife.
Storage and Make-Ahead Tips
This chocolate chip cake is great for making ahead, which is perfect for busy schedules or when you’re hosting. Here’s how to keep it fresh.
Storing the cake layers: If you’re not frosting immediately, wrap the cooled cake layers tightly in plastic wrap. They’ll stay fresh at room temperature for up to 3 days, or in the refrigerator for up to 3 days. For longer storage, wrap them well and freeze for up to 1 month. Thaw before frosting.
Storing the frosting: You can make the frosting up to a week in advance. Store it in a tightly sealed container in the refrigerator. When you’re ready to use it, take it out about 45 minutes to 1 hour before you need it. Let it come to room temperature, then give it a quick whip to bring back the fluffiness. If you’re making the frosting ahead, wait to add the chocolate chips until you are ready to use it.
Storing the frosted cake: Store the assembled cake in the refrigerator for up to 3 days. Bring it to room temperature before serving for the best texture and flavor. The cake can also be frozen, frosted, for up to 2 months. Thaw it in the refrigerator overnight.
Reheating: If you want that just-baked experience, you can microwave individual slices for about 10 to 15 seconds. It’s not quite the same as fresh from the oven, but it’s pretty close. The chocolate chips get all melty again. That’s the result you want.
Frequently Asked Questions
More Easy Cake Recipes
If you loved this chocolate chip cake, you might also enjoy some of my other favorite from-scratch cakes. They’re all designed to be simple, reliable, and absolutely delicious.
- Classic Vanilla Layer Cake: The perfect blank canvas for any occasion. Light, fluffy, and endlessly customizable.
- Fudgy Chocolate Cake: For when only the deepest, richest chocolate flavor will do. This one is a crowd-pleaser.
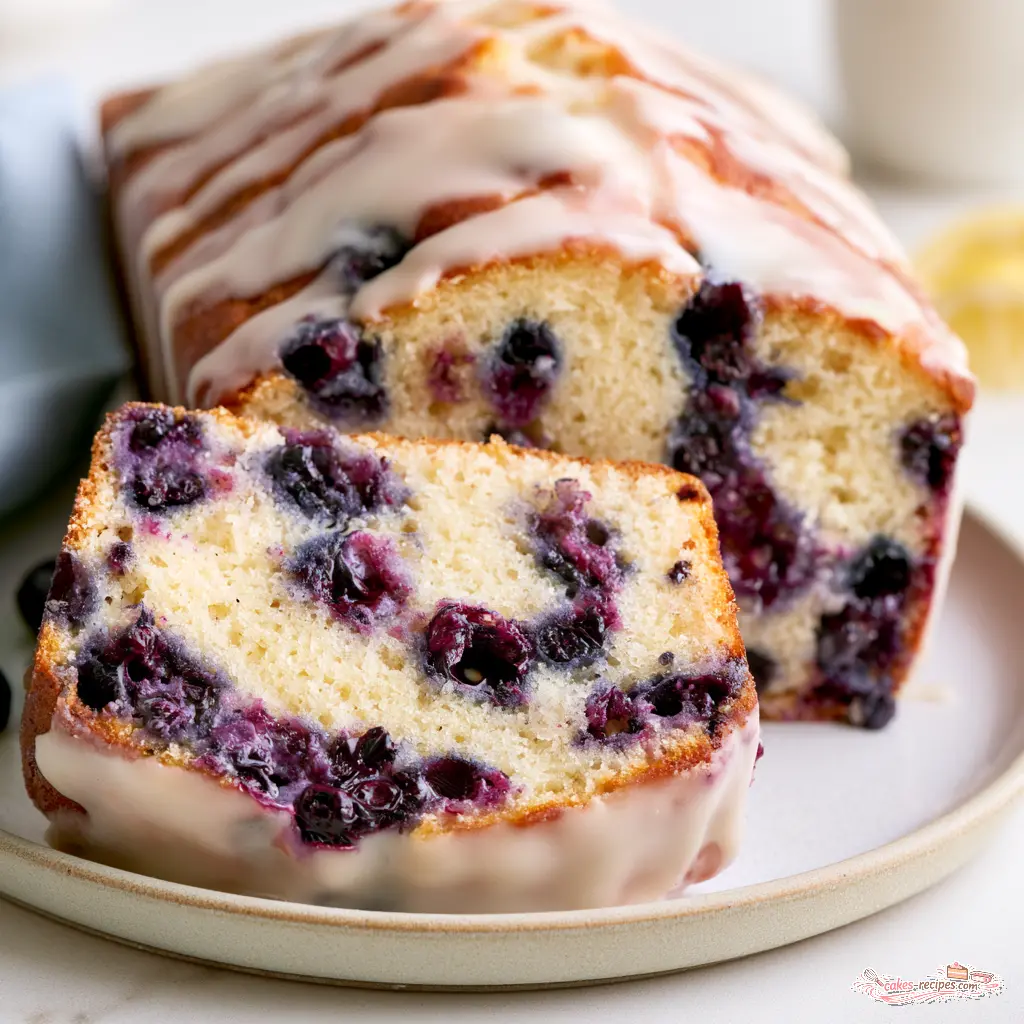
- Lemon Blueberry Pound Cake: A bright, summery option that’s perfect for brunch or afternoon tea.
Now go make the cake that will make your kitchen smell amazing and your family adore you. Seriously, the aroma alone is worth it. Imagine slicing into a cake where each bite has a little pocket of melted chocolate – that’s what we’re going for. Even when it’s 90 degrees out, some of us still need chocolate – just turn on the AC and bake.
If you make this chocolate chip cake, I’d love to hear about it. Share your photos and tag me. And if you’re looking for more baking inspiration, come find me on Pinterest where I’m always pinning my latest creations.
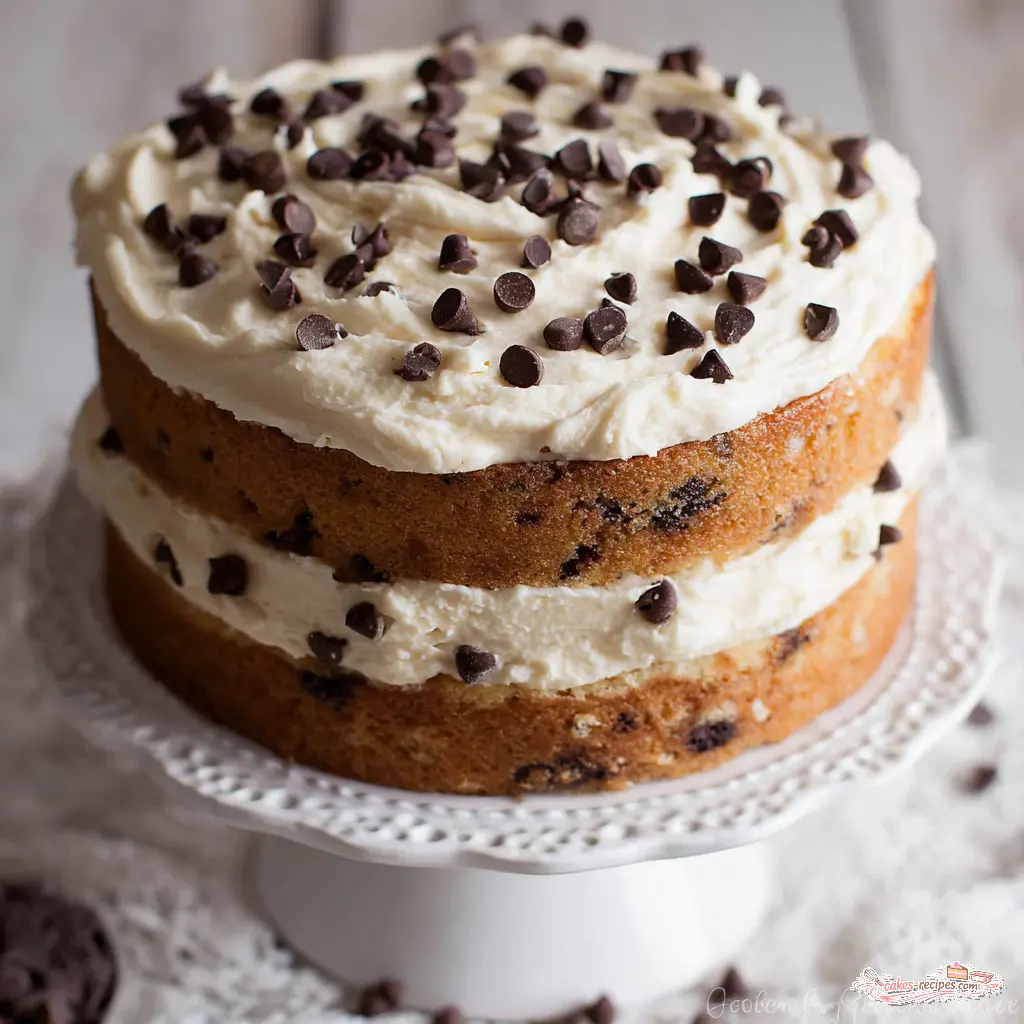
Ultimate Chocolate Chip Cake with Chocolate Chip Buttercream
Ingredients
Method
- Position a rack in the center of the oven and preheat to 350°F. Lightly coat two 8-inch round cake pans with baking spray (or butter and flour). For extra insurance, line the bottoms with parchment paper rounds.
- In a medium bowl, whisk together the flour, baking powder, and salt. Set aside 2 to 3 tablespoons of this mixture in a small bowl; you will toss the chocolate chips with it later.
- In a large bowl, beat the softened butter and sugar together until light and fluffy, about 2 minutes. Beat in the eggs one at a time, then add the oil, milk, and vanilla; mix until well combined.
- Add the dry ingredients (minus the reserved 2 to 3 tablespoons) to the wet mixture and stir until just combined. Toss the mini chocolate chips with the reserved flour mixture, then fold them into the batter. The batter will be thick but spreadable.
- Divide the batter evenly between the prepared pans and smooth the tops. Bake for 32 to 35 minutes, or until a toothpick inserted into the center comes out clean. Let the cakes cool in the pans for 10 minutes, then turn them out onto wire racks to cool completely.
- If not frosting immediately, wrap the cooled cake layers tightly in plastic wrap and store at room temperature for up to 3 days, or refrigerate for up to 3 days. For longer storage, wrap well and freeze for up to 1 month; thaw before frosting.
- In a large bowl with a hand mixer or in a stand mixer fitted with the paddle attachment, beat the softened butter on medium-high speed until smooth and creamy, about 2 to 3 minutes.
- Reduce speed to low and gradually add the sifted powdered sugar, one cup at a time, mixing until incorporated. Add the vanilla and heavy cream, then beat on medium speed until light and fluffy, about 1 minute.
- If using the mini chocolate chips in the frosting, fold them in with a spatula just before frosting the cake. (If making the frosting ahead, wait to add the chips until you are ready to use.)
- Place one cooled cake layer on a serving plate, spread a generous amount of frosting on top, then add the second layer. Frost the top and sides of the cake with the remaining buttercream. Slice and serve.
Nutrition
Notes
Tried this recipe?
Let us know how it was!Source: Health & Nutrition Research
Should I use cake strips when baking my cakes?
Cake strips can help your chocolate chip cake layers bake more evenly and prevent doming. They’re not essential for this recipe, but if you want perfectly flat tops for easier frosting, give them a try. Soak them in water, wrap them around your pans, and bake as usual.
Why should I toss my mini chocolate chips in the flour mixture before adding them to the batter?
This flour coating technique for chips creates a thin barrier around each chip. It helps prevent them from sinking to the bottom of the cake during baking. It’s a simple step that makes a huge difference in your chocolate chip cake from scratch.
How tall is this cake when fully assembled?
This chocolate chip cake uses two 8-inch round cake pans. When fully assembled with the chocolate chip buttercream frosting, the cake stands about 4 to 5 inches tall. It’s a nice, impressive height for a celebration cake without being overwhelming.
Why is there sour cream in this cake and can I taste it?
This particular chocolate chip cake recipe doesn’t use sour cream. It uses whole milk and a combination of butter and oil for moisture. Some variations of chocolate chip cake with buttermilk or sour cream exist, but this version is designed to be simple and reliable with pantry staples.
How come my cake sank in the middle after removing it from the oven?
A cake sinking in the middle is usually a sign of underbaking. Make sure your oven is at the correct temperature (350°F) and test the center with a toothpick. Also, avoid opening the oven door during the first 25 minutes of baking, as the cold air can cause the cake to collapse.








3 Responses
This cake is dangerous – I can’t stop eating it! The texture is spot on and the frosting is addictive. Only change I made was using dark chocolate chips because that’s what I had, and it worked perfectly.
Made this for my daughter’s birthday party and it was a huge hit! The cake was super moist and the chocolate chip buttercream was genius. I did have a question though – my chips still sank a bit even after coating them in flour. Any tips?
Hi Sarah! So glad it was a hit. For the sinking issue, make sure your batter is thick enough – if it’s too thin, the chips won’t stay suspended. Also, try using mini chips instead of regular ones; they’re lighter and distribute more evenly. Hope that helps for next time!