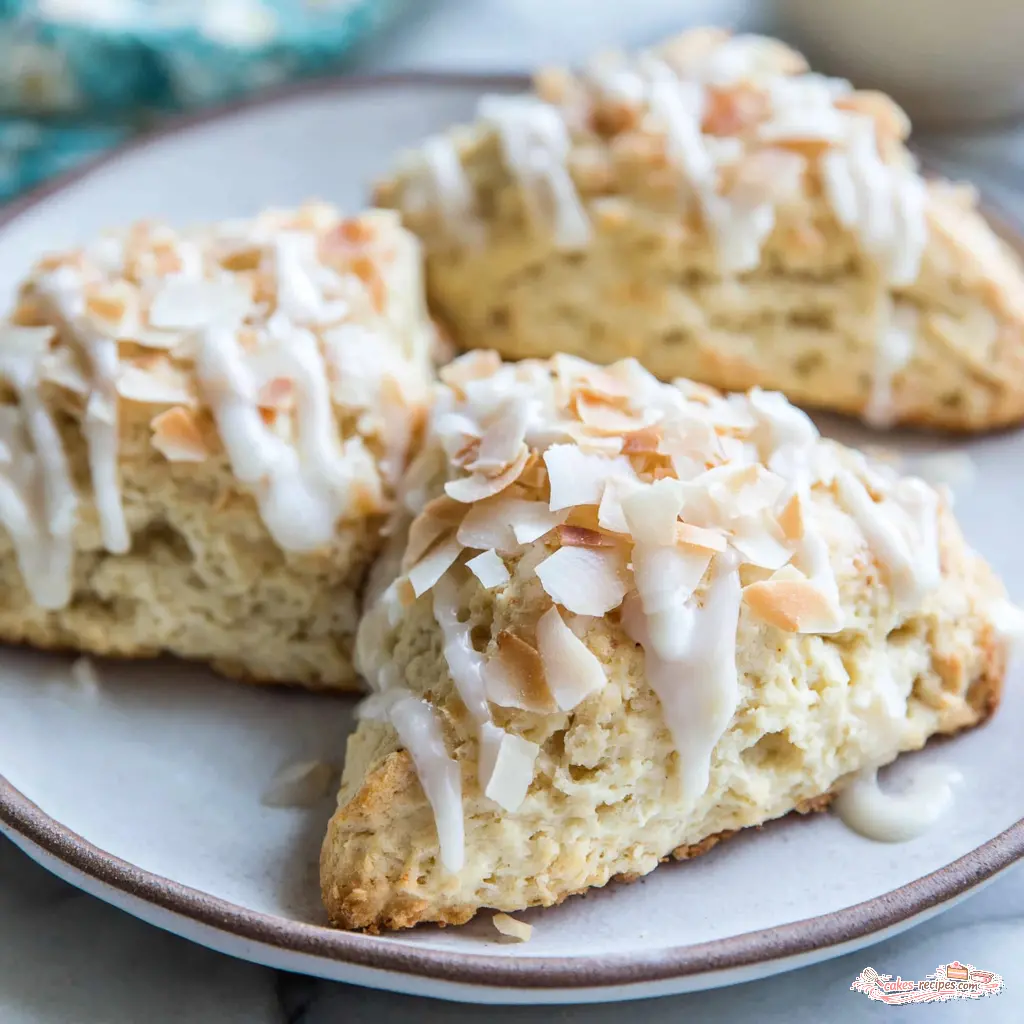
California Coconut Scones with Coconut Glaze
Ingredients
Method
- Preheat your oven to 350 degrees F. Line a baking sheet with a silicone mat or parchment paper.
- In a large mixing bowl, whisk together the flour, sugar, baking powder, baking soda, and salt. Cut in the cold butter using a pastry blender or your fingertips until the mixture looks like coarse crumbs. Stir in the shredded coconut.
- In a small bowl, whisk together the coconut milk, egg, and vanilla extract until well combined. Pour this into the dry ingredients and stir just until the dough comes together; do not overmix.
- Turn the dough out onto a lightly floured surface. Gently knead it 5 to 6 times until it holds together.
- Pat the dough into an 8-inch circle. Using a sharp knife, cut it into 8 wedges and place them on the prepared baking sheet, spacing them about 2 inches apart.
- Bake for 15 to 20 minutes, or until the edges are just turning golden brown. Transfer the scones to a wire rack to cool completely.
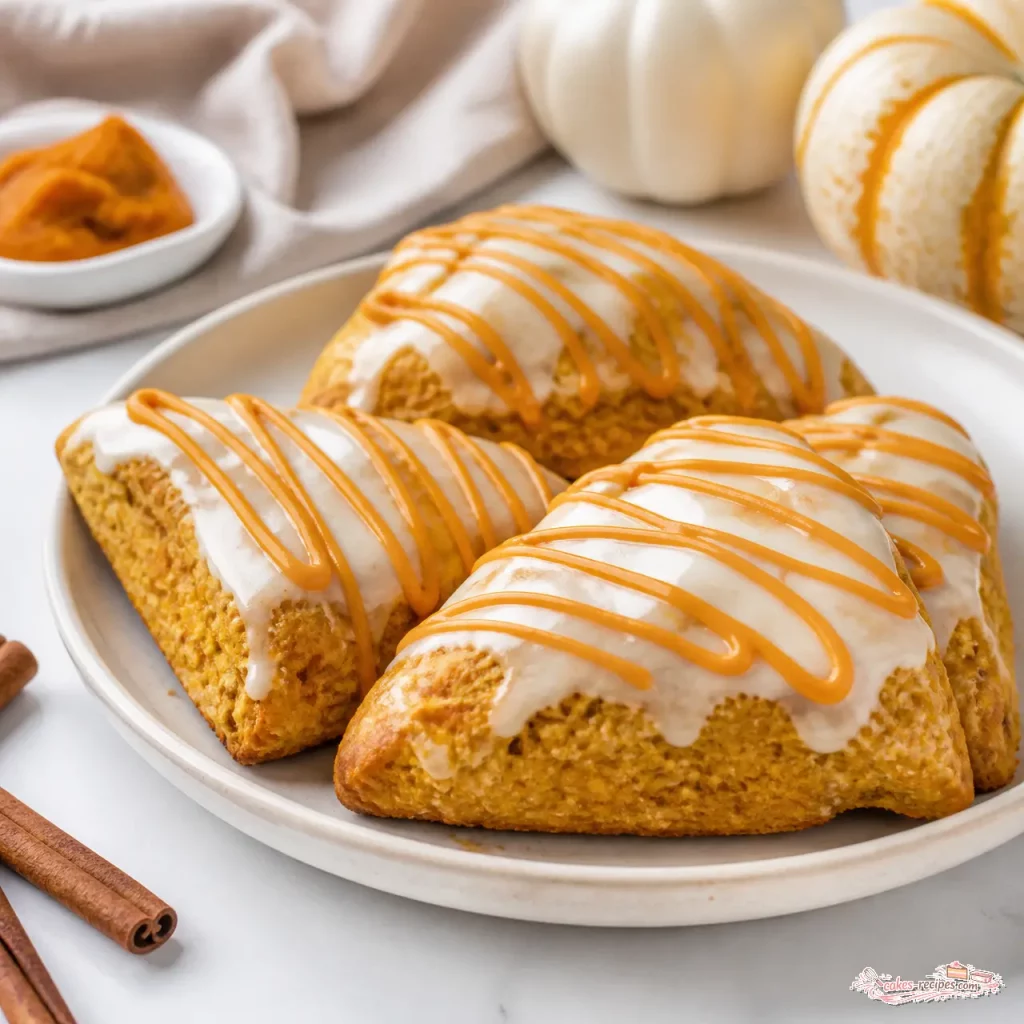
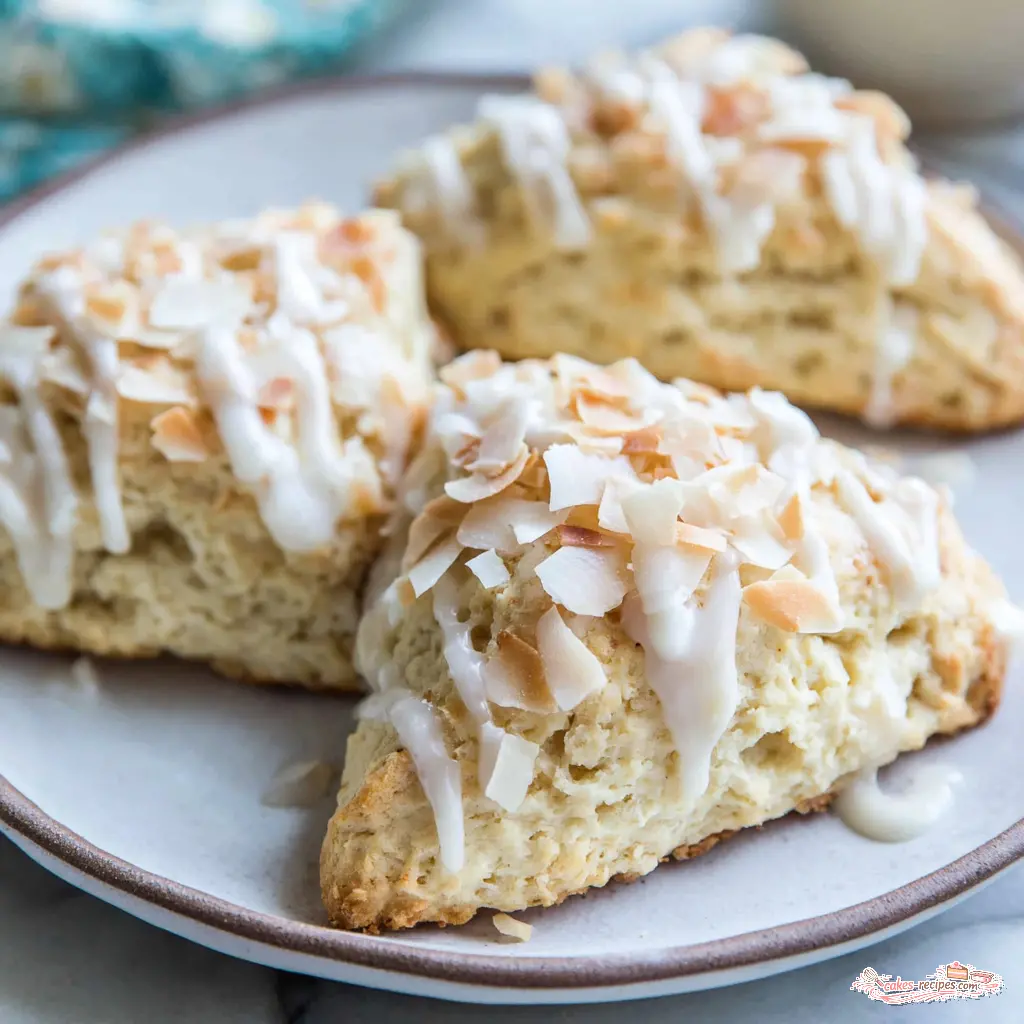
- To make the glaze, stir together the confectioners' sugar and 2 tablespoons of coconut milk until smooth. If needed, add a little more coconut milk, 1 teaspoon at a time, until the glaze is pourable. Dip the tops of the cooled scones into the glaze or spoon it over them. Sprinkle with toasted coconut, if desired.
- Let the glaze set for about 10 minutes before serving.
Nutrition
Notes
Tried this recipe?
Let us know how it was!Why You’ll Love These Coconut Scones with Coconut Glaze
I’ll be honest with you. My first batch of scones came out looking like hockey pucks. Dense, dry, and about as exciting as a saltine cracker. My abuela would have shaken her head and said “Ay, mijita.”
But I kept at it. And after years of testing, I finally cracked the code for tender, flaky scones that actually taste like something special. These coconut scones with coconut glaze are the result of all that trial and error. Claro que sí, they’re worth every attempt.
The secret? Cold butter, minimal handling, and real coconut milk. Not the watery stuff from the carton, but the full-fat canned kind that gives these scones their rich, tropical flavor. The first time I made these, my kitchen smelled like a beach vacation. And when I bit into one, warm from the oven, with that sweet glaze dripping down my chin? I knew I had something good.
Ingredients for Coconut Scones with Coconut Glaze
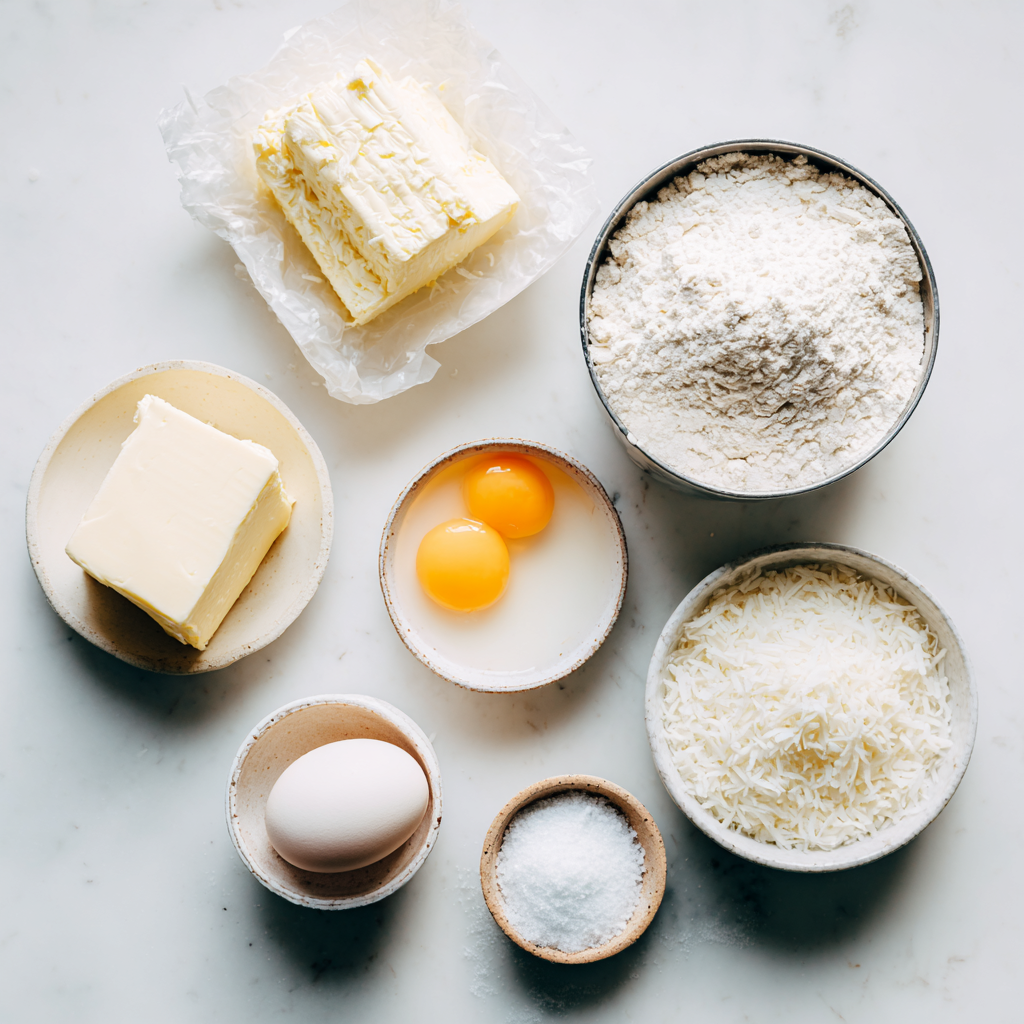
Let’s talk about what you’ll need. The ingredient list is short, but each one plays a role. Así es, every single ingredient matters here.
- All-purpose flour – The backbone. Don’t substitute with cake flour or bread flour. All-purpose gives the perfect structure for tender scones.
- Granulated sugar – Just a third of a cup. Enough to sweeten without making them taste like cookies.
- Baking powder and baking soda – The dynamic duo for lift. Both work together to give you that light, airy texture.
- Salt – Don’t skip it. Salt balances the sweetness and brings out the coconut flavor.
- Unsalted butter – Cold, cold, cold. This is non-negotiable. The cold butter creates steam pockets as it melts in the oven, which gives you those flaky layers.
- Full-fat coconut milk – Canned, unsweetened. This is where the magic happens. It adds richness and that unmistakable coconut flavor.
- One large egg – Binds everything together and adds tenderness.
- Vanilla extract – A little warmth to complement the coconut.
- Shredded coconut – Sweetened or unsweetened, your choice. I’ll explain the difference in a minute.
For the glaze, you just need confectioners’ sugar and more full-fat coconut milk. That’s it. Two ingredients, one perfect drizzle.
Sweetened vs Unsweetened Shredded Coconut
My take: I’ve tested both. Sweetened shredded coconut gives you a sweeter, slightly softer scone. Unsweetened lets the coconut flavor shine without extra sugar. If you use sweetened, you might want to reduce the sugar in the recipe by a tablespoon or two. I usually go with unsweetened and let the glaze do the sweetening.
Step-by-Step Instructions
Now let’s get to the fun part. I’ll walk you through each stage so you know exactly what to look for. Because honestly, scone success is all about the little details.
Stage 1: Prepare the Dry Ingredients and Cut in the Butter
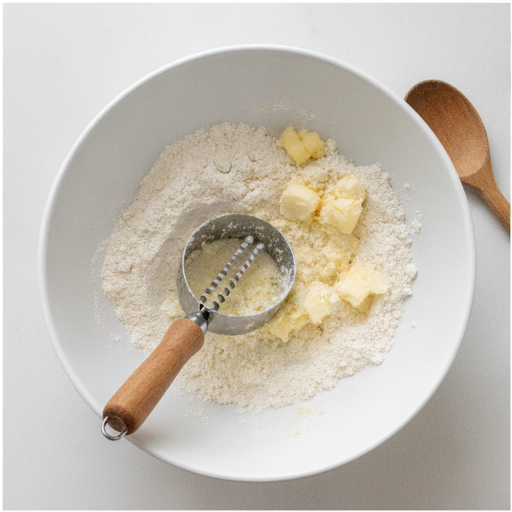
Start by preheating your oven to 350 degrees F. Line a baking sheet with parchment paper or a silicone mat. Then, in a large mixing bowl, whisk together the flour, sugar, baking powder, baking soda, and salt. This distributes the leavening agents evenly, which is crucial for even rising.
Now for the butter. Cut your cold butter into small pieces, about the size of peas. Add them to the flour mixture and use a pastry blender (or your fingertips) to cut the butter in. You’re looking for a texture that resembles coarse crumbs, with some butter pieces still visible. This is what creates those flaky layers. Don’t overdo it – you want bits of butter, not a paste.
Stir in the shredded coconut at this point. The coconut gets distributed throughout the dough, so every bite has that chewy, sweet coconut texture.
Stage 2: Combine Wet and Dry Ingredients
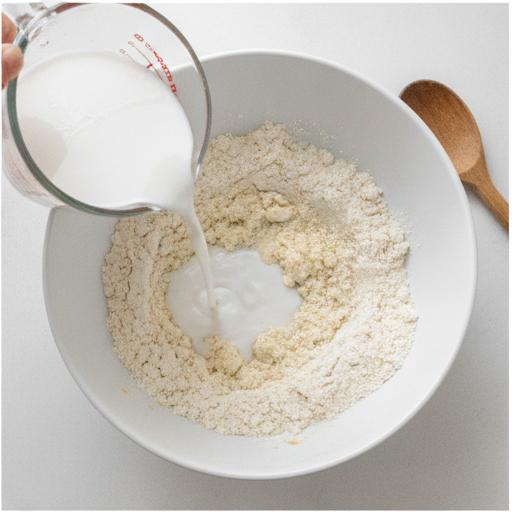
In a small bowl, whisk together the coconut milk, egg, and vanilla extract. Make sure the egg is fully incorporated. Pour this into the dry ingredients and stir just until the dough comes together. The dough will look shaggy and a little messy. That’s exactly right. If it looks smooth and uniform, you’ve overmixed it.
This is the most common mistake people make. Overmixing develops the gluten in the flour, which makes scones tough and dense. You want to stop mixing as soon as the dry ingredients are moistened. No te preocupes if there are a few dry spots. They’ll come together when you knead.
Stage 3: Shape the Dough
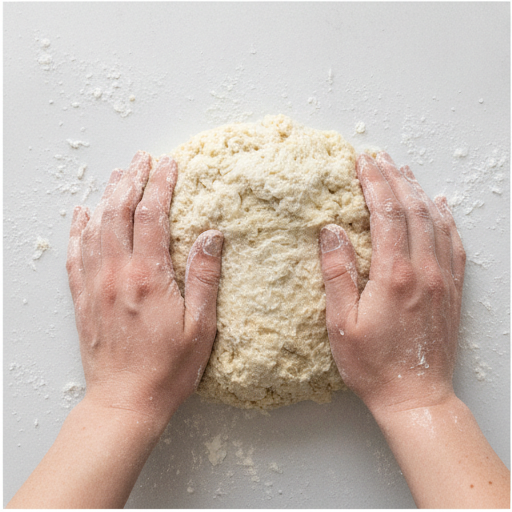
Turn the dough out onto a lightly floured surface. Gently knead it 5 to 6 times, just until it holds together. This isn’t bread dough, so don’t go crazy. You’re just bringing everything into a cohesive mass.
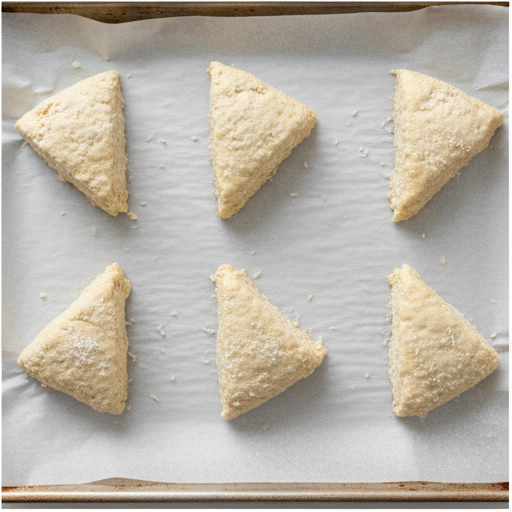
Pat the dough into an 8-inch circle. It should be about 3/4 inch thick. Use a sharp knife to cut it into 8 wedges, like you’re cutting a pizza. Place the wedges on your prepared baking sheet, spacing them about 2 inches apart. They’ll spread a little as they bake.
Stage 4: Bake and Make the Glaze
Bake for 15 to 20 minutes. You’ll know they’re done when the edges are just turning golden brown. The tops should be lightly golden too, but the real test is the smell. When your kitchen smells like toasted coconut and butter, they’re close.
Transfer the scones to a wire rack to cool completely. This is important. If you glaze them while they’re still warm, the glaze will melt and run right off.
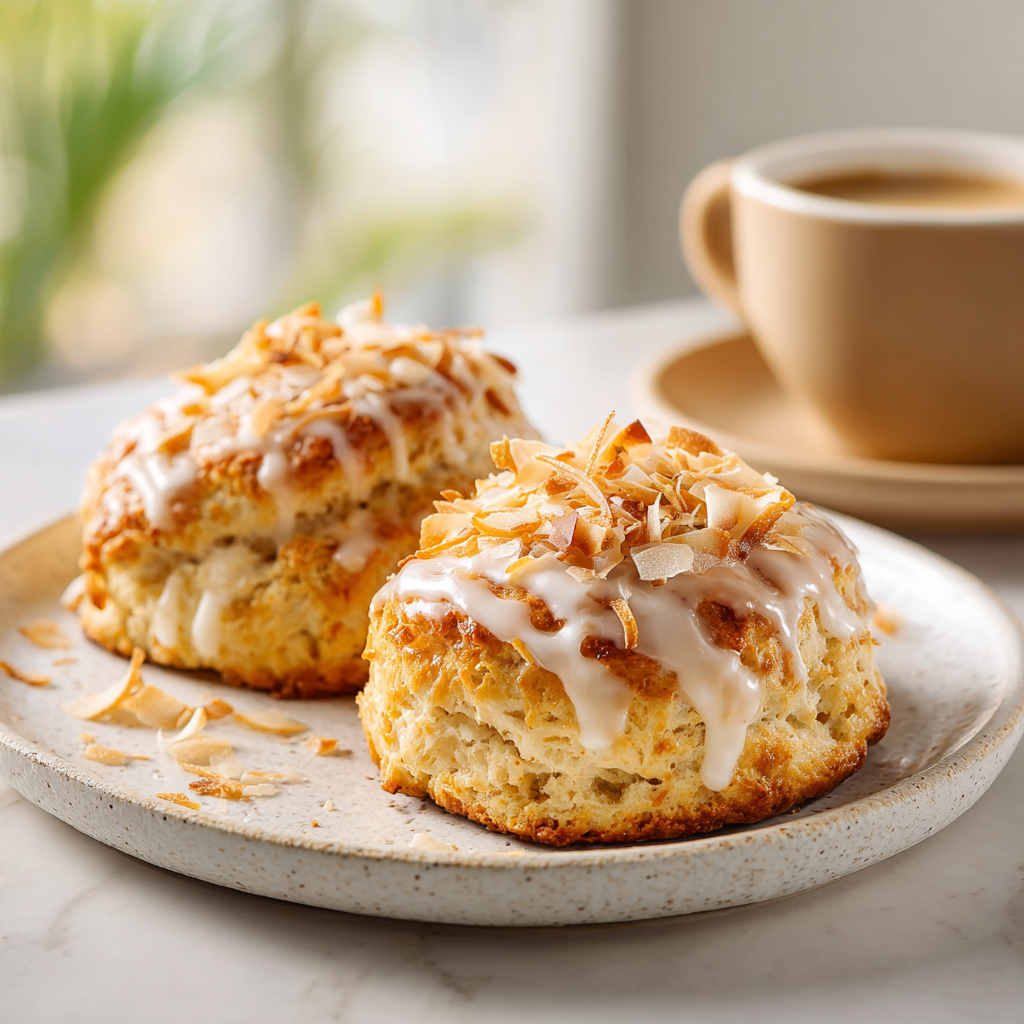
While they cool, make the glaze. Stir together the confectioners’ sugar and 2 tablespoons of coconut milk until smooth. If it’s too thick, add more coconut milk, 1 teaspoon at a time. You want a consistency that’s pourable but not watery. Dip the tops of the cooled scones into the glaze or spoon it over them. Sprinkle with toasted coconut if you like.
Let the glaze set for about 10 minutes before serving. Perfecto.
Expert Tips for Perfect Scones
I’ve made these scones more times than I can count. Here’s what I’ve learned:
- Keep everything cold. If your kitchen is warm, pop the shaped scones in the fridge for 15 minutes before baking. This firms up the butter and prevents spreading.
- Don’t twist the cutter. If you’re using a round cutter, press straight down and lift. Twisting seals the edges and prevents rising.
- Use a sharp knife. A dull knife will drag through the dough and compress the edges. Clean cuts give you better rise.
- Sift your powdered sugar. Nobody wants lumpy glaze. Sift it first, then add the coconut milk.
- Toast your coconut. For the garnish, spread shredded coconut on a baking sheet and bake at 350°F for 3-5 minutes. Watch it closely, it burns fast.
Common Scone Mistakes and How to Fix Them
❌ Dough is too dry: Add a tablespoon more coconut milk, one at a time, until it comes together. But don’t overdo it.
❌ Scones are dense and heavy: You likely overmixed the dough. Next time, stop mixing as soon as the flour is incorporated.
❌ Scones spread too much: Your butter was too warm. Chill the dough before baking.
❌ Glaze is too thin: Add more confectioners’ sugar, a tablespoon at a time. It’s forgiving.
❌ Glaze is too thick: Add more coconut milk, a teaspoon at a time.
Variations and Add-Ins
Once you’ve mastered the base recipe, feel free to play around. Here are a few ideas:
- Lime Coconut Scones: Stir 1 tablespoon of lime zest into the dry ingredients. Finish with a lime glaze instead of coconut glaze. The citrus brightens the coconut beautifully.
- Chocolate Chip Coconut Scones: Add 1/2 cup of semi-sweet or white chocolate chips along with the shredded coconut. The chocolate melts into little pockets of sweetness.
- Dried Fruit: Dried cranberries, pineapple, or apricots work wonderfully. Add 1/2 cup with the coconut.
- Chopped Nuts: Pecans or macadamia nuts add crunch. Toast them first for extra flavor.
These are optional additions, so don’t feel like you have to use them. The base recipe is already delicious on its own.
Serving Suggestions
These coconut scones with coconut glaze are perfect for so many occasions. I love serving them for weekend brunch with a pot of hot coffee or tea. They’re also great for afternoon tea parties, baby showers, or just a quiet morning treat.
For a truly indulgent experience, split a scone in half and spread it with clotted cream or freshly whipped cream. The combination of the tender scone, sweet glaze, and creamy topping is heavenly.
They also pair beautifully with fresh summer berries. Strawberries, blueberries, or raspberries add a bright, tart contrast to the sweet coconut. Qué padre for a summer brunch by the pool.
Storage and Leftovers
These scones are best enjoyed the day they’re made, but they’ll keep for a couple of days if stored properly. Here’s how:
Room temperature: Store cooled scones in an airtight container at room temperature for up to 2 days. The glaze might soften slightly, but they’ll still be delicious.
Refrigerator: You can refrigerate them for up to 5 days. Let them come to room temperature before serving, or warm them gently.
Freezer (baked): Transfer cooled scones to an airtight container or zip-top bag. Freeze for up to 3 months. Thaw on the counter or in the refrigerator.
Freezer (unbaked): After shaping the scones into triangles, place them on a baking sheet and freeze for one hour. Then transfer to a freezer-safe bag. Bake from frozen, adding 2-3 minutes to the baking time.
To reheat: Pop a scone in a 300°F oven for 5-7 minutes, or microwave for 15-20 seconds. The oven method gives you a crisper exterior.
Frequently Asked Questions
These will be the best scones you’ve ever made. I promise. The moment you bite into one, you’ll taste the toasted coconut and butter, and that sweet glaze will make you smile. Ándale, give them a try and let me know how they turn out. Share your photos with me on Pinterest – I’d love to see your beautiful scones!
Source: Nutritional Information
How do you make coconut scones with coconut glaze from scratch?
Start by whisking together flour, sugar, baking powder, baking soda, and salt. Cut in cold butter until the mixture looks like coarse crumbs. Stir in shredded coconut. In a separate bowl, whisk coconut milk, egg, and vanilla. Combine wet and dry ingredients, knead gently, pat into a circle, cut into wedges, and bake at 350°F for 15-20 minutes. For the glaze, whisk confectioners’ sugar with coconut milk until smooth and drizzle over cooled scones.
Can I use light coconut milk instead of full-fat for coconut scones?
I don’t recommend it. Light coconut milk has a higher water content and less fat, which will make your scones less tender and flavorful. Full-fat canned coconut milk gives you the rich texture and coconut flavor that makes these scones special. Stick with the full-fat version for the best results.
What is the best way to toast shredded coconut for coconut scones?
Spread shredded coconut in a thin, even layer on a baking sheet. Bake at 350°F for 3-5 minutes, stirring halfway through. Watch it closely because it burns quickly. You want it golden brown and fragrant. You can also toast it in a dry skillet over medium heat, stirring constantly, for 2-3 minutes.
How should I store leftover coconut scones with coconut glaze?
Store them in an airtight container at room temperature for up to 2 days. For longer storage, refrigerate for up to 5 days or freeze for up to 3 months. To reheat, warm them in a 300°F oven for 5-7 minutes. This helps restore the crisp exterior. They’re best enjoyed fresh but will still be tasty for a couple of days.
What can I substitute for eggs in this coconut scones recipe?
If you need an egg substitute, try using 1/4 cup of unsweetened applesauce or a flax egg (1 tablespoon ground flaxseed mixed with 3 tablespoons water, let sit for 5 minutes). The texture will be slightly denser, but the scones will still be delicious. The coconut milk provides enough moisture to keep them tender.