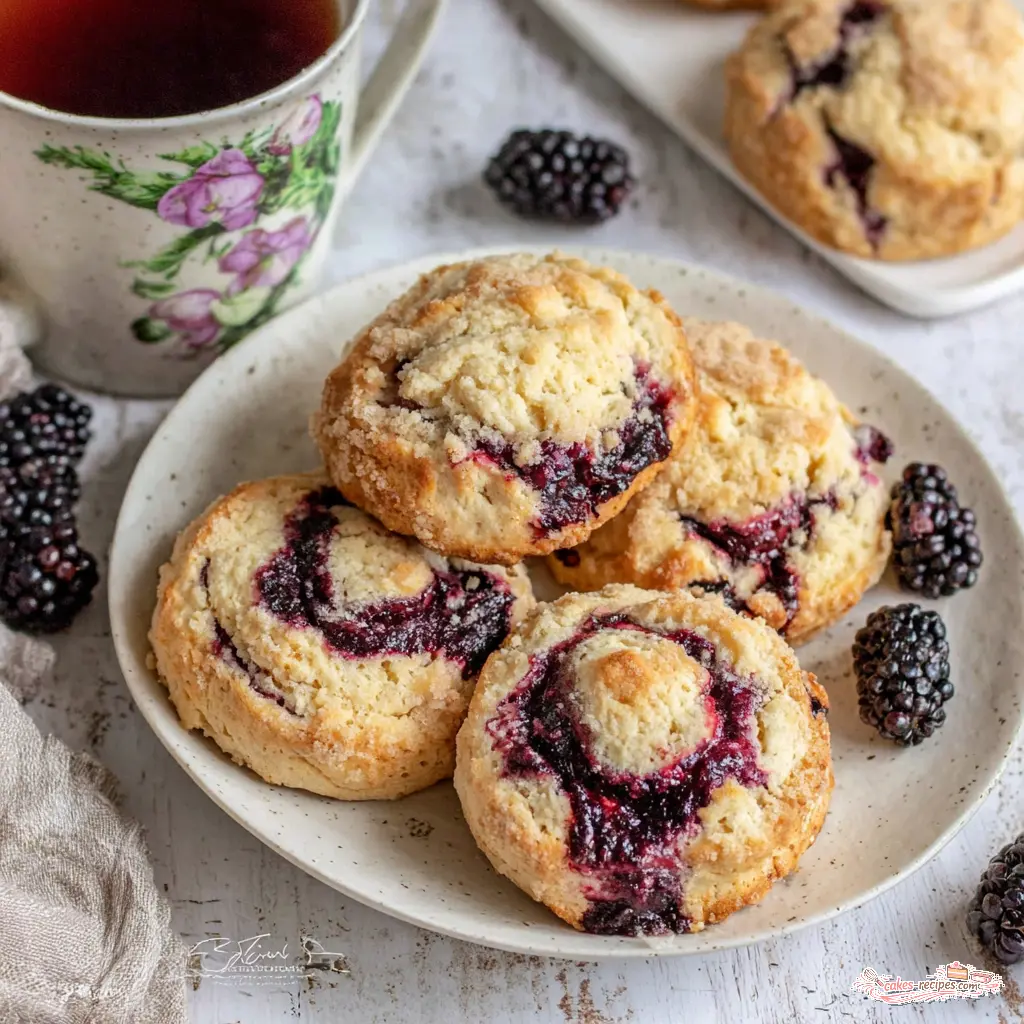
Why You’ll Love These Blackberry Buttermilk Biscuits
Let me set the scene. It’s a Saturday morning in July, and my eleven-year-old has just come in from the backyard with a colander full of blackberries we picked at the farmers market yesterday. His fingers are stained purple, and he’s grinning like he found treasure. That’s when I knew exactly what we were making: blackberry buttermilk biscuits.
I have to be honest with you. My first attempt at these was a bit of a mess. I overmixed the dough, the berries burst everywhere, and the biscuits turned out more purple than a grape soda. But that’s the thing about baking. You learn, you adjust, and eventually you get it right. This recipe? I’ve got it right.
These blackberry buttermilk biscuits are something special. They’re tender but not cakey. Flaky but not dry. And that swirl of blackberry jam running through the middle? That’s what we want to see. The streusel topping gives them a little crunch, a little sweetness, and makes them look like you spent way more time than you actually did.
Perfect for summer brunch, a lazy weekend breakfast, or even dessert with a scoop of vanilla ice cream. I promise this is easier than it sounds.
Ingredients You’ll Need
Let’s talk about what goes into these beauties. The ingredient list is straightforward, but a few things matter more than others. I’ll walk you through it.
For the cookies: You’ll need unsalted butter at room temperature, granulated sugar, one egg (also at room temperature), vanilla extract, a splash of milk, all-purpose flour, baking powder, baking soda, salt, fresh blackberries, and blackberry jam. That jam is the secret to those gorgeous ribbons of fruit throughout the dough.
For the streusel topping: Unsalted butter at room temperature, brown sugar, granulated sugar, all-purpose flour, and a pinch of salt. That’s it. Five ingredients, one bowl, and you’ve got a crunchy, buttery topping that takes these biscuits over the top.
I like to use good-quality blackberry jam here. The kind with visible fruit pieces. It makes a difference in both flavor and appearance. And fresh blackberries are ideal when they’re in season, but don’t worry if you can only find frozen. I’ll cover that in a minute.
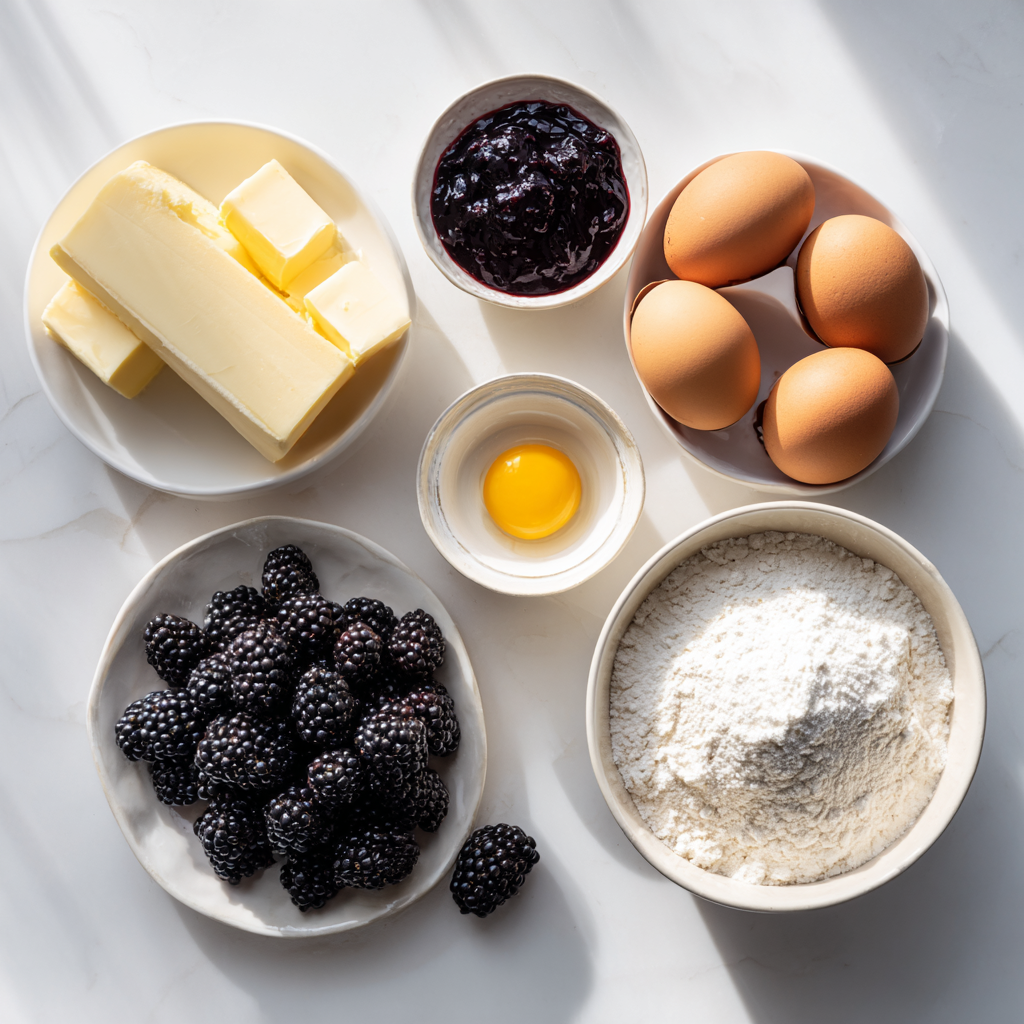
One thing I’ve learned from testing this recipe multiple times? Room temperature ingredients really do matter. The butter, the egg, even the milk. When everything is at the same temperature, the dough comes together more evenly. That tracks with most baking, honestly. If your butter is too cold, it won’t cream properly with the sugar. Too warm, and the cookies might spread too much. Room temperature is the sweet spot.
A quick note on the flour. All-purpose flour works perfectly here. No need for anything fancy. Just make sure you measure it correctly. Spoon it into your measuring cup and level it off. Scooping directly from the bag can pack the flour down and give you too much, which leads to dense biscuits. Nobody wants that.
Step-by-Step Instructions
Alright, let’s get to the actual process. I’ll break this down into stages so you can see the progression. Don’t worry, it’s simpler than it looks.
Stage 1: Creaming the Butter and Sugar
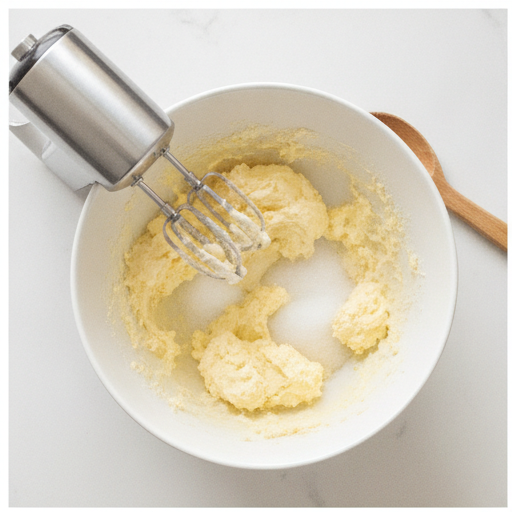
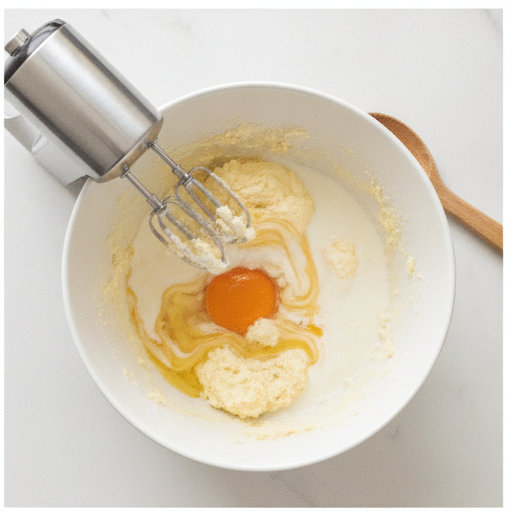
Start by beating the butter and sugar together until they’re light and fluffy. This takes about 2 minutes with a stand mixer or hand mixer. You’re looking for a pale, creamy texture. Scrape down the sides of the bowl with a spatula, then add the egg, vanilla, and milk. Mix until everything is well combined. The batter should look smooth and a little glossy at this point.
I use my stand mixer for this, but a hand mixer works just as well. In a pinch, you can even use a sturdy fork. It’ll just take a bit more elbow grease. That makes sense, right?
Stage 2: Mixing the Dry Ingredients
In a separate bowl, whisk together the flour, baking powder, baking soda, and salt. This is important because you want the leavening agents evenly distributed throughout the flour. If you skip this step, you might end up with one biscuit that rises beautifully and another that falls flat. Not ideal.
Slowly add the dry ingredients to the wet ingredients. Start on low speed so you don’t send flour flying everywhere. Once most of it is incorporated, increase to high speed and mix until no streaks of flour remain. But here’s the thing don’t go overboard. As soon as it’s combined, stop.
Stage 3: Folding in the Blackberries and Jam
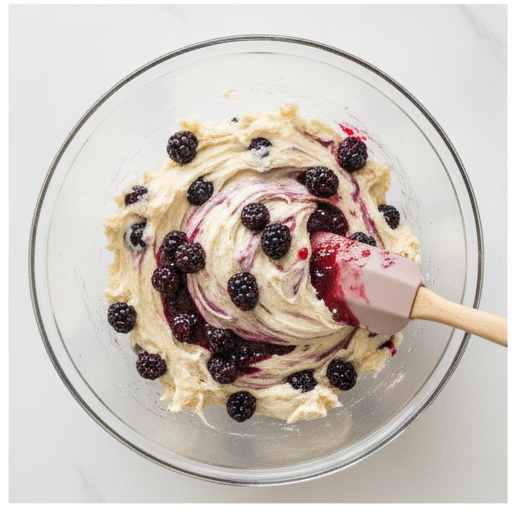
This is the step that makes or breaks the recipe. Gently fold in the blackberries using a spatula. You want them evenly distributed but still holding their shape. If you crush them, they’ll leak liquid and turn the whole dough purple. Gentle folding is key here.
Next, drop small spoonfuls of blackberry jam into the dough. Fold it a few times to create ribbons of jam throughout. Don’t overmix. You’re looking for streaks, not a uniform color. Think of it like a marble cake those swirls are what make it beautiful.
I remember the first time I made these, I got a little too enthusiastic with the folding. The whole batter turned a sad, grayish purple. Still tasted fine, but it wasn’t pretty. Learn from my mistakes. Fold gently and stop early.
Stage 4: Making the Streusel and Baking
In a separate bowl, combine all the streusel ingredients. Use a fork to mix until the mixture starts clumping together. Here’s a trick I picked up from my Oma microwave the streusel for 5 to 10 seconds. It helps the butter soften enough that everything comes together into perfect little clumps. Mix again after microwaving.
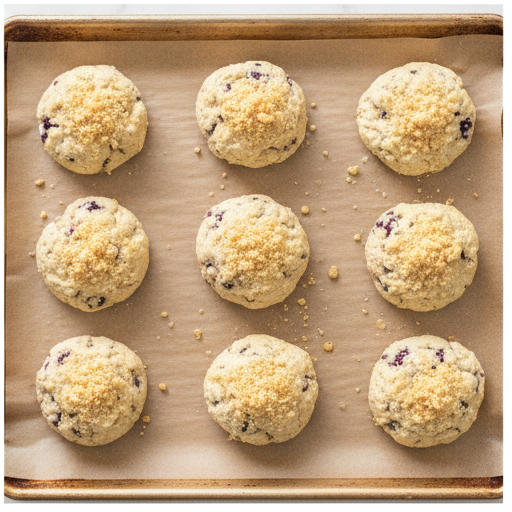
Using a medium cookie scoop, place scoops of dough onto a parchment-lined baking sheet. Space them a couple inches apart. These cookies will spread as they bake. Top each one with a generous pinch of the streusel topping, pressing it firmly into the dough so it sticks.
Bake at 350°F for 12 to 15 minutes. You want the edges to be set while the centers still remain slightly doughy. That’s what we want to see. The streusel should be golden brown and the kitchen should smell like butter and blackberries. Allow the cookies to cool completely on the baking sheet before enjoying. I know it’s hard to wait, but they set up better that way.
Tips for the Best Blackberry Biscuits
I’ve made these more times than I can count, and I’ve learned a few things along the way. Here are my best tips for success.
- Don’t overmix the dough. This is the number one mistake. Overmixing develops too much gluten and makes the biscuits tough. Mix until just combined, then stop.
- Use room temperature butter and egg. Cold ingredients don’t cream together properly. Set them out on the counter about 30 minutes before you start baking.
- Handle the blackberries gently. They’re delicate. Fold them in with a light hand so they hold their shape. If they burst, they’ll leak liquid and turn the biscuits purple.
- Don’t skip the streusel. I know it’s an extra step, but it’s worth it. The crunchy, buttery topping contrasts beautifully with the tender, fruity cookie.
- Let them cool completely. I know they smell amazing right out of the oven, but they need time to set. Patience pays off here.
One more thing. If you’re making these on a hot summer day, like I often do in Milwaukee, consider chilling your bowl and even your flour for a few minutes. It helps keep the butter from getting too soft. That’s a little trick I learned from watching my Oma prep her pans. She was always thinking ahead.
Variations and Substitutions
This recipe is pretty flexible. Let me walk you through some common swaps and tweaks.
Frozen blackberries: Yes, you can use frozen berries. Thaw them first and pat them dry with a paper towel. Toss them in a little flour before folding them into the dough. The flour helps absorb excess moisture and prevents the berries from sinking to the bottom.
Different jam: If you don’t have blackberry jam, you can use raspberry, strawberry, or even blueberry jam. The flavor will change, but the technique stays the same. Just avoid very runny jams that might make the dough too wet.
Gluten-free option: I haven’t tested this with gluten-free flour, but a good 1:1 gluten-free baking blend should work. Just keep in mind that the texture might be a bit different. Totally fixable, though.
Lemon zest: If you want a bright, citrusy note, add the zest of one lemon to the dough along with the wet ingredients. It pairs beautifully with the blackberries.
No buttermilk needed here: This recipe doesn’t call for buttermilk in the traditional sense. The milk in the dough is just regular milk. But if you want a tangier flavor, you can substitute buttermilk for the milk. Just reduce the amount slightly since buttermilk is thinner.
How to Store and Reheat
These blackberry buttermilk biscuits are best enjoyed the day they’re made, but they store well if you have leftovers. That’s a big if, honestly. They tend to disappear fast in my house.
At room temperature: Wrap cooled biscuits tightly in aluminum foil. Keep them at room temperature for up to 2 days. Don’t wrap them while they’re still warm, or trapped steam will make them soggy.
In the fridge: Place them in an airtight container and refrigerate for up to 5 days. They might dry out a bit faster in the fridge, so I prefer room temperature storage for short term.
In the freezer: Freeze without glaze for best results. Place them in a single layer on a baking sheet and freeze until solid. Then transfer to an airtight container or freezer zip-top bag with parchment paper between layers. They’ll keep for up to 3 months.
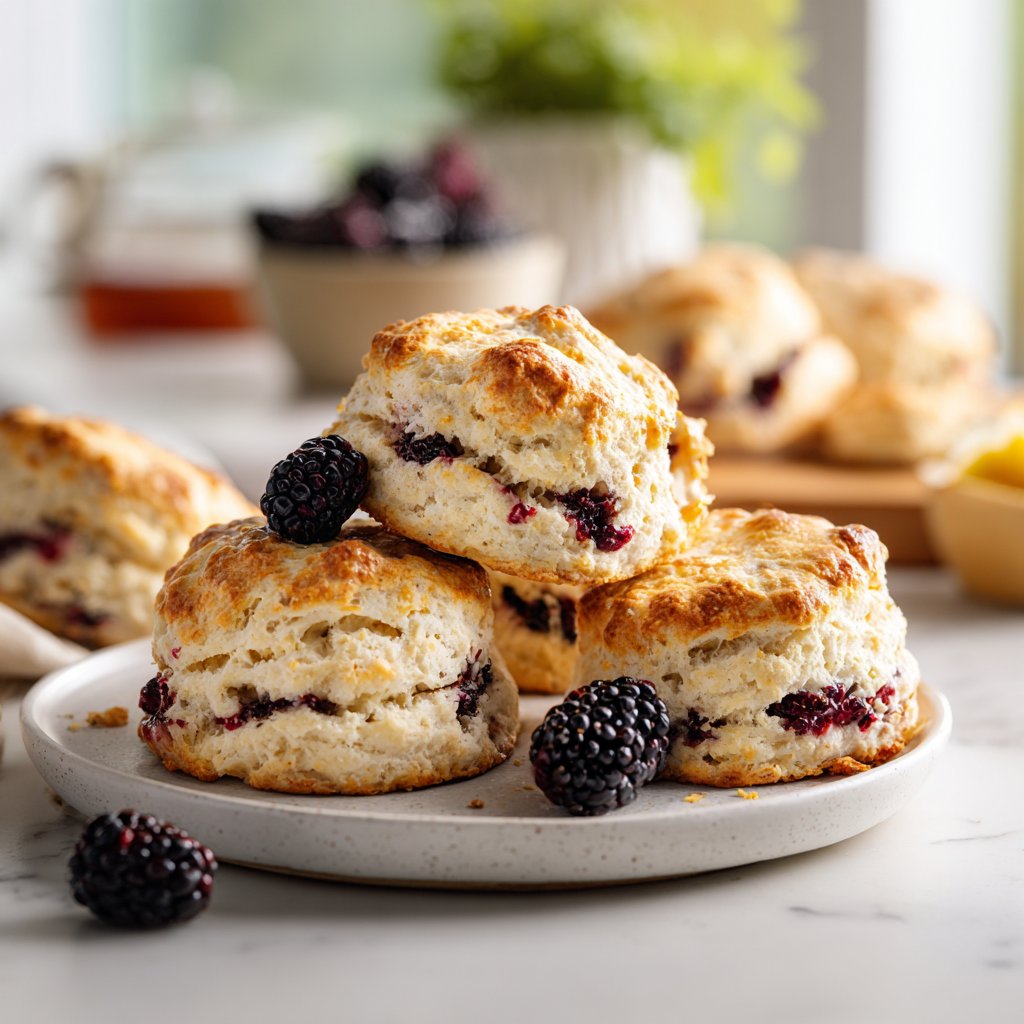
To reheat: The oven is your best bet. Preheat to 300°F and warm the biscuits for 8 to 10 minutes. If they’re frozen, add a few more minutes. I don’t recommend the microwave it makes them soft and a bit rubbery. The oven brings back that fresh-baked texture.
Let biscuits cool all the way to room temperature before wrapping to avoid sogginess. That’s a mistake I made exactly once. Never again.
Frequently Asked Questions
More Biscuit and Berry Recipes
If you love these blackberry buttermilk biscuits, you might enjoy some of my other fruit-forward recipes. I’m a big fan of using seasonal berries in everything from quick breads to cobblers.
Try these biscuits with blueberries for the same scrumptious results. Just swap the blackberries and blackberry jam for blueberries and blueberry jam. The technique is identical. Or experiment with raspberries and raspberry jam for a slightly tarter flavor.
For a more traditional biscuit experience, check out my classic buttermilk biscuits recipe. It’s the same tender, flaky texture without the fruit. Perfect for slathering with butter and honey.
And if you’re in the mood for something completely different, my lemon blueberry scones are a reader favorite. They’re bright, buttery, and perfect for a spring brunch.
I’d love to hear how these turn out for you. Drop a comment below or tag me on social media. Happy baking!
Make These for Your Next Brunch
Pro tip: These blackberry buttermilk biscuits are perfect for a Labor Day brunch or any summer gathering. They come together quickly, look impressive, and taste even better than they look. Double the recipe if you’re feeding a crowd. Trust me, they’ll vanish fast.
For more inspiration, follow me on Pinterest where I share my favorite baking ideas and seasonal recipes.
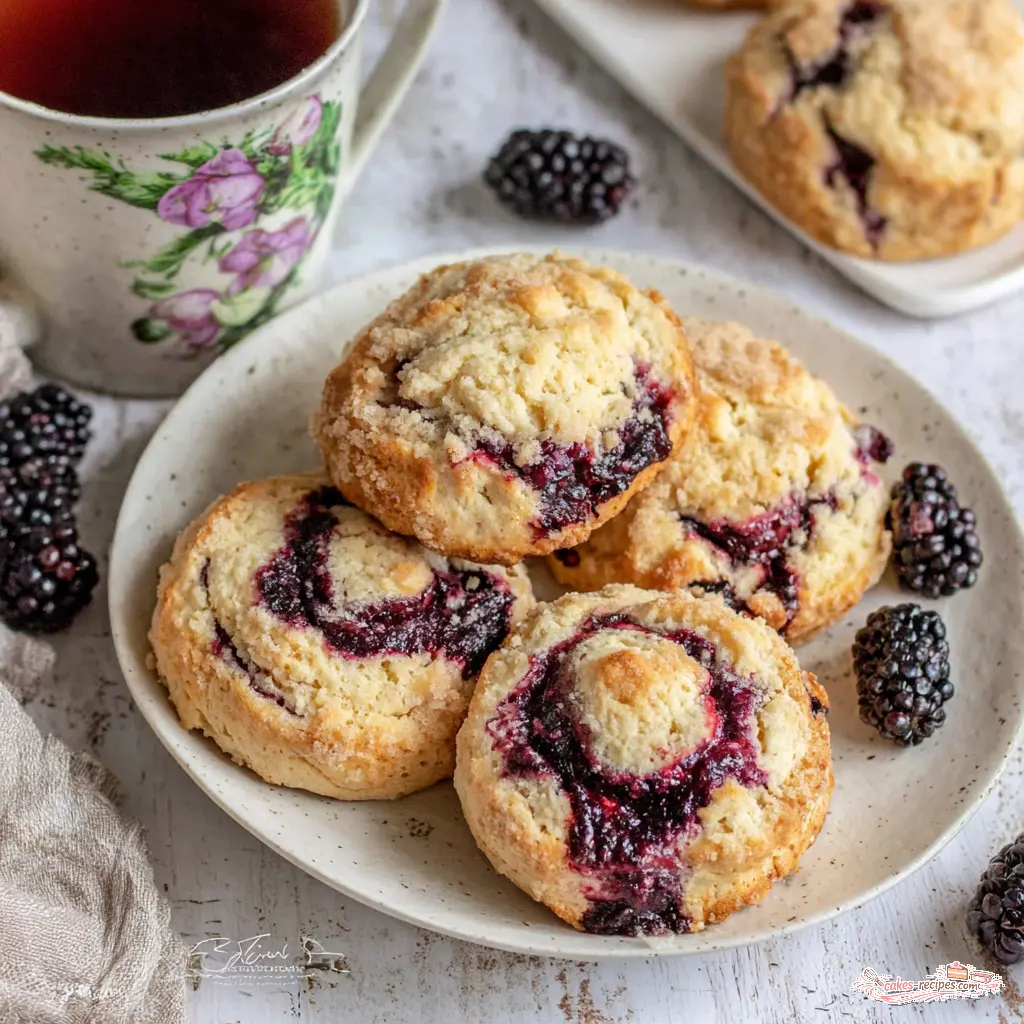
Blackberry Muffin Cookies
Ingredients
Method
- Preheat the oven to 350° F and line a cookie sheet with parchment paper or a silicone baking mat. Set it aside.
- Using a stand mixer fitted with the paddle attachment, a hand mixer, or a sturdy fork, beat the butter and sugar together until they become light and fluffy, about 2 minutes.
- Scrape down the sides of the bowl with a spatula. Add the egg, vanilla, and milk and mix until well combined.
- In a separate bowl mix together the dry ingredients: flour, baking powder, baking soda, and salt.
- Slowly add the dry ingredients to the wet ingredients on low speed if using a mixer, and increase it to high until no streaks of flour remain.
- Gently fold in the blackberries, ensuring they are evenly distributed throughout the dough. Be sure not to over-mix.
- Drop small spoonfuls of jam into the dough and fold it a few times to distribute the jam. avoid excessive folding, as you’re looking to get ribbons of jam in the dough; if you overmix it will color the batter completely.
- In a separate bowl, combine all the ingredients for the streusel topping. Use a fork to mix until the mixture starts clumping together. Microwave the mixture for 5 to 10 seconds to get it to all come together. Mix again.
- Using a medium cookie scoop, place scoops of cookie dough onto the prepared baking sheet. Place cookie dough balls a couple inches apart, as the cookies will spread as they bake. Top each cookie with a generous pinch of the streusel topping, pressing it firmly into the dough.
- Bake the cookies for 12 to 15 minutes, or until the edges are set while the centers still remain slightly doughy.
- Allow cookies to cool completely before enjoying.
Nutrition
Notes
Tried this recipe?
Let us know how it was!Source: Nutritional Information
Can you use frozen blackberries for these blackberry buttermilk biscuits?
Absolutely. Thaw them first and pat them dry with a paper towel to remove excess moisture. Toss them in a little flour before folding them into the dough. This helps prevent the berries from sinking and keeps the dough from getting too wet.
How do I know when these buttermilk biscuits are done baking?
Look for the edges to be set and golden brown while the centers still look slightly soft and doughy. The streusel topping should be a deep golden color. Bake at 350°F for 12 to 15 minutes. Let them cool on the baking sheet completely before moving them.
Can you freeze these biscuits for later?
Yes. Freeze them without any glaze for best results. Place cooled biscuits in a single layer on a baking sheet and freeze until solid. Then transfer to an airtight container or freezer bag with parchment paper between layers. They’ll keep for up to 3 months.
Can I make these biscuits without buttermilk?
This recipe actually uses regular milk, not buttermilk. So you don’t need to worry about a substitute. If you want a tangier flavor, you can swap the milk for buttermilk. Just reduce the amount slightly since buttermilk is thinner than milk.
Can I use a different pan for these biscuits?
This recipe is designed for a standard baking sheet lined with parchment paper. You can use a different pan, but the biscuits will spread differently. A dark pan might cause the bottoms to brown faster, so keep an eye on them. Stick with a light-colored baking sheet for best results.