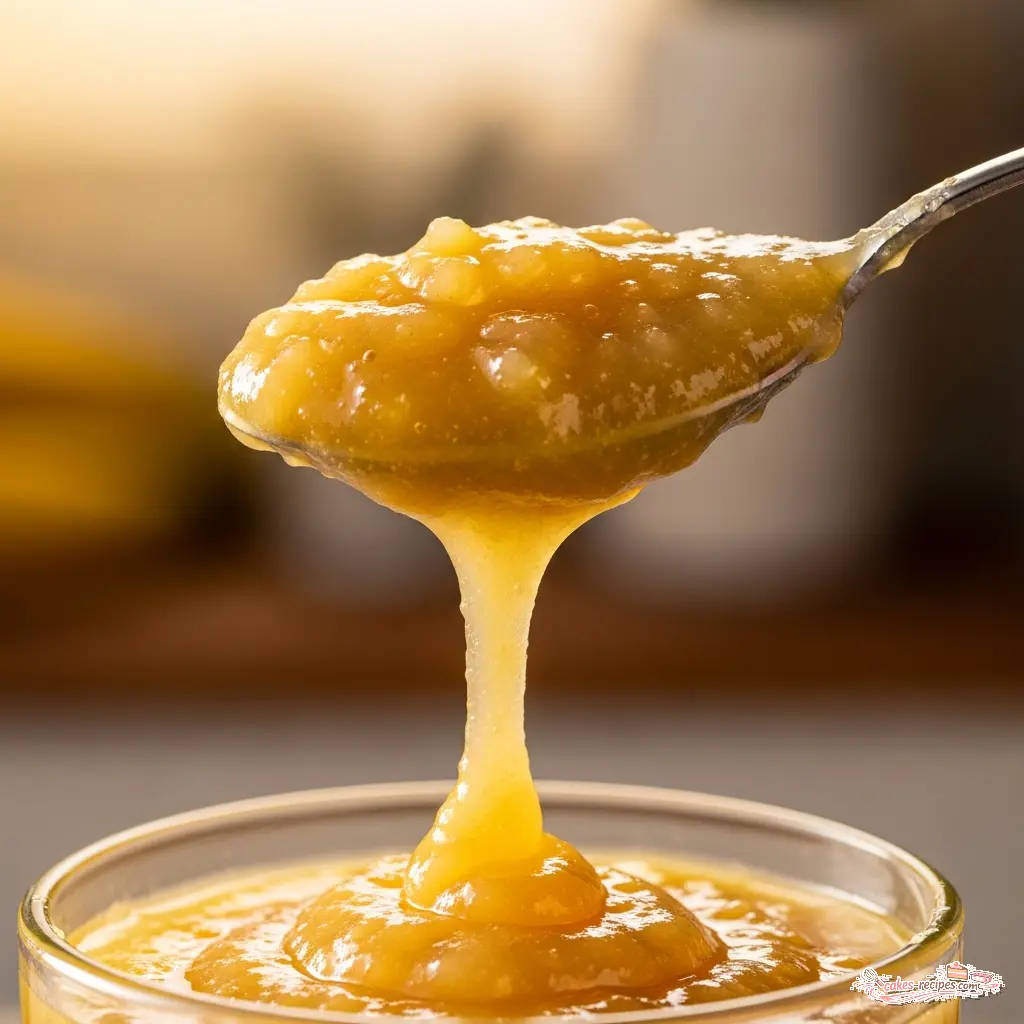
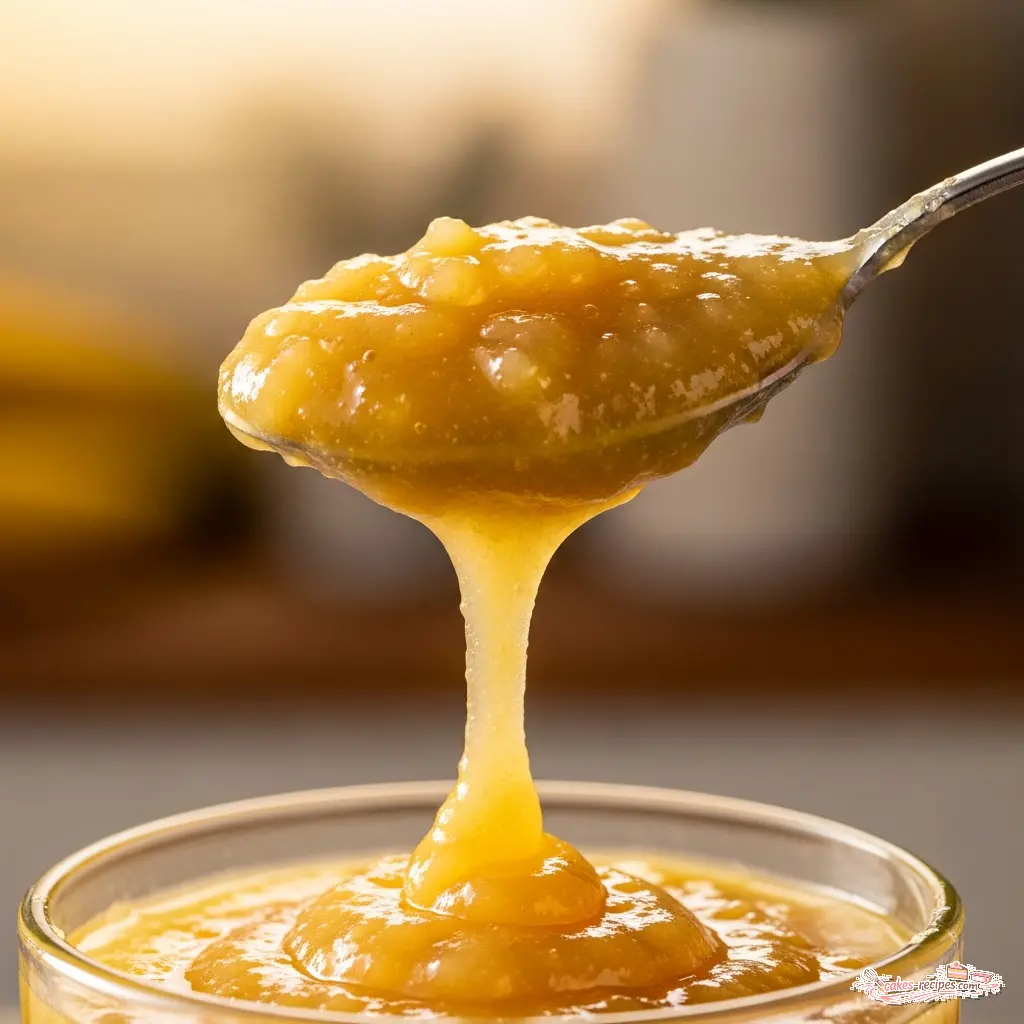
[ "Simple Banana Applesauce Recipe" ]
Ingredients
Method
- Peel and slice the bananas.
- Peel, core, and dice the apples.
- Combine the fruit in a pot over medium-low heat, add 1/3 cup of water per serving, and stir in the honey if desired. Cover and cook for 10 to 15 minutes, stirring occasionally.
- Mash the mixture with a fork or purée it using an immersion blender.
- Store the banana-applesauce in the refrigerator for up to one week and serve.
Notes
Tried this recipe?
Let us know how it was!The Truth About That Fruit Bowl
Here’s the thing. We all have that bowl on the counter. You know the one. It starts the week full of promise and bright yellow ambition, but by Thursday, it’s a graveyard of brown spots and soft spots. As someone who spends his life obsessing over the perfect roast level of coffee beans, watching fruit oxidize on my counter drives me absolutely crazy. It feels like wasted potential.
I used to think making your own **banana apple sauce** was one of those “extra” parenting things. You know, for people who have time to churn their own butter or knit their own socks. I was wrong. Real talk. It is actually the smartest, laziest way to deal with fruit that is about to go bad.
My mentor Rosa, back in Colombia, taught me that you never waste flavor. She would take coffee cherries that weren’t perfect for export and turn them into something beautiful. We are going to do the same thing here. We are taking those overripe bananas and slightly bruised apples and extracting something that tastes like pure comfort. This isn’t just baby food. It is a flavor bomb that puts the jarred stuff to shame.
Trust the process. In less time than it takes to brew a proper pour-over, you’ll have a batch of golden, naturally sweet sauce that works for everything from **baby led weaning** to your morning oatmeal.
Why This Recipe Works (The Extraction Theory)
If you have ever had store-bought applesauce, you know it often tastes… flat. It’s one note. Just sweet, or just sour. When we make **banana apple sauce** at home, we are looking for balance. It is exactly like blending coffee beans. You need the acidity from the apples to cut through the heavy, sugary density of the banana.
When you cook these two together, something magical happens. The **banana apple sauce** takes on a texture that is velvety and rich, almost like a pudding. The pectin in the apples and the starch in the bananas work together to create a natural thickness without needing any cornstarch or fillers.
Plus, we are keeping control. No high fructose corn syrup. No weird preservatives. Just fruit. It is honestly the best way to get a **healthy toddler snack** that feels like a treat. I’ve found that even the pickiest eaters (and I include some of my coffee tasting students in that category) can’t resist a warm bowl of this.
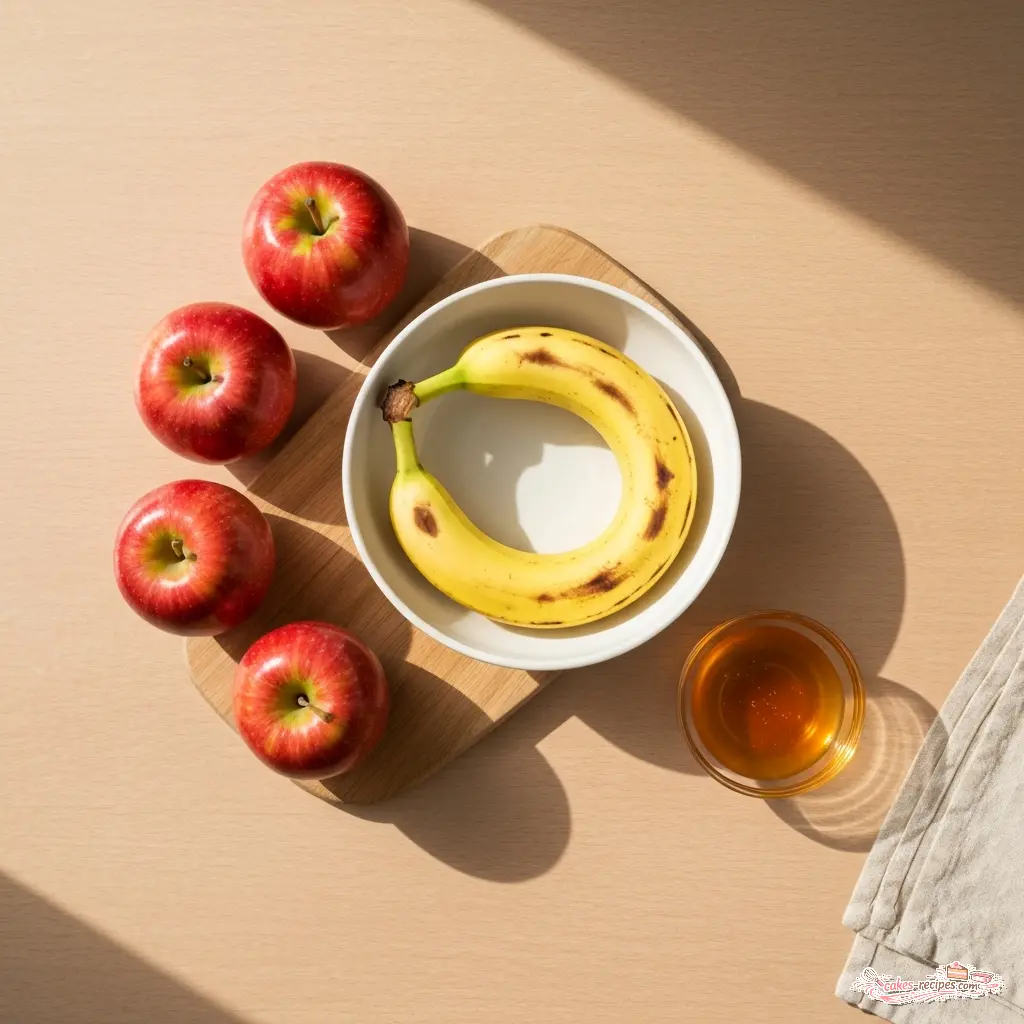
Selecting Your “Beans” (Ingredient Notes)
Just like I wouldn’t use a dark roast for a delicate pour-over, you shouldn’t just grab any apple for this. The flavor profile of your **banana apple sauce** depends entirely on the varietals you choose.
**The Apples:**
Generally, I prefer a mix. **Gala apples** or Fuji bring the sweetness, which means you often don’t need any added sugar at all. If you like a bit of a tang to balance the banana, throw in a **Granny Smith**. It adds a brightness that wakes up the palate.
* *David’s Tip:* Don’t worry about bruises. We are cooking this down. As long as it’s not rotten, it’s fair game.
**The Bananas:**
This is crucial. You want **overripe bananas**. I’m talking about the ones with plenty of brown spots. These have the highest sugar content and the strongest banana flavor. Green or purely yellow bananas will give you a starchy, astringent taste that fights the apple. We want harmony here, not a flavor brawl.
**The Liquid:**
You need a little liquid to get the steam going. I usually use water, but if you want to get fancy, a splash of apple cider gives it a deeper kick. Just don’t use alcohol. We want to keep this family-friendly.
Preparation: To Peel or Not To Peel?
I get asked this all the time. “David, do I really need to peel the apples?”
Here is the deal. If you have a high-powered blender (like a Vitamix), you can absolutely leave the skins on. It adds a ton of **dietary fiber** and a lovely rosy color to the sauce. It’s the “whole bean” approach.
However, if you are making this for a very small baby or you are using a standard blender or potato masher, peel them. Apple skins can be tough and might leave a gritty texture if not pulverized completely. For the smoothest, most luxurious **banana apple sauce**, I usually peel. It takes five extra minutes, but the texture is totally worth it.
The Cook: Extraction of Flavor
We aren’t just heating fruit; we are developing flavor.
1. **The Simmer:** Put your apple chunks in a pot with a little water. Cover it. We are steaming them to soften the cell walls. This usually takes about 15 to 20 minutes. You want them “fork tender.”
2. **The Banana Drop:** I add the bananas in the last 5 minutes of cooking. Bananas are soft; they don’t need the heavy heat treatment the apples do. If you cook them too long, they lose that fresh aromatic quality.
3. **The Mash:** Once everything is soft, you have choices. For a rustic, “old fashioned” feel, use a potato masher. It leaves little chunks of fruit that offer a nice texture. For a **smooth texture** (ideal for **baby led weaning** pouches), get in there with an **immersion blender**.
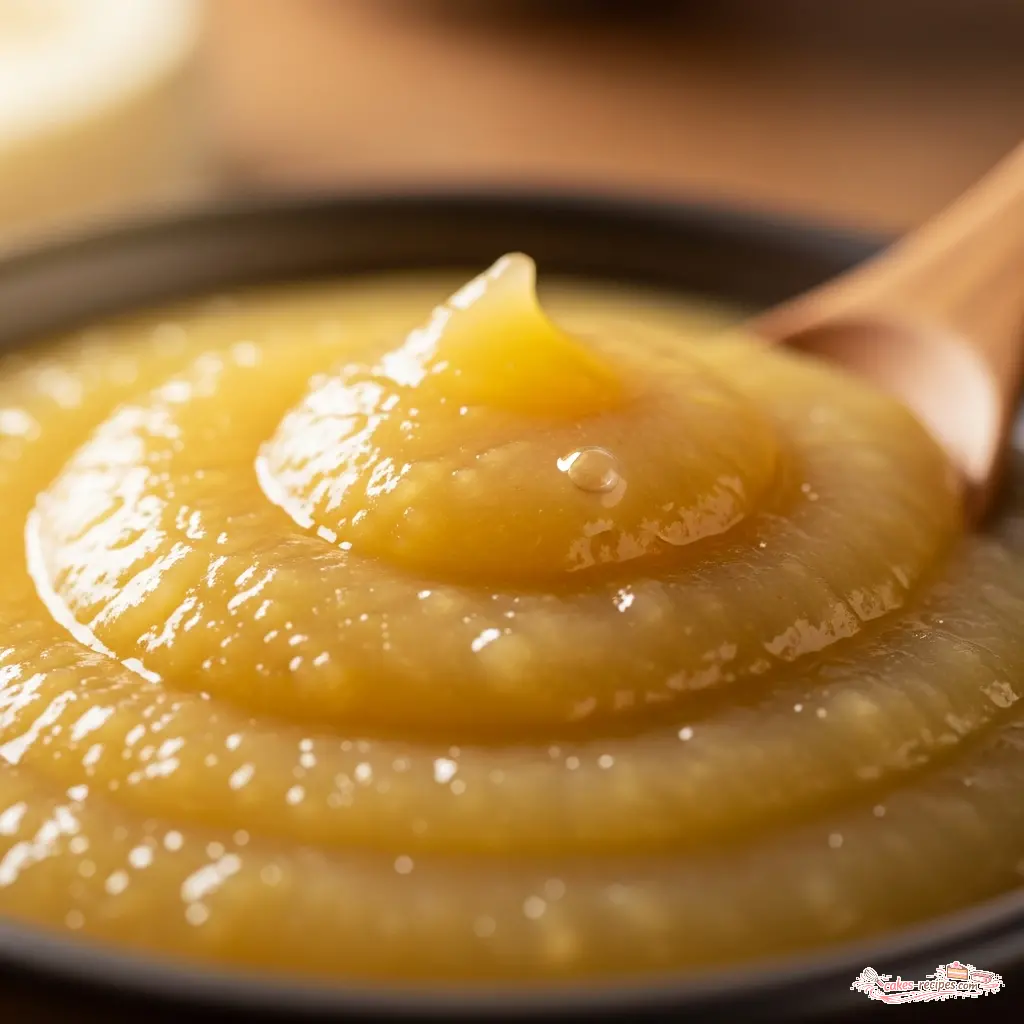
Fighting Oxidation (Keep It Gold)
There is nothing sadder than gray food. Apples and bananas are notorious for browning the second you look at them. This is oxidation, plain and simple.
To keep your **banana apple sauce** looking bright and golden, acid is your best friend. A squeeze of **lemon juice** is the industry standard. It lowers the pH and inhibits the enzymes that cause browning. You don’t need much just a teaspoon or so. You won’t taste “lemon,” but you will see the difference.
* *Pro Tip:* If you are really serious about color, you can crush a Vitamin C tablet (ascorbic acid) into the mix. It’s a trick I learned from a food chemist. But honestly, lemon juice works just fine for home cooking.
Variations & Customizations
You can treat this base recipe like a blank canvas.
* **The Spice Route:** A pinch of cinnamon or a whole **cinnamon stick** tossed in while simmering adds warmth. Nutmeg or cardamom works beautifully too.
* **The Sweetener:** If your apples are tart, you might need a boost. **Natural sweetener** options like maple syrup or honey are great. Just remember, no honey for babies under one year old.
* **The Strawberry Twist:** Toss in a handful of strawberries with the apples. It turns the sauce pink and adds a lovely berry note.
Common Banana Apple Sauce Mistakes
Troubleshooting Guide
Mistake: The sauce is too watery.
Solution: You probably added too much water at the start or the apples were very juicy. Just simmer it a bit longer with the lid off to evaporate the excess liquid. Or, next time, drain some of the cooking liquid before blending.
Mistake: It turned brown immediately.
Solution: You likely skipped the lemon juice or let the fruit sit out too long before cooking. Acid is mandatory here. Stir in lemon juice right after peeling.
Mistake: It tastes chalky or starchy.
Solution: This usually means the bananas weren’t ripe enough. Green bananas have high starch content. Use yellow or spotted bananas for that creamy, sweet finish.
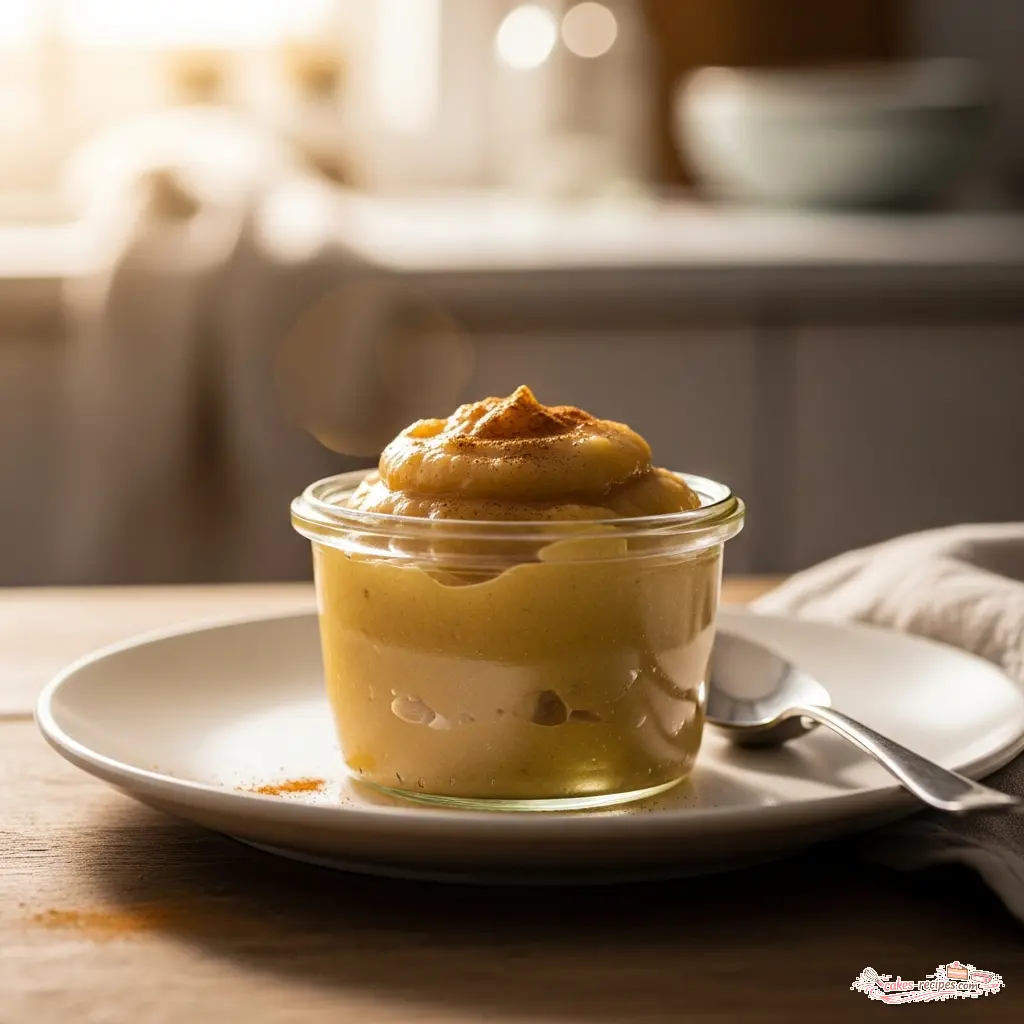
Storage: Fridge vs. Freezer
This is a big one for busy parents. You don’t want to do this every day.
* **In the Fridge:** Store your **banana apple sauce** in an airtight container (glass jars are best) for up to 3-4 days. Because there are no preservatives, it won’t last as long as the store-bought kind.
* **In the Freezer:** This freezes beautifully. I use **freezer safe jars** or silicone ice cube trays for baby portions. It will last up to 3 months. Just thaw it in the fridge overnight.
* *David’s Note:* You might see a little separation when it thaws. Totally normal. Just give it a vigorous stir, and the emulsion comes right back.
Frequently Asked Questions
Final Thoughts
Making **banana apple sauce** at home is one of those small victories. It takes twenty minutes, saves you money, reduces food waste, and tastes infinitely better than anything in a plastic cup. When you smell that warm apple and cinnamon scent filling your kitchen, you’ll know it was worth the minimal effort.
Your future self (and your kids) will thank you tomorrow morning when breakfast is ready to go. You’ve got this!
Reference: Original Source