
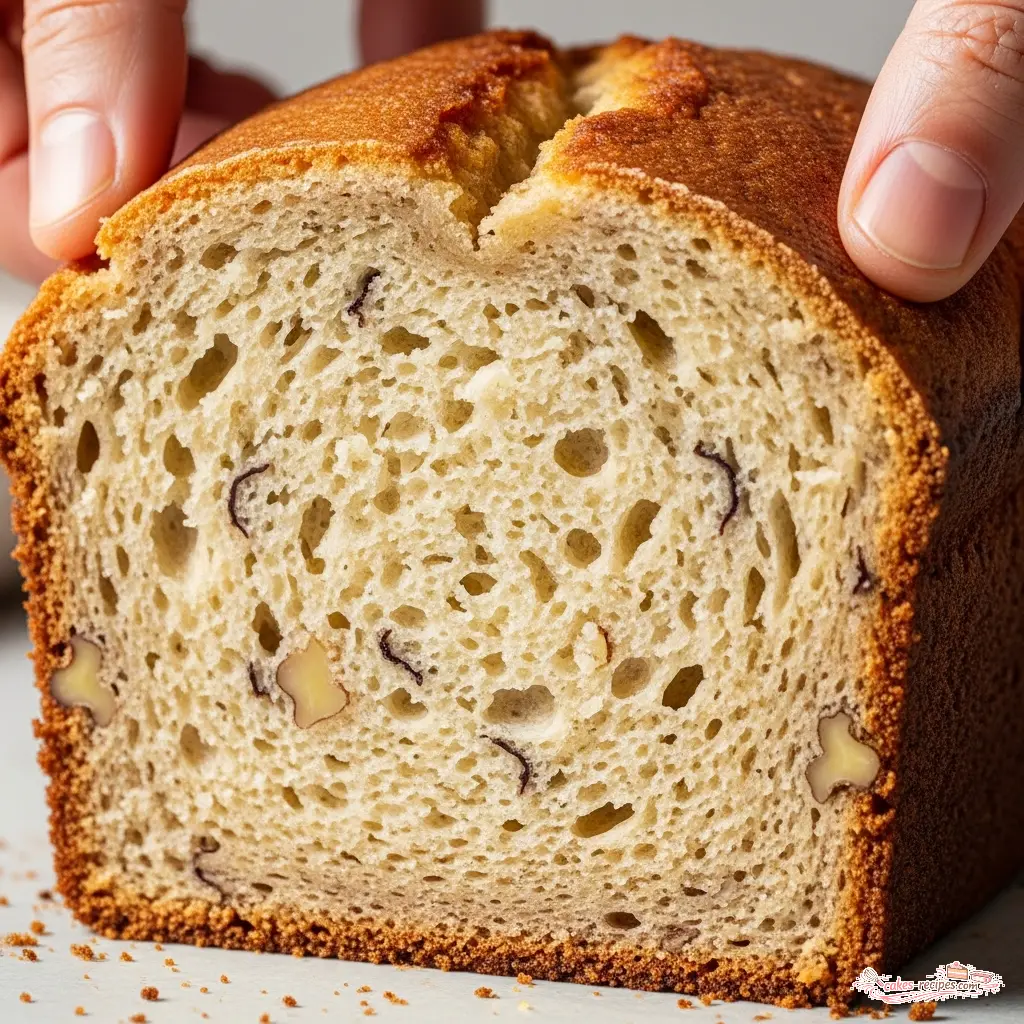
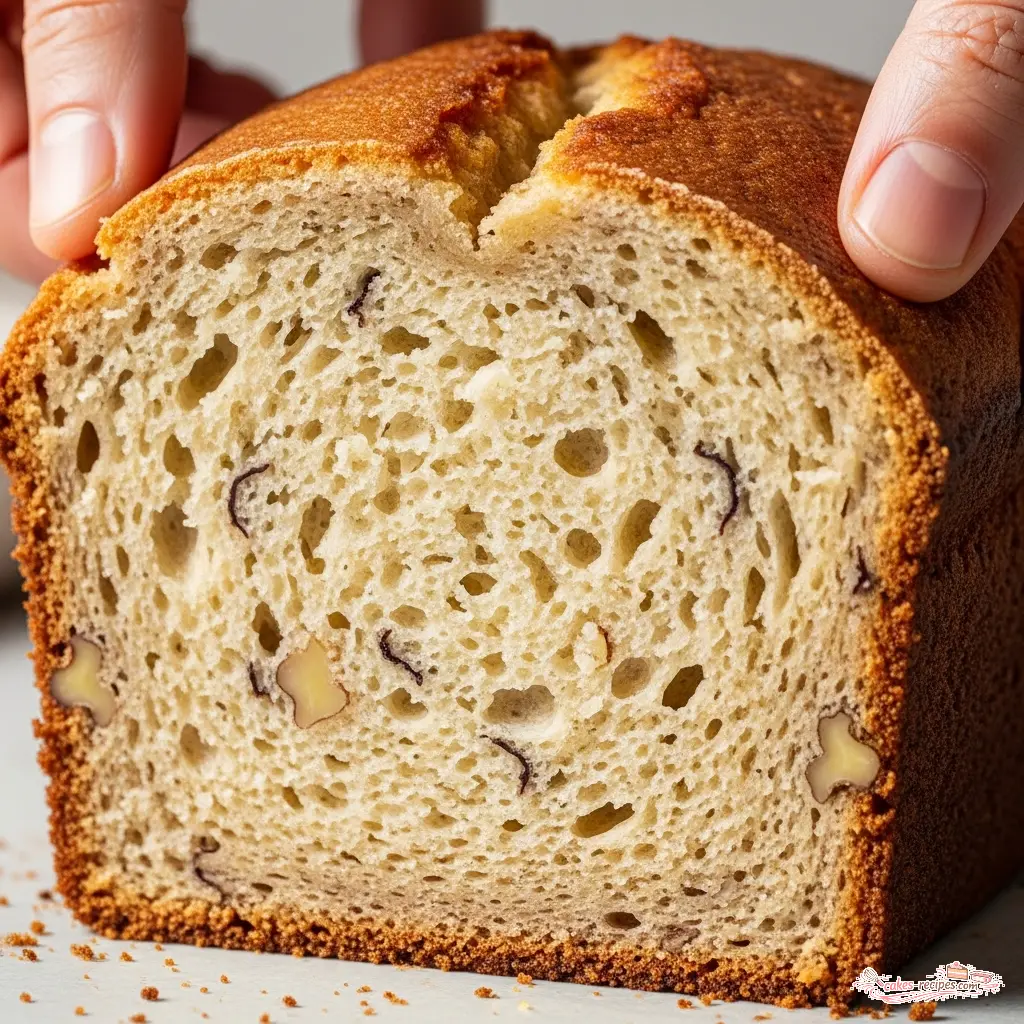
["Old Fashioned Banana Bread Recipe with Margarine"]
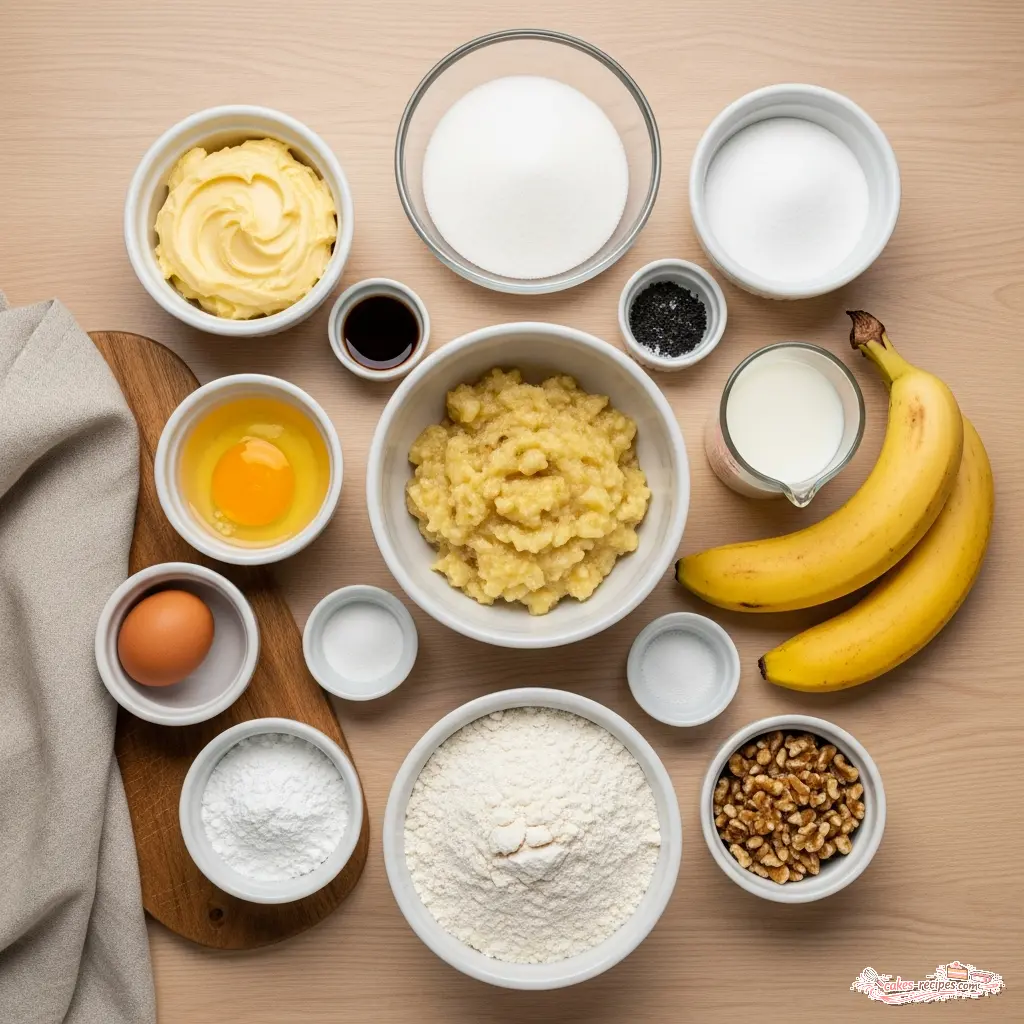
Ingredients
Method
- Preheat the oven to 350°F and either grease and flour a loaf pan or line it with parchment paper.
- Beat the butter and sugar in a large bowl using a hand-held or stand mixer on medium-high speed for approximately 2 minutes until light and fluffy.
- Add the vanilla and eggs one at a time, beating for about 1 minute and scraping the sides of the bowl with a rubber spatula, then add the bananas and beat until fully incorporated.
- Heat the milk in a small saucepan or microwave until it just boils, stir in the baking soda (using a large enough container for foaming), and add the mixture to the batter with the baking powder, salt, and flour, beating until just combined while scraping the bowl.
- Fold in the nuts, if using.
- Pour the batter into the loaf pan and bake for about 40 minutes until a toothpick inserted into the center comes out clean, then cool on a wire rack before slicing.
Notes
Tried this recipe?
Let us know how it was!The Pantry Hero We All Need
We have all been there. It is Wednesday evening, the kitchen is chilly, and on the counter sit three bananas that have gone past the point of “ripe” and straight into “scary.” You know the look. Black skins, soft spots, practically begging to be baked. You open the fridge, ready to whip up a loaf, and then your heart sinks. The butter dish is empty.
I used to panic in this moment. I would think I had to run to the store or scrap the whole idea. But let me walk you through this: running out of butter was actually the best thing that could have happened to my baking routine. That is how I discovered the magic of banana bread made with margarine. It is not just a backup plan. It is a legitimate, delicious choice that yields a loaf so tender and pillowy, you might stop buying butter for your quick breads altogether.
In my testing, I have found that margarine actually keeps the bread softer for longer than butter does. It is a budget-friendly win that turns those sad, neglected bananas into a breakfast that feels like a hug. Plus, with grocery prices doing whatever they are doing right now, using what you already have in the fridge just makes sense. So, don’t worry about that empty butter dish. We are about to make something incredible.
Why Margarine Works (The Science Part)
I know some bakers turn their noses up at margarine. I hear you. I grew up with my Oma Gertrude, who emigrated from Bavaria with sixteen Gugelhupf pans in her luggage. She was a butter purist for her yeasted cakes. But here is the thing about quick breads like banana bread: they rely on moisture, not just flavor.
Butter is about 80% fat and 20% water/milk solids. Margarine, depending on the brand, often has a higher oil content. Oil is liquid at room temperature, while butter is solid. This means that banana bread made with margarine stays moist and tender even after it cools down, whereas butter-based breads can firm up a bit too much.
Generally I find that the texture of a margarine loaf is slightly more open and velvety. It melts in your mouth differently. It is less dense. If you are looking for that classic, old-fashioned diner style slice that bends without breaking, margarine is actually your best friend here. That tracks with the science of baking fats.
Tub vs. Stick Margarine: The Critical Difference
This is where most people get tripped up, so let’s clear this up right now. Not all margarine is created equal. You have the sticks, which are formulated to act like butter, and you have the tubs, which are spreadable right out of the fridge.
Stick Margarine: This is the gold standard for baking. It usually has a fat content similar to butter (around 80%). If you use this, you can swap it 1:1 for butter without changing a thing. It provides structure.
Tub Margarine (Spreads): These often have more water and air whipped into them to make them spreadable. If you use a low-fat tub spread, your banana bread made with margarine might come out a little flatter or wetter because there is less fat to hold the structure. However, in my testing, regular tub margarine works just fine if you are not expecting a sky-high dome. If you only have the “light” stuff, I recommend adding an extra tablespoon of flour to balance out the water content. Totally fixable.
Also, keep in mind that margarine is almost always salted. I usually cut the salt in the recipe by half if I am using a standard tub of margarine. You want a sweet-salty balance, not a salt lick.
The Art of the Mash
My fourteen-year-old has started baking recently, and he asked me why I don’t just throw the bananas in the mixer. You could. But I prefer the manual mash. I use a fork on a flat plate or cutting board. Why? Because I like little chunks of banana in the finished bread.
When you puree the bananas completely smooth, you get a uniform texture, which is fine. But when you leave it a little rustic, you get these pockets of intense sweetness scattered throughout the loaf. It adds character. Plus, it is therapeutic to smash things with a fork sometimes. Just me?
You want your bananas to be brown. Not just yellow with a few freckles. I mean leopard-print or fully black. The blacker the skin, the higher the sugar content and the stronger the banana flavor. If your bananas are green, put them in a paper bag with an apple for a day or two. Don’t try to bake with green bananas; it just won’t taste right.
Mixing: The “Creaming” Method
Even though we are using margarine, we treat it like butter. This means we use the “creaming method.” You beat the margarine and sugar together first until they look fluffy and pale yellow. This forces air into the batter, which helps the baking soda do its job later.
I use a hand mixer for this part. You want to beat it for about 2-3 minutes. It might look a little different than butter sometimes a bit glossier but that is exactly right. Once you add the eggs, it will look like a smooth, thick custard. That is what we want to see.
One mistake I see often is dumping the dry ingredients in and beating it on high speed. Please don’t do that. Once the flour hits the wet bowl, switch to a spatula or a wooden spoon. Stir just until the white streaks of flour disappear. Overmixing develops gluten, and gluten makes your banana bread made with margarine tough and rubbery instead of tender. We want bread, not a bouncy ball.
Pan Prep: A Lesson from Oma
I have to tell you, my obsession with pan preparation comes directly from my Oma. She would spend ten minutes greasing her Gugelhupf pans, painting softened butter into every single groove with a pastry brush. I thought she was being excessive. Then I rushed it once, and half my cake stayed in the pan. I learned my lesson.
For this loaf, you don’t need to be quite that intense, but don’t skip it. I like to grease the loaf pan with a little extra margarine (use a paper towel wrapper it works great) and then dust it with flour. Tap out the excess. This creates a barrier so your loaf slides out with a perfect release. There is nothing more satisfying than tipping a pan and having the bread release in one perfect piece. Beautiful.
If you are worried about cleanup, you can line the pan with parchment paper, leaving an overhang on the long sides. Then you can just lift the whole loaf out like a sling. Worth the extra step if you are gifting the bread and want it pristine.
How to Tell When It’s Done
Baking times are suggestions, not laws. Your oven might run hot; your pan might be dark metal (which bakes faster) or glass (which bakes slower). Generally, a loaf takes about 55 to 65 minutes at 350°F.
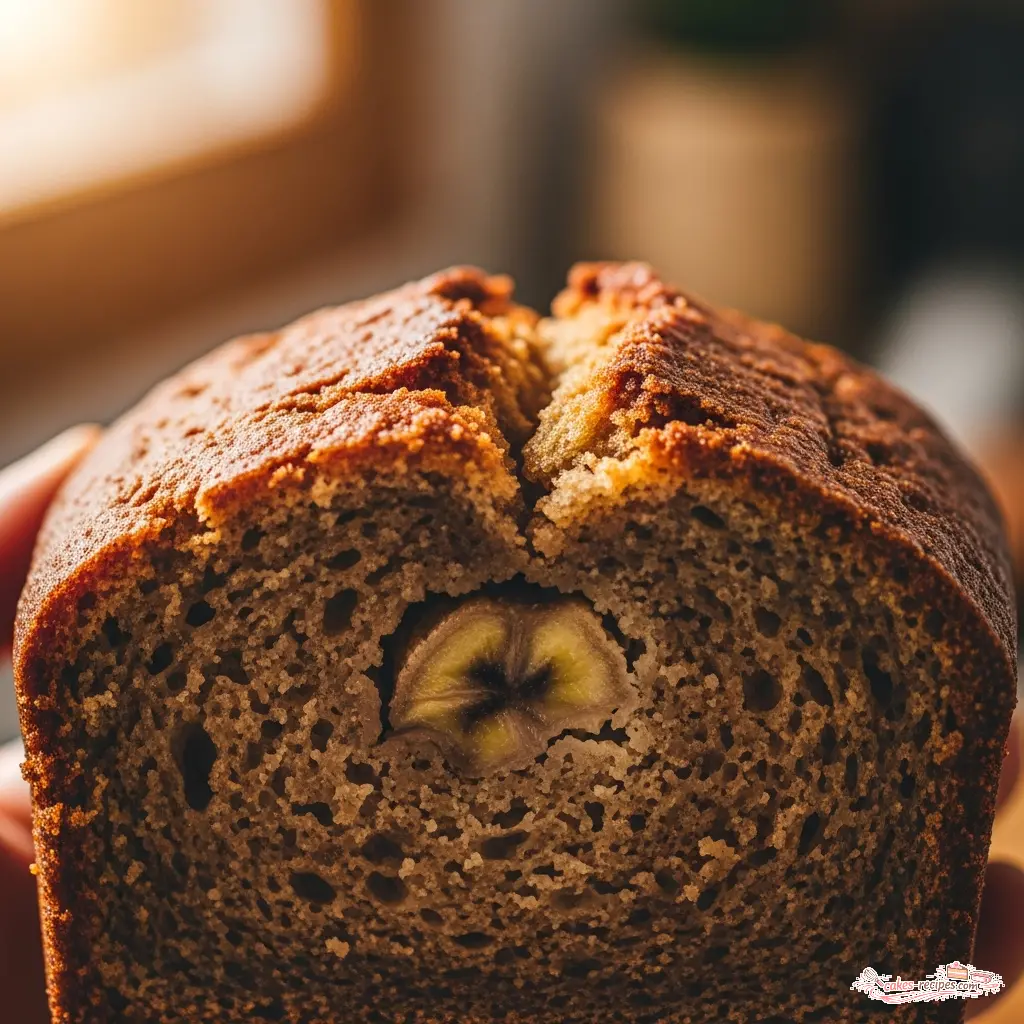
Most people use the toothpick test. You stick it in the center, and if it comes out clean, it is done. But with banana bread, sometimes you hit a chunk of banana and think the batter is raw when it isn’t. I look for visual cues first. The top should be a deep golden brown and have a solid crack down the center. The edges should be pulling away from the sides of the pan slightly.
When you press gently on the center of the dome, it should spring back, not leave a dent. If the top is getting too dark but the center is still jiggly, tent a piece of aluminum foil over the top for the last 15 minutes. That protects the crust while the inside finishes baking.
Storage Secrets (The Waiting Game)
Here is the hardest part: waiting. You need to let the bread cool in the pan for about 10 minutes. This lets the structure set so it doesn’t fall apart when you move it. Then, move it to a wire rack to cool completely.
If you slice it while it is hot, the steam escapes, and the bread can dry out faster. I know, the smell is torture. But if you can wait until it is cool, you will be rewarded.
For storage, I use the double-wrap method. Wrap the cooled loaf tightly in plastic wrap to seal in the moisture, then wrap that in aluminum foil. This banana bread made with margarine stays moist on the counter for about 4 days. In the fridge, it lasts a week, but the cold can stale it faster, so I prefer room temp. If you freeze it (wrapped the same way), it is good for 3 months.
Frequently Asked Questions
Common Mistakes & Fixes
Mistake: The bread is rubbery or tough.
Solution: You likely overmixed the batter. Once the flour goes in, stir gently by hand just until combined. Stop when you still see a tiny streak of flour.
Mistake: The center is raw but the top is burning.
Solution: Your oven might be too hot or the pan is too high in the oven. Tent the loaf with foil halfway through baking to protect the crust while the middle finishes.
Mistake: The loaf sank in the middle.
Solution: This can happen if you open the oven door too often (letting heat escape) or if the batter sat out too long before baking. Get it in the oven as soon as it is mixed.
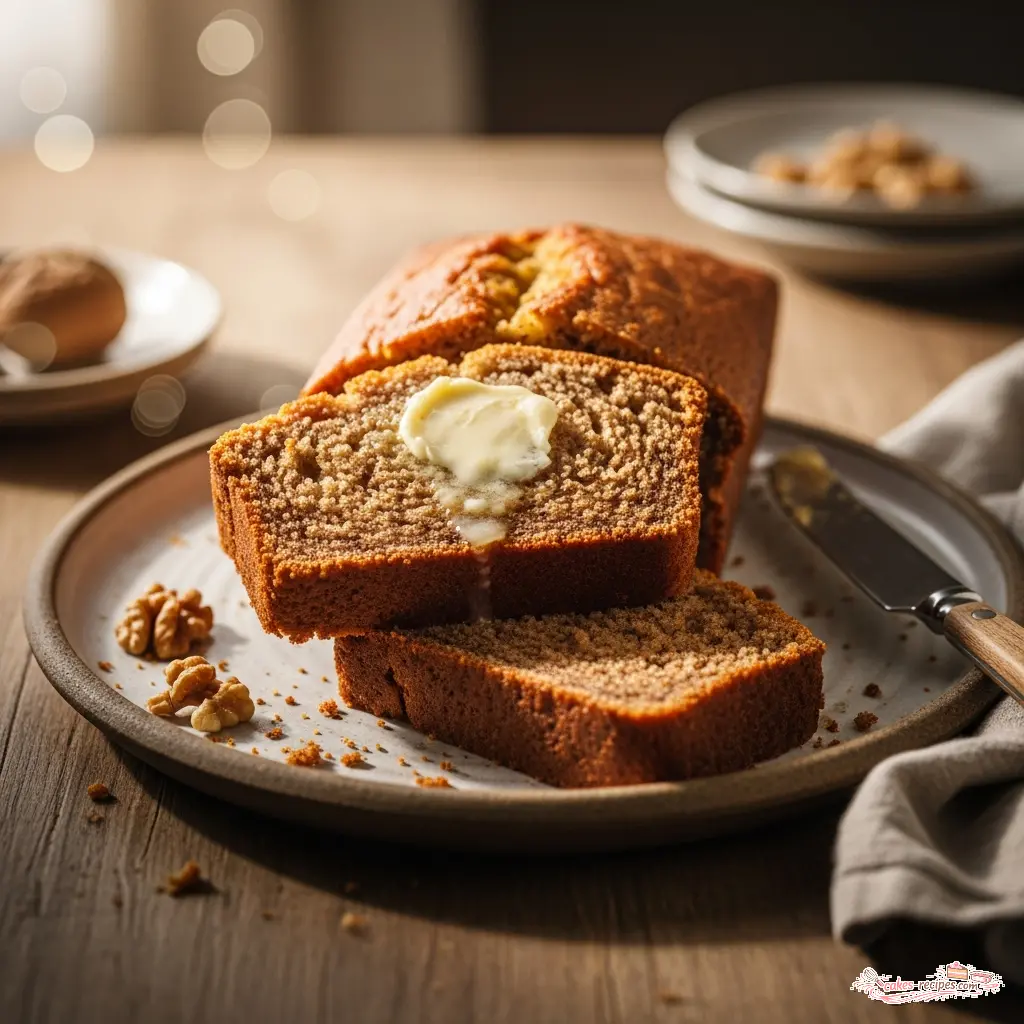
When you pull this out of the oven, your family won’t believe it’s not butter. The smell alone warm vanilla, sweet banana, toasted nuts is enough to make everyone wander into the kitchen. It is the perfect solution for those leftover bananas and a great way to save a few dollars without sacrificing an ounce of flavor. Happy baking!
Reference: Original Source















4 Responses
The article mentions margarine keeps it softer longer, but I only have salted butter on hand. Should I reduce the 1/4 teaspoon of salt in the recipe if I use salted butter?
You can definitely use salted butter, but I’d recommend skipping the extra 1/4 teaspoon of salt to keep the flavor perfectly balanced. Just keep in mind that while butter adds a lovely richness, the margarine is what I use to ensure that signature long-lasting softness in the crumb!
The flavor was great, but my loaf took about 15 minutes longer in the oven than expected. Next time I’ll try using the whole wheat flour substitution mentioned in the ingredients.
I made this today using coconut sugar and chocolate chips instead of walnuts. It turned out so moist and the kids absolutely loved it!