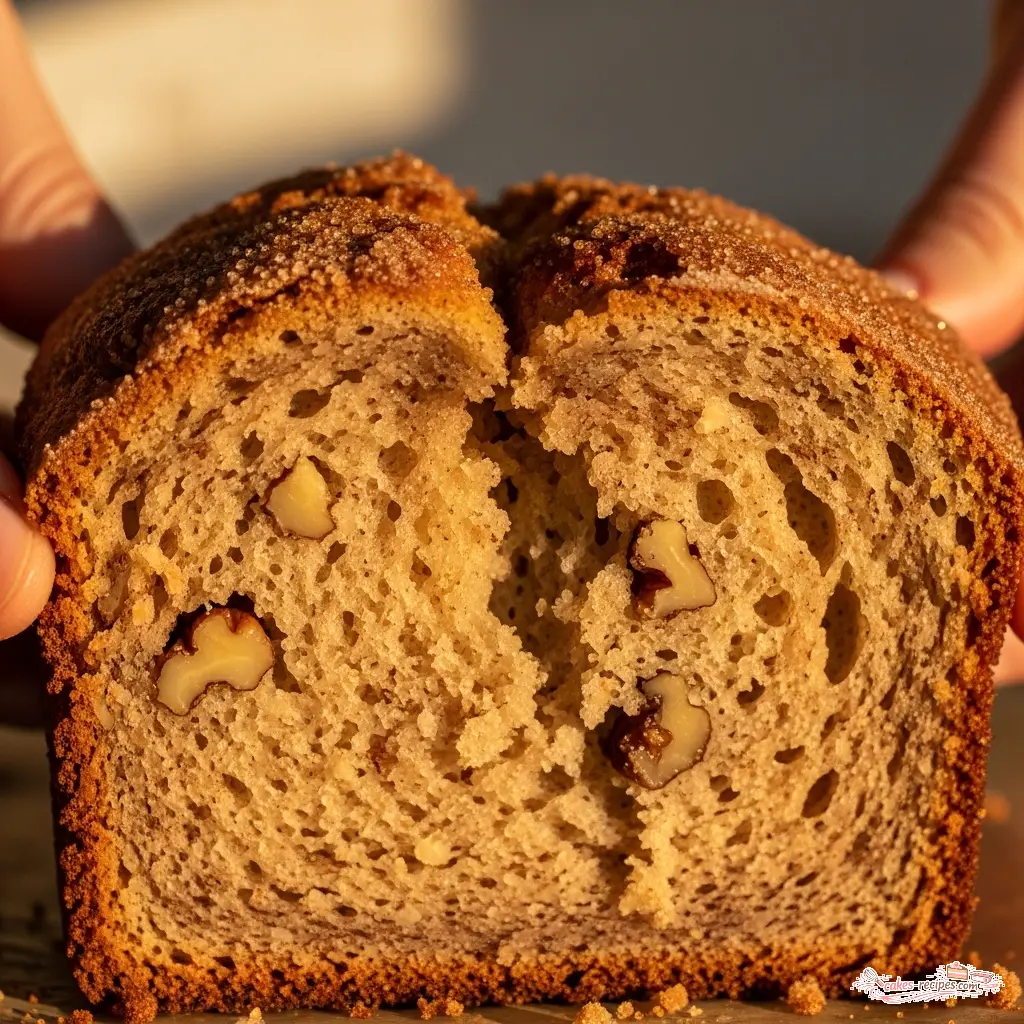
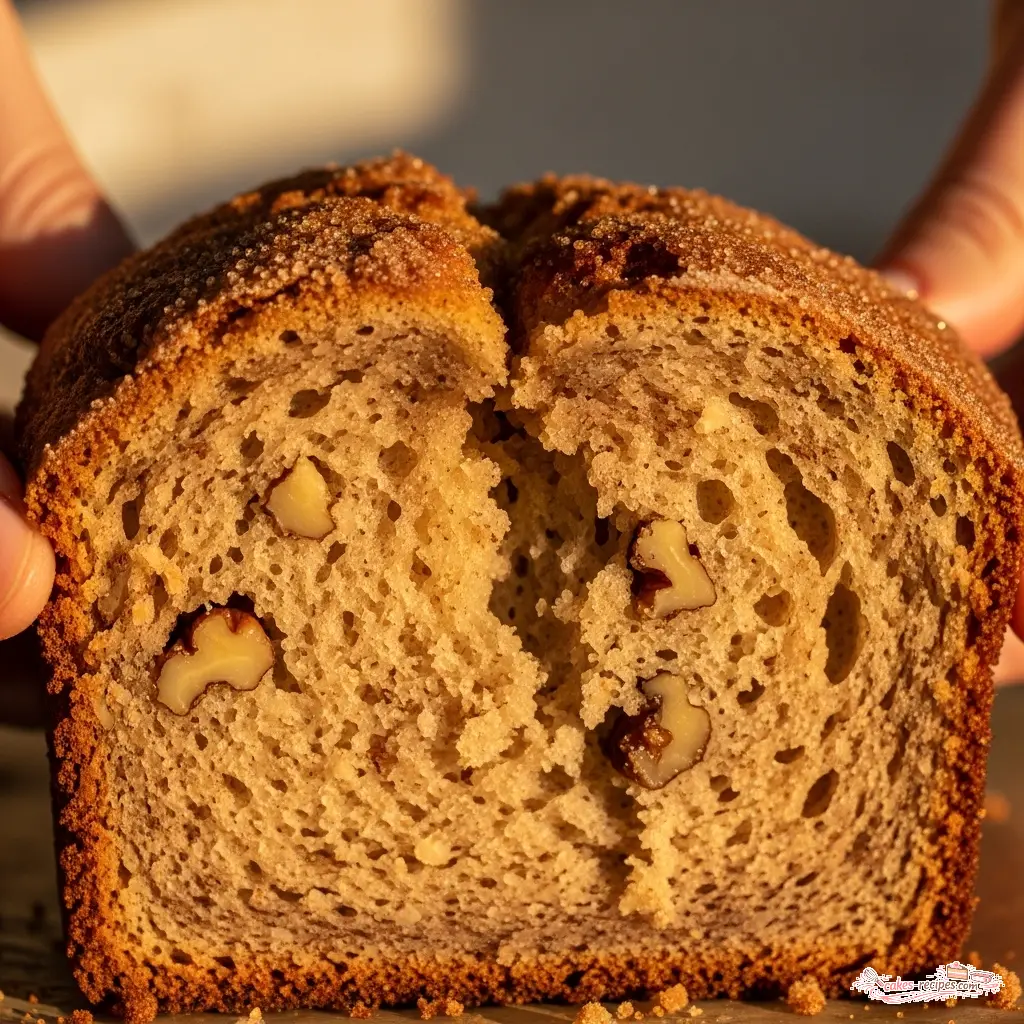
Crunchy Banana Bread Recipe with Brown Sugar Topping
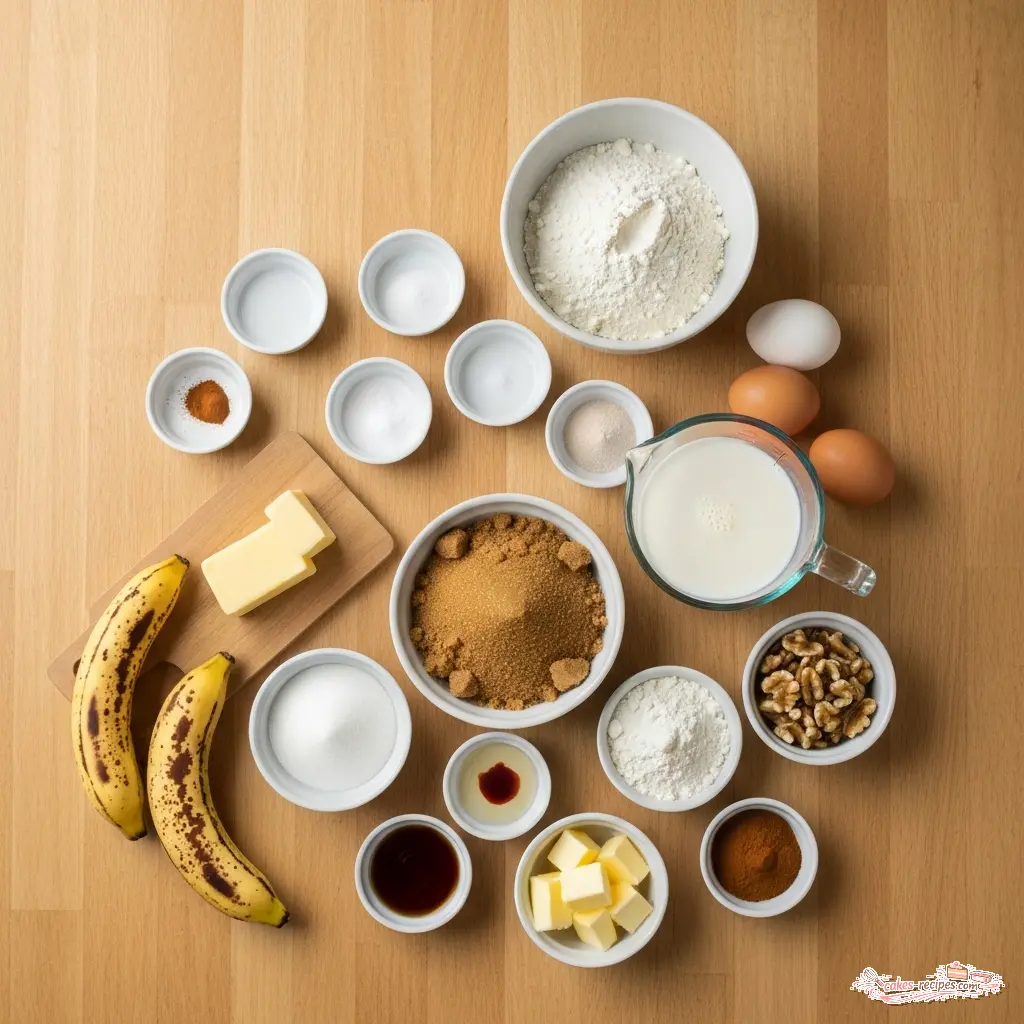
Ingredients
Method
- Preheat the oven to 325°F. Grease and flour a 9x5-inch loaf pan and set it aside.
- Prepare the streusel topping by mixing the flour, brown sugar, and cinnamon in a medium bowl. Cut in the butter using your fingers or a pastry blender until the mixture resembles coarse crumbs. Stir in the chopped walnuts and set aside.
- Whisk together the flour, baking powder, baking soda, salt, cinnamon, and nutmeg in a medium bowl and set aside.
- Cream the butter and sugars in a large mixing bowl until light and fluffy. Beat in the eggs one at a time, ensuring each is well incorporated. Use a wooden spoon to stir in the mashed bananas, buttermilk, and vanilla. Gradually mix in the dry ingredients until just combined, being careful not to over-stir. Gently fold in the walnuts.
- Pour the batter into the prepared loaf pan and sprinkle the streusel topping evenly over the top. Bake for 60 to 70 minutes, or until a toothpick inserted into the center of the loaf comes out clean.
- Remove the pan from the oven and let it cool on a wire rack for 10 to 15 minutes. Transfer the bread from the pan to the wire rack to finish cooling. Serve warm or at room temperature.
Notes
Tried this recipe?
Let us know how it was!The Only Way to Save Those Spotted Bananas
Let’s be honest about the sad, spotted bananas sitting on your counter right now. We all have them. You bought a bunch with the best intentions of healthy snacking, life got in the way, and now they are staring at you, turning blacker by the hour. I used to feel guilty about this food waste until I realized those bananas aren’t dying; they are just preparing for their true purpose. They are waiting to become this banana bread recipe with brown sugar topping.
It is currently a chilly February here in Los Angeles (well, chilly for us, anyway), and there is something incredibly comforting about turning on the oven when it’s 55 degrees outside. The kitchen warms up, and that specific smell of butter and sugar creaming together fills the house. It reminds me of Grandma Ruth’s bakery at 5am, that scent signaling the start of a good day. But standard banana bread can sometimes feel a bit… plain. Maybe even a little soggy if we aren’t careful.
That is where the topping comes in.
Here’s what I’ve found works to solve the “boring bread” problem: texture. By adding a rugged, sugary, cinnamon-spiked crust, you transform a basic quick bread into something that feels like it came from a professional bakery case. This isn’t just about adding sugar; it’s about creating contrast. You want that satisfying *crack* when you slice through the top, followed by the tender, moist crumb underneath. If you are looking for the ultimate banana bread recipe with brown sugar topping, this is the one that works.
The “Ugly” Banana Rule: A Visual Guide
I cannot stress this enough: pretty bananas make terrible bread. If you use yellow bananas with just a hint of green, your bread will be dry and flavorless. I know it feels counterintuitive to use fruit that looks like it belongs in the compost, but trust me on this.
Here is how I judge ripeness for the perfect banana bread recipe with brown sugar topping:
* **Green/Yellow:** Do not use. Too much starch, zero sweetness. Your bread will taste like cardboard.
* **Yellow with Brown Spots:** Okay in a pinch, but you won’t get that deep, caramel-like banana flavor.
* **Mostly Brown:** Now we’re getting somewhere. These are soft and sweet.
* **Black and Squishy:** Perfect. This is liquid gold. The starches have converted almost entirely to sugar. The flavor is intense, and the texture contributes to that moist crumb we are chasing.
If your bananas aren’t quite there yet, I have a trick. Put them in a brown paper bag loosely folded shut overnight. The ethylene gas they release will speed up the ripening process. I’ve tried the oven-ripening method (baking skins-on bananas until black), and while it works for texture, I find the flavor isn’t quite as complex as natural ripening. But hey, if you need banana bread recipe with brown sugar topping *right now*, it’s a fair compromise.
The Science of the Streusel: Cold vs. Melted Butter
Let’s talk about the topping, because this is where people usually get confused. When developing this banana bread recipe with brown sugar topping, I tested two main ways to make the crumb.
**Method 1: Melted Butter.**
Many recipes call for melting the butter and stirring it into the sugar and flour. This creates a more uniform, sandy texture. It’s easier, sure. But in my testing, I found that unless you chill it again, it tends to melt too fast in the oven, creating a flat, glazed surface rather than those big, beautiful crumbs we want.
**Method 2: Cold Butter.**
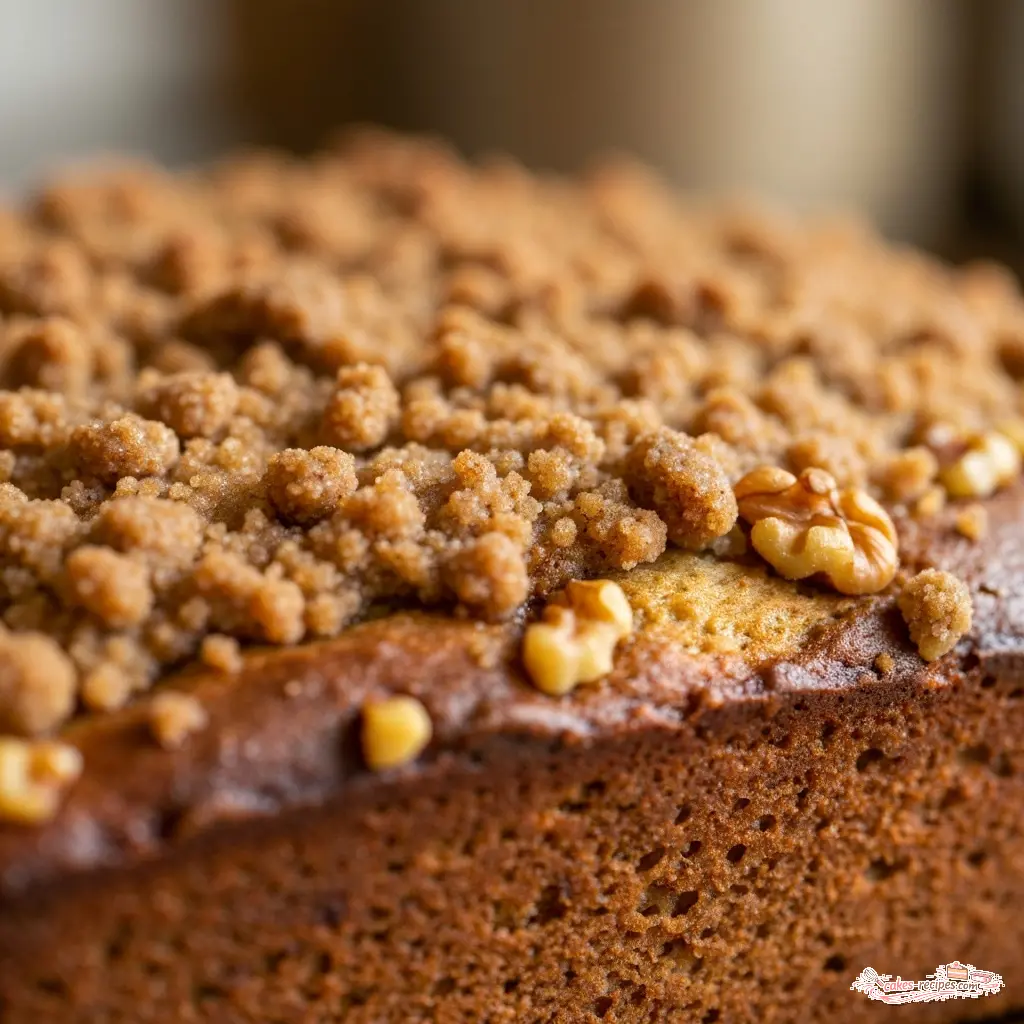
This is my preference, and it’s what Grandma Ruth always did for her coffee cakes. By cutting cold, cubed butter into the flour and sugar (using a fork or your fingers), you create distinct little pockets of fat. When these hit the heat of the oven, the structure holds up longer before melting, resulting in that jagged, bakery-style topography.
For this banana bread recipe with brown sugar topping, I recommend using cold butter. It takes two extra minutes of effort to work it in, but the texture difference is worth it. You want the mixture to look like wet sand with some pea-sized clumps. Those clumps are the best part.
Also, a quick note on the sugar: I prefer dark brown sugar for the topping because it has more molasses. That extra molasses content creates a deeper flavor and a slightly stickier crunch than light brown sugar. But if all you have is light brown, don’t stress. It will still be delicious.
Mixing Without Overworking (The “Muffin Method”)
The number one mistake I see home bakers make with quick breads is treating the batter like it’s a sturdy cookie dough. It’s not. It’s delicate.
We are using what culinary school calls the “muffin method” here. You mix your wet ingredients in one bowl and your dry in another. Then and this is the crucial part you combine them *just* until the flour disappears.
If you use a stand mixer for this final step, you are almost guaranteed to overmix. I always switch to a rubber spatula here. You want to fold the ingredients together gently. If there are still a few tiny streaks of flour or the batter looks lumpy, stop! Lumps are good. Lumps mean tender bread. If you beat it until it’s perfectly smooth, you are developing gluten. Gluten is great for sourdough, but it makes banana bread rubbery and tough.
I remember my first cake was a disaster because I beat the batter into submission. My mom ate it anyway, bless her, but it taught me a valuable lesson: be gentle with your batter, and it will be gentle to your palate.
Preventing the “Sinking Topping” Disaster
One issue that comes up with a heavy banana bread recipe with brown sugar topping is gravity. Sometimes, that delicious sugary crust wants to sink right to the bottom of the loaf.
This usually happens for two reasons: either the batter is too thin, or the topping is too heavy.
To prevent this, I’ve adjusted the flour ratio in the batter to be sturdy enough to support the crust. This is why I insist on weighing your flour if you can (kitchen scales are cheap and accurate!). If you scoop with a cup, you might accidentally pack the flour down and get too much, or fluff it up and get too little.
Another trick? Don’t dump the topping all in one spot. Sprinkle it evenly across the surface. I like to gently press it down with the back of a spoon just barely so it adheres to the wet batter. This helps it become part of the loaf rather than a separate layer that might slide off.
Baking Time and The “Tent” Technique
Because of the sugar on top, this bread is prone to browning before the middle is cooked through. Sugar burns faster than batter bakes. It’s just a fact of baking life.
Here is my strategy:
1. Place the rack in the lower third of the oven, not the dead center. This keeps the top away from the intense heat of the upper element.
2. Check the loaf at the 40-minute mark. It will likely look golden brown and beautiful.
3. **Don’t pull it out yet!** It’s probably raw in the middle. Instead, loosely tent a piece of aluminum foil over the top. This protects the sugar from burning while allowing the heat to penetrate the center of the loaf.
You’ll know it’s done when a toothpick inserted into the center comes out with a few moist crumbs attached. If it comes out totally clean, you might have overbaked it slightly (though with all these bananas, it’s hard to dry out completely). If it has wet batter on it, give it another 5 minutes and check again.
Common Mistakes & Fixes
Troubleshooting Your Loaf
Mistake: The center sunk after cooling.
Solution: This usually means it was underbaked. The structure wasn’t set enough to hold its weight. Next time, trust the toothpick test, not just the timer.
Mistake: The bread is tough and rubbery.
Solution: You likely overmixed the batter. Remember, once the flour goes in, use a gentle hand. Stop mixing as soon as the white streaks disappear.
Mistake: The bottom is burnt.
Solution: Your oven might run hot, or you used a dark metal pan. Dark pans absorb heat faster. Lower the temp by 25°F if using a dark pan, or switch to light aluminum.
Storage and Freezing
If you somehow have leftovers (which is rare in my house with two kids), storage is key to maintaining that crunchy top.
**Room Temperature:** Store the cooled bread in an airtight container at room temperature for up to 3 days. However, be warned: the moisture from the bananas will eventually migrate to the topping, making it softer over time. If you want to keep the crunch, just cover the cut end with foil and leave the top exposed to the air for the first day.
**Freezing:** This banana bread recipe with brown sugar topping freezes beautifully. I like to slice it first, then wrap each slice individually in plastic wrap and then place them all in a freezer bag. This way, you can pull out a single slice for a quick breakfast. It will keep for up to 3 months.
**Reheating:** To bring that crust back to life, pop a slice in the toaster oven or a warm oven for 5 minutes. The sugar will re-crisp slightly, and the house will smell amazing all over again.
Frequently Asked Questions
Ready to Bake?
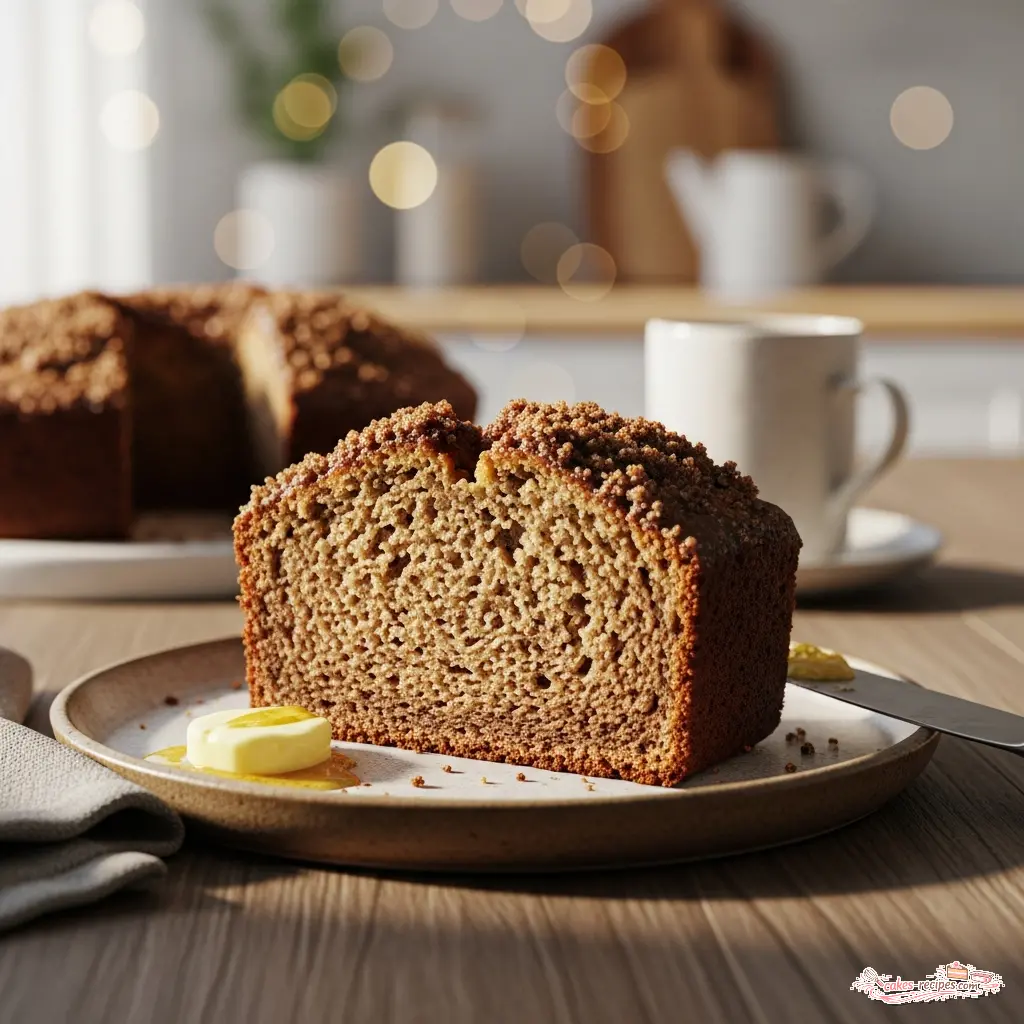
There is something deeply satisfying about taking ingredients that look like they are past their prime and turning them into something beautiful. When you pull this golden loaf out of the oven, with its craggy, sugary crust glistening under the kitchen lights, you’ll understand why I never throw away a spotted banana.
Pair a warm slice of this banana bread recipe with brown sugar topping with a strong cup of coffee or a cold glass of milk. It’s the perfect winter breakfast, afternoon snack, or “just because” treat.
I’d love to see how yours turns out! If you make it, snap a photo of that crunchy crust and let me know. Happy baking!
Reference: Original Source