Why You’ll Love This Dutch Caramel Apple Pie
I’ll be honest with you I’ve had my share of pie disasters. Soggy bottoms, runny fillings, toppings that sank into the apples like they were giving up on life. But this dutch caramel apple pie? Oh my goodness. It’s the one that made me stop and say, “Okay, I’ve got this.”
The first time I made it, I was testing it for a friend’s birthday dinner. I pulled it out of the oven, and the smell cinnamon, nutmeg, that buttery oat topping it filled my whole apartment. My son came running in and said, “Is that for me?” I told him it was for the party, and he gave me the saddest look. So I made a second one the next weekend just for us. That’s the kind of pie this is.
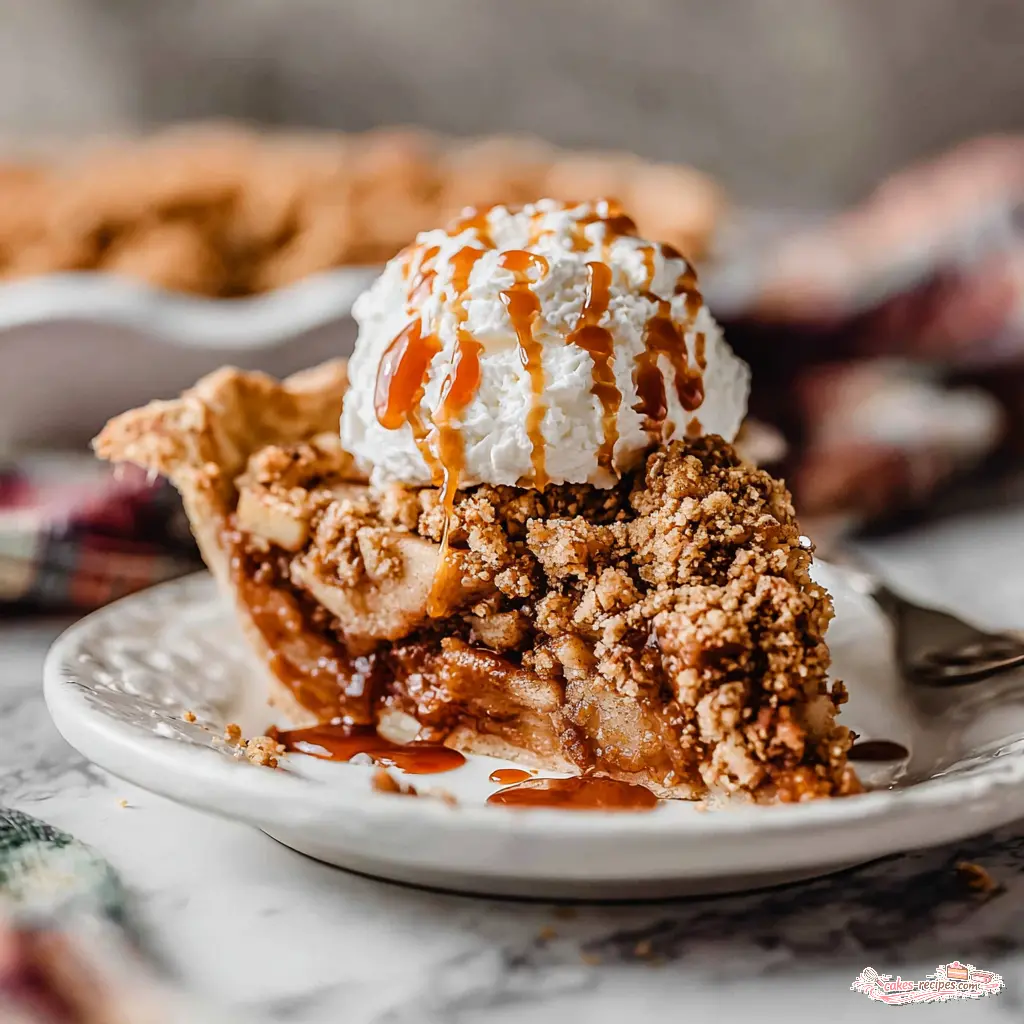
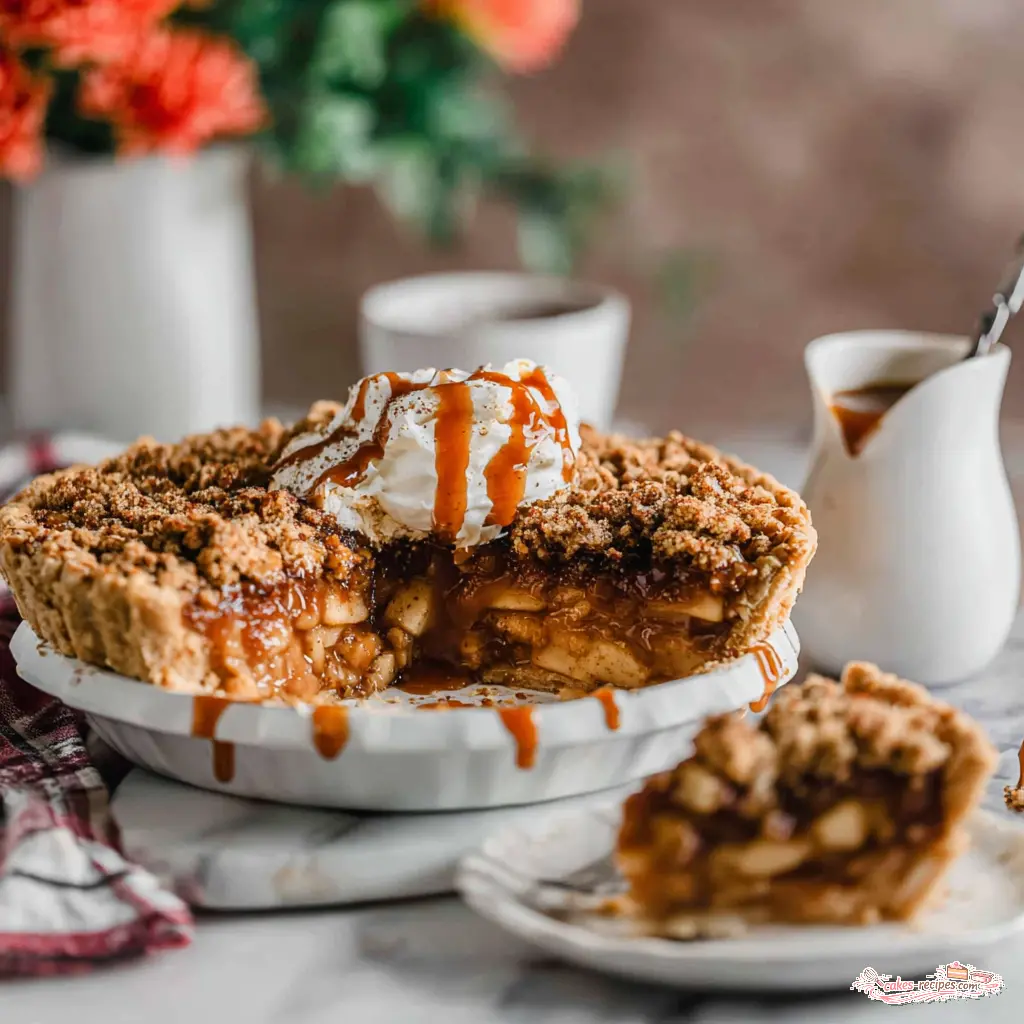
What makes this dutch caramel apple pie so special? It’s the combination of a buttery pie crust, a warm spiced apple pie filling with homemade caramel sauce swirled through it, and a crunchy oat streusel topping that’s basically a love letter to texture. No top crust to fuss with, no lattice work (though I love a good lattice). Just a pile of golden, buttery crumble that tastes like the best part of a crumble bar and a pie had a beautiful baby.
It’s totally doable, I promise. You’ve got this.
Key Ingredients & Substitutions
Let’s talk about what goes into this caramel apple pie. The ingredient list looks long, but I promise it’s easier than it looks. Most of it is pantry stuff you probably already have.
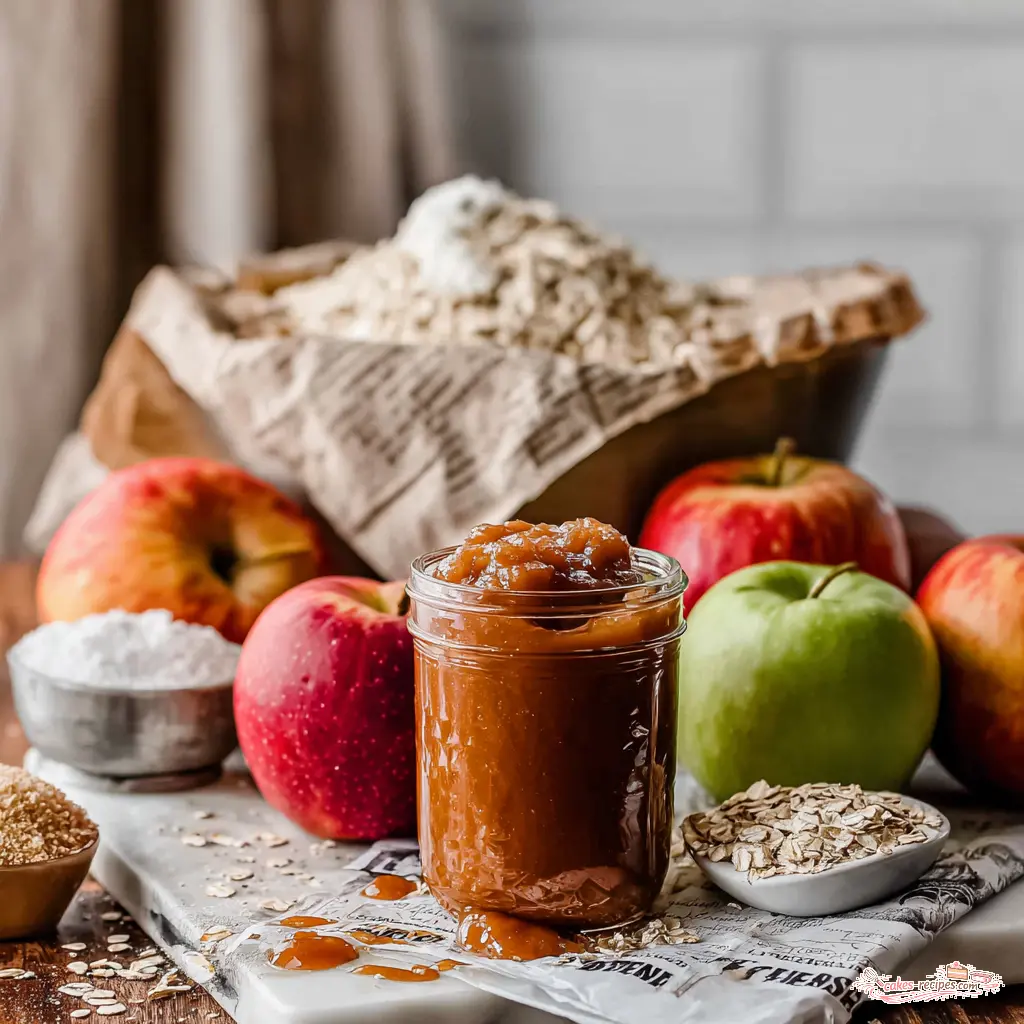
For the crust: All-purpose flour, salt, a touch of granulated sugar, and cold salted butter. The butter needs to be really cold like, straight-from-the-fridge cold. That’s what gives you those flaky layers. You’ll also need ice cold water to bring it together. I like to keep a bowl of ice water nearby and measure from that.
For the homemade caramel sauce: This is where the magic happens. Granulated sugar gets melted into a deep amber color, then you whisk in salted butter and heavy cream. A pinch of flaky sea salt at the end balances the sweetness. I know making caramel can feel intimidating, but I promise it’s just sugar and patience. You’ll use part of it in the filling and save the rest for drizzling over the finished pie.
For the apple pie filling: You want a mix of Granny Smith apples and Honeycrisp apples. The Granny Smiths hold their shape and give that tartness, while the Honeycrisps add sweetness and a bit of juice. Lemon juice keeps them from browning. Then you’ve got granulated sugar, light brown sugar, cinnamon, nutmeg, cloves, allspice, and a bit more salt. All-purpose flour helps thicken the filling so it’s not runny.
For the oat streusel topping: This is my favorite part. All-purpose flour, old-fashioned rolled oats, light brown sugar, a little cinnamon, a pinch of salt, and cold salted butter cut in until it’s crumbly. The oats give it that wonderful texture that regular crumb toppings don’t have.
For finishing: An egg wash brushed on the crust edges and a sprinkle of coarse sugar (like turbinado or sanding sugar) for that sparkly crunch.
Substitutions & Variations
Dairy-free: Use dairy-free butter sticks and full-fat coconut milk instead of heavy cream. The texture will be slightly different but still delicious.
Gluten-free: Use a gluten-free all-purpose flour blend (like Bob’s Red Mill) for both the crust and the topping. The oats should be certified gluten-free too.
No caramel? You can skip the caramel sauce in the filling entirely. The pie will still be amazing just a classic dutch apple pie recipe with a crumble topping. Or you can just serve the caramel on the side.
Top crust instead: If you want a traditional double crust instead of the streusel, go for it. Just roll out a second crust, cut some vents, and bake the same way.
How to Make Dutch Caramel Apple Pie
Okay, let’s walk through this together. I’ll break it into four stages so it doesn’t feel overwhelming. And I’ll share the little tricks I’ve learned along the way.
Stage 1: Make the Crust and Caramel
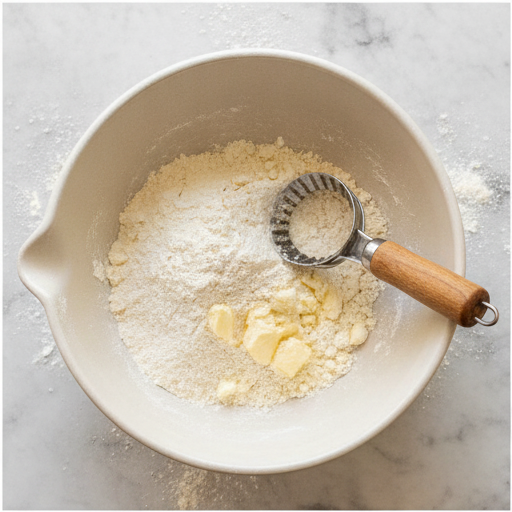
Start with the crust because it needs time to chill. In a large bowl, whisk together the flour, salt, and sugar. Add the cold cubed butter and cut it in with a pastry cutter or your fingertips until the mixture looks like coarse meal with pea-sized butter pieces. Drizzle in the ice water a tablespoon at a time, tossing with a fork until it just comes together. Don’t overwork it you want those butter chunks to stay visible. Form it into a disk, wrap it in plastic, and pop it in the fridge for at least 2 hours. This is a great time to make the caramel.
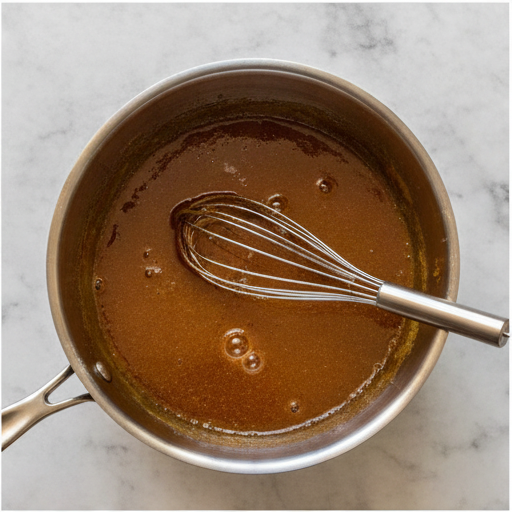
For the caramel, you’ll need a medium heavy-bottomed saucepan. Heat the sugar over medium heat, stirring occasionally, until it melts into a deep amber color. This takes about 6 to 8 minutes. Off the heat, whisk in the butter (it will bubble up that’s normal). Slowly pour in the heavy cream while whisking constantly until smooth. Stir in the flaky sea salt. Let it cool while you do the next steps.
Stage 2: Roll the Crust and Prep
Once the dough has chilled, roll it out on a lightly floured surface into a 12-inch circle, about 1/8-inch thick. Gently transfer it to a 9-inch pie pan, pressing it into the bottom and up the sides. Trim and crimp the edges however you like I go for a simple fluted edge. Then pop the crust in the freezer for 15 to 30 minutes. This is a crucial step for preventing a soggy bottom. While it’s freezing, preheat your oven to 400°F.
Stage 3: Make the Filling and Topping
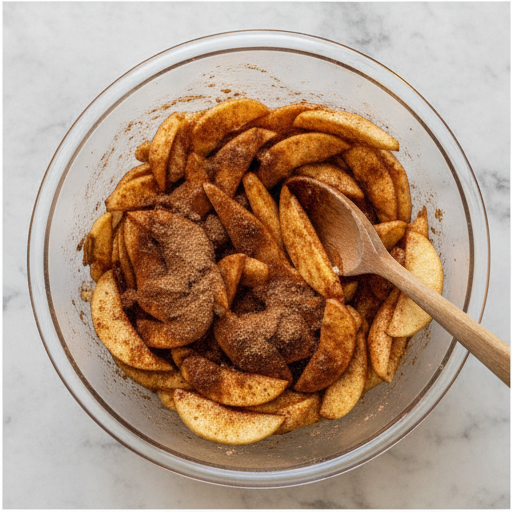
In a large bowl, toss the sliced apples with lemon juice, both sugars, all the spices, and the flour. Let it sit for 10 minutes this helps the apples release some juice so the filling doesn’t get watery. Then stir in 1/3 cup of your caramel sauce. The smell at this point is intoxicating.
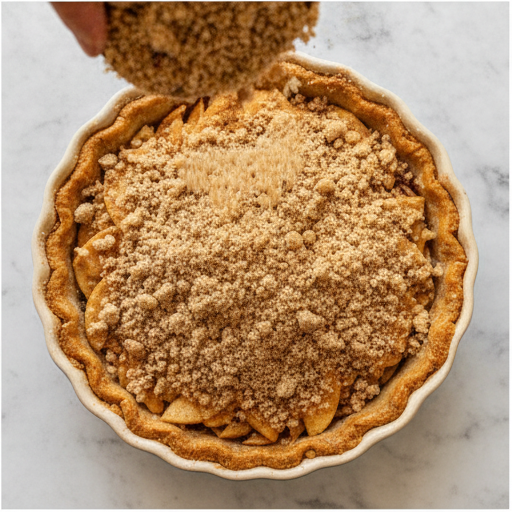
For the topping, whisk together the flour, oats, brown sugar, cinnamon, and salt. Cut in the cold butter with a pastry cutter until it’s crumbly and all the butter is coated. Don’t overmix you want some bigger clumps for texture.
Stage 4: Assemble and Bake
Take the crust out of the freezer. Brush the edges with the beaten egg and sprinkle with coarse sugar. Spoon the apple filling into the crust, leaving behind any excess liquid (you don’t want a soggy situation). Sprinkle the crumb topping evenly over the apples. Place a baking sheet on the lower rack to catch any drips trust me on this one.
Bake at 400°F for 45 to 55 minutes. Check at 25 to 30 minutes; if the crust or topping is browning too quickly, cover loosely with foil. The pie is done when the filling is bubbly, the topping and crust are golden brown, and a fork inserted through the topping meets tender apples. Let it cool at room temperature for 2 to 3 hours before slicing. I know it’s hard to wait, but this is non-negotiable. If you cut into it too soon, the filling will run everywhere.
Expert Tips for the Best Pie
After testing this dutch caramel apple pie more times than I can count (my neighbors have become very happy taste-testers), here are the things I wish someone had told me from the start.
- Use the right apples. A mix of Granny Smith and Honeycrisp is my go-to. Avoid soft apples like McIntosh they turn to mush.
- Keep everything cold. Cold butter for the crust and topping. Cold water. Frozen crust before baking. It makes all the difference in texture.
- Don’t skip the cooling time. I know, I know. But 2 to 3 hours at room temperature lets the filling set. For neater slices, chill the pie in the fridge for an hour before serving.
- Use an oven thermometer. Ovens lie. I’ve had ovens that run 25 degrees hot. An oven thermometer is a cheap insurance policy.
- Cover the edges if they brown too fast. A foil ring or a silicone pie shield works perfectly. Check at 25 minutes.
- Let the apples sit after tossing with sugar and spices. That 10-minute rest helps draw out excess moisture so your filling isn’t swimming.
Common Mistakes and How to Fix Them
❌ Soggy bottom crust → ✅ Freeze the crust before baking and leave behind excess liquid when filling.
❌ Runny filling → ✅ Use the right amount of flour in the filling and let the pie cool completely before slicing.
❌ Topping sinks into the filling → ✅ Don’t overmix the topping, and make sure your butter is cold so it stays chunky.
❌ Caramel burns → ✅ Use a heavy-bottomed saucepan and watch it closely. Swirl the pan instead of stirring once the sugar starts melting.
How to Store & Reheat Leftovers
This dutch caramel apple pie keeps beautifully, which is great because you’ll want leftovers. Store it covered in the refrigerator for up to 5 days. To reheat, place slices (or the whole pie, loosely covered with foil) in a 350°F oven for 12 to 20 minutes. This brings back that crisp topping and warm filling.
You can also make the whole pie ahead of time. Bake it, let it cool completely, cover it with foil, and refrigerate for 1 to 2 days. Then reheat as above before serving. The crust stays flaky, the filling stays set, and nobody will know it wasn’t baked that morning.
Frequently Asked Questions
I hope you love this dutch caramel apple pie as much as I do. It’s one of those recipes that feels special without being fussy. If you make it, tag me on social media I’d love to see your beautiful pies. And if you’re looking for more apple dessert inspiration, I’ve got plenty more where this came from. Happy baking!
For more ideas and to share your creations, find me on Pinterest I’m always pinning new recipes!
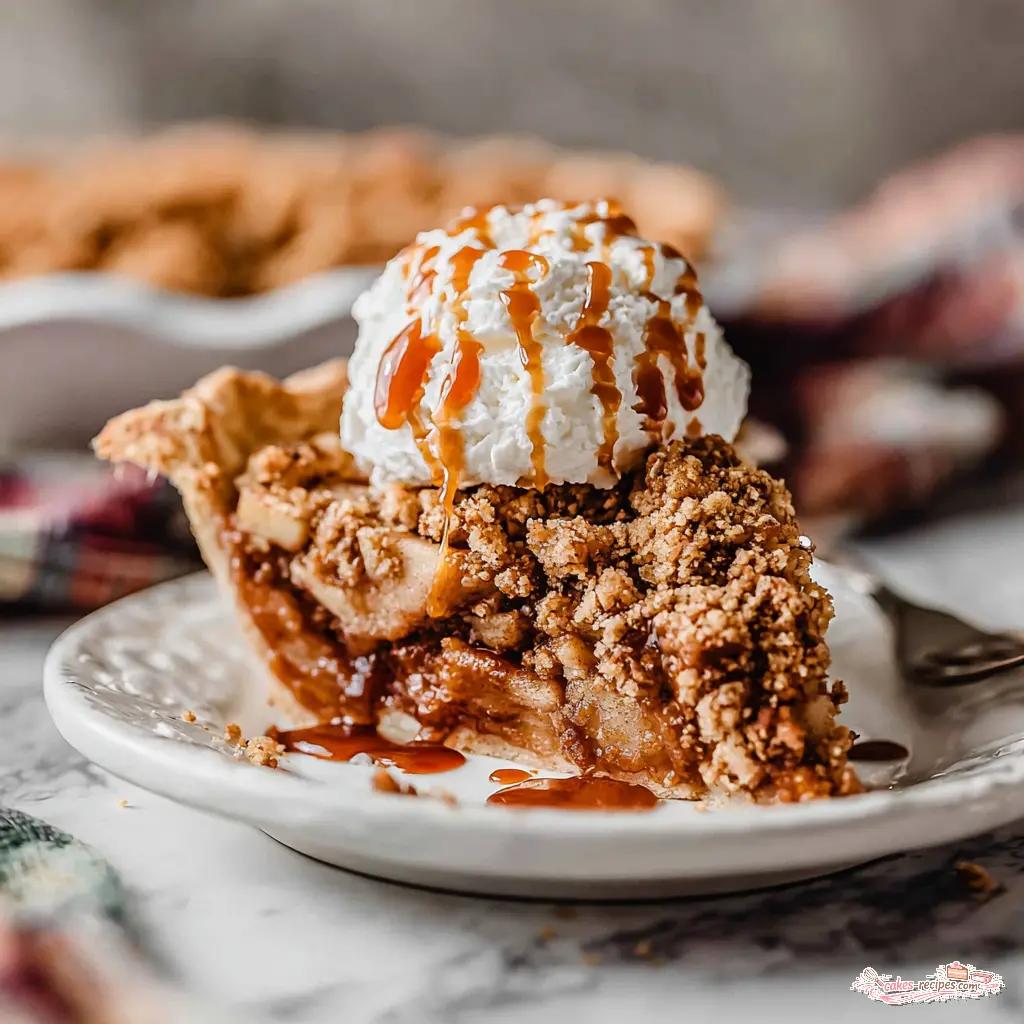
Dutch Caramel Apple Pie
Ingredients
Method
- In a large bowl, whisk together 1 1/2 cups all-purpose flour, 1/2 teaspoon salt, and 1/2 tablespoon granulated sugar. Add 9 tablespoons cold cubed salted butter and cut it into the flour with a pastry cutter or your fingertips until the mixture resembles coarse meal with pea-sized butter pieces. Drizzle in 4 to 6 tablespoons ice cold water, 1 tablespoon at a time, tossing with a fork until the dough just comes together. Form into a disk, wrap tightly in plastic wrap, and refrigerate for at least 2 hours or up to overnight.
- In a medium heavy-bottomed saucepan over medium heat, melt 1 cup granulated sugar, stirring occasionally, until it turns a deep amber color (about 6 to 8 minutes). Off the heat, whisk in 6 tablespoons cubed salted butter until melted (the mixture will bubble). Slowly pour in 1/2 cup plus 1 tablespoon heavy cream while whisking constantly until smooth. Stir in a pinch of flaky sea salt. Let cool slightly; you will use 1/3 cup in the filling and reserve the rest for serving.
- On a lightly floured surface, roll the chilled dough into a 12-inch circle about 1/8-inch thick. Gently transfer to a 9-inch pie pan, pressing into the bottom and up the sides. Trim and crimp the edges as desired. Place the crust in the freezer for 15 to 30 minutes while you preheat the oven to 400°F and prepare the filling.
- In a large bowl, toss together 8 cups peeled and sliced apples (about 1/4-inch thick) with 1 tablespoon lemon juice, 1/3 cup granulated sugar, 1/3 cup packed light brown sugar, 2 teaspoons cinnamon, 1 teaspoon nutmeg, 1/4 teaspoon cloves, 1/4 teaspoon salt, 1/8 teaspoon allspice, and 1/3 cup all-purpose flour. Let sit for 10 minutes, then stir in 1/3 cup of the reserved caramel sauce.
- In a medium bowl, whisk together 1 cup all-purpose flour, 1 cup old-fashioned rolled oats, 2/3 cup packed light brown sugar, 1/4 teaspoon cinnamon, and a pinch of salt. Add 1/2 cup cold cubed salted butter and cut it into the dry ingredients with a pastry cutter until the mixture is crumbly and all the butter pieces are coated.
- Beat the egg in a small bowl. Remove the pie crust from the freezer and brush the edges with the beaten egg, then sprinkle with coarse sugar. Spoon the apple filling into the crust, leaving behind any excess liquid. Sprinkle the crumb topping evenly over the apples. Place a baking sheet on the lower rack of the oven to catch any drips.
- Bake at 400°F for 45 to 55 minutes. Check at 25 to 30 minutes; if the crust or topping is browning too quickly, cover loosely with foil or a pie shield. The pie is done when the filling is bubbly, the topping and crust are golden brown, and a fork inserted through the topping meets tender apples.
- Let the pie cool at room temperature for 2 to 3 hours before slicing. Serve with extra caramel sauce. Store leftovers covered in the refrigerator for up to 5 days.
- Make ahead: The crust can be made 3 days ahead (refrigerated) or frozen for 2 months. The baked pie can be made 1 to 2 days ahead; cool completely, cover with foil, and refrigerate. Rewarm at 350°F, loosely covered, for 12 to 20 minutes before serving.
Nutrition
Notes
Tried this recipe?
Let us know how it was!Source: Nutritional Information