Pumpkin Scones with Maple Glaze
Ingredients
Method
- Heat the oven to 425F. In a medium bowl, whisk together the flour, baking powder, ginger, and cinnamon.
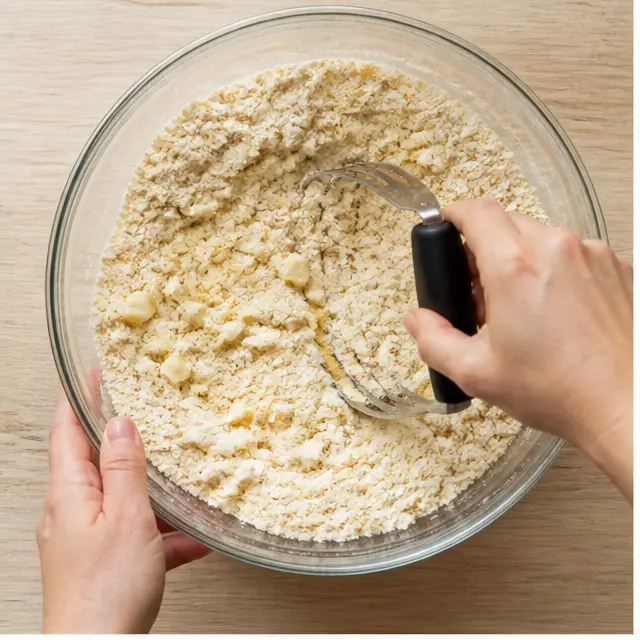
- Cut the cold butter into the dry ingredients with a pastry blender or two forks until the mixture is crumbly with pea-size bits of butter.
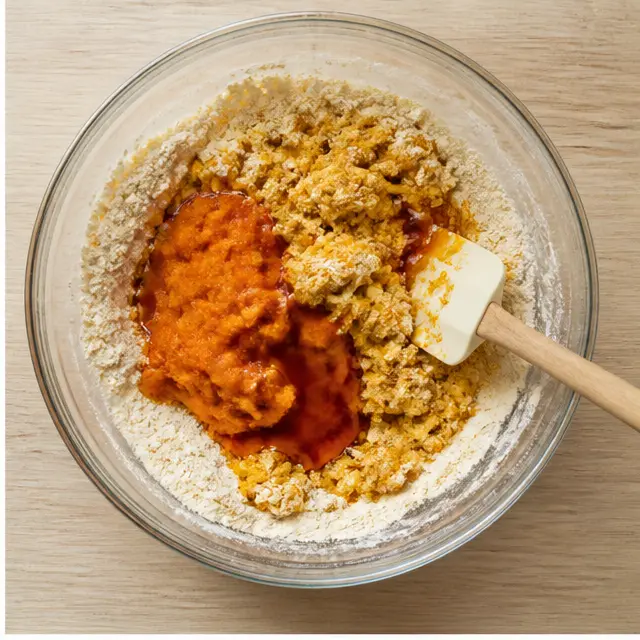
- Add the pumpkin puree, maple syrup, and 2 tablespoons of milk. Stir until a shaggy dough forms, then knead by hand four to five times. If the dough feels too dry, add the remaining 1 tablespoon of milk.
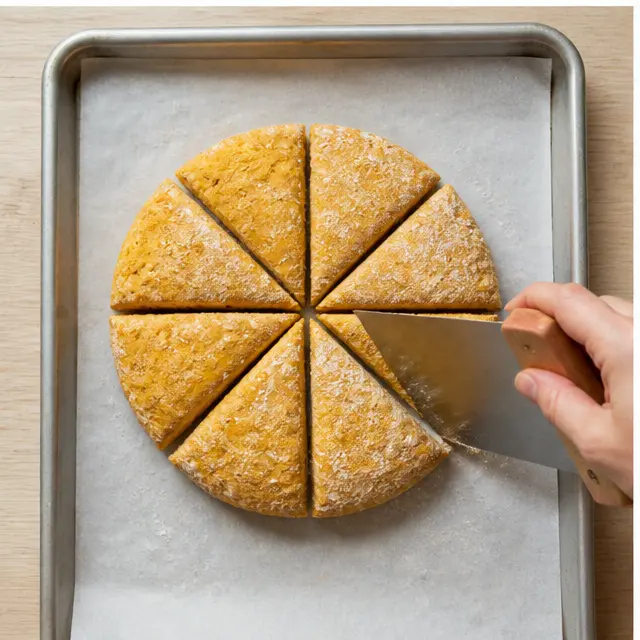
- Pat the dough into a circle about 3/4 inch thick on a parchment-lined baking sheet. Cut the round into 8 wedges.
- Bake for 15 to 17 minutes until lightly golden. Let the scones cool completely before glazing.
- In a small bowl, stir together the powdered sugar, maple syrup, and milk until smooth. Drizzle the glaze over the cooled scones with a spoon.
Nutrition
Notes
Tried this recipe?
Let us know how it was!Why You’ll Love These Pumpkin Scones
Yes, it’s 95 degrees outside. And yes, you want pumpkin scones with maple glaze. I respect that. It’s August in Los Angeles, the air conditioner is working overtime, and the only thing that makes sense is turning on the oven and pretending it’s November.
Here’s the thing about this season: the kids are counting down to the first day of school, and coffee shops are already teasing pumpkin spice. Ignore the calendar. These pumpkin scones with maple glaze are worth breaking the seasonal rules for.
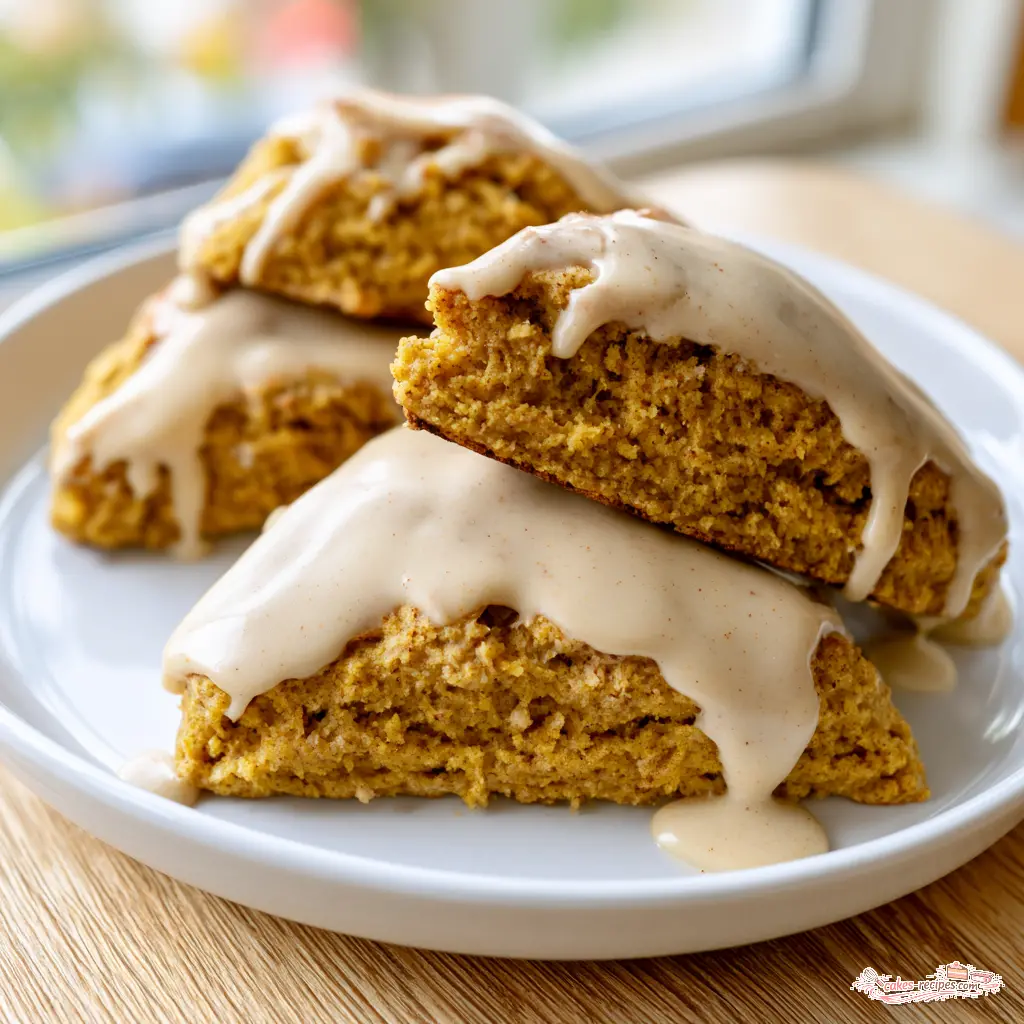
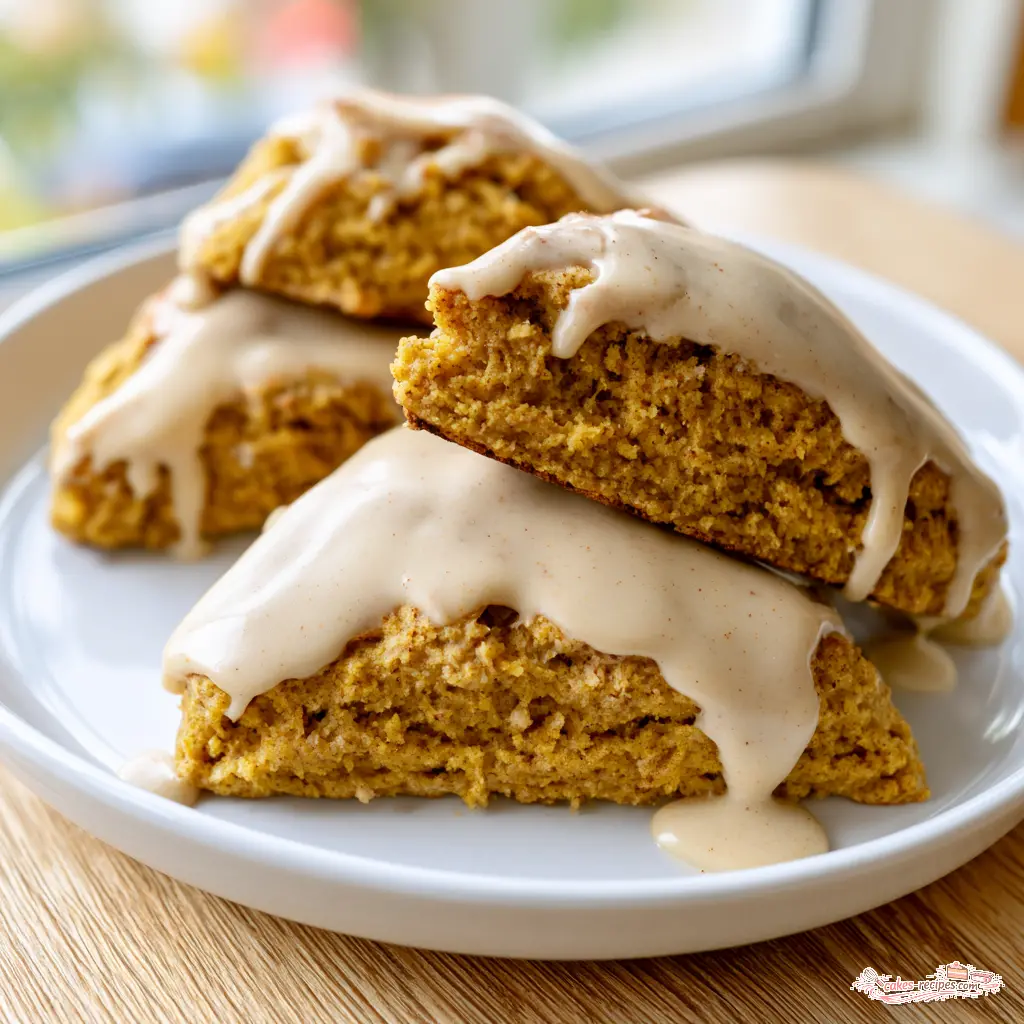
These aren’t those dry, crumbly bakery scones that shatter the moment you bite them. These are tall, craggy golden wedges with a flaky texture outside and a tender crumb inside. Then comes the glaze: a smooth ribbon of real syrup and powdered sugar that sets to a glossy, soft finish. If these remind you of a certain coffee shop’s famous pumpkin scones, you’re not wrong. That’s the vibe, but better because they’re warm from your own oven.
The whole thing takes 25 minutes. Five minutes of prep, twenty in the oven, and your kitchen smells like fall even when the forecast says otherwise. That’s the coziness of pumpkin in the middle of August. Honestly, that’s the whole appeal of maple glazed pumpkin scones.
The first time I made these on a hot day, I skipped the chill, the butter melted before the scones even hit the oven, and I got flat, frisbee-shaped scones. They still tasted amazing, but they looked sad. That’s the thing with scones: making them isn’t hard, but the details matter. Cold butter, a light hand, and a couple of minutes of patience are the difference between “meh” and “make these again.”
Pumpkin Scones Ingredients Overview
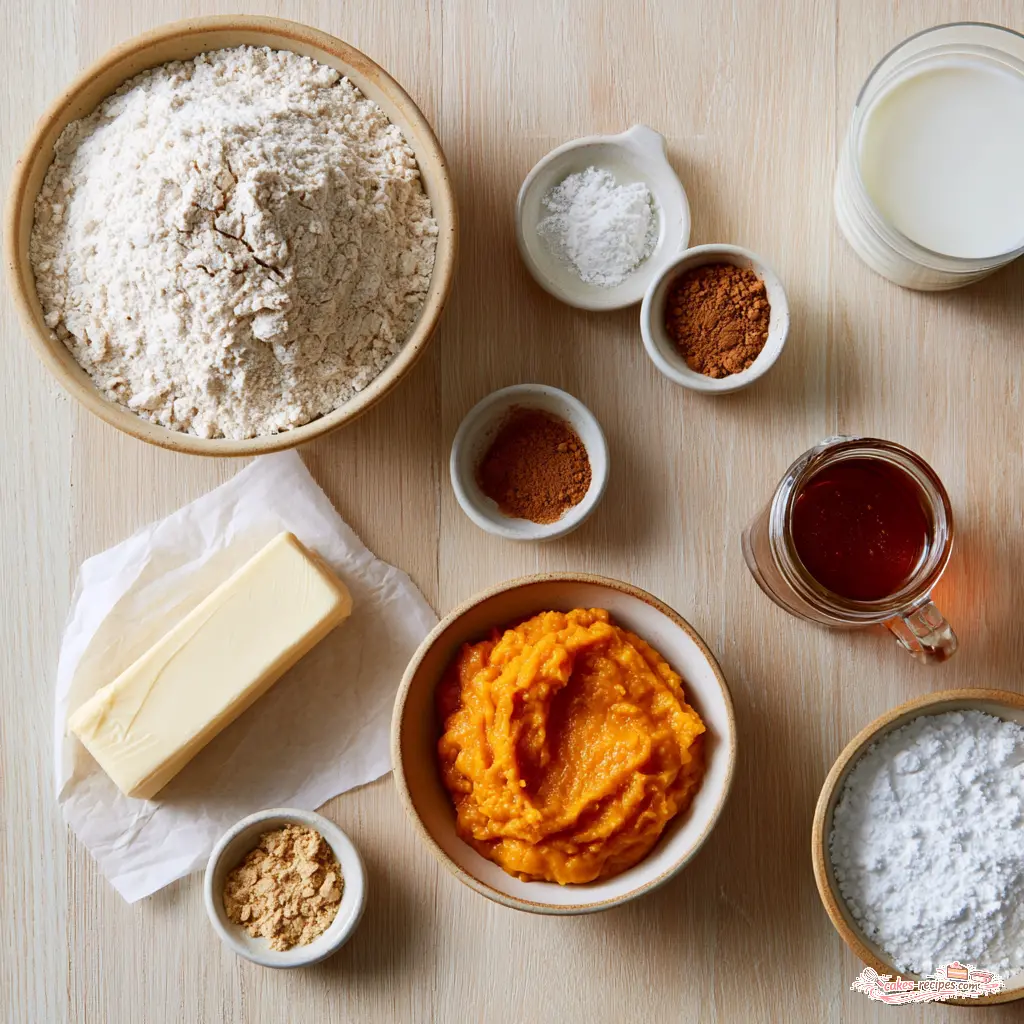
This maple glazed pumpkin scones recipe uses a short, honest list. Here’s why each ingredient earns its spot, plus which substitutions actually work.
- Unbleached all-purpose flour: The backbone of the crumb. I prefer unbleached here, the flavor is a touch deeper than bleached flour.
- Baking powder: All the lift. Make sure it’s fresh. If it’s been in your pantry since last fall, test it by stirring a teaspoon into hot water. Fizz means go.
- Ground ginger and ground cinnamon: A quarter teaspoon each. Enough to taste the warmth without turning these into a spice bomb.
- Cold butter or vegan butter: The most important ingredient. Cold butter creates little steam pockets as it melts in the oven. Steam equals flaky layers. It’s just physics with breakfast benefits.
- Pure maple syrup: Used in the dough and the glaze. Skip the pancake syrup, real maple flavor carries the whole recipe.
- Pumpkin puree: Plain canned pumpkin puree, not pumpkin pie filling. Pie filling has added sugar and spice and will throw off the whole balance.
- Milk of choice: Dairy, oat, almond, whatever you have. You’ll need 2 to 3 tablespoons for the dough and a couple of teaspoons for the glaze.
- Powdered sugar: The base of the maple glaze. It dissolves into that smooth, shiny ribbon.
Most of these are pantry staples, which is the beauty of these pumpkin scones with maple glaze. You can decide at 9 p.m. and be eating them by 9:25.
How to Make Pumpkin Scones with Maple Glaze
This is where the magic happens. Four stages, each with a reason behind it. Once you understand the why, you’ll stop second-guessing yourself.
Stage 1: Cut cold butter into the dry ingredients
Heat the oven to 425 degrees. Whisk the flour, baking powder, ginger, and cinnamon in a medium bowl. Then cut the cold butter into the dry mixture using a pastry cutter or two forks until it looks crumbly with pea-size bits of butter still visible. That smell, baking powder and butter, takes me back to my mom’s kitchen on Sunday afternoons, that specific scent that meant something good was coming.
Those pea-size butter bits are the secret. They melt in the oven and release steam, which pushes the dough into flaky layers. Resist the urge to make the mixture uniform. Streaks and chunks are exactly what you want here. This is the result you want.
Stage 2: Bring the dough together gently
Add the pumpkin puree, maple syrup, and 2 tablespoons of milk. Stir until a shaggy dough forms, then knead by hand four to five times. That’s it. Overworking the dough develops gluten, and gluten means tough scones. A few gentle folds are all you need.
If the dough feels dry and crumbly, add the remaining tablespoon of milk one teaspoon at a time. Pumpkin puree moisture varies by brand, so trust your hands over the recipe. The dough should just barely hold together when pressed.
Stage 3: Shape and cut the wedges
Pat the dough into a circle about 3/4 inch thick right on a parchment-lined baking sheet. If your kitchen is warm, which in August it probably is, this is the moment for chilling scone dough for 15 minutes. That short pause keeps the butter solid so the scones rise instead of spreading.
Cut the round into 8 wedges using a knife or a bench scraper. Separate them slightly on the sheet so they have room to rise and form those craggy, bakery-style edges.
Stage 4: Bake, cool, and glaze
Bake for 15 to 17 minutes until lightly golden. The scone doneness test: the edges should be golden brown, the tops should spring back when pressed gently, and the center crack should look baked through, not wet.
Now the part everyone wants to rush: cool the scones completely before glazing. Hot scones will melt the glaze into a sugary puddle. That’s a sad ending for all that good maple syrup. The glaze sets in about 10 minutes, so you can serve these shortly after drizzling.
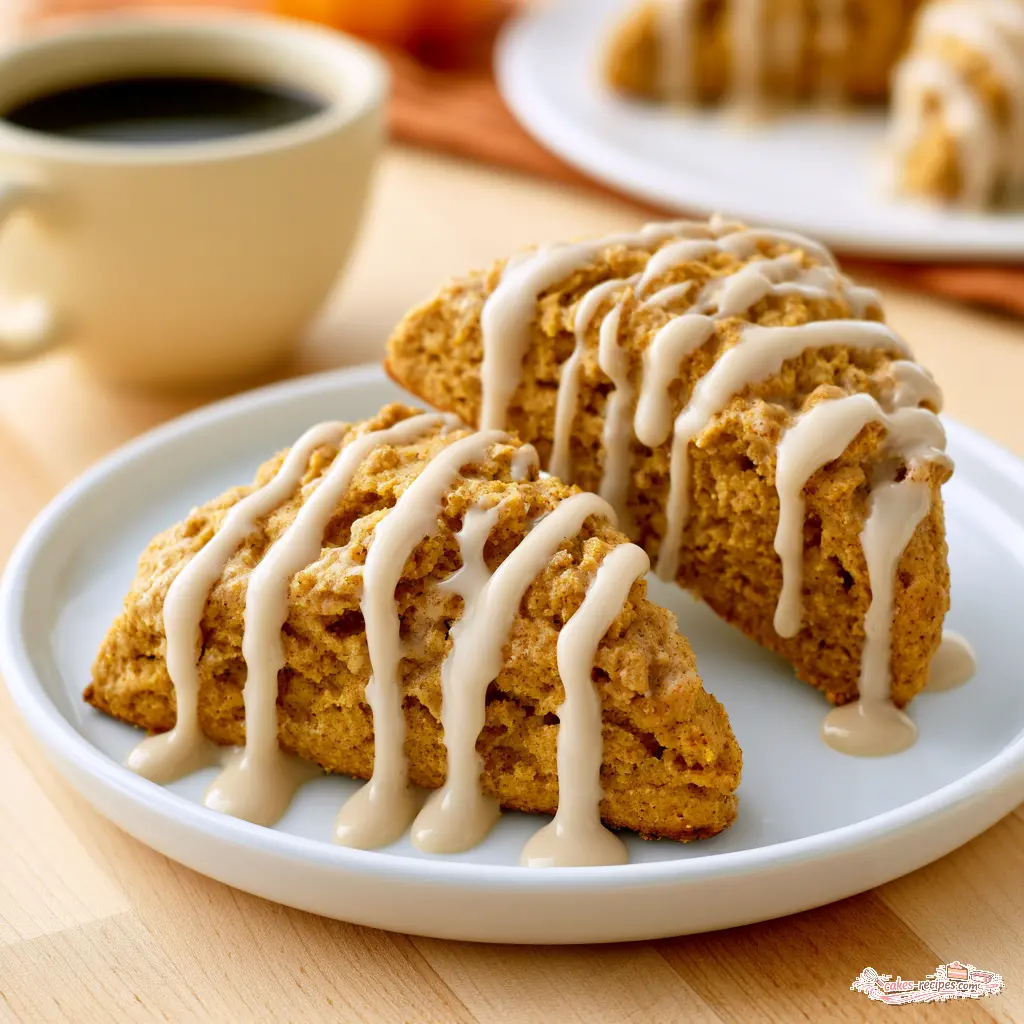
For the glaze, stir the powdered sugar, maple syrup, and milk together until smooth. It should be thick enough to ribbon off a spoon but loose enough to pour. Too thick? Add a few drops of milk. Too thin? More powdered sugar. Drizzle it over the cooled scones and watch that pale ribbon of maple white inch slowly down the craggy sides.

Tips for Perfect Pumpkin Scones
Let me save you the trial and error. These are the most common scone mistakes and how to fix them.
❌ Overworking the dough. This is the number one reason scones turn out dense and tough. ✅ Knead just four to five times, until the dough comes together, and stop. Shaggy is good.
❌ Warm butter. In hot weather, butter softens before you’ve even finished mixing. ✅ Keep it in the fridge until the last second, work fast, and if the dough feels greasy, pop it in the freezer for 15 minutes. No shame in that.
❌ Too much flour. Scooping flour straight from the bag packs it tight. ✅ Spoon it into your measuring cup and level it off for a lighter, more accurate cup.
❌ Skipping the cool-down before glazing. Glaze on hot scones melts and disappears. ✅ Let them cool completely, then drizzle. The glaze needs a cool surface to set into that glossy finish.
Keep these four in mind, and your pumpkin scones with maple glaze will come out tall, golden, and picture-worthy every single time.
Pumpkin Scone Variations
Once you’ve got the base down, these pumpkin scones with maple glaze are fun to customize. All of these are optional additions, so the base recipe stays exactly as written.
- Chopped dark chocolate: Fold in a handful after the dough comes together. Little melty pockets, never a bad thing.
- Dried cranberries: Tart and chewy, they balance the maple sweetness really well.
- Chopped walnuts or pecans: For crunch. Toast them first if you have the patience, it’s worth the extra two minutes.
- Extra maple: Skip the glaze entirely and serve the scones with a little jug of pure maple syrup for dipping. Heartier, less sugary, still delicious.
One thing I’ll say: this dough is designed to handle the moisture of pumpkin puree, so go easy on wet add-ins. Keep your additions dry and you’re golden.
Storage and Freezing Instructions
These maple glazed pumpkin scones are best the day you bake them, but they’ll keep in an airtight container at room temperature for 2 to 3 days. If your kitchen runs warm, the fridge works fine, just let them come back to room temperature before serving.
For longer storage, freeze the scones unglazed. Bake and cool them completely, skip the glaze, then freeze in a single layer on a parchment-lined baking sheet. Once solid, transfer to a freezer bag with parchment between the layers. They’ll keep for up to 2 months.
To reheat frozen scones, warm them in a 350 degree oven for 8 to 10 minutes, let them cool slightly, then drizzle the glaze. You get that fresh-from-the-bakery moment on a random Tuesday morning, which is honestly one of the great joys of freezer cooking.
You can also freeze the dough as wedges before baking. Slice, freeze on a sheet, then bake straight from frozen. Just add a couple of minutes to the bake time and you’ve got make-ahead pumpkin scones with maple glaze waiting whenever you need them.
Pumpkin Scone FAQs
Serving Suggestions
These pumpkin scones with maple glaze are at their absolute best with a hot latte or a strong cup of coffee. The glaze softens just slightly against the warmth, and that combination is pure cozy morning energy, even in August.
For brunch, pile them on a plate with some fresh fruit and you’ve got a spread that looks like it came from a bakery case. They’re also perfect for a first day of school surprise. Wait until the kids are sitting down, then bring out the tray. The reaction is worth it.
I’m always collecting cozy baking ideas on my Pinterest board, and I’d love for you to come browse. Fall baking, summer baking, all the in-between baking, it’s all there.
When you pull these out of the oven, golden and towering with that glossy maple glaze, you’ll wonder why you ever considered buying scones. That’s the moment. That’s the whole point of these pumpkin scones with maple glaze. And you made it happen in 25 minutes.
Source: Learn More About This Dish
Do you think I could make this recipe with gluten free all purpose flour?
In my experience, a 1-to-1 gluten free all purpose flour blend works reasonably well here. The texture will be slightly more tender and a touch more crumbly, and you may need less milk since gluten free flours absorb liquid differently. Start with 2 tablespoons of milk and add more only if needed.
Would coconut sugar work for the brown sugar?
That makes sense as a question, but this recipe doesn’t actually use brown sugar. The sweetness comes from pure maple syrup, which is a liquid and carries the moisture too. Swapping in coconut sugar would change the dough’s structure. If you want to reduce sweetness, I’d lighten the glaze instead of changing the dough.
I’m allergic to pecans. Would walnuts or other nuts work in this recipe?
Good news: the base recipe doesn’t include pecans at all, so you’re safe as written. If you want to add nuts for crunch, walnuts are a great choice. Fold about a third of a cup of chopped walnuts into the dough after it comes together, and you’re set.
Getting ready for Xmas morning and I thought I’d make some scones (first time) in advance to freeze till then. Is this ok to do?
Yes, absolutely, and welcome to the freezing club. Bake the scones, cool them completely, and freeze unglazed for up to 2 months. Christmas morning, warm them in a 350 degree oven for 8 to 10 minutes, cool slightly, then drizzle the glaze. Fresh-baked maple glazed pumpkin scones with zero holiday stress.