Why This Brown Butter Pumpkin Bread Recipe Works
The first time I tried browning butter, I nearly ruined a perfectly good saucepan. I got distracted, the milk solids went from amber to burnt in about thirty seconds, and my kitchen smelled like regret. But I tried again. And again. And somewhere between the second batch and the third, I realized something: that nutty, toasted aroma is what autumn smells like in a pan.
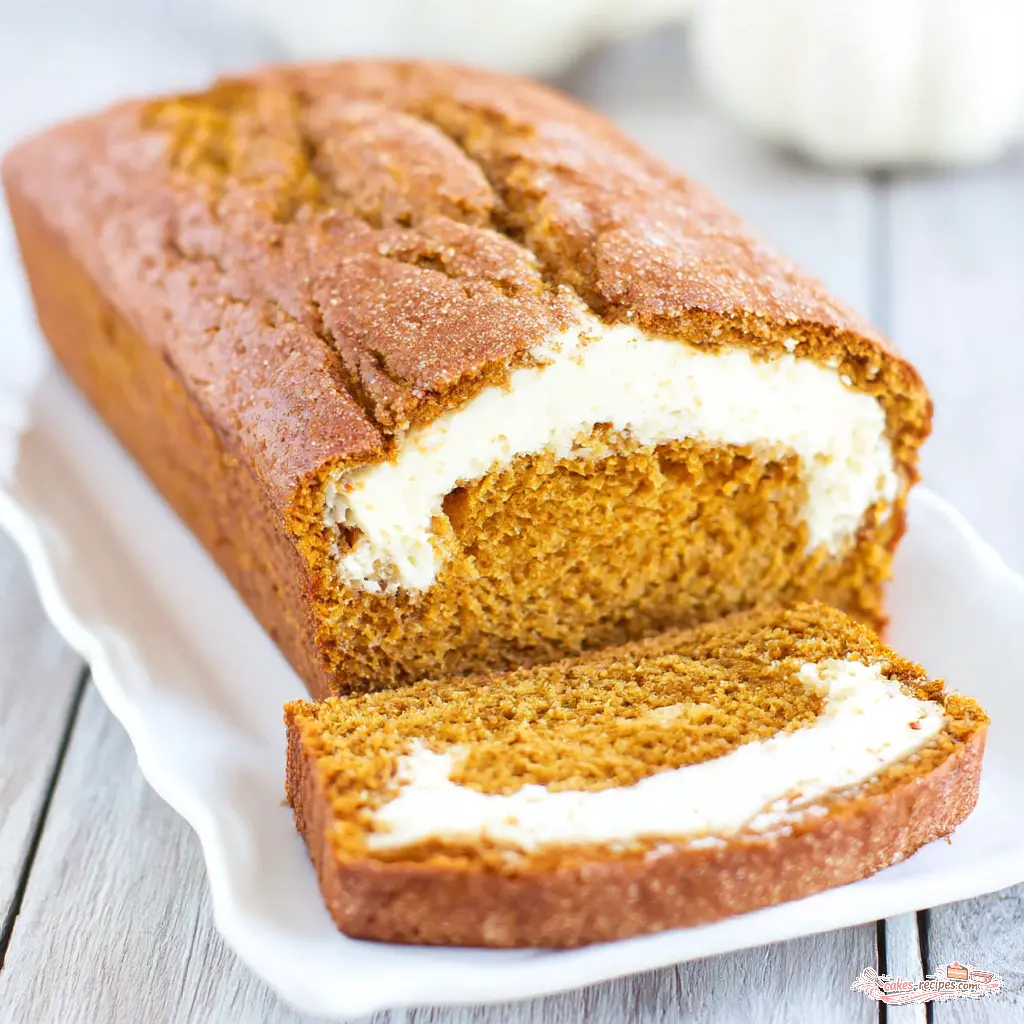
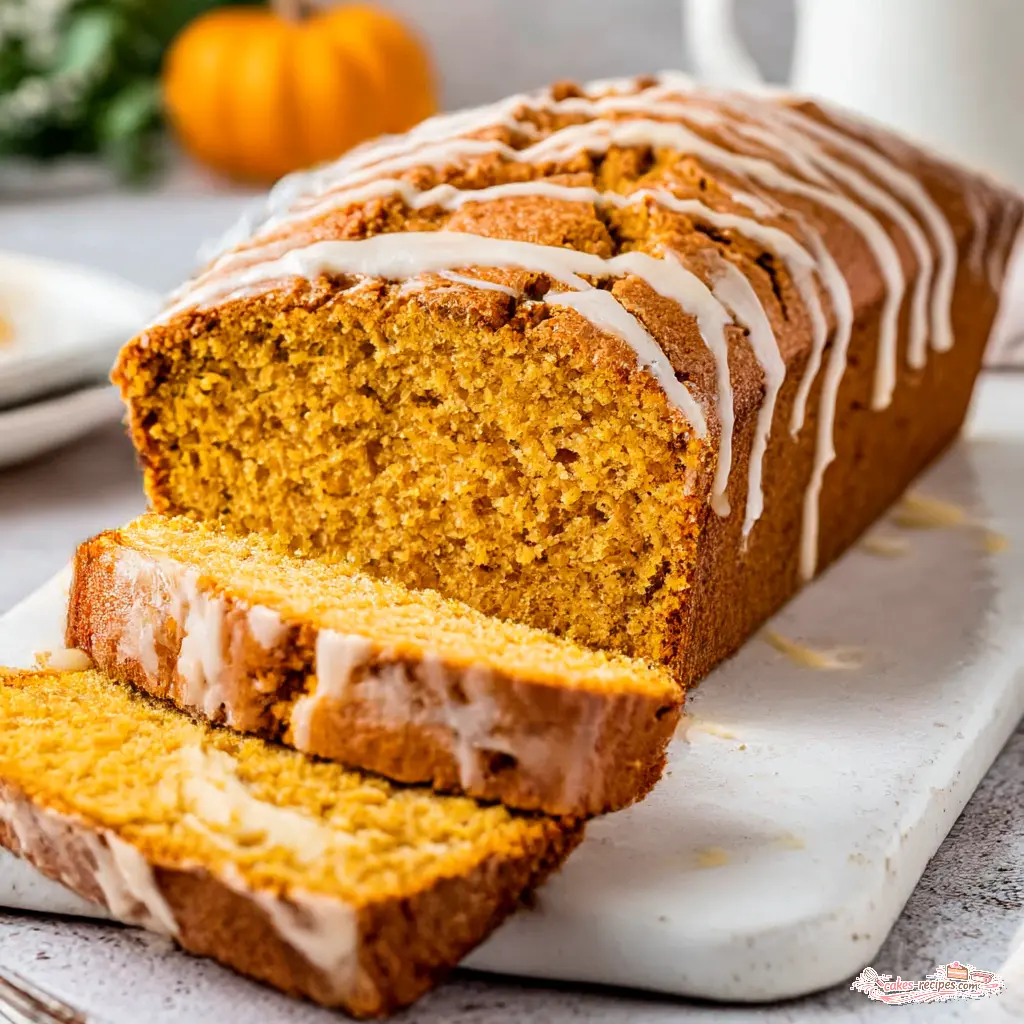
This brown butter pumpkin bread is the recipe I’ve made more times than I can count. It’s moist without being gummy, warmly spiced without being loud, and the maple cream cheese swirl swoops through every slice like soft serve. It’s the loaf I bring to gatherings when I want to hear, “Wait, where is this from?”
This pumpkin quick bread gets its depth from browned butter, its tenderness from buttermilk, and its bakery-style crown from a hot oven and a little patience. The equinox is still a few weeks out, but this bread never met a calendar it respected.
Brown Butter Pumpkin Bread Ingredients
Let me walk you through what makes this loaf tick. You probably have most of this in your kitchen already, which is half the reason I love it.
- Unsalted butter: You’ll brown half a cup for the bread and another four tablespoons for the glaze. That’s non-negotiable. The browning butter technique is what gives this loaf its signature nutty flavor.
- Pumpkin puree: Canned, not pumpkin pie filling. Please. I hear you, it’s confusing, but pie filling comes pre-sweetened and spiced, and it’ll throw off the whole balance. Grab the plain puree.
- Warm spices: Ground cinnamon, nutmeg, ginger, and cloves. This is my favorite pumpkin spice blend, and it’s what makes the kitchen smell like a fall candle, but better.
- Buttermilk: It adds a subtle tang and keeps the crumb incredibly tender. No buttermilk? Whisk a quarter cup of milk with a teaspoon of lemon juice and let it sit for five minutes.
- Pure maple syrup: For the glaze. Not pancake syrup, the real stuff. That tracks.
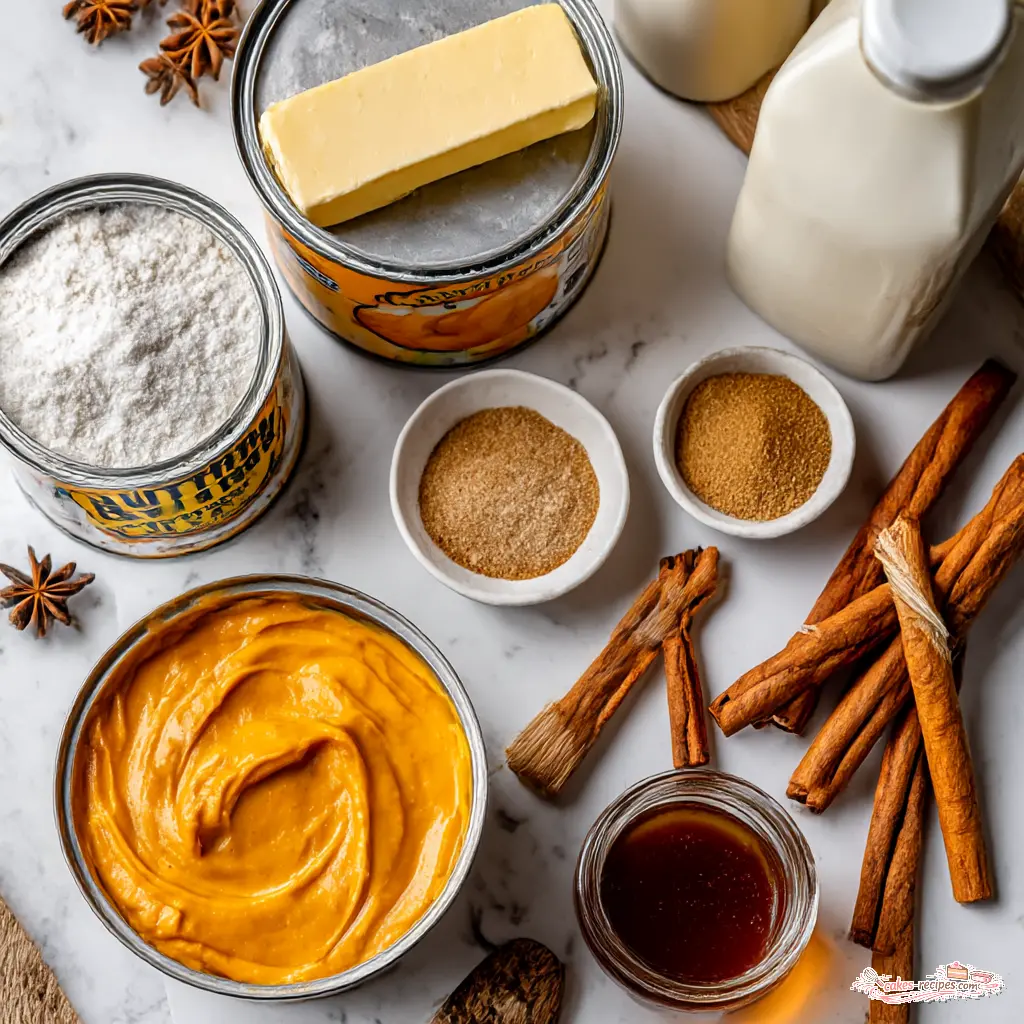
One thing I’ve learned in my testing: use room temperature ingredients. Let your eggs and buttermilk sit out for about thirty minutes before you start. It makes the batter come together smoother, and a smooth batter bakes into a more even crumb.
Baking in Grams for Best Results
I know, I know. Pulling out a kitchen scale feels fussy. But here’s the thing: baking is chemistry, and measuring flour by volume is like guessing someone’s height by looking at their shadow. It’s approximate at best.
Weighing your ingredients is the single easiest way to upgrade your baking, and it’s especially helpful for a moist pumpkin bread like this one. Too much flour and you’ll end up with a dry, dense loaf. Too little and it might sink in the middle.
- All-purpose flour: 210 grams
- Light brown sugar: 165 grams
- Granulated sugar: 100 grams
- Pumpkin puree: 360 grams (about one and a half cups)
I’ll include both measurements in the recipe card below, but if you have a scale, use it. Your future self, slicing into a perfectly textured loaf, will thank you.
Tips for the Best Brown Butter Pumpkin Bread
Alright, let me walk you through the four major stages of this recipe. Don’t worry about the detailed list, that’s in the recipe card. This is the why behind the how.
Stage 1: Mastering the Browning Butter Technique
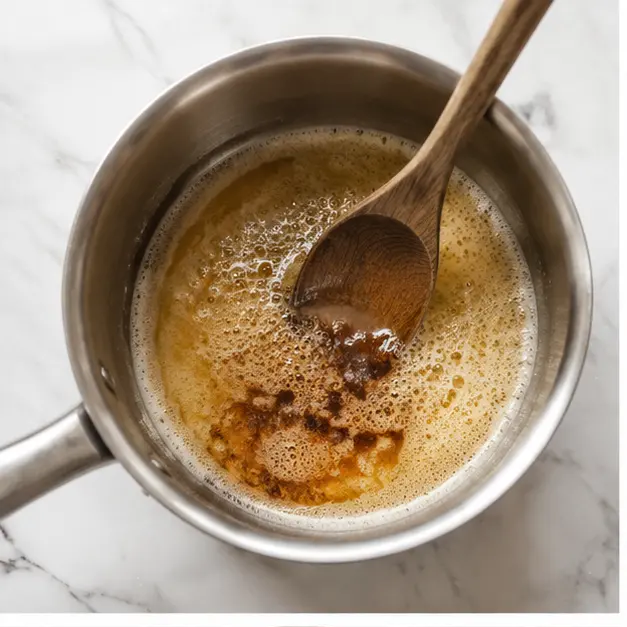
This is the step that makes this bread special, and it’s easier than you think. Melt your butter in a small saucepan over medium heat, and then just watch it. It’ll sizzle, pop, then go quiet. That silence is the danger zone where everything happens.
Stir it constantly. The butter will foam, and then the foam will subside, and you’ll start to see golden brown flecks at the bottom of the pan. That’s the milk solids caramelizing. It should smell like hazelnuts, not burnt popcorn. From start to finish, it takes about five to eight minutes.
Here’s a tip I wish someone had told me: pour the browned butter into a cool bowl immediately. If you leave it in the hot pan, it keeps cooking. I’ve made this loaf dozens of times, and once I rushed the swirl and it vanished into the batter. Still tasted incredible. Don’t stress it.
Stage 2: Building the Wet Base
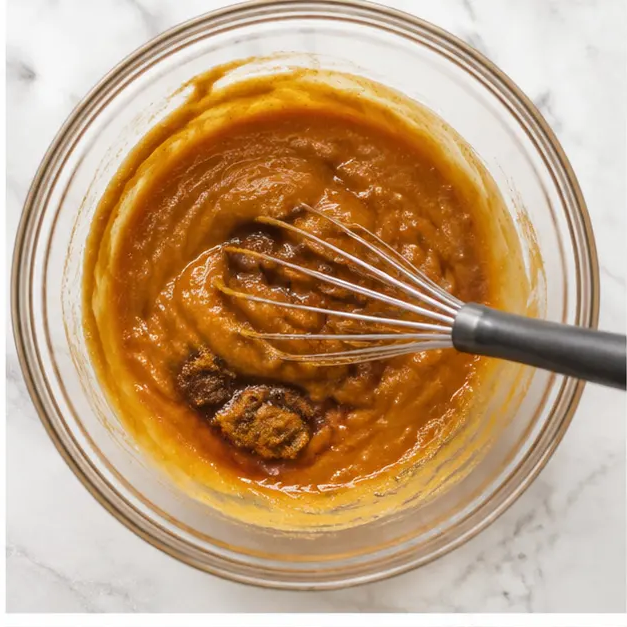
Once your browned butter has cooled slightly, it’s time to build the flavor base. Add your pumpkin puree, both sugars, eggs, buttermilk, and vanilla extract. Whisk until everything is smooth and fully incorporated. This is where you’ll smell the pumpkin spice coming alive.
Take a moment here. The color is gorgeous, that deep orange from the pumpkin puree, and the brown sugar will give it warmth. This is the mixture that’s going to make your whole house smell like fall baking.
Don’t rush this part. You want the sugars fully dissolved and the eggs completely incorporated. A minute of enthusiastic whisking is all it takes.
Stage 3: Folding in the Dry Ingredients
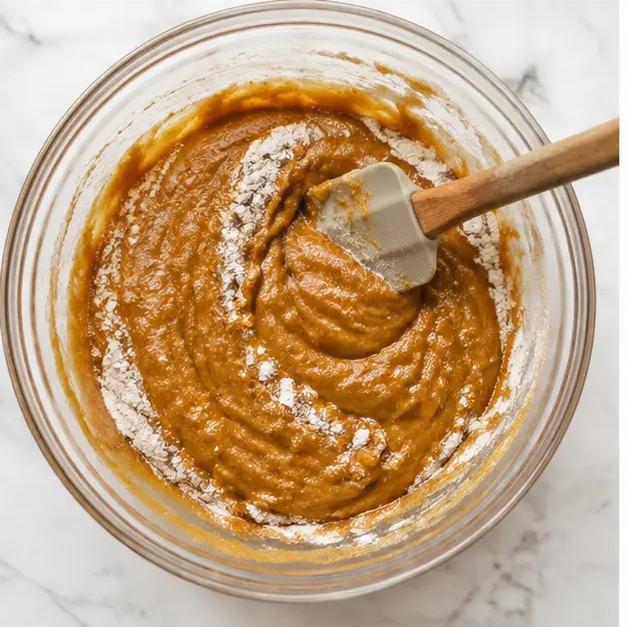
Here’s where a lot of pumpkin bread mistakes happen. Add the dry ingredients to the wet mixture and stir with a spatula just until no streaks remain. That’s it. Overmixing develops the gluten, and too much gluten means a tough, chewy bread. You want tender.
I tell my eleven-year-old, who helps me test recipes, that we’re being gentle because the batter is tired from all that mixing. He rolls his eyes, but he’s gentle with the spatula.
The batter will be thick and glossy. Scrape it into your prepared loaf pan and smooth the top with a spatula. If you want a cinnamon sugar topping, this is the moment to sprinkle it on.
Stage 4: Baking and Testing for Doneness
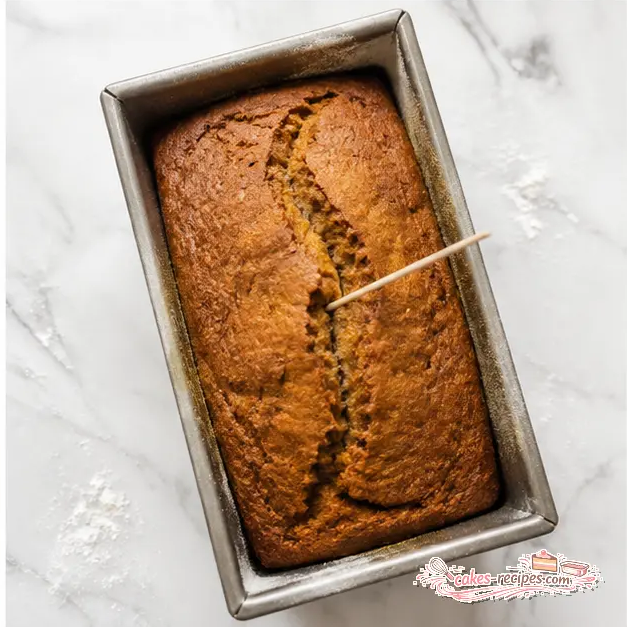
Bake at 350°F for 55 to 65 minutes. Here’s the key: start checking at 55 minutes. Stick a toothpick into the center, and if it comes out clean, you’re done. If the top is browning too quickly, tent the loaf loosely with aluminum foil for the last twenty minutes.
The visual cues matter. You want a golden crust, a nice crack down the center, and the edges pulling away from the pan. If you have an instant-read thermometer, the internal temperature should hit about 200°F. That’s what we want to see.
Let the bread cool completely in the pan on a wire rack. I know it’s tempting to tear into it, but the crumb sets as it cools. This is especially true in August when your kitchen is warm. Crank the AC, this loaf is worth it.
Making the Maple Cream Cheese Swirl and Glaze
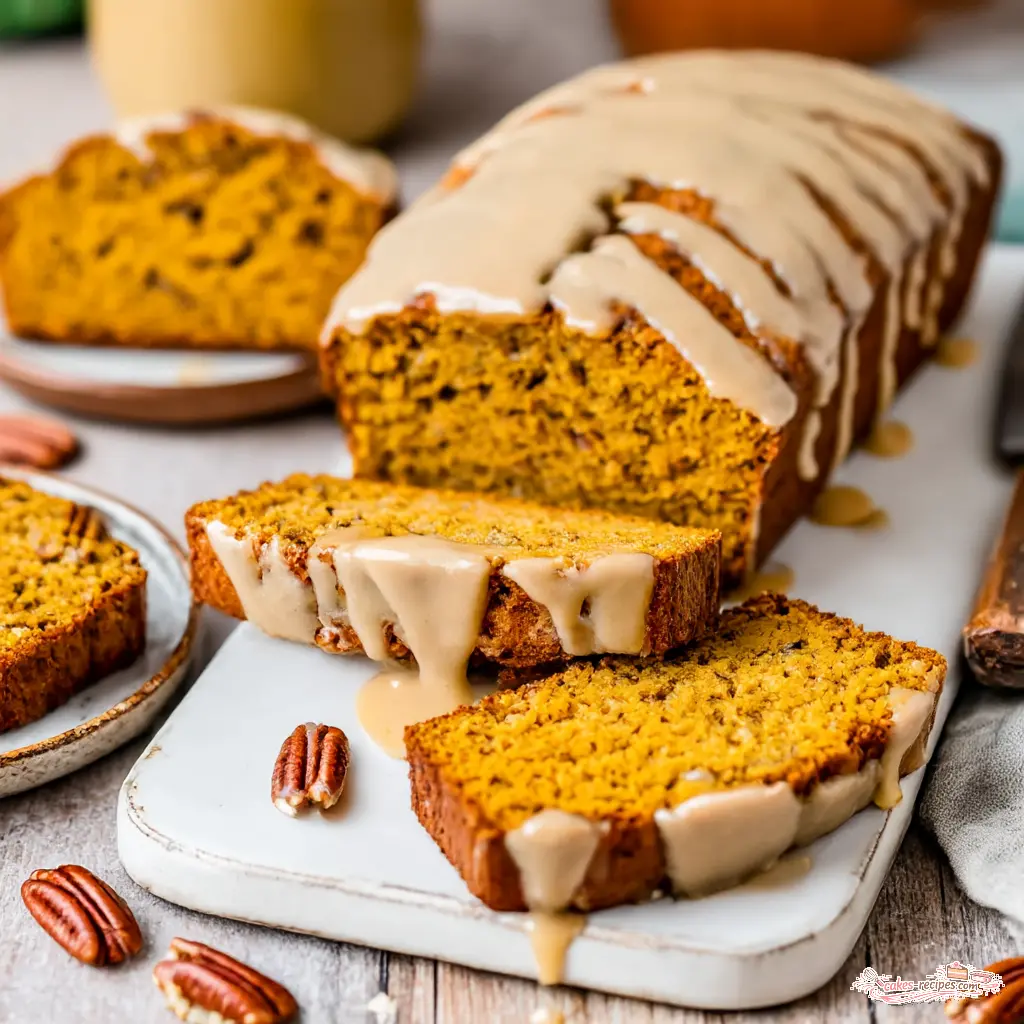
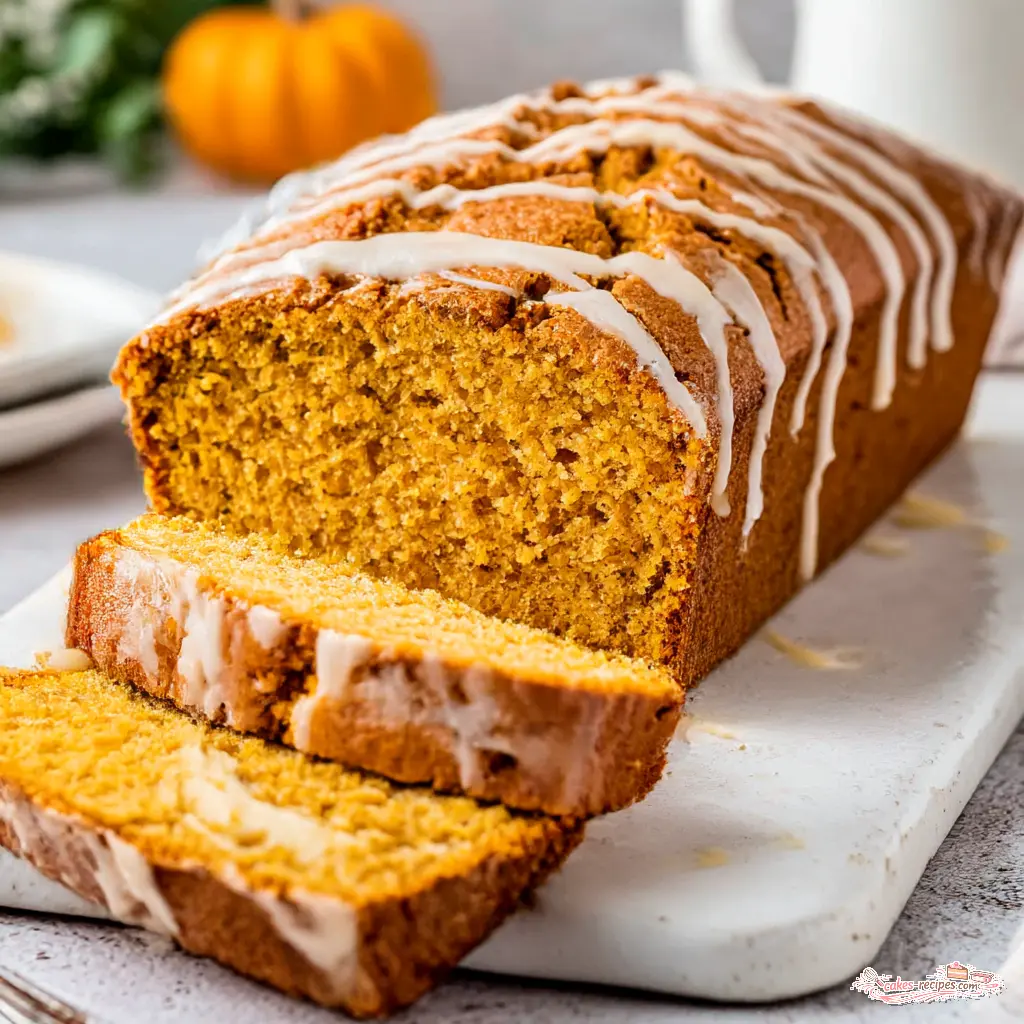
Wait, the recipe title mentions a maple cream cheese swirl, right? Here’s the secret: the swirl and the glaze are two different things. The glaze is in the recipe card, and it’s a simple combination of browned butter, confectioners’ sugar, pure maple syrup, and a pinch of sea salt. It pours like silk and sets into a glossy, crackly top.
If you want to add a maple cream cheese filling, you can absolutely do that. It’s an optional variation, but it’s a stunning one. Beat four ounces of softened cream cheese with two tablespoons of pure maple syrup until smooth. Dollop it over the batter in the loaf pan, then use a knife to gently swirl it through. Don’t overdo it, you want ribbons, not mud.
Whatever you do, let the bread cool completely before glazing. If you pour the glaze over a warm loaf, it’ll soak right into the crumb like a sponge. You’ll lose that beautiful, photogenic top.
Common Pumpkin Bread Mistakes (And How to Fix Them)
In my testing, I’ve made every mistake in the book so you don’t have to. Here’s how to troubleshoot the most common issues:
- ❌ Using pumpkin pie filling instead of pure pumpkin puree: ✅ Always buy plain puree. Pie filling comes pre-sweetened and spiced, which throws off the recipe’s balance.
- ❌ Not browning the butter enough, or burning it: ✅ The butter should be golden amber and smell nutty. The moment the foam subsides, watch closely. That’s your window.
- ❌ Overmixing the batter: ✅ Stir just until no streaks of flour remain. A few lumps are totally fixable, a tough crumb is not.
- ❌ Glazing the bread while it’s still warm: ✅ Patience, friend. The glaze will soak in and disappear. Cool completely for that glossy finish.
- ❌ Using a glass or ceramic loaf pan: ✅ Metal pans conduct heat better and give you a nicer crust. If you must use glass, reduce the oven temp by 25°F and check early.
Storage and Make-Ahead Tips
This is the part competitors always skip, but I think it’s essential. This loaf is a workhorse. Here’s how to keep it fresh:
- Room temperature: Wrap the cooled, unglazed loaf tightly and store for up to 3 days.
- Refrigerator: It’ll keep for up to 5 days in the fridge. I like toasting slices and letting the butter melt in.
- Freezer: For up to 3 months. Wrap the whole loaf or individual slices in plastic wrap, then foil. Add the glaze after thawing for the freshest experience.
Reheating tip: Pop a slice in the toaster or a 300°F oven for five to eight minutes. It brings back that just-baked warmth and makes the edges slightly crisp.
Serving Suggestions for Your Best Pumpkin Bread
This loaf is wonderful on its own, but it’s also an incredible base for creativity. Here’s how I love to serve it:
- Toasted slices with a pat of salted butter and an extra drizzle of maple syrup
- Alongside a hot cup of coffee for an afternoon pick-me-up
- As a homemade gift for neighbors, teachers, or anyone needing fall comfort
- For Thanksgiving dessert, or a quiet Sunday morning with the whole family
The beauty of this brown butter pumpkin bread is that it feels festive without requiring a special occasion. It’s just as good on a random Tuesday in September as it is at a holiday brunch.
Conclusion: Your New Signature Fall Loaf
I made this recipe for the first time when the weather was still stubbornly warm, much like right now. I put on a sweater anyway, preheated the oven, and let the smell of browning butter wash over me. By the time the loaf came out, I was already planning the next batch.
This brown butter pumpkin bread is everything I want in fall baking. It’s moist, it’s deeply flavorful, and it’s forgiving enough for a weeknight. The maple cream cheese swirl and glaze make it look like you spent hours, but we both know the secret. You just brown some butter and let the oven do the heavy lifting.
I’d love to see your loaves. Tag me and share your baking adventures, and if you’re looking for more seasonal inspiration, come hang out with me on Pinterest. I’m always pinning the recipes I’m testing for the next season.
Brown Butter Pumpkin Bread with Maple Glaze
Ingredients
Method
- Preheat the oven to 350°F. Lightly grease a 9x5-inch loaf pan with nonstick cooking spray and set it aside.
- Melt the butter in a small saucepan over medium heat, stirring often, until it foams and turns a rich golden brown with a nutty aroma, about 5 minutes. Pour the browned butter into a large mixing bowl and let it cool slightly.
- In a separate bowl, whisk the flour, baking soda, salt, cinnamon, nutmeg, ginger, and cloves until well combined.
- To the cooled browned butter, add the pumpkin puree, brown sugar, granulated sugar, eggs, buttermilk, and vanilla extract. Whisk until smooth and fully incorporated.
- Add the dry ingredients to the wet mixture and stir with a spatula just until no streaks remain. Avoid overmixing.
- Scrape the batter into the prepared loaf pan and smooth the top with a spatula.
- Bake for 55 to 65 minutes, rotating once halfway if desired, until a toothpick inserted into the center comes out clean. If the top browns too quickly, tent loosely with aluminum foil.
- Remove the pan from the oven and transfer to a wire rack to cool completely in the pan.
- For the glaze, melt the remaining 4 tablespoons butter in a small saucepan over medium heat, stirring often, until foamy and golden brown with a nutty fragrance, about 5 minutes. Pour into a bowl and cool slightly.
- Whisk the browned butter, confectioners' sugar, maple syrup, and pinch of sea salt in a bowl until the glaze is smooth and thick.
- Drizzle the glaze over the cooled bread. Let the glaze set for 10 minutes before slicing and serving.
Nutrition
Notes
Tried this recipe?
Let us know how it was!Frequently Asked Questions
Source: Learn More About This Dish
Pumpkin Puree vs. Pumpkin Pie Filling: What’s the difference?
Pumpkin puree is just cooked, pureed pumpkin. Pumpkin pie filling is pre-sweetened and flavored with spices like cinnamon and cloves. For this brown butter pumpkin bread, you must use pure pumpkin puree so the spice balance stays exactly right. The only ingredient should be pumpkin.
What loaf pan should I use for the best results?
A standard metal 9×5-inch loaf pan works best. It conducts heat evenly, giving you that golden, bakery-style crust. Glass or ceramic pans bake slower and can make the edges over-brown before the center cooks. If you use glass, reduce the oven temperature by 25°F and start checking early.
How do you brown butter for baking without burning it?
Melt the butter in a small pan over medium heat and stir constantly. Watch for the sizzle to go quiet, then look for golden flecks forming at the bottom. It should smell nutty, like hazelnuts. Pour it into a cool bowl immediately to stop the cooking. This takes about 5 to 8 minutes.
Is pumpkin bread better with oil or butter?
Oil makes a more moist loaf, but butter gives superior flavor. This recipe strategically gets both that moisture and that flavor. The browned butter provides the nutty depth you can’t get from oil, while the pumpkin puree plus buttermilk keep the crumb incredibly tender. You get the best of both worlds.
What are the best storage tips for brown butter pumpkin bread?
Wrap the cooled, unglazed loaf tightly and store at room temperature for 3 days. In the fridge, it keeps for 5 days. For longer storage, freeze for up to 3 months and add the glaze after thawing. To reheat, toast slices for a few minutes to bring back that fresh-baked warmth.