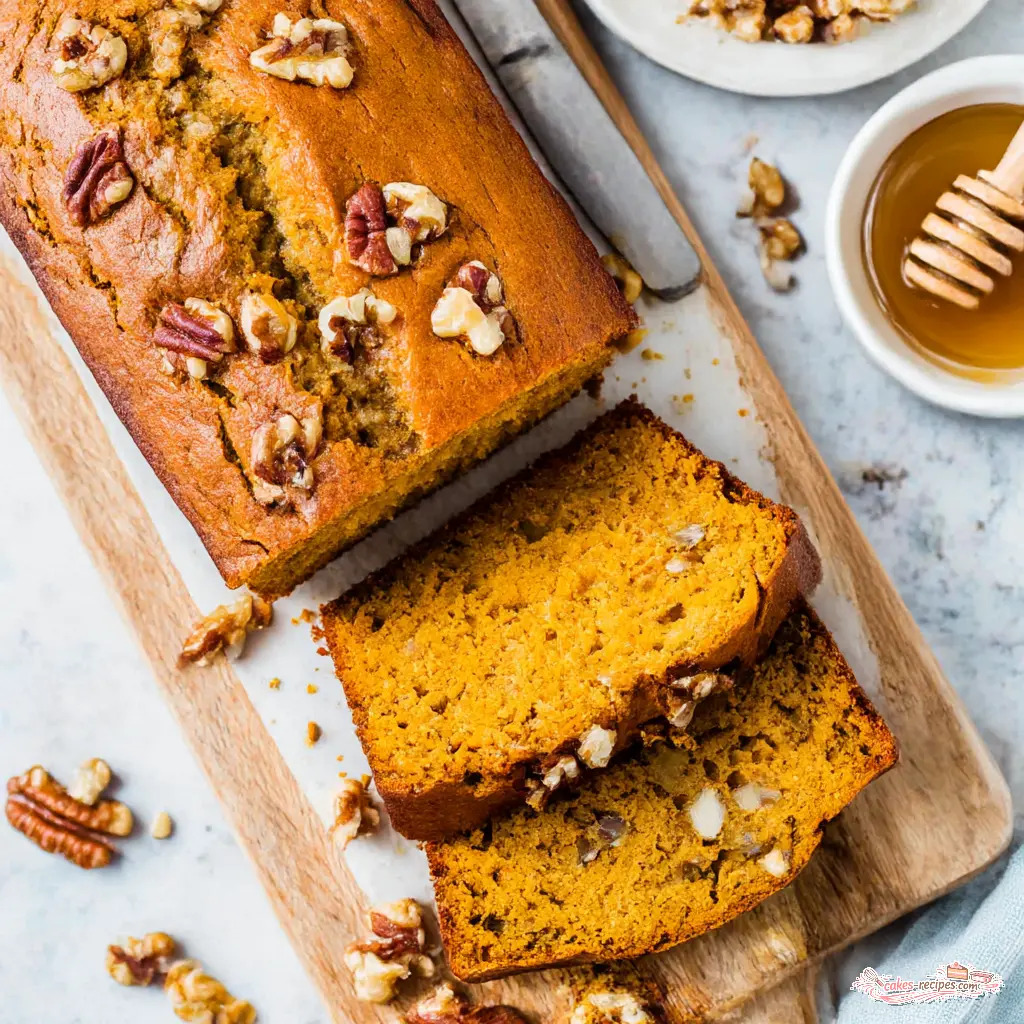
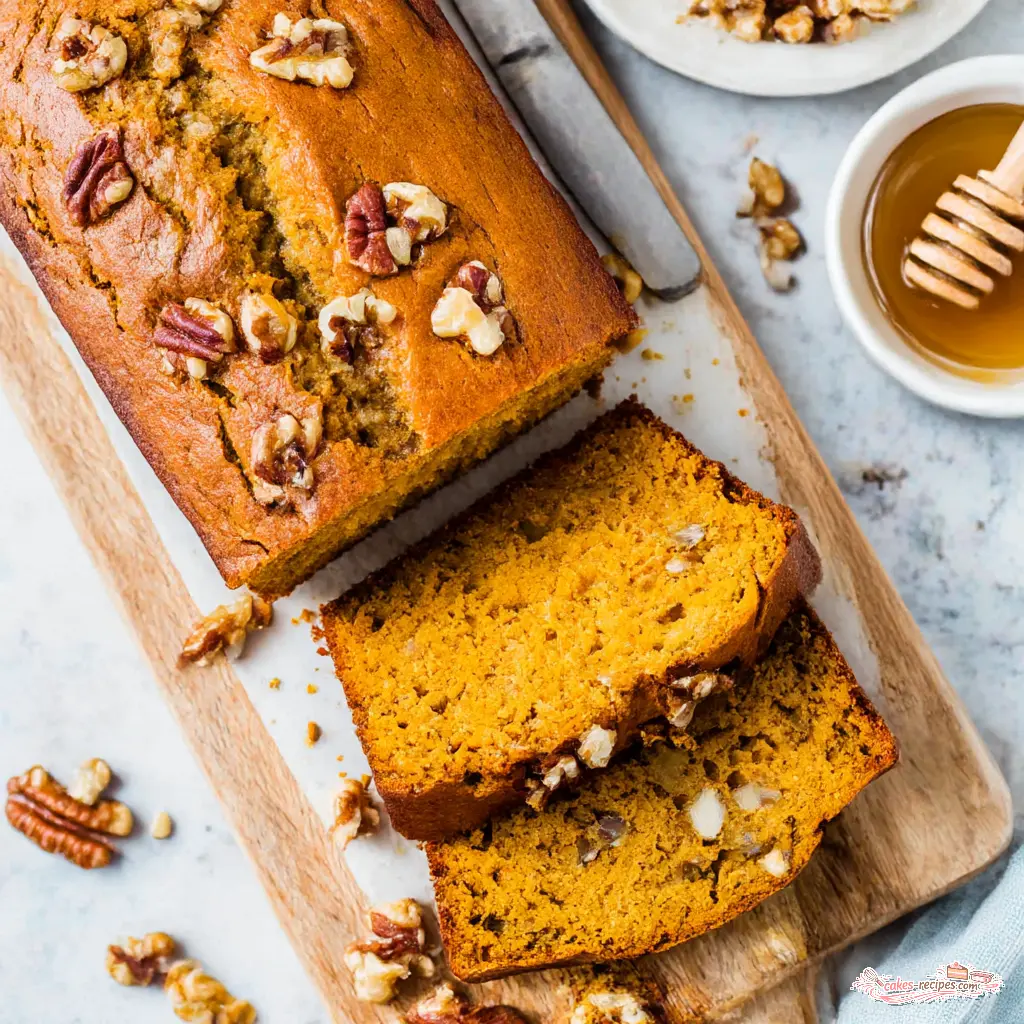
California Pumpkin Banana Bread with Walnuts
Ingredients
Method
- Heat the oven to 350 degrees F. Lightly grease a 9 by 5 inch loaf pan, then dust it with flour and tap out any excess.
- In a medium bowl, whisk together the all-purpose flour, pumpkin pie spice, ground cinnamon, baking soda, baking powder, and salt until well blended.
- In a large bowl, whisk the vegetable oil, granulated sugar, brown sugar, eggs, and vanilla extract until smooth and no lumps remain.
- Stir in the mashed bananas and canned pumpkin puree until fully combined.
- Fold the flour mixture into the wet ingredients with a rubber spatula or wooden spoon, mixing just until no dry streaks remain. Gently fold in the chopped walnuts.
- Pour the batter into the prepared pan and bake for 50 to 60 minutes, or until a toothpick inserted in the center comes out clean and the top feels firm to the touch. The loaf should not wobble when you gently shake the pan.
Nutrition
Notes
Tried this recipe?
Let us know how it was!Why You’ll Love This Pumpkin Banana Bread
It’s hot outside, I know. That August heat that makes you question turning on the oven at all. But here’s the thing: September is coming, and this pumpkin banana bread is your head start on fall. Bake it early in the morning or late in the evening, call it cozy, and let the kitchen smell like the best kind of seasonal rebellion.
This easy pumpkin banana bread brings two quick-bread favorites together in one moist, tender loaf. Pumpkin brings the earthy depth; banana brings the sunshine-sweetness. Together they’re the best of both seasons.
You know that lonely, bruised banana sitting on your counter? The one everybody keeps ignoring? That’s the star of this recipe. Mashed into the batter with canned pumpkin puree and warm pumpkin pie spice, it does something wonderful. Every slice of this pumpkin banana bread comes with a crackly golden top, a moist, tender crumb, and crunchy California walnuts in every bite.
I appreciate that this isn’t a fussy recipe. It’s a one-bowl recipe, which means less cleanup and more time enjoying the aroma. It works as breakfast bread, lunchbox treats, or an after-work snack. That’s just how it’s done.
What You’ll Need for This Pumpkin Banana Bread
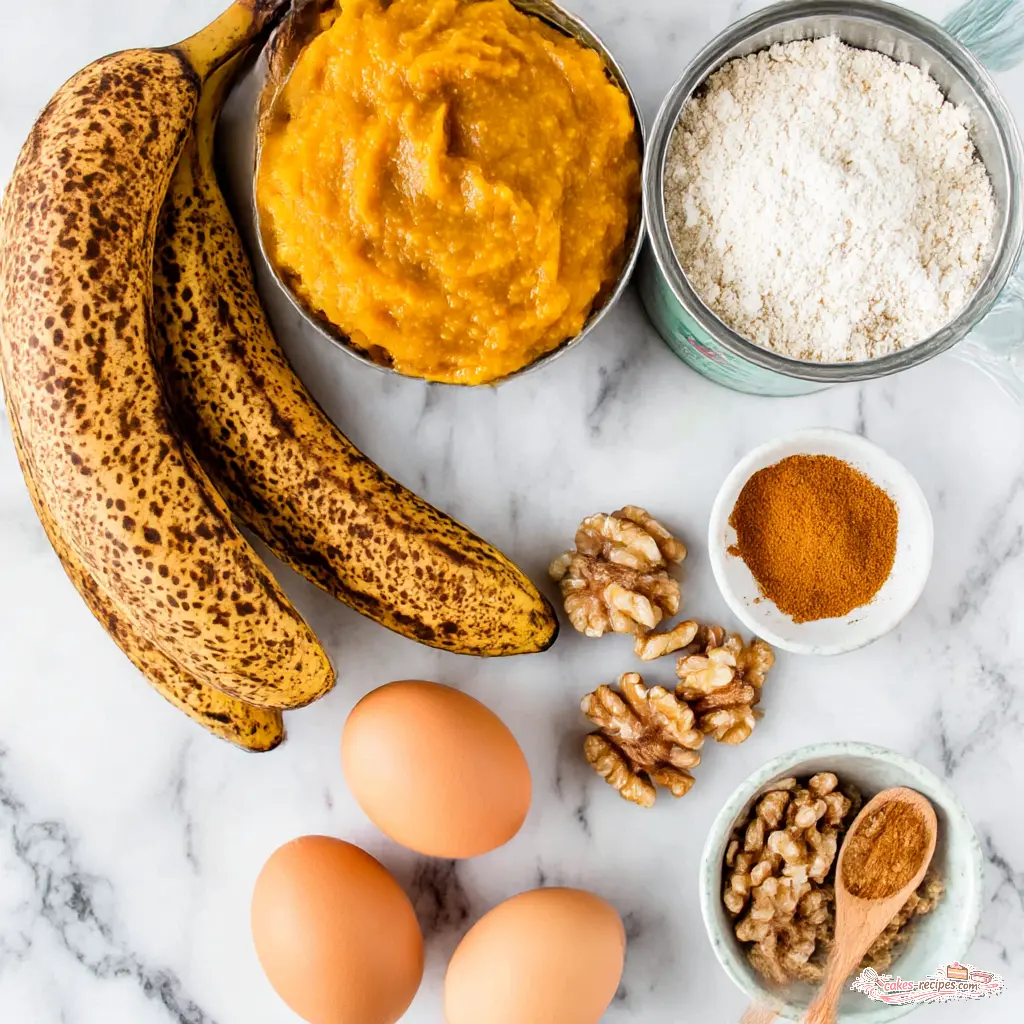
The list is short, and most of these are pantry staples. Let me walk you through the key players:
- Overripe bananas: heavily speckled brown bananas are non-negotiable. They bring the sweetness and moisture that keep this loaf tender.
- Canned pumpkin puree: not pumpkin pie filling. Puree is unsweetened, so you stay in control of the sugar. That distinction makes all the difference.
- Pumpkin pie spice and cinnamon: this duo delivers that warm fall baking aroma, with hints of nutmeg, ginger, clove, and allspice woven through.
- California walnuts: chopped and folded in for crunch. They’re the signature touch in this pumpkin banana bread with walnuts.
- Oil, not melted butter: vegetable or avocado oil keeps the crumb soft and moist for days. Makes good sense.
- Granulated and brown sugar: a duo that adds sweetness and deeper caramel notes in equal measure.
In my experience, room-temperature eggs make a visible difference in how evenly the batter comes together. If you forgot to pull them out, place them in a bowl of warm water for five minutes, and they’re ready to go. Bless your heart, we’ve all been there.
How to Make Pumpkin Banana Bread
Here’s the method in four stages. The recipe card above has the full details, but this is the why behind each step. Understanding the why is what turns a good loaf into a great one.
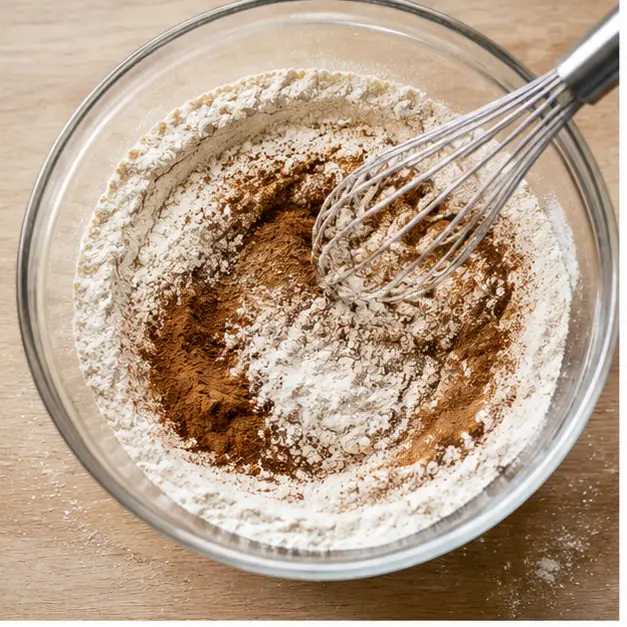
Stage 1: Prep the pan and whisk the dry ingredients. Heat the oven to 350 degrees F. Lightly grease a 9 by 5 inch loaf pan, dust it with flour, and tap out the excess. In a medium bowl, whisk together the all-purpose flour, pumpkin pie spice, ground cinnamon, baking soda, baking powder, and salt until well blended. Whisking aerates the mix and keeps the leaveners evenly distributed, so no bitter pockets of baking soda. (Grandma Eunice always sifted her dry ingredients. Whisking is the modern cousin of that habit, and it works the same way.)
Stage 2: Mix the wet ingredients. In a large bowl, whisk the vegetable oil, granulated sugar, brown sugar, eggs, and vanilla extract until smooth, with no lumps remaining. The mixture turns glossy and smells sweet. Here’s the thing: taking your time at this stage builds the structure the bread needs. My first 4-H pound cake failed because I rushed the mixing, and I placed last. Grandma Eunice patted my shoulder and said, “Now you know why I don’t rush.” I never rushed again, and that lesson applies here too.
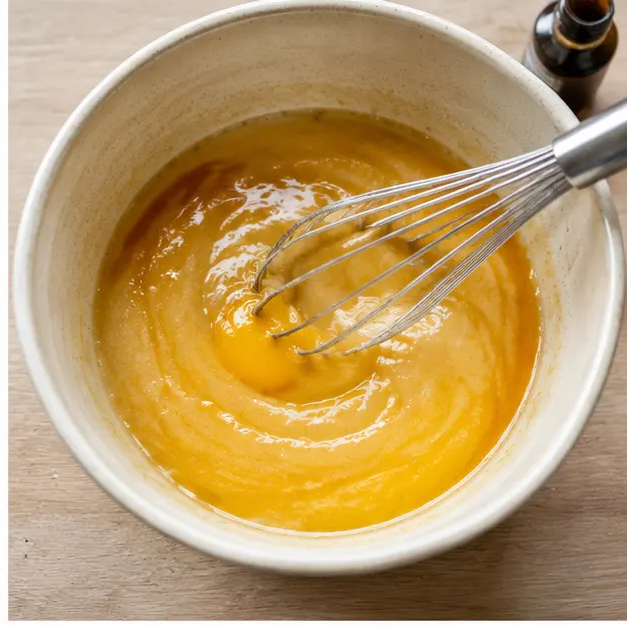
Stage 3: Mash the bananas and stir in the pumpkin. Mash those overripe bananas until mostly smooth, then stir them into the wet mixture along with the canned pumpkin puree. Stir until fully combined. The batter turns a warm, deep orange, and the scent of banana and spice starts filling the kitchen. In hot weather, I like to use pumpkin puree straight from the fridge to keep the batter cool. It’s a small trick, but it helps.
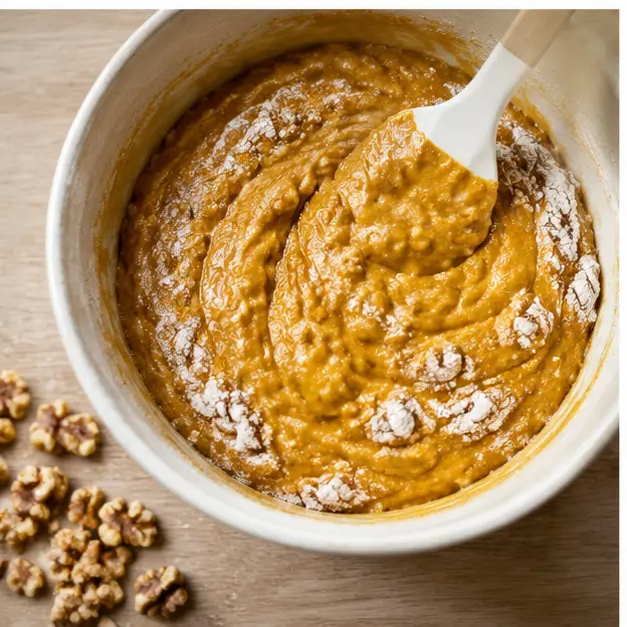
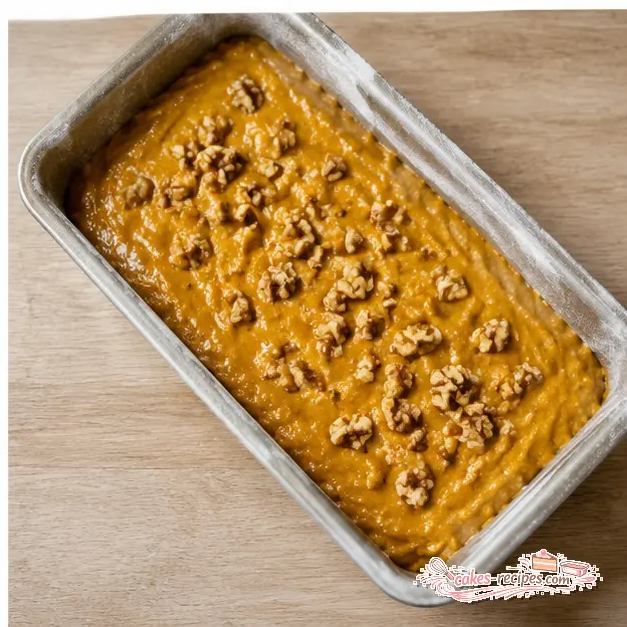
Stage 4: Fold, pour, and bake. Fold the flour mixture into the wet ingredients with a rubber spatula, mixing just until no dry streaks remain. Gently fold in the chopped walnuts. Pour the batter into the prepared pan and bake for 50 to 60 minutes, or until a toothpick inserted in the center comes out clean and the top feels firm. The loaf should not wobble when you gently shake the pan. If the top browns too quickly, loosely tent it with foil during the last 15 minutes. Let the bread rest in the pan for 10 minutes, then move it to a wire rack. That patience pays off, I promise.
Expert Tips for Baking Success
Let me help you with that. After years of baking quick breads, I’ve gathered a few truths about pumpkin banana bread that are worth passing along:
- ❌ Use bananas that aren’t ripe enough → ✅ Wait for heavily speckled brown peels. That’s where the sweetness and moisture live. To ripen them fast, bake greenish bananas at 300 degrees F for 30 to 40 minutes until the peels blacken, then cool and mash.
- ❌ Overmix the batter → ✅ Mix until just combined. A few lumps are not a mistake. They’re a promise of a tender crumb.
- ❌ Cut into the bread while it’s hot → ✅ Let it cool in the pan for 10 minutes, then rest on a rack. Cutting early leads to a gummy, crumbly mess.
- ❌ Grab pumpkin pie filling instead of puree → ✅ Check the label. Canned pumpkin puree is unsweetened and gives you full control.
- ❌ Ignore your pan → ✅ Dark metal pans conduct heat faster. Watch your loaf closely and tent with foil if it browns too quickly.
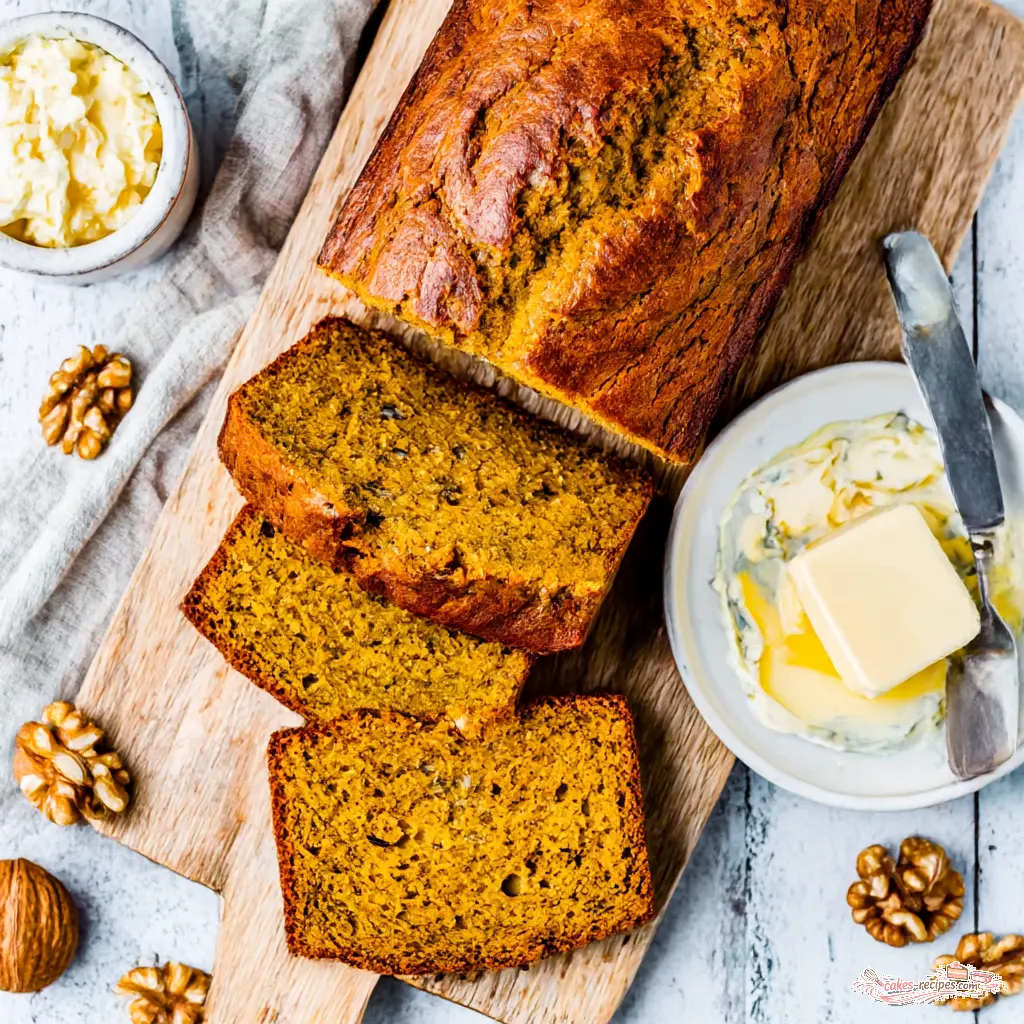
The toothpick test is your best friend here. Insert one into the center, and if it comes out clean, with maybe a crumb or two but no wet batter, you’re done. The crackly top should look golden and set. Generally speaking, that’s how you know this moist banana bread turned out right.
Pumpkin Banana Bread Variations
The base recipe is beautiful on its own. But sometimes you want to make it your own. Let’s talk about options:
…until a toothpick comes out clean. You’ll get about a dozen, and they freeze like a dream. Just don’t tell the loaf I said that.One more idea, and this one comes from a friend who bakes for a crowd: split the finished batter in half, fold walnuts into one bowl, and leave the other plain. Bake both loaves at the same time, and everybody at the table gets exactly what they want. You’ll look like a hero with very little extra effort.
How to Store Pumpkin Banana Bread
Let the loaf cool completely before you even think about wrapping it. A warm loaf traps steam, and steam is the enemy of that lovely crackly top. Once it’s fully cool, wrap it tightly in plastic wrap or aluminum foil and keep it at room temperature for up to four days. In my house it rarely lasts that long, but it’s good to know it can.
For longer storage, this pumpkin banana bread freezes beautifully. Wrap the cooled loaf in two layers of plastic wrap, tuck it into a freezer-safe zip-top bag, and label it with the date. It’ll keep for two to three months without losing its tenderness. I like to freeze individual slices, too. That way, you can pull out just one slice for a quick breakfast without thawing the whole loaf. To thaw, leave it in the refrigerator overnight, or pop a slice straight into the toaster from frozen. The toaster is my favorite method, honestly. The edges crisp up and the center turns warm and soft, just like it came out of the oven.
To reheat a single slice, the toaster or a toaster oven works perfectly. You can microwave a slice for 15 to 20 seconds if you’re in a hurry, but the toaster gives you that crisp exterior. For a whole loaf, warm it in a 300 degree F oven for 10 to 15 minutes, loosely covered with foil so the crust doesn’t darken further.
As for serving, this bread is lovely in so many ways. Spread a warm slice with salted butter, or go the cream cheese route. A drizzle of honey or a layer of peanut butter never hurt anybody either. And if you’re feeling fancy, turn day-old slices into French toast. That’s a breakfast worth getting out of bed for, and it just might be my favorite way to use up the last few slices.
Frequently Asked Questions
Here are the answers to the questions I hear most often about pumpkin banana bread:
Why did my pumpkin banana bread split on top?
That crack down the center is actually a good thing, and it’s completely normal. The top crust sets in the oven before the middle finishes rising, so the batter pushes through the center and creates that signature crack. If you want a more even top, you can slice a shallow line down the center of the batter before baking, which guides the rise. But honestly, I’d leave it. The crack is part of the charm.
Why is my pumpkin banana bread soggy?
Sogginess usually comes from one of three things: underbaking, cutting into the loaf too early, or using watery pumpkin puree. Check your loaf with a toothpick and, if you have one, an instant-read thermometer. You’re looking for 195 to 200 degrees F in the center. And please, let that bread rest before you slice it. Ten minutes in the pan, then a full cooldown on a wire rack. I know it’s hard. I’ve burned my tongue plenty of times proving that point.
What size is a medium banana?
A medium banana measures about 7 to 8 inches long and yields roughly 1/2 cup of mashed banana when fully ripe. Two medium bananas are just right for this recipe. If your bananas are on the small side, use three. If they’re enormous, one and a half will do. The goal is that full cup of mashed banana.
Can I use frozen bananas?
Absolutely. Thaw them at room temperature, drain off the excess liquid, and mash them before adding them to the batter. Frozen bananas actually get sweeter as they thaw, so this is a great way to use up the ones you stashed last month. That liquid is important to drain, though. Too much moisture will make the bread dense and soggy.
Can I leave out the nuts?
Of course. Leave them out entirely, swap in an equal amount of chocolate chips, or do what I do when feeding a crowd: split the batter in half and add California walnuts to just one side. Then everybody gets what they want, and you look like a hero.
Can I make this gluten-free or vegan?
For a gluten-free version, swap the all-purpose flour for a 1:1 gluten-free baking flour blend. For a vegan version, use two flax eggs in place of the chicken eggs 2 tablespoons of ground flaxseed whisked with 5 tablespoons of water, rested for 5 minutes until it turns gel-like. The texture will be slightly more tender, so let the loaf cool completely before slicing. For dairy-free, this recipe already uses oil, so you’re most of the way there. Just double-check your chocolate chips if you add them.
Can I substitute the oil?
You can swap in melted coconut oil or unsweetened applesauce. Applesauce will make the bread a touch denser and less rich, so if you go that route, I’d use half applesauce and half oil to keep the moisture balance. Melted butter works too, but the bread won’t stay quite as moist on day three. Oil really is the secret to a tender, long-lasting crumb.
Can I double the recipe?
Yes. Double everything and bake two loaves instead of trying to fit it all in one pan. You can even use the whole 15-ounce can of pumpkin and split the batter evenly; it works out to about a cup of puree per loaf, which is right where you want to be. Bake both loaves on the same rack and rotate them halfway through for even browning.
How long does pumpkin banana bread stay fresh?
At room temperature, wrapped tightly, it stays moist for up to four days. In the refrigerator, it’ll keep for up to a week, but chilling does dry out quick breads a little faster. I usually only refrigerate if I live in a hot, humid climate or if I plan to keep it longer than two days. In the freezer, it’s happy for two to three months.
Expert Notes & Data Insights
Let’s talk about the hows and whys that make this loaf work, along with a few bits of baker’s knowledge I’ve picked up along the way.
The Science of Moisture
Pumpkin puree is about 90 percent water, and bananas bring both moisture and natural sugar to the party. That combination is why this bread stays soft for days. The oil coats the flour proteins and prevents them from forming too much gluten, which is what keeps the crumb tender rather than tough. And the baking soda? It reacts with the acidity in the brown sugar and banana to give you that beautiful rise. A little extra baking soda also helps prevent a dense bottom, which is one of the most common complaints with quick breads. Trust the ingredients, and trust the order they go in.
Banana Math
Since I mentioned it in the FAQ, let me give you the full picture. One cup of mashed banana equals about two medium bananas. One medium banana weighs roughly 4 ounces with the peel on and gives you about 1/2 cup mashed. If you’re weighing your ingredients, and I do recommend it, look for about 8 ounces of peeled bananas before mashing. I also weigh my flour. If you don’t have a scale, use the spoon-and-sweep method: spoon flour into your measuring cup and level it off with a knife. That’s the difference between a light, tender loaf and a dense brick.
Pumpkin Puree, Without the Guesswork
Not all canned pumpkin is created equal. Some organic brands are noticeably watery, and watery pumpkin makes for a sad, soggy loaf. My go-to is Libby’s 100 percent pure pumpkin. Its consistency is reliably thick and dense. One 15-ounce can gives you about 1¾ cups of puree, so this recipe uses just over half the can. Here’s a trick for the leftover: scoop the remaining puree into a freezer zip-top bag and freeze it for four to six months. You’ll have it ready for your next batch, or for a pancake breakfast somewhere down the line. You’ll never waste a can again.
Doneness Data
The toothpick test is a fine place to start, but an instant-read thermometer is better. You’re looking for an internal temperature of 195 to 200 degrees F in the center of the loaf. At that temperature, the starches have fully gelatinized, the eggs are set, and the crumb is moist but cooked through. It’s the same principle I use for all my quick breads, and it never fails me. Check at the 50-minute mark, and remember that dark metal pans conduct heat faster than light-colored ones. If you’re using a dark pan, start checking even earlier, and don’t hesitate to loosely tent the top with foil if it browns before the center is done.
Pan Size and Bake Times
This recipe is written for a standard 9 by 5 inch loaf pan. If all you have is an 8 by 4 inch pan, the loaf will be taller and take about 10 extra minutes, so start checking the temperature around the 60-minute mark. For two to three mini loaves, expect 25 to 30 minutes in the oven. And for muffins, 18 to 20 minutes at 375 degrees F. The internal temperature rule holds true no matter the pan, and that’s what makes it such a reliable guide.
I hope this pumpkin banana bread brings as much cozy joy to your kitchen as it does to mine. There’s something about the smell of pumpkin and spice baking in the late summer air that makes everything feel right. If you make it, let me know how it turns out. And remember: it’s always banana bread o’clock somewhere.
Can you make banana bread with just 4 ingredients?
Yes, a simple banana bread can be made with just four ingredients: ripe bananas, self-rising flour, melted butter, and sugar. Mash the bananas, mix in the remaining ingredients, and bake at 350°F until a toothpick comes out clean. However, for a more flavorful and moist loaf, our easy pumpkin banana bread adds pumpkin puree, eggs, spices, and walnuts—giving you the best of both flavors without much extra effort.
What is the most common mistake when making banana bread?
The number one mistake is overmixing the batter. When you overmix, you develop the gluten in the flour, which makes the bread dense, rubbery, and tough instead of moist and tender. Another common mistake is using bananas that aren’t ripe enough. For our pumpkin banana bread, mix the wet and dry ingredients just until they’re combined—a few lumps are perfectly fine—and be sure to use spotty, very ripe bananas for natural sweetness and moisture.
How can I make banana bread with only 3 ingredients?
A true 3-ingredient banana bread uses ripe bananas, eggs, and self-rising flour. Mash about 3 ripe bananas, whisk in 2 eggs, and stir in 1 cup of self-rising flour. Pour the batter into a greased loaf pan and bake at 350°F for 40-45 minutes. If you have pumpkin puree and walnuts, you can turn that simple base into a delicious pumpkin banana bread by swapping half the banana for pumpkin and adding a tablespoon of pumpkin pie spice.
Can I swap pumpkin for banana in banana bread?
Yes, you can replace banana with pumpkin puree in banana bread, but remember that pumpkin is less sweet and contains more water, so the result will be denser and less sweet. Use the same amount of pumpkin puree as mashed banana, but you may need to add extra sugar and reduce the liquid slightly. For the best texture and flavor, try our pumpkin banana bread recipe—it combines both pumpkin and banana so you get the moisture and sweetness of banana along with the cozy, spiced flavor of pumpkin.