Why This Recipe Works
Labor Day weekend is here. The burgers are on the grill, the sides are prepped, and someone just tore open a sad bag of store-bought buns. You know how this goes. The bun crumbles on the first bite, the patty slides out, and everyone pretends it tastes fine.
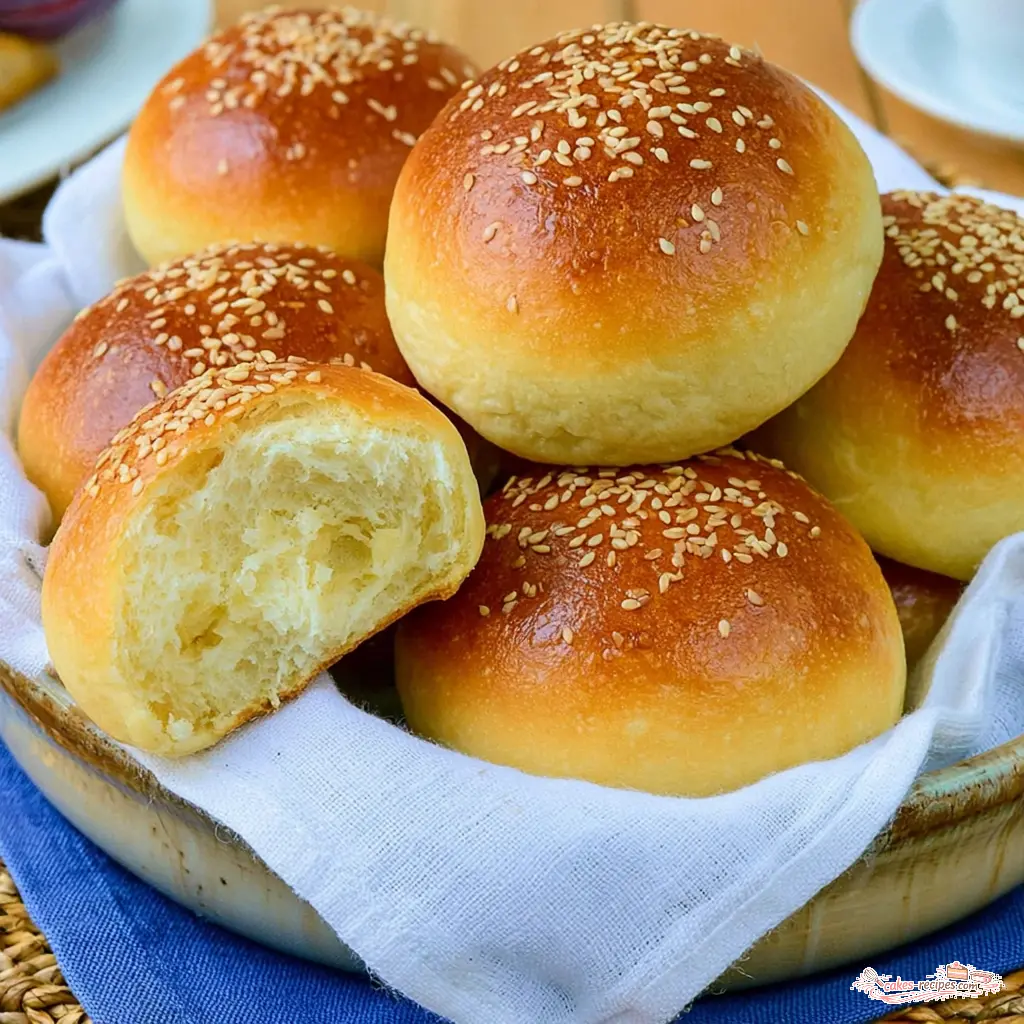
It doesn’t have to be that way. These homemade hamburger buns are soft, slightly sweet, and sturdy enough to hold everything you stack on them. Trust me on this. I’ve made more than my share of flat, dense hockey pucks over the years.
My mom taught me that baking is about paying attention, not perfection. She’d say the food will tell you if it’s right. That applies to dough just as much as chocolate. If you’ve never worked with yeast before, breathe. It’s more forgiving than you think.
This easy hamburger bun recipe uses simple pantry ingredients. Nothing weird here, just flour, instant yeast, sugar, salt, butter, eggs, milk, and sesame seeds. That’s it. No fancy equipment required, though a stand mixer helps.
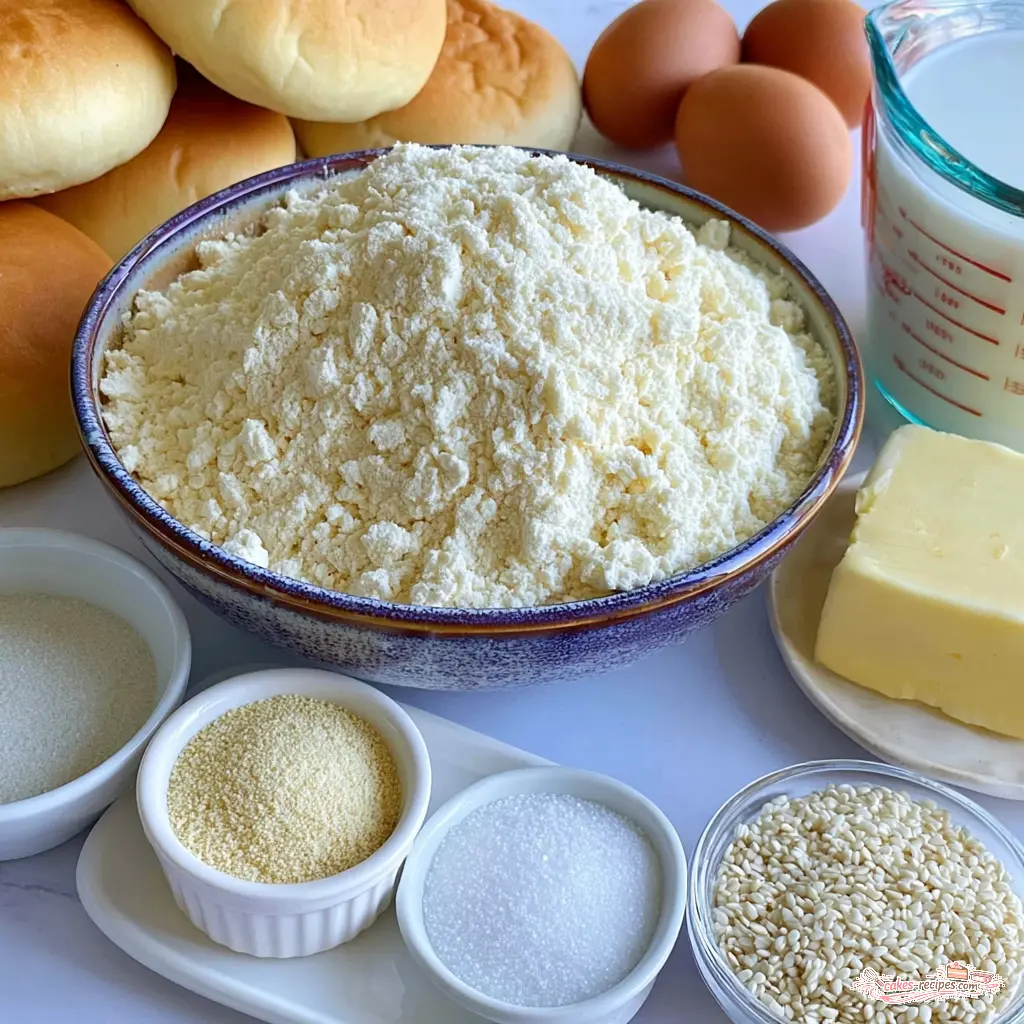
What makes these buns better than the ones in the plastic bag? The enriched dough. Butter and milk make the crumb tender. Sugar feeds the yeast and gives that subtle sweetness you expect from a great burger bun. And the egg wash? That’s the secret to the glossy, golden top that looks straight out of a bakery.
The full process, including both rises, takes about 3 hours. But here’s the thing: most of that is hands-off. The dough naps while you prep the grill, marinate the veggies, or chill the drinks. Think of the two rises as zero-effort windows, not chores.
How to Make Homemade Hamburger Buns
Making burger buns from scratch comes down to four stages. Each one is straightforward, and I’ll walk you through what to look for at every step so you know you’re on track.
Mix and Knead the Dough
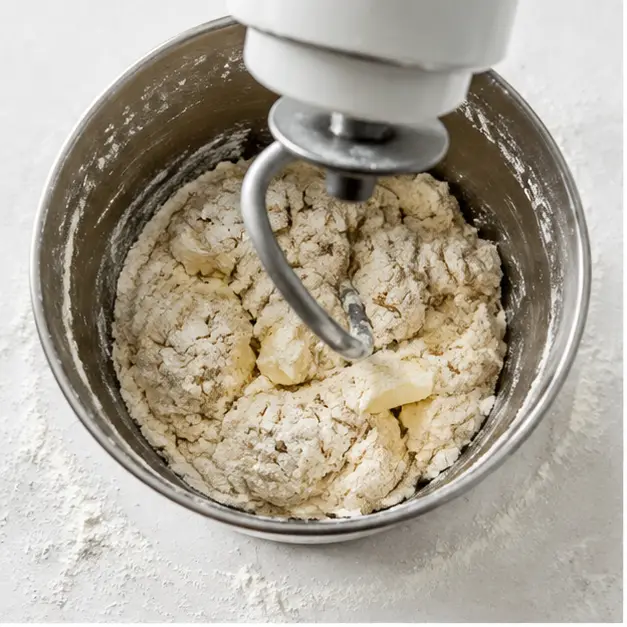
Start by combining 3 1/2 cups of all-purpose flour with the instant yeast, sugar, salt, softened butter, eggs, and room temperature milk in the bowl of a stand mixer. Mixing by hand works just fine too, just stir everything with a wooden spoon, then turn it out onto a lightly floured surface.
Knead for 10 minutes on low speed with the dough hook, or by hand for the same amount of time. This is where the gluten develops, and yes, the full 10 minutes matters. It’s the difference between a fluffy bun and a dense one.
Here’s what trips most people up: the dough will look sticky, and that’s okay. Add the remaining flour a tablespoon at a time, only as needed, until the dough no longer clings to the sides of the bowl. Don’t panic and dump in all the flour. Add it one spoonful at a time. When in doubt, err on the side of slightly sticky. Sticky dough makes soft buns. Dry dough makes bricks.
First Rise
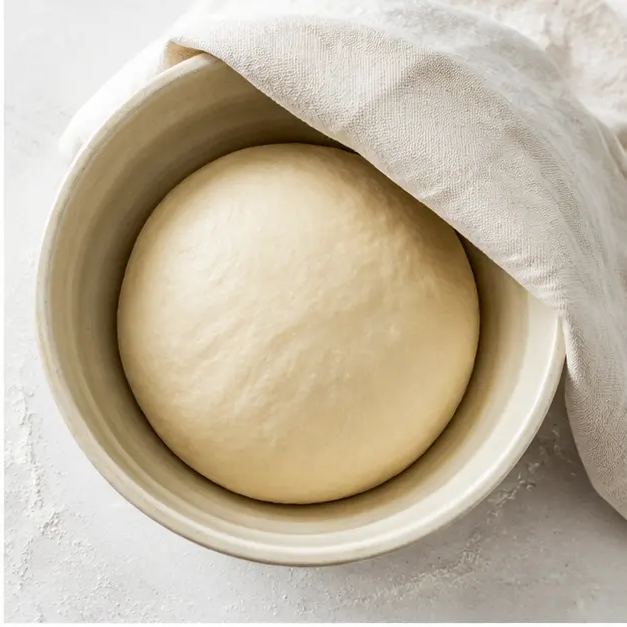
Transfer the dough to a lightly oiled bowl, cover it with plastic wrap or a damp tea towel, and let it rise in a draft-free spot for 60 to 90 minutes. You’re looking for it to nearly double in size. This is the first of the dough naps I mentioned.
Not sure if it’s ready? Use the finger poke test. Lightly press your finger into the dough. If the indentation springs back slowly, it’s perfectly proofed. If it springs back right away, it needs more time. If the dent stays put, you’ve over-proofed it. Honestly? Bake it anyway. It’ll still taste good.
One thing most people don’t know: if your kitchen is hot and humid this time of year, the dough will rise faster than you expect. Summer heat is basically a free proofing box. Keep an eye on it and check earlier than the recipe says.
Shape and Final Proof
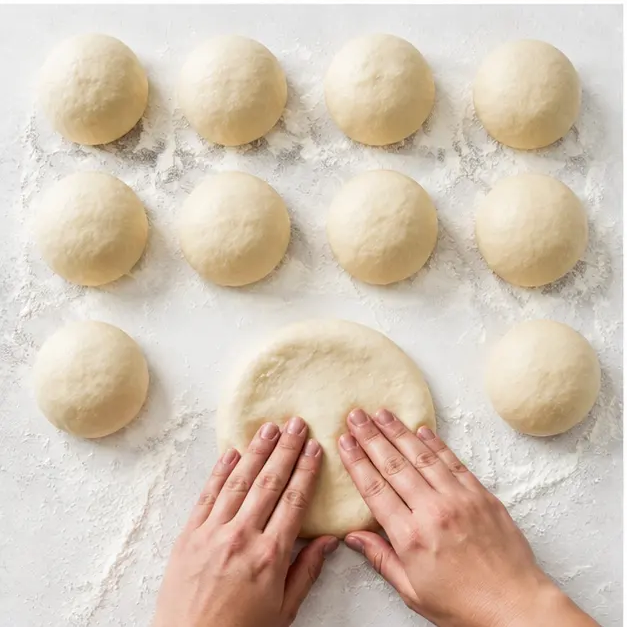
Turn the dough out onto a clean work surface and divide it into 12 equal portions. For perfectly even buns, weigh each piece to about 3 ounces (85 grams). This is where my inner chocolate nerd comes out. Weighing everything is the secret to consistent results, and it’s the same principle I use when I’m tempering chocolate.
Shape each portion into a smooth ball, then flatten it gently with your thumbs and forefingers into a round about 3 inches wide. Arrange the rounds on a lightly floured surface, cover them with a clean tea towel, and let them rest for 15 minutes.
Don’t skip this rest. It lets the gluten relax so the dough stretches without fighting you. After the rest, stretch and flatten each round again until it measures 4 to 4 1/2 inches in diameter. Place the rounds at least 3 inches apart on parchment-lined baking sheets.
Cover them with tea towels and let the buns rise for another 60 to 90 minutes, until they’re puffy and roughly doubled in size. This second rise is what gives you that light, airy interior.
Bake to Golden Brown
Preheat the oven to 350 degrees F. Whisk the reserved egg with 1 tablespoon of water to make an egg wash, then brush it lightly and evenly over the risen buns. Sprinkle sesame seeds over the top if you’re using them. If you want, score the tops gently with a razor blade or bread lame. That’s optional, but it can encourage a better rise in the oven.
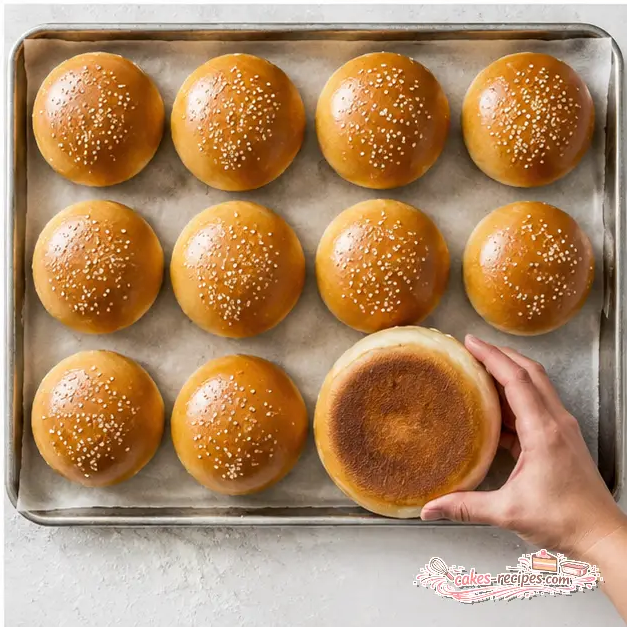
Bake for 15 to 20 minutes, until the tops are evenly golden brown. Here’s a pro move most recipes don’t tell you: after 15 minutes, lift one bun and check the bottom. If the bottom is already deeply browned, pull the pan out even if the tops look pale. The buns are likely fully baked when the bottoms are well browned.
The smell that fills your kitchen during those last few minutes? That’s the payoff. Warm, yeasty, buttery, and impossible to resist. Let the buns cool completely on a wire rack before slicing or serving.
I know it’s tempting to slice one while it’s still warm. I do it too. But cooling on a wire rack is what keeps the crumb soft and prevents a gummy texture. Give them the 20 minutes they deserve.
Pro Tips for Perfect Buns
After testing this recipe more times than I care to admit, here are the tips that make the biggest difference with homemade hamburger buns.
- Measure flour properly. Spoon it into the cup and level it off, or use a scale. The recipe calls for 3 1/2 to 4 cups, which is 420 to 480 grams. Weighing is more reliable.
- Use room temperature eggs. Cold eggs shock the dough and slow down the rise. Leave them on the counter for an hour before you start.
- Watch your baking sheets. Dark-colored sheets absorb more heat. Drop the oven temperature by 25 degrees F and line the pans with heavy-duty foil, or two layers of standard foil, to prevent burned bottoms.
- Don’t over-bake. Golden is the goal, not dark brown. Over-baked buns turn dry and lose that soft texture you’re after.
- Use the finger poke test. It’s the most reliable way to know if your dough is properly proofed, especially when the weather makes rising times unpredictable.
- If using salted butter, reduce the sea salt to 1/2 teaspoon. That little adjustment keeps the buns from tasting overly salty.
One more thing. If your dough is sticky during kneading, that’s normal, and I promise it’s not ruined. Give it the full 10 minutes before you even think about adding more flour.
Hamburger Bun Variations
This recipe is a great base for playing around. Once you’ve mastered the basic batch, try a few of these the next time you’re feeling creative.
- Sesame seeds: The classic choice. Brush with egg wash first so they stick properly.
- Everything bagel seasoning: Swap the sesame seeds for everything seasoning. The savory crunch is fantastic.
- Whole wheat: Substitute whole wheat flour for half the all-purpose flour. The buns will be slightly denser, but still soft and delicious.
- Less sugar: Cut the sugar down to 1 tablespoon if you prefer a more savory roll. The yeast will still do its job, just know the buns will be less sweet.
- Extra richness: Replace the whole milk with undiluted evaporated milk. It sounds old school, but it makes the crumb noticeably richer.
- Hot dog buns: Instead of flattening into rounds, shape each piece into a 6-inch rectangle, roll it tightly, pinch the seams, and place seam side down. Skip the sesame seeds.
These are all optional additions. The base dough works beautifully as written, so don’t feel like you need to change anything on your first try.
How to Serve Hamburger Buns
Obviously, these are made for burgers. But that’s just the beginning.
I love toasting the cut sides on a griddle for a minute or two before serving. That little bit of crispness keeps the bun from getting soggy under a juicy patty. It also adds a buttery, toasted flavor that takes the whole thing to another level.
These buns also work for sloppy joes, pulled veggie sandwiches, or even breakfast sandwiches with eggs and cheese. They’re sturdy enough to hold whatever you stack on them, but soft enough that every bite feels pillowy. My niece calls them “cloud buns” and now refuses to eat burgers on anything else.
If you’re feeding a crew this Labor Day weekend, these buns pair perfectly with all your favorite BBQ side dishes. Potato salad, corn on the cob, grilled vegetables, whatever you’re making. The buns are the backbone of the whole cookout spread.
Storage and Make-Ahead Tips
Store leftover buns in an airtight container at room temperature for up to 3 days. Don’t refrigerate them. The fridge dries bread out faster than anything, and it ruins that soft texture you worked so hard to create.
To freeze burger buns, let them cool completely, then wrap them tightly in a freezer-safe bag. They’ll keep for up to 2 months. When you’re ready to use them, thaw overnight on the counter and warm them in a 350 degree F oven for about 5 minutes. They’ll taste almost as fresh as the day you baked them.
Want to prep the dough ahead of time? Let the dough do its first rise, punch it down, and refrigerate it overnight. Shape and proof the next day. That’s a brilliant trick for Labor Day when you want fresh baked buns but don’t want to wake up at 5 AM.
This make-ahead method works beautifully. The cold fermentation actually develops a little more flavor in the dough, which is never a bad thing.
You’ve Got This
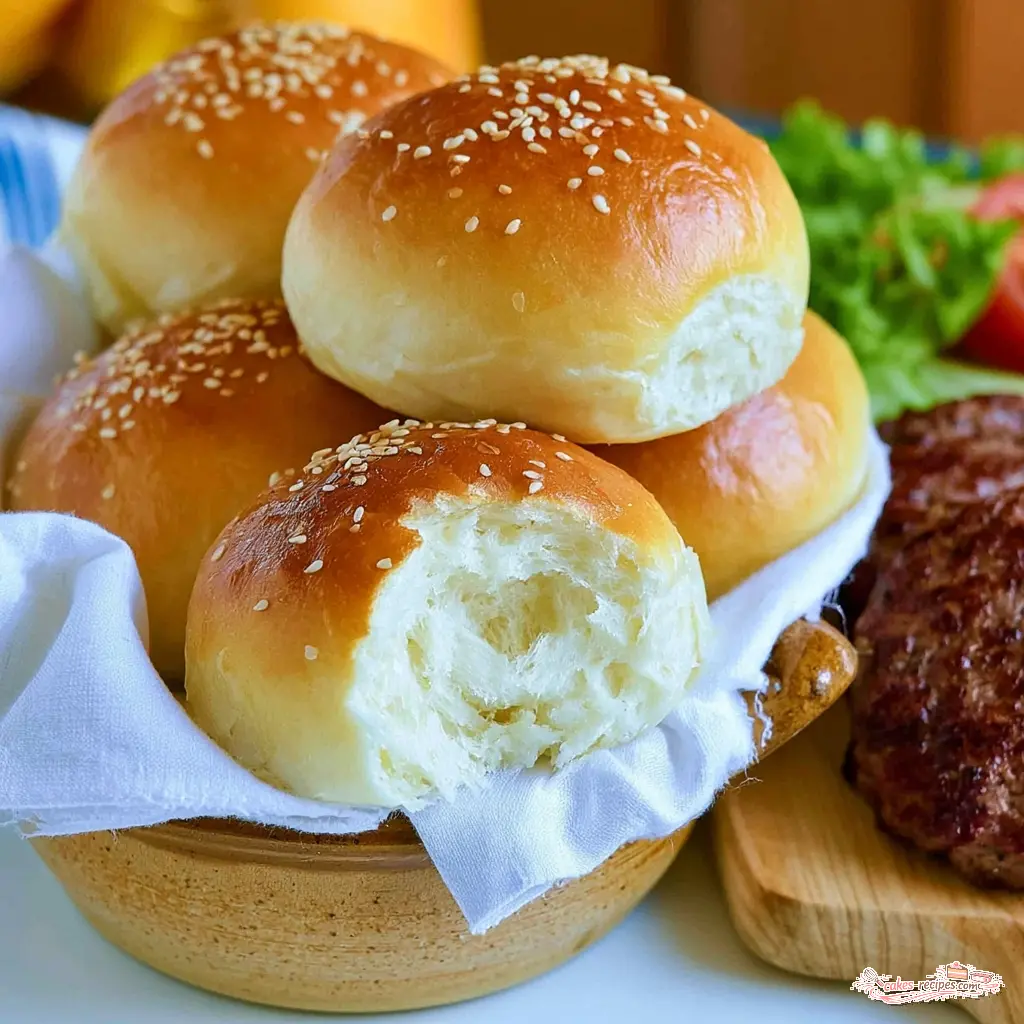
In about 3 hours, this will be you. A basket of golden, pillowy soft hamburger buns on the picnic table. Someone asks where you bought them. You get to say, “I made those.”
That moment, when they pull one apart and the steam curls up and they look at you like you’re a magician, that’s the whole reason to bake from scratch. After these come out of the oven, you’re officially a bread person now.
When you make these, not if, tag me in your bun photos. I want to see that golden glory. And if you have questions along the way, drop a comment and let me know how your first batch turned out. I read every one.
For more summer grilling inspiration and baking ideas, follow me on Pinterest. You’ve got this. Your burgers are about to meet their soulmate.
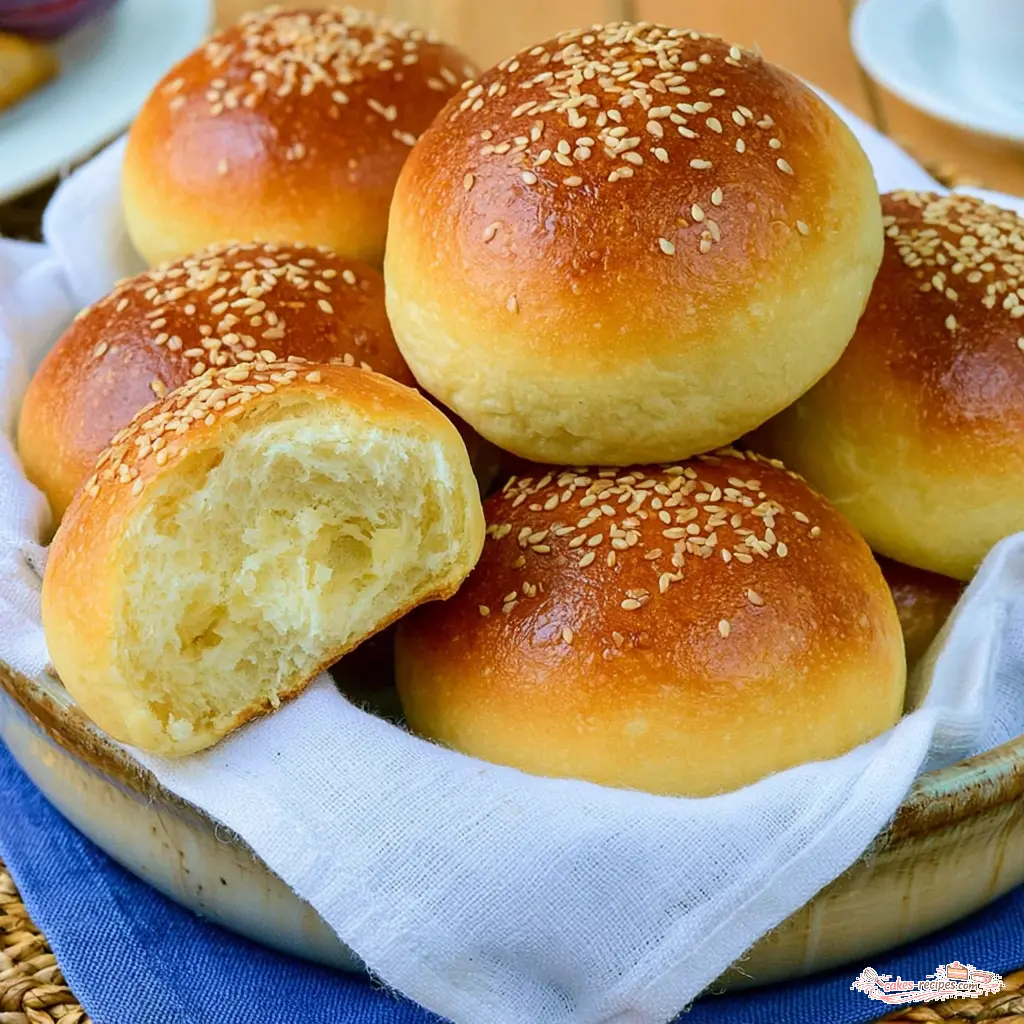
Classic Homemade Hamburger Buns
Ingredients
Method
- In the bowl of a stand mixer fitted with the dough hook, combine 3 1/2 cups of the flour with the yeast, sugar, salt, softened butter, eggs, and milk. If mixing by hand, stir everything together with a wooden spoon in a large bowl, then turn the dough out onto a lightly floured surface.
- Knead the dough on low speed for 10 minutes, or knead by hand for the same amount of time.
- Gradually add the remaining flour, 1 tablespoon at a time, only as needed until the dough no longer clings to the sides of the mixer bowl. For hand kneading, add flour a little at a time until the dough feels tacky but not sticky and is easy to handle without leaving residue on your hands.
- Transfer the dough to a lightly oiled bowl, cover with plastic wrap or a damp tea towel, and let it rise in a draft-free spot for 60 to 90 minutes, or until it nearly doubles in size.
- Turn the dough out onto a clean work surface and divide it into 12 equal portions. For perfectly even buns, weigh each piece to about 3 ounces (85 g).
- Shape each portion into a smooth ball, then flatten it gently with your thumbs and forefingers into a round about 3 inches wide.
- Arrange the rounds on a lightly floured surface, cover them with a clean tea towel, and let them rest for 15 minutes so the dough relaxes and becomes more elastic.
- After the rest, stretch and flatten each round again until it measures 4 to 4 1/2 inches in diameter. Place the rounds at least 3 inches apart on parchment-lined baking sheets. If you are using dark-colored baking sheets, reduce the oven temperature by 25 degrees F and line the sheets with heavy-duty aluminum foil or two layers of standard foil to prevent over-browned bottoms.
- Cover the baking sheets with clean tea towels and let the buns rise for another 60 to 90 minutes, until they are puffy and roughly doubled in size.
- Preheat the oven to 350 degrees F.
- Whisk the reserved egg with 1 tablespoon of water to make the egg wash. Brush the mixture lightly and evenly over the tops of the risen buns.
- Sprinkle sesame seeds evenly over the buns, if using.
- If desired, score the tops gently with a razor blade or bread lame. This step is optional but can encourage a better rise in the oven.
- Bake the buns for 15 to 20 minutes, until the tops are evenly golden brown. After 15 minutes, use an egg turner to lift one bun and check the bottom. If the bottom is already deeply browned, remove the pan from the oven even if the tops are still pale; the buns are likely fully baked when the bottoms are well browned.
- Let the buns cool completely on a wire rack before slicing or serving.
Nutrition
Notes
Tried this recipe?
Let us know how it was!Frequently Asked Questions
Reader Reviews and Community Tips
Since this recipe first went live, readers have been sharing their results. A few tips come up again and again in the comments, and they’re worth highlighting.
- Weigh your dough portions. Home bakers who weigh the dough report much more even rounds. That 3-ounce target really works.
- The 15-minute rest is no joke. Several readers skipped it once and found the second shaping much harder. Give it the full rest time so the gluten relaxes.
- Double the batch. The recipe doubles beautifully. Many readers make two batches and freeze half for the busy weeks ahead. Perfect for feeding a big cookout crew.
Jennifer from Ohio wrote, “I’ve been afraid of yeast my whole life. This was the first recipe that actually worked. My husband asked which bakery I bought them from.” That’s the spirit.
These homemade hamburger buns are more than just a recipe. They’re a confidence builder. Once you pull that first tray of golden buns out of the oven, you’ll wonder why you ever settled for the plastic bag.
Source: Learn More About This Dish
I doubled the recipe and put them in my convection oven. Will it mess up the rise if I rotate halfway through?
Rotating pans won’t affect the rise because the buns are already proofed by the time they hit the oven. The rise happens during the final proof, not during baking. Just rotate quickly to avoid losing heat. For convection ovens, reduce the temperature by 25 degrees F and check the buns a few minutes early since convection bakes faster.
My yeast doesn’t foam, what am I doing wrong?
This recipe uses instant yeast, which you mix directly into the flour, so you won’t see it foam like active dry yeast. That’s totally normal. If your dough doesn’t rise, the likely culprit is expired yeast. Check the expiration date and store your yeast in an airtight container in the fridge or freezer.
Can I freeze these and cook them at a later date? I only need to make half a recipe for now, but would like to have some made up ahead.
Yes, absolutely. Bake the full batch if you want, then freeze the cooled buns in a freezer-safe bag for up to 2 months. Or freeze the shaped dough after the first rise. Thaw overnight in the fridge, let it come to room temperature, and proof before baking. Both methods work great for meal prep.
I’d like to prep these the day before baking them so they are freshly baked. Has anyone done that? And if so, how?
Definitely. Let the dough do its first rise, punch it down, and refrigerate it overnight. The next day, shape the buns, let them proof until puffy, and bake as usual. The cold fermentation actually adds more flavor to the dough. It’s the perfect make-ahead method for a holiday cookout.
Can I make hamburger buns without a stand mixer?
Absolutely. Mix everything with a wooden spoon in a large bowl, then turn the dough out onto a lightly floured surface and knead by hand for 10 minutes. Your hands work just fine. The dough will feel a bit sticky at first, but it becomes smooth and elastic as you knead. That’s your cue it’s ready.
Can I use instant yeast instead of active dry yeast?
This recipe already calls for instant yeast, also called rapid-rise yeast, so no swapping is needed. If you only have active dry yeast on hand, dissolve it in a little warm milk for about 5 minutes before adding it to the dry ingredients. The rise time may be slightly longer, so go by the finger poke test.
Why does this recipe use so much yeast?
Actually, 1 teaspoon of instant yeast for 3 1/2 to 4 cups of flour is a moderate amount. It’s enough to give you a reliable rise in a reasonable time without making the buns taste overly yeasty. Instant yeast is more concentrated than active dry, so a little goes a long way.
How do I keep homemade hamburger buns soft?
Don’t over-bake them. Pull the buns out when they’re golden, not dark brown. Store them in an airtight container at room temperature, never in the fridge. For an extra-soft top, some bakers brush the warm buns with a little melted butter, but honestly the egg wash already gives you plenty of softness and shine.
Can I freeze homemade hamburger buns?
Yes. Cool the buns completely, place them in a freezer-safe bag, and freeze for up to 2 months. Thaw overnight on the counter, then reheat in a 350 degree F oven for about 5 minutes. They’ll taste almost fresh-baked. This is the best way to make your burger buns ahead of a big gathering.
Why didn’t my buns rise?
The most common culprits are expired yeast and a drafty spot. Check that your yeast is fresh and that your milk is room temperature, not too hot or cold. Hot liquid kills yeast, cold liquid slows it down. Also make sure the dough is covered so it doesn’t develop a dry skin while rising.