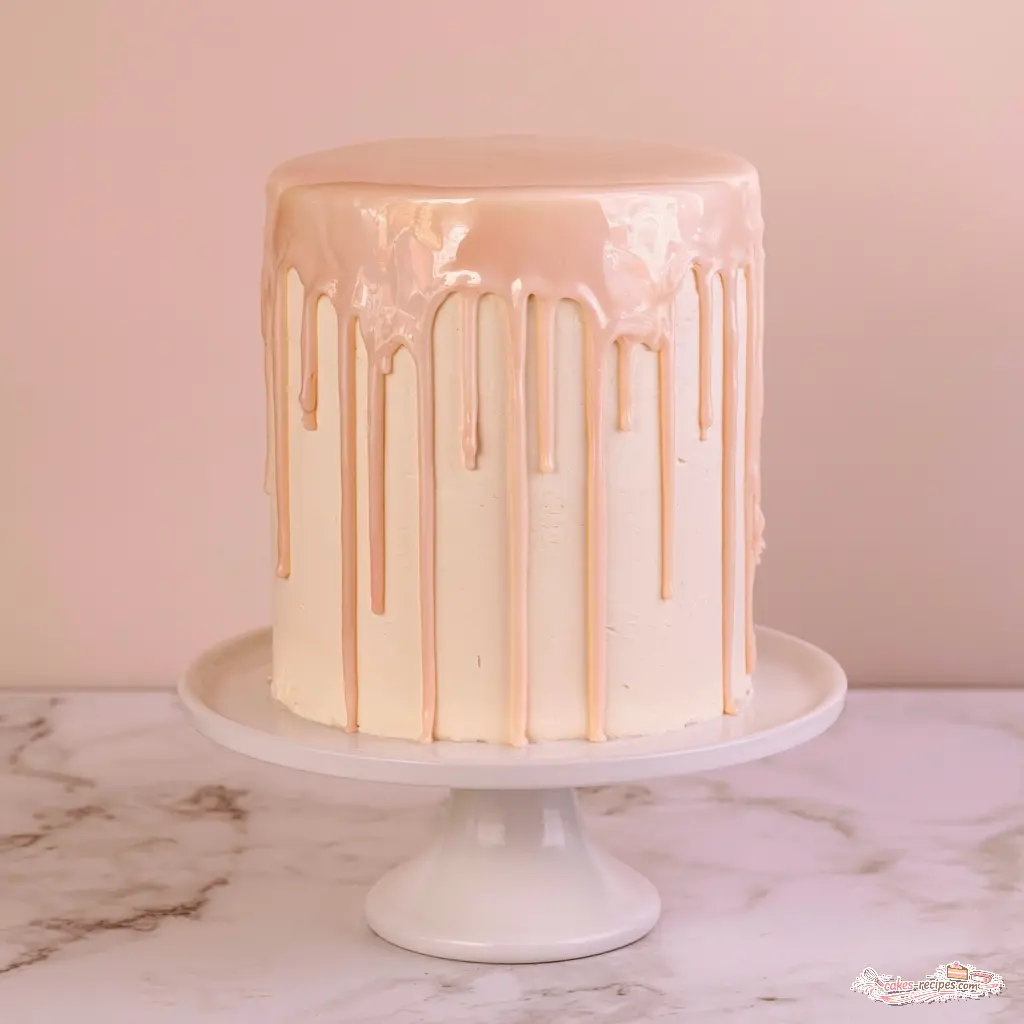
What Is a Chocolate Drip Cake?
A chocolate drip cake is a frosted layer cake with ganache poured or piped around the top edge so it slides down the sides in glossy, controlled rivulets. The top gets flooded with the same ganache and smoothed flat with an offset spatula. Done right, it reads as bakery work.
Here’s what nobody tells you: the drips aren’t the hard part. Temperature is. Get the ganache into the right window and the drips nearly place themselves.
I learned that the expensive way. My first attempt at a chocolate drip cake looked like a chocolate waterfall. Ganache pooling on the cake stand, buttercream sliding off the sides, one very sad cake. I’d used the ganache straight off the stove because the recipe said “let cool slightly.” Slightly was not enough. That photo is still taped to my desk.
Today’s version uses white chocolate ganache instead of dark, which is a different animal entirely and needs its own ratio. More on that in a moment.
Why This Recipe Works
Almost every drip cake failure comes down to two variables. How cold the cake is, and how warm the ganache is. This chocolate drip cake recipe controls both.
- The cold cake method. A chilled surface slows the ganache on contact, so drips stop where you want them instead of running to the plate.
- A real temperature target. You’re aiming for 85°F to 95°F (29°C to 35°C). Not “warm,” not “room temperature.”
- Two ingredients in the ganache. Chopped white chocolate and heavy whipping cream.
- A blend of chips and candy melts. The chips bring real cocoa butter and genuine white chocolate flavor. The candy melts bring stability and a cleaner white.
- A test drip before you commit. One spoonful on the side of the cake tells you everything you need to know.
White chocolate is why this needs a different formula than a standard chocolate ganache drip. It has more sugar and fewer cocoa solids, so it needs a smaller cream-to-chocolate ratio to set up thick enough to hold a drip. Use a 1:1 ratio built for dark chocolate and you’ll get a thin, sad puddle instead of a drip.
That’s the frame I want you to hold onto. You aren’t failing at cake decorating. You’re managing viscosity. Once you see it that way, the whole process gets calmer.
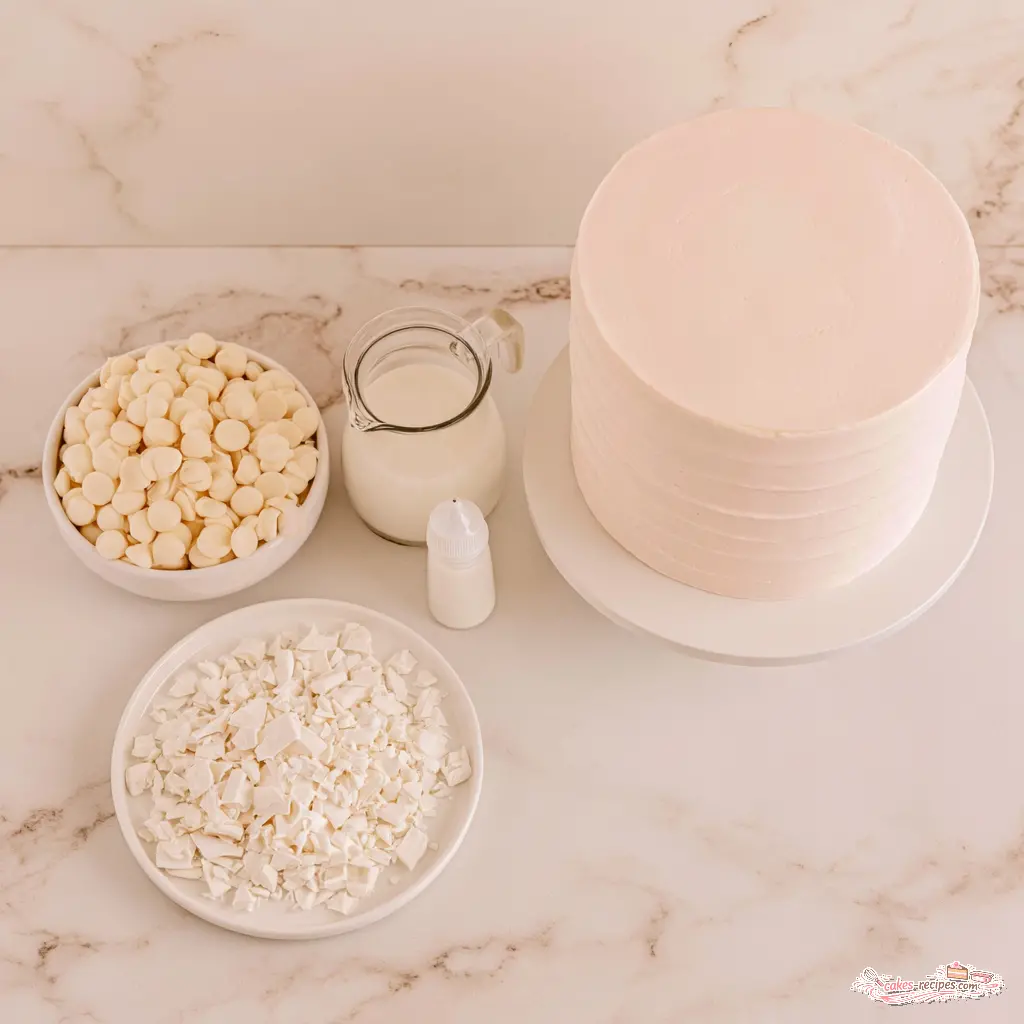
Ingredients You’ll Need
Short list. That’s part of what makes this skill worth keeping in your back pocket.
- A fully frosted layer cake, chilled. Any size works. A buttercream frosting or ganache finish both hold drips well. And yes, a boxed mix or store-bought cake base is completely fine here. I’d rather you nail the drip than exhaust yourself on cake layers.
- Premium white chocolate chips. Check the label for real cocoa butter. Cheap white chips made with palm oil won’t set the same way.
- White candy melts, finely chopped. These give you stability and that bright, almost mirror-white look.
- Heavy whipping cream. Not half-and-half, not milk. Fat content is what makes ganache set.
- White gel food coloring (optional). For a brighter white finish. Gel, not liquid, since liquid coloring loosens the texture.
Why both chips and candy melts? It’s a flavor and texture trade-off. Chips alone taste better but melt unevenly and look slightly off-white. Candy melts alone give you a perfect color but taste flat. Together you get glossy, flavorful, and stable.
Budget Swap
Spending less: Use all candy melts and skip the premium chips. They cost roughly half as much, and the drips look identical. The flavor is milder, so bump up the vanilla in your frosting to compensate. Just don’t go the other direction and buy the cheapest white chocolate on the shelf. The waxier brands seize more easily and you’ll fight lumps all afternoon.
How to Make a Chocolate Drip Cake
Four stages. Once the cake is chilled, the whole thing takes about 15 minutes of active work.
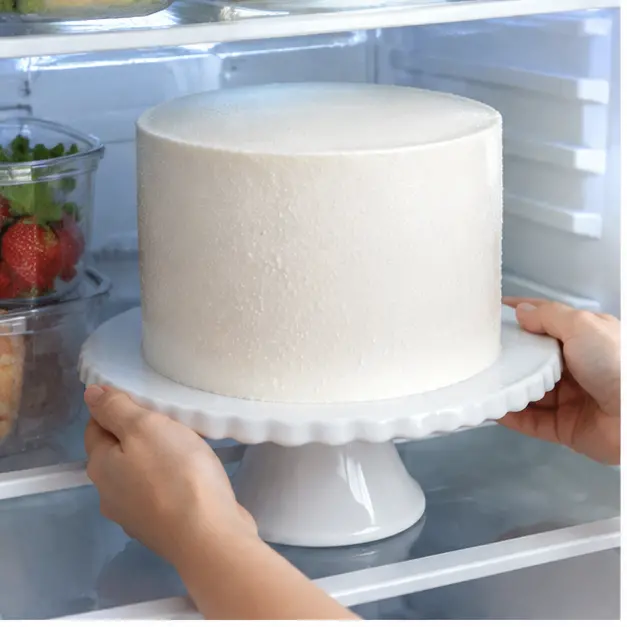
Step 1: Chill Your Cake
Place the frosted cake in the refrigerator for 30 to 60 minutes before you touch the ganache. Short on time? Ten minutes in the freezer works too.
You’re looking for frosting that feels firm to the touch and doesn’t give when you press it. Cold slows the ganache on contact, and that’s what creates a drip that stops in a graceful teardrop instead of a streak down to the cake stand.
Leave the cake in the fridge until the exact moment you’re ready to pour. Ten minutes on the counter undoes thirty minutes of cake chilling. I pull mine out only when the ganache is already at temperature.
Step 2: Melt the Ganache Until It’s Glassy
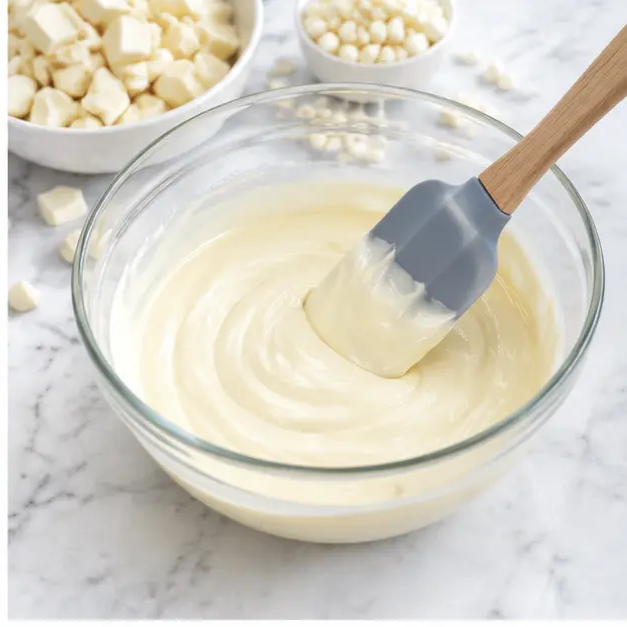
Chop the candy melts down to pea size. Scrape them and the white chocolate chips into a microwave-safe bowl, then pour the heavy cream over the top.
Heat in 20-second bursts, stirring well after each one, until the mixture is completely smooth with no flecks of solid chocolate left. It should look like liquid satin, glossy and pourable.
Small, even pieces are the whole reason this goes fast. Big chunks stall the melt and leave you stirring while the chocolate cools around them. If stubborn lumps hang around, press them against the side of the bowl with a silicone spatula or buzz the mixture with an immersion blender. Another 10 to 15 seconds in the microwave usually finishes the job.
Step 3: Cool to 85°F to 95°F
This is the step everyone rushes, and it’s the step that decides whether your chocolate drip cake looks professional or looks like a science experiment.
Set the bowl aside for 15 to 30 minutes. Check it with a candy or instant-read thermometer before using. The target is 85°F to 95°F (29°C to 35°C). White chocolate ganache consistently needs the longer end of that window.
No thermometer? Dip a spoon in and hold it up over the bowl. Ganache at the right temperature falls in a slow, thick ribbon that mounds on itself before melting back in. If it pours like water, it’s too warm. If it won’t pour at all, it’s too cool.
If you over-cool it, reheat in 10-second bursts and let it cool back down. You can cycle it more than once without ruining it.
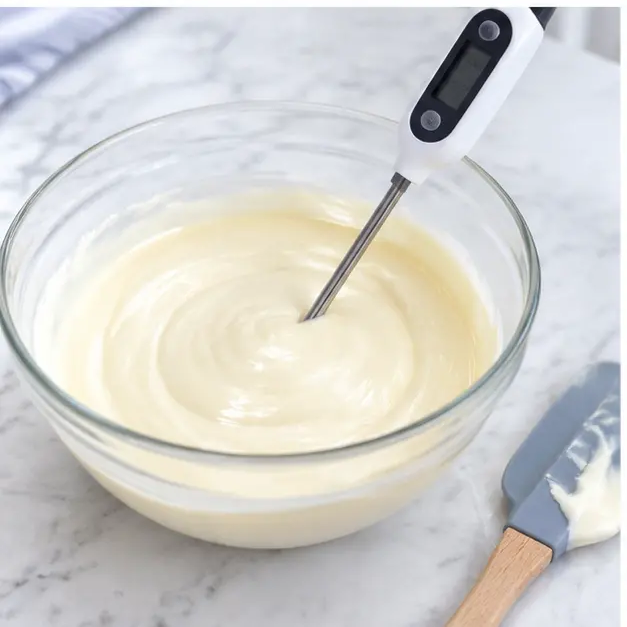
Step 4: Test, Then Pour or Pipe
Before you commit to the whole cake, spoon a single drip onto the side near the back. Watch how far it falls. If it stops about a third of the way down, you’re in business. If it runs to the plate, too warm. If it barely moves, too cool.
Now you have two paths. Pouring is faster: pour the ganache over the top and gently push it toward the edges with an offset spatula so it spills over in drips. Piping is tidier: spoon the ganache into a piping bag fitted with a medium round tip, pipe evenly spaced drips around the rim, then flood the center and level it flat. A squeeze bottle works just as well if you don’t own a piping bag.
I pipe when I want a photo and pour when I want it done. Both work. Pouring gives you slightly more variation in drip length, which honestly looks more natural than perfect symmetry.
Slide the finished cake back into the refrigerator to set before adding any final decorations.
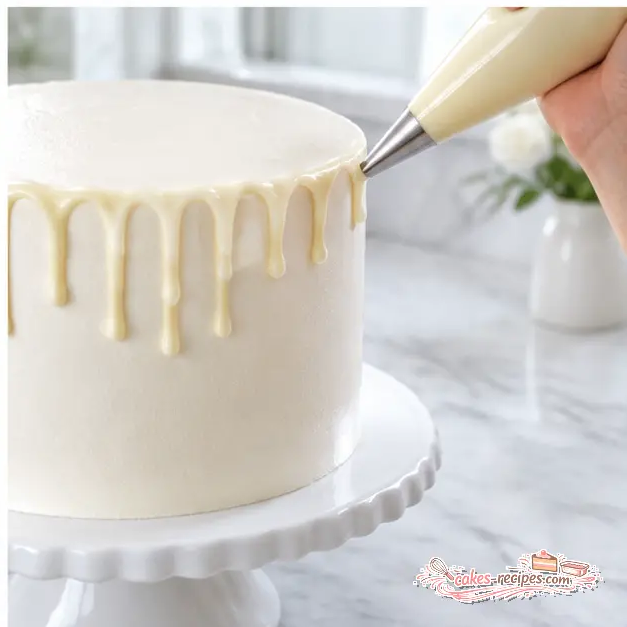
Best Frosting for Drip Cakes
You want a frosting that’s smooth and firm when cold. That’s the only real rule.
- American buttercream. The easiest and most forgiving option. It chills firm, which is exactly what a drip needs.
- Swiss or Italian meringue buttercream. Silky, less sweet, and my personal favorite under a white drip. It’s softer at room temperature, so chill it thoroughly.
- Ganache frosting. A whipped ganache finish looks seamless under a drip, though you lose the color contrast.
Where white ganache really shines is contrast. A white drip on a deep chocolate frosting, or over pink buttercream for a baby shower, pops in a way dark chocolate simply can’t. On a white cake with white frosting, reach for gel coloring or sprinkles so the drips actually read.
One caution: skip fondant if you can. Ganache and fondant are an unpredictable pair, and I’d rather you not gamble an entire cake on a technique I can’t promise you.
Troubleshooting Drip Cake Problems
Here’s the if/then chart I wish someone had handed me years ago.
- ❌ Drips ran all the way down the cake. → ✅ The cake wasn’t cold enough or the ganache was too warm. Chill the cake longer and let the ganache drop a few more degrees.
- ❌ Drips are short and stubby. → ✅ The ganache is too cool or too thick. Warm it 5 to 10 seconds, stir, and test again.
- ❌ Ganache looks grainy or seized. → ✅ The chocolate got too hot, or water got in. Buzz it with an immersion blender while warm. If it stays grainy, start fresh with new chocolate.
- ❌ Dull, yellowish drips. → ✅ That’s white chocolate’s natural hue. Stir in a drop or two of white gel coloring for a brighter finish.
- ❌ Drips cracked after refrigerating overnight. → ✅ They were piped too thick or too warm. Keep drips thin and even, and cool to 85°F to 95°F first.
- ❌ Ganache melting the buttercream. → ✅ Work faster and return the cake to the fridge between sections. Cold frosting is the only thing holding the line.
Altitude and Humidity Adjustments
Humid climates: Ganache pulls moisture from the air and stays softer. Chill the cake an extra 15 minutes, and store the finished cake in the refrigerator instead of on the counter. Here in Portland that’s my reality from October through May.
High altitude: The ganache itself behaves the same, but your cake layers will bake differently. Above 3,000 feet, expect a faster bake and adjust your cake recipe, not your drip.
Variations and Decorating Ideas
Once you’ve made one chocolate drip cake, the ganache drip technique transfers to basically anything.
- Colored drip. Swap white candy melts for pink, blue, or whatever matches your theme. Or stir gel coloring into the melted white ganache, adding a drop of white gel first so the yellow undertone doesn’t muddy your color.
- Halloween cake. Use dark chocolate ganache for a glossy, dramatic drip instead. Dark drips read as a haunted-house centerpiece with zero extra effort, and the contrast against a white buttercream cake is genuinely striking.
- Thanksgiving dessert. Keep the white drip and add a warm caramel-toned drip alongside it, or finish with piped meringue. Cozy tones for a cozy table.
- Birthday cake. Tint the ganache a pastel shade and press sprinkles into the bottom third of the cake while the drips are still tacky.
- Milk or dark chocolate ganache drip. Add an extra tablespoon of heavy cream to loosen it, since both set thicker and faster than white.
The one thing I’d avoid is over-decorating. Glossy ganache is the star here. A few well-placed sprinkles or a single piped border will do more than a pile of everything in the pantry.
Storage and Make-Ahead Tips
Store the decorated cake covered in the refrigerator for up to 3 days. Let slices sit at room temperature for about 15 minutes before serving so the frosting softens back up.
For clean slices, run your knife under hot water and wipe it dry between cuts. You’ll get crisp cake layers and a dramatic cross-section of glossy ganache instead of a smeared mess.
Make-ahead strategy:
- Ganache: Make it up to 3 days ahead and refrigerate. Reheat in 10-second intervals, then cool back to 85°F to 95°F.
- Cake layers: Bake and freeze up to 2 weeks ahead, wrapped tightly.
- Buttercream frosting: Make 1 to 2 days ahead, then remix before using.
- The drip itself: Do it the day you serve. Fresh drips are glossier, and this is the last thing you’d ever want looking tired.
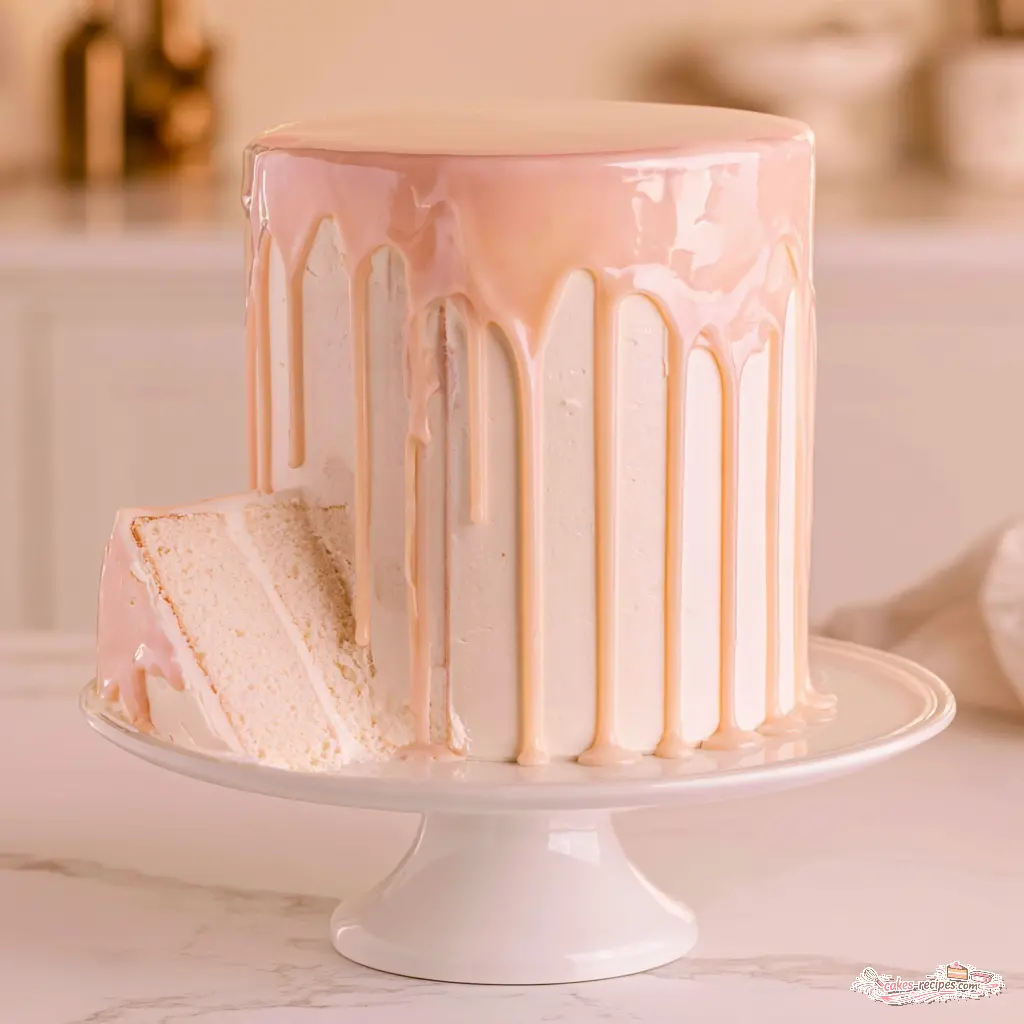
Leftover ganache keeps in the fridge for about 3 weeks. Spoon it over ice cream, cupcakes, or, honestly, a spoon.
When you make this, watch for the moment the first drip slows into a teardrop at the side of the cake. That’s the second it stops being a risk and becomes a cake. Then slice in and see clean layers, a mirror-gloss top, and ganache that tastes like real chocolate instead of sugar and wax.
And that “wait, you made this?” reaction never gets old. If you try it, come find me and share the photos. I keep a running collection of reader drip cakes on my Pinterest board, glossy drips and all, and I’d love to add yours.
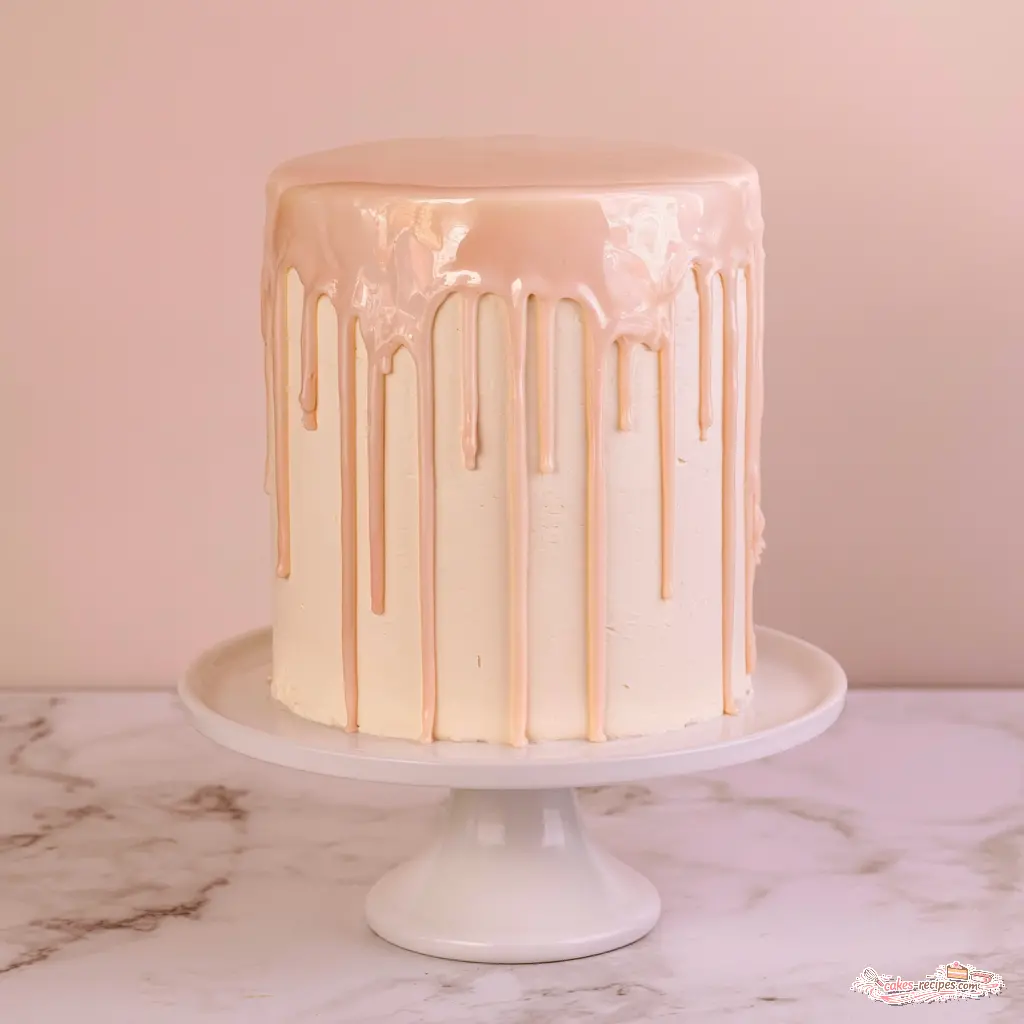
White Chocolate Drip Cake with Foolproof Ganache Drips
Ingredients
Method
- Place the frosted cake in the refrigerator and let it firm up for 30 to 60 minutes before you start the ganache.
- Chop the candy melts into very small, even pieces so they melt quickly and evenly.
- Scrape the chopped candy melts and the white chocolate chips into a bowl that is safe for the microwave, then pour the heavy cream over the top.
- Heat in the microwave in 20 second bursts, stirring well after each one, until the mixture is completely smooth with no flecks of solid chocolate left.
- Set the bowl aside for 15 to 30 minutes so the ganache cools down to between 85°F and 95°F. Check it with a candy or instant read thermometer before using.
- Take the cold cake out of the refrigerator. Either pour the ganache over the top and gently push it toward the edges so it runs down the sides, or spoon it into a pastry bag fitted with a medium tip and pipe drips around the rim, then fill in the middle and level it with an offset spatula.
- Slide the finished cake back into the refrigerator to set until you are ready to add the final decorations.
Nutrition
Notes
Tried this recipe?
Let us know how it was!Frequently Asked Questions
Source: Learn More About This Dish
How do I make a colored ganache drip?
Use colored candy melts in place of white, or stir gel coloring into the melted ganache. Add a drop or two of white gel coloring first so the yellow undertone doesn’t muddy your shade. Skip liquid coloring, which thins the ganache and makes drips run.