Vanilla Sugar Cookies vs Regular Sugar Cookies
If you’ve ever bitten into a sugar cookie that crumbled into dust and tasted like sweet cardboard, you know the disappointment. I’ve been there.
My first batch came out flat as poker chips and hard enough that my wife asked if I’d made crackers. Bless her heart, she ate three anyway while I stood in the kitchen wondering what went wrong.
These vanilla sugar cookies are the answer to that afternoon. Soft in the middle. A whisper of crisp right at the edge. And real vanilla in every single bite.
With Halloween just around the corner, they’re also the perfect blank canvas for sprinkles, icing, and whatever your kids dream up.
So what separates these from the classic sugar cookies you grew up with?
- Powdered sugar in the dough instead of granulated. That’s the big one. It gives you a finer crumb and a dough that isn’t sticky enough to fight you.
- Butter plus oil. Butter brings the flavor. Oil is what keeps them soft for days instead of hours.
- Vanilla is the headline, not a background note. A full tablespoon of vanilla bean paste.
- Drop-style, not cut-outs. You scoop, roll in sugar, and bake. No rolling pin, no flour all over the counter.
Regular sugar cookies are wonderful things. But if you want soft and chewy without the fuss, this is the one to bake.
What Is Vanilla Bean Paste?
Vanilla bean paste is exactly what it sounds like. Vanilla extract thickened up with real vanilla bean specks and a little sweetener. It pours like a slow syrup and tastes like pure vanilla.
Why I reach for it here is simple: those little flecks. You get the look of fresh vanilla beans without scraping a single pod.
No paste in the pantry? You’ve got options, and none of them will ruin the batch.
- 1 tablespoon of vanilla extract. Same flavor, same texture. Just no flecks.
- Seeds scraped from 2 vanilla bean pods. Use the back of a knife to split and scrape.
What you don’t want is imitation vanilla. Real vanilla is the entire point of these cookies. Grandma Eunice used to say you can taste the difference without ever knowing that’s what you’re tasting. She was right.
Ingredients for Vanilla Sugar Cookies
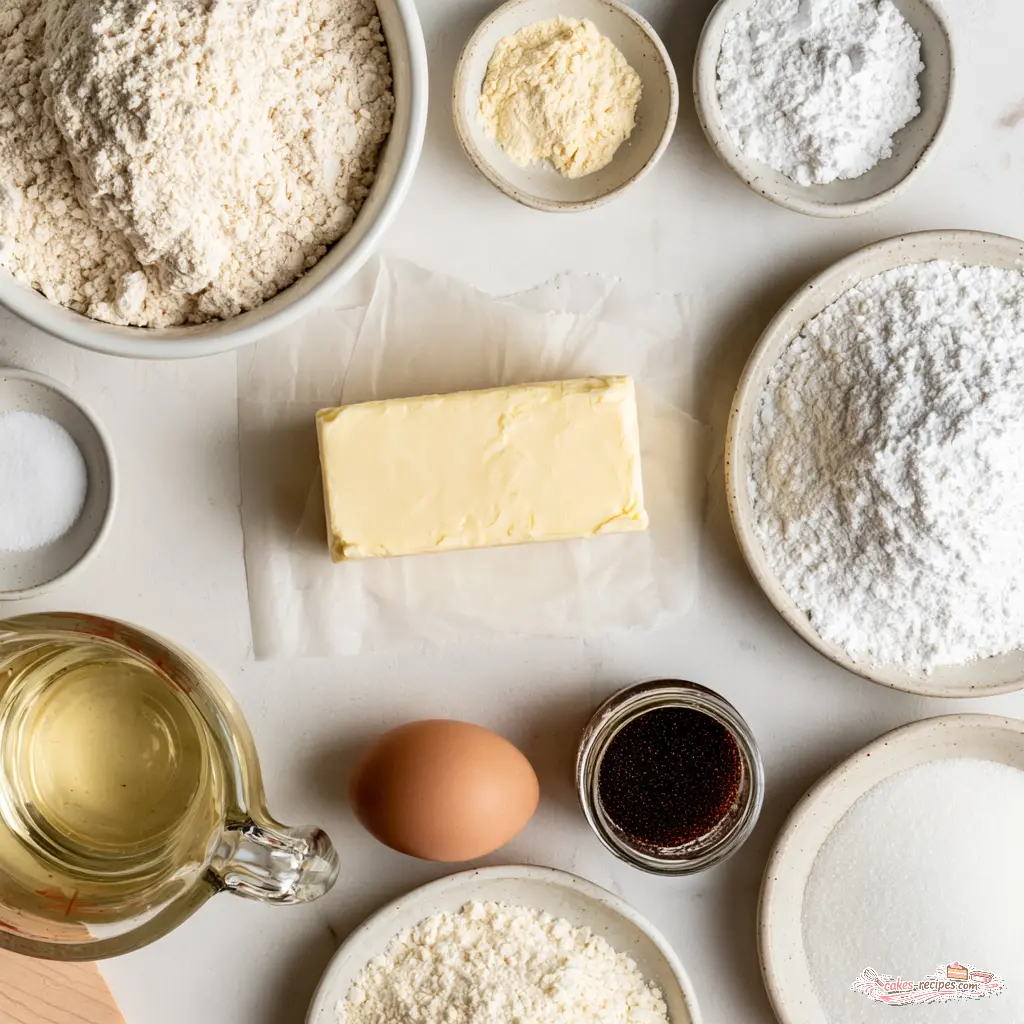
Everything on this list is a pantry staple. No specialty flours, no strange thickeners, nothing you’ll use once and forget about. Ten ingredients, all doing real work.
- All-purpose flour. Two cups, which is 240 grams if you’re weighing. Please weigh it.
- Baking powder and baking soda. Together they lift the dough and give you that signature cracked top.
- Fine salt. Half a teaspoon. Skip it and everything tastes flat and sweet in a boring way.
- Unsalted butter. One stick, softened to room temperature. Unsalted so you control the salt yourself.
- Powdered sugar. One cup for the dough. This is what makes them tender instead of tough.
- One large egg. Room temperature if you can manage it.
- Vegetable oil. A quarter cup. This is your soft-and-chewy insurance policy.
- Vanilla bean paste. One tablespoon. The star.
- Granulated sugar. A half cup, used only for rolling.
Two things matter more than all the rest: the flour measurement and the butter temperature. Get those right and the whole thing falls into place.
How to Make Vanilla Sugar Cookies
Four stages. That’s the whole show. Here’s what each one looks like, and why it matters.
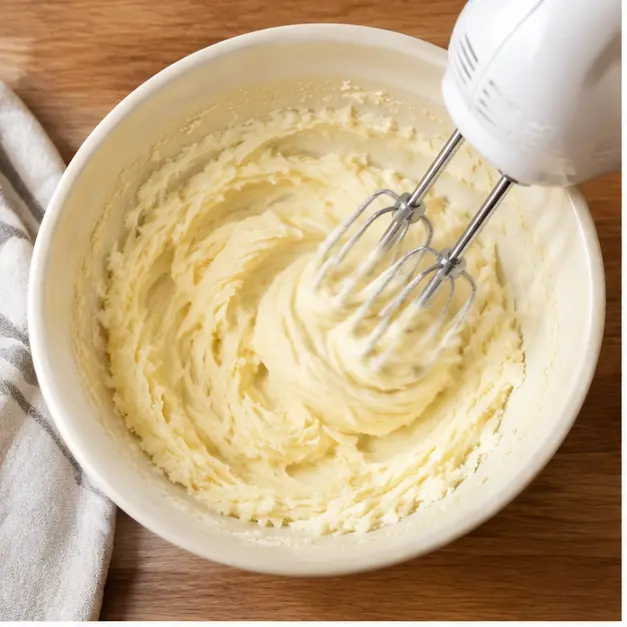
Stage one is creaming. Beat the softened butter and powdered sugar on medium-high for 2 to 3 minutes, until the mixture turns pale and airy. That’s not busywork. You’re whipping tiny air pockets into the fat, and those pockets are what lift the cookie later.
Then shut off the mixer and add the egg, the oil, and the vanilla bean paste. Beat on medium until it all comes together, pausing once to scrape down the sides. That egg is stubborn about hiding in the bottom of the bowl.
Weigh Your Flour for Soft Cookies
Here’s where most batches go wrong. Two cups of all-purpose flour spooned and leveled is 240 grams. Two cups scooped straight from the bag with the measuring cup can weigh 300 grams or more.
That extra flour is the difference between a tender cookie and a hockey puck. Scoop flour into your cup with a spoon, then level it off with a straight edge. Or better yet, put the bowl on a scale and zero it out.
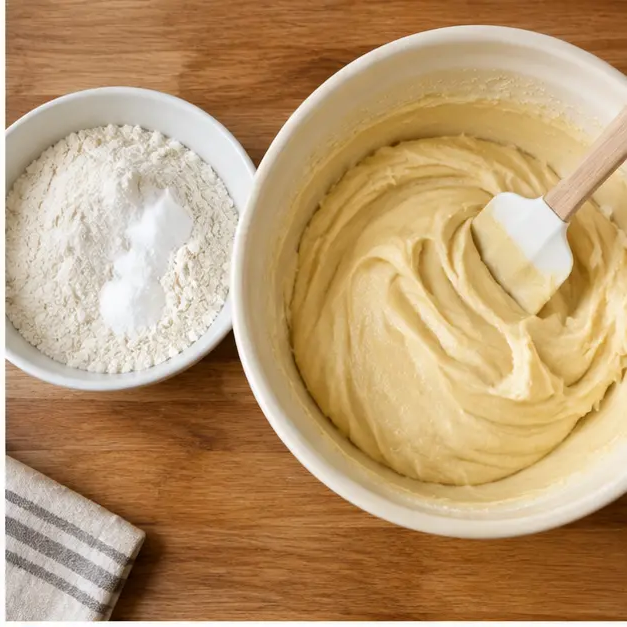
Stage two is the fold. Whisk the flour, baking powder, baking soda, and salt together in a separate bowl, then add it to the wet mixture in two rounds on low speed. Stop the second the last streak of flour disappears. Overmixing develops gluten, and gluten is what makes cookies chewy in the wrong way.
While you’re at it, check the dates on your baking powder and baking soda. Old leaveners go quiet, and quiet leaveners mean flat cookies with no crackle on top.
The Dough Should Feel Soft and Tacky
Your finished dough should feel plush and only lightly tacky. It ought to release cleanly from a cookie scoop. If it’s greasy and sliding around the bowl, your kitchen is warm and the butter is soft. Pop it in the fridge for 15 minutes and try again.
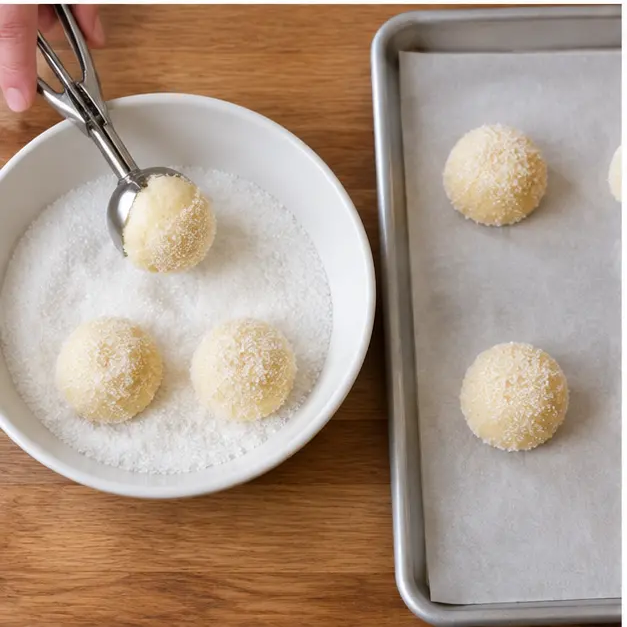
Stage three is the sugar coating. Pour granulated sugar into a small bowl and scoop rounds of dough directly into it. Then use your fingers to coat each ball completely.
This step does more than look pretty. The sugar grabs the sticky surface, firms the dough up, and gives you that crackly shell after baking. A #50 scoop keeps every ball the same size so they bake evenly in about 9 minutes. Eight cookies per pan, with room to spread.
Stage four is the bake. 350 degrees F (177 degrees C) for 8 to 9 minutes. Pull them when the edges have just set. The centers should still look slightly underdone and a little glossy. That’s correct, not a mistake.
Let them rest on the pan for 2 to 3 minutes, then move them to a wire rack. They’ll deflate a touch as they cool. That’s normal, and it’s part of how they end up so soft.
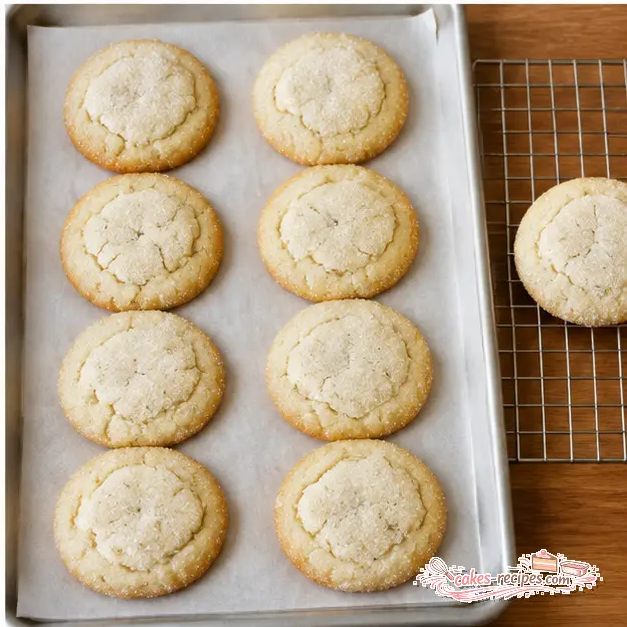
Texture Targets: Know When They’re Done
Look: Edges barely golden, tops crackled and matte, centers still pale and soft.
Touch: Press the middle gently. It should give like a pillow, not bounce back firm.
Smell: Warm vanilla and butter filling the kitchen. If you smell toasted, they’re already past done.
Tips for Soft, Chewy Vanilla Sugar Cookies
I’ve made these enough times to know exactly where bakers stumble. Here’s the short list that fixes almost everything.
- Room temperature egg. Let it sit out 30 minutes. Cold egg won’t blend smoothly into softened butter, and you’ll end up with a grainy batter.
- Cream it properly. Pale and airy, roughly 2 to 3 minutes, and scrape the bowl at least once.
- Add the vanilla at the creaming stage. It distributes more evenly than stirring it in at the end.
- Mix only until combined. Finish the last few strokes by hand if you’re unsure.
- Use a scoop. A #50 or a 2-tablespoon scoop keeps portions even.
- Coat every ball completely in sugar. No bare patches.
- Press a few extra sugar crystals on top before baking for that bakery-style finish.
How to Prevent Cookie Spreading
Spreading is the number one complaint I hear, and it almost always traces back to butter temperature. You want cool room temperature butter, around 67 degrees F. It should give slightly when you press it but still hold its shape.
If your butter is greasy and melting into the wrapper, the cookies will bake into puddles. Also give your oven a solid 10 minutes past the preheat beep. An oven that hasn’t fully stabilized will sabotage you no matter how good your dough is.
And if you want thicker, softer cookies, add about 15 extra grams of flour to the dough. They’ll be a touch less chewy and a little more pillowy. Both are good.
Getting Crinkly, Crackly Sugar Tops
That crackled top comes from two things working together: fresh baking powder and the granulated sugar coating.
The leavener makes the cookie rise, the sugar crust sets before the inside finishes, and the surface splits as it goes. If your cookies come out smooth and domed, your baking powder is probably older than you think.
For the prettiest tops, press a few extra sugar crystals on right before the pan goes in. And here’s a trick I picked up from a baker in Atlanta: while the cookies are still hot on the pan, use a round cookie cutter to gently scoot each one into a perfect circle. It sharpens the crackle and tidies the edges.
Do You Need to Chill the Dough?
Nope. This dough goes straight from the bowl to the baking sheet, which is exactly why I love it on a busy Saturday.
That said, if your kitchen is warm and humid (and here in Charleston, it usually is), 15 minutes in the fridge makes the dough much easier to handle. That’s not a setback. It’s a small adjustment that saves you from a sticky mess.
Some bakers swear by chilling for 24 hours. It does deepen the flavor slightly. But it is not required, and I’d rather you bake today than plan for tomorrow.
Common Mistakes and How to Fix Them
❌ Overbaking. → ✅ Pull them at 8 to 9 minutes when the edges just set. They keep cooking on the hot pan.
❌ Scooping flour from the bag. → ✅ Spoon it into the cup and level it, or weigh 240 grams.
❌ Butter that’s too soft. → ✅ It should give slightly and hold its shape. Chill the dough 15 minutes if it’s greasy.
❌ Old baking powder. → ✅ Drop a pinch in hot water. If it doesn’t fizz, buy a new can.
Storage and Freezing
These vanilla sugar cookies keep beautifully. Baked cookies stay fresh in an airtight container at room temperature for up to a week. Toss a slice of bread or an apple wedge in the container and they’ll stay soft even longer. Sounds odd. Works every time.
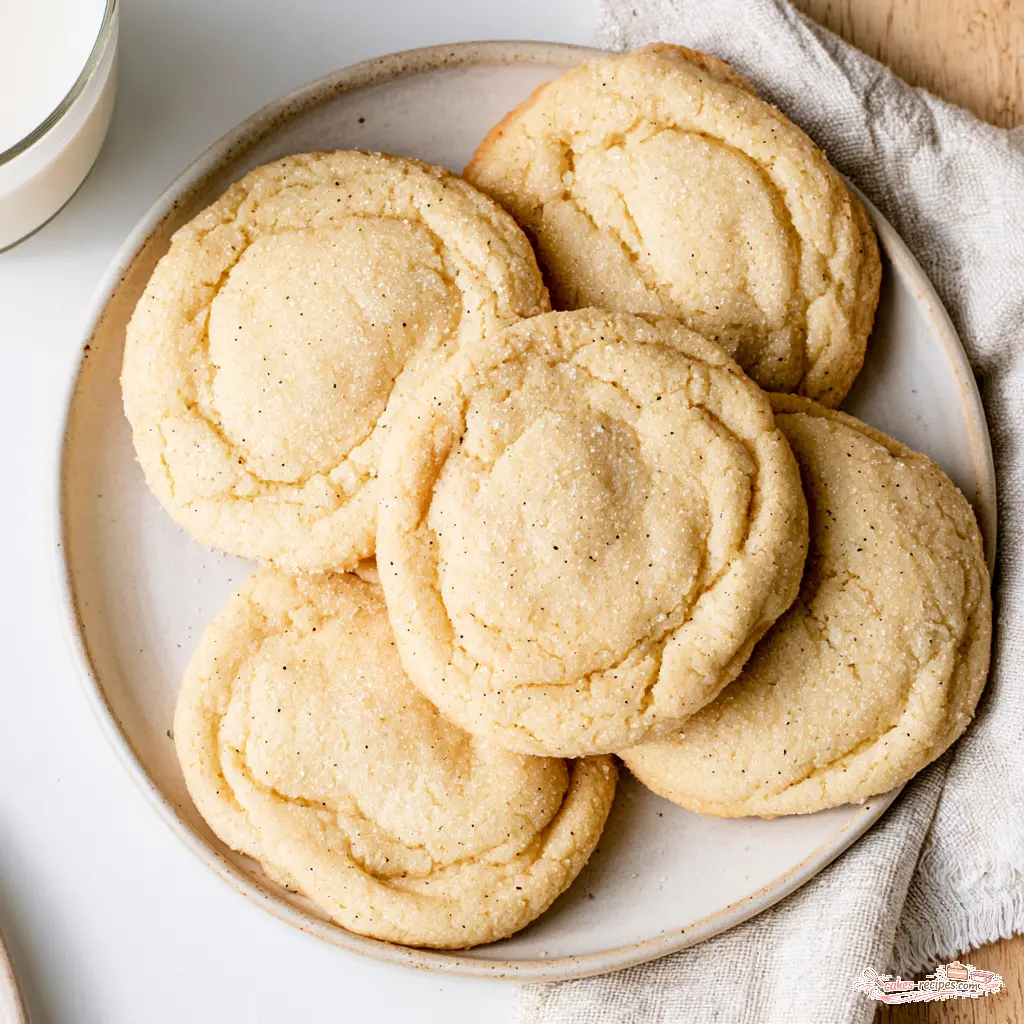
For longer storage, freeze baked cookies for up to 3 months. Layer them between sheets of parchment so the sugar coating doesn’t rub off, and let them thaw at room temperature in a single layer.
Unbaked dough balls freeze just as well, and this is where make-ahead baking gets genuinely useful.
- Skip the sugar coating before freezing. The sugar absorbs into the dough and disappears.
- Freeze the balls on a sheet pan until solid, then move them to a freezer bag.
- Thaw overnight in the fridge, roll in granulated sugar, and bake as directed.
On a holiday morning, that means warm cookies with almost no effort. Which is the whole point.
Serving Ideas for Vanilla Sugar Cookies
Hot coffee and a cold glass of milk are the obvious pairings, and I won’t pretend otherwise. But these cookies do a lot more than that.
- Halloween trays. Roll the dough balls in orange and black nonpareils instead of plain sugar. Kids lose their minds over this.
- Thanksgiving dessert table. They sit nicely next to pumpkin pie without competing with it.
- Cookie exchanges. They travel well and hold up for days.
- Ice cream sandwiches. Two cookies, softened vanilla ice cream, press and freeze 30 minutes.
- Simple vanilla glaze. Powdered sugar, a splash of milk, and a drop of vanilla. Drizzle and let set.
They’re also a fine canvas for royal icing if your crowd likes decorating. The tops are flat enough to hold a design after they cool completely.
Conclusion: Your New House Cookie
When you make these, you’ll wonder why you ever bought the plastic-wrapped ones at the grocery store. They take 24 minutes start to finish and they taste like something from a bakery counter.
One last thought before you preheat: lopsided cookies taste just as good as perfect circles. If your first batch spreads a little or comes out with uneven cracks, that’s a batch of cookies, not a failure. You’ll dial it in on the second tray.
If you like saving recipes for later, come find me over on my Pinterest boards. I keep a running collection of Southern bakes, holiday cookie ideas, and the classics I learned from Grandma Eunice. Bring your cookie photos. I love seeing what comes out of your kitchen.
Happy baking, friend. You’ve got this.
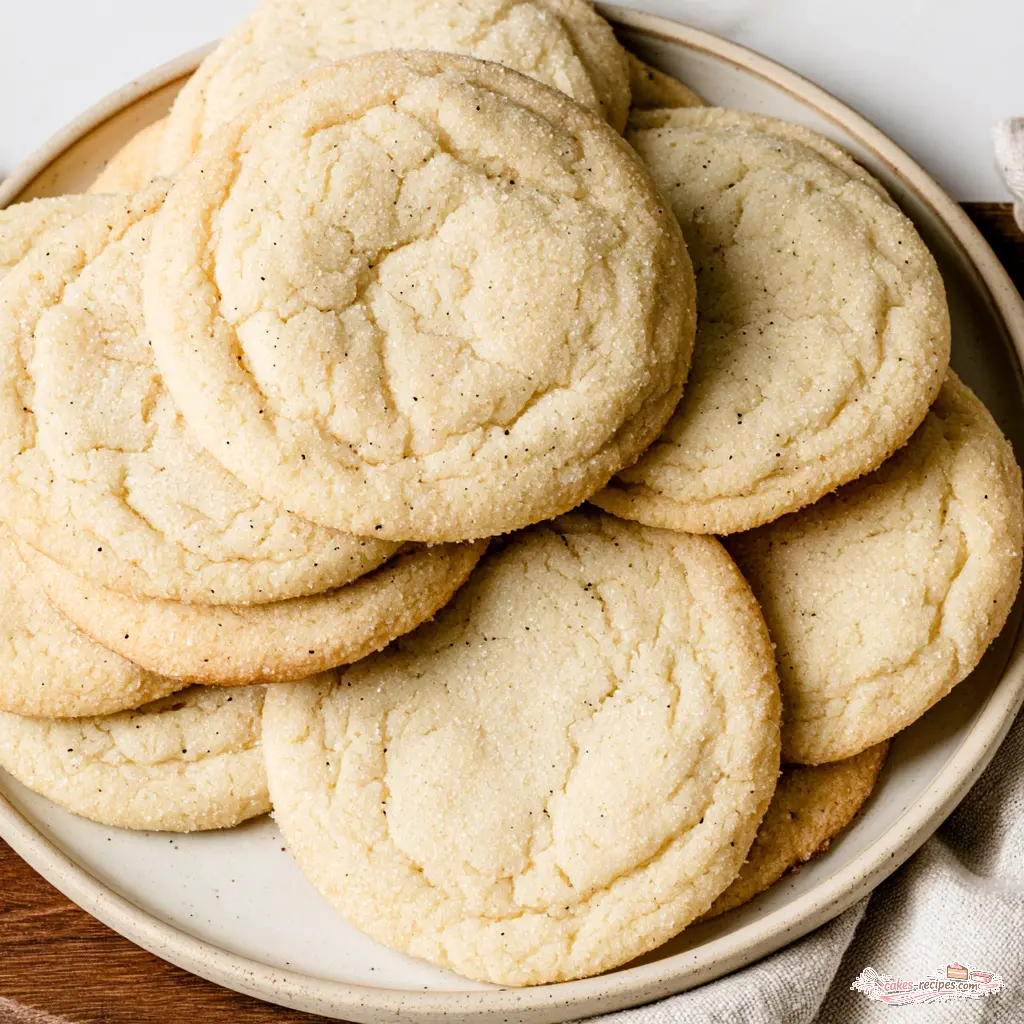
Soft and Chewy Vanilla Sugar Cookies
Ingredients
Method
- Warm the oven to 350 degrees F (177 degrees C) and cover a big sheet pan with parchment paper or a silicone mat. Leave it off to the side.
- Stir the flour, baking powder, baking soda, and salt together in a medium bowl with a whisk, then set the bowl aside.
- Put the softened butter and powdered sugar in a big bowl and beat them with a hand mixer or a stand mixer fitted with the paddle on medium-high until the mixture looks pale and airy, roughly 2 to 3 minutes.
- Shut off the mixer and add the egg, oil, and vanilla bean paste. Beat on medium until the wet mixture comes together, pausing to push down anything clinging to the sides of the bowl.
- Turn the mixer down to low and tip in the dry mixture in two rounds, letting the first round mostly blend in before adding the rest. Mix only until the dough comes together. It should feel plush and only lightly tacky, easy to release from a cookie scoop, and it firms up once it hits the sugar.
- Pour the granulated sugar into a small bowl. Scoop rounds of dough (a #50 scoop makes even, standard-size cookies) straight into the sugar, then use your fingers to coat each ball completely. Arrange them on the prepared pan, leaving room for 8 cookies per pan.
- Bake 8 to 9 minutes, pulling them out when the edges have just set. Let the cookies rest on the pan for 2 to 3 minutes, then move them to a wire rack to finish cooling. Keep leftovers in an airtight container at room temperature for up to 1 week.
Nutrition
Notes
Tried this recipe?
Let us know how it was!Vanilla Sugar Cookies FAQ
Source: Learn More About This Dish
Can I make vanilla sugar cookies with a hand mixer?
Absolutely. That’s how I make them most weeknights. A hand mixer on medium-high creams the butter and powdered sugar in about 2 to 3 minutes, the same as a stand mixer. Just scrape the bowl twice so nothing hides at the bottom.