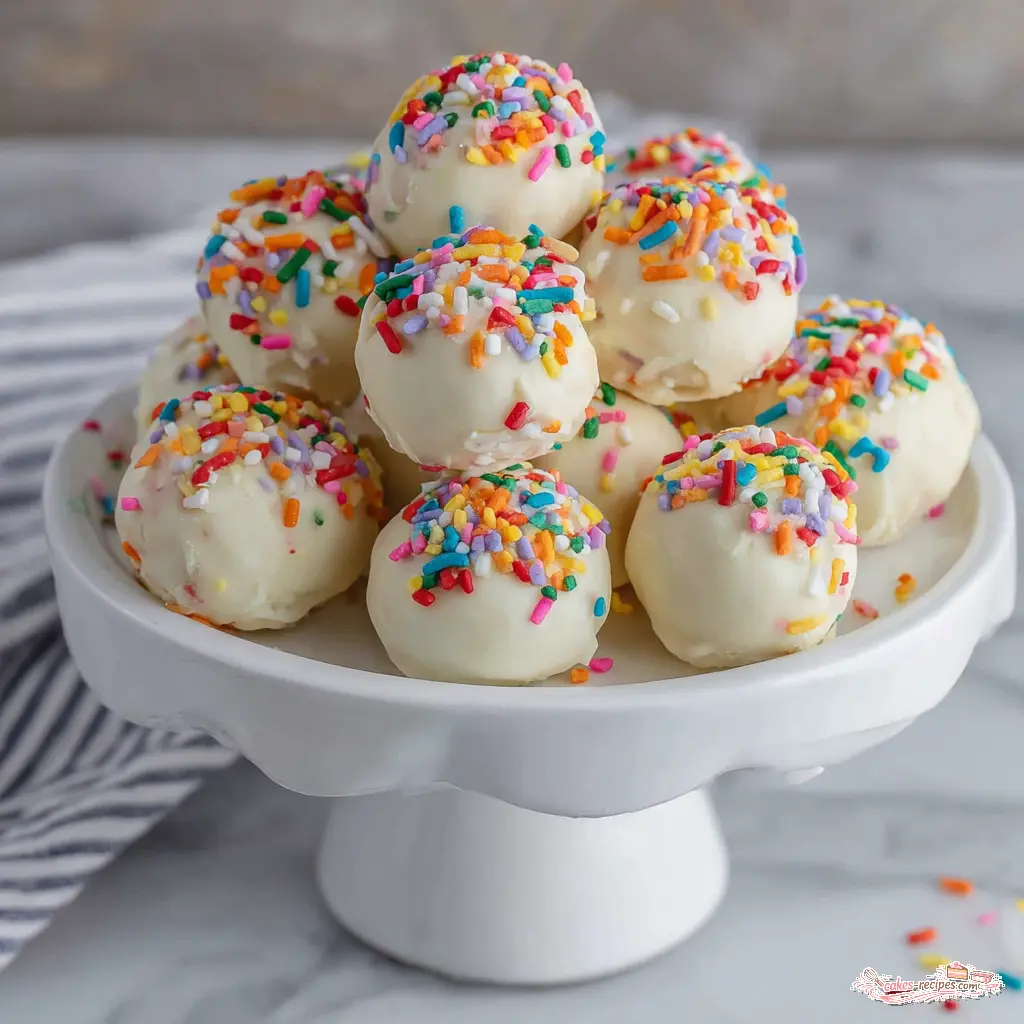
Birthday Cake Truffles
Ingredients
Method
- Preheat oven to 350°F and prepare a 9x13-inch baking pan with nonstick spray. Bake the yellow cake mix according to package directions. Let cool completely, about 30 minutes.
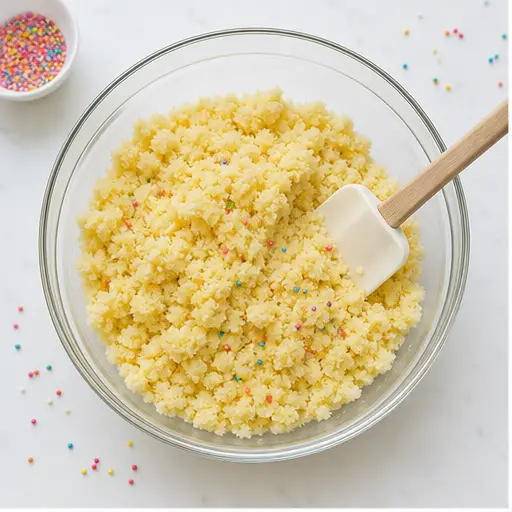
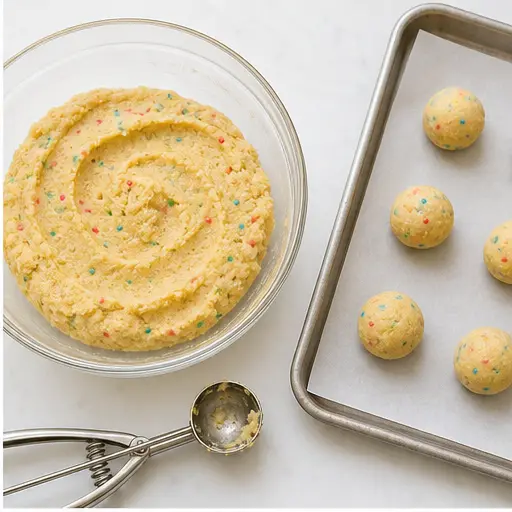
- Crumble the cooled cake into a large bowl. Add the buttercream frosting and 1/2 cup of the rainbow sprinkles. Mix with a spatula until evenly combined and a dough forms.
- Roll the mixture into 1-tablespoon-sized balls and place on a parchment-lined baking sheet. Freeze for 60 minutes until firm.
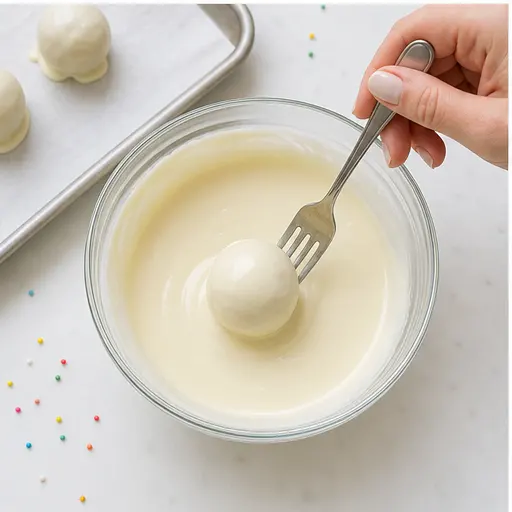
- Melt the white chocolate wafers in a microwave-safe bowl in 30-second bursts, stirring each time, until smooth. Using a fork, dip each frozen ball into the melted chocolate, letting excess drip off, then return to the parchment.
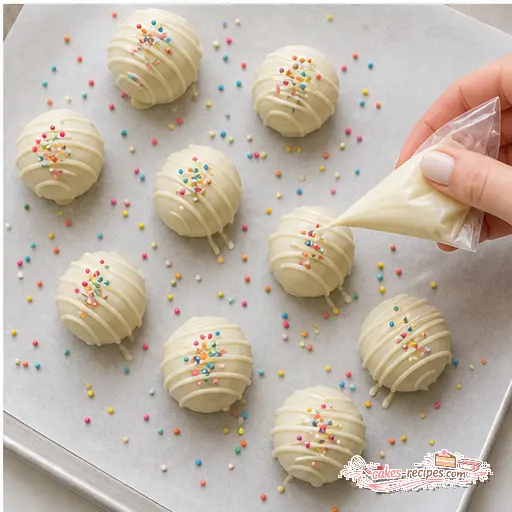
- Transfer the remaining melted chocolate to a small zip-top bag, snip a tiny corner, and drizzle zigzags over each truffle. Sprinkle with the remaining rainbow sprinkles. Let set at room temperature until fully hardened, about 15 minutes.
Nutrition
Notes
Tried this recipe?
Let us know how it was!What Are Birthday Cake Truffles?
Let me tell you, I’ve been in that spot. The one where you realize you need a dessert for a birthday party, like, now. The oven’s not even preheated, the store is twenty minutes away, and you’re staring at a box of cake mix wondering if you can just… not bake it. Honestly, I’ve been there more times than I care to admit. That’s exactly how these birthday cake truffles became my secret weapon.
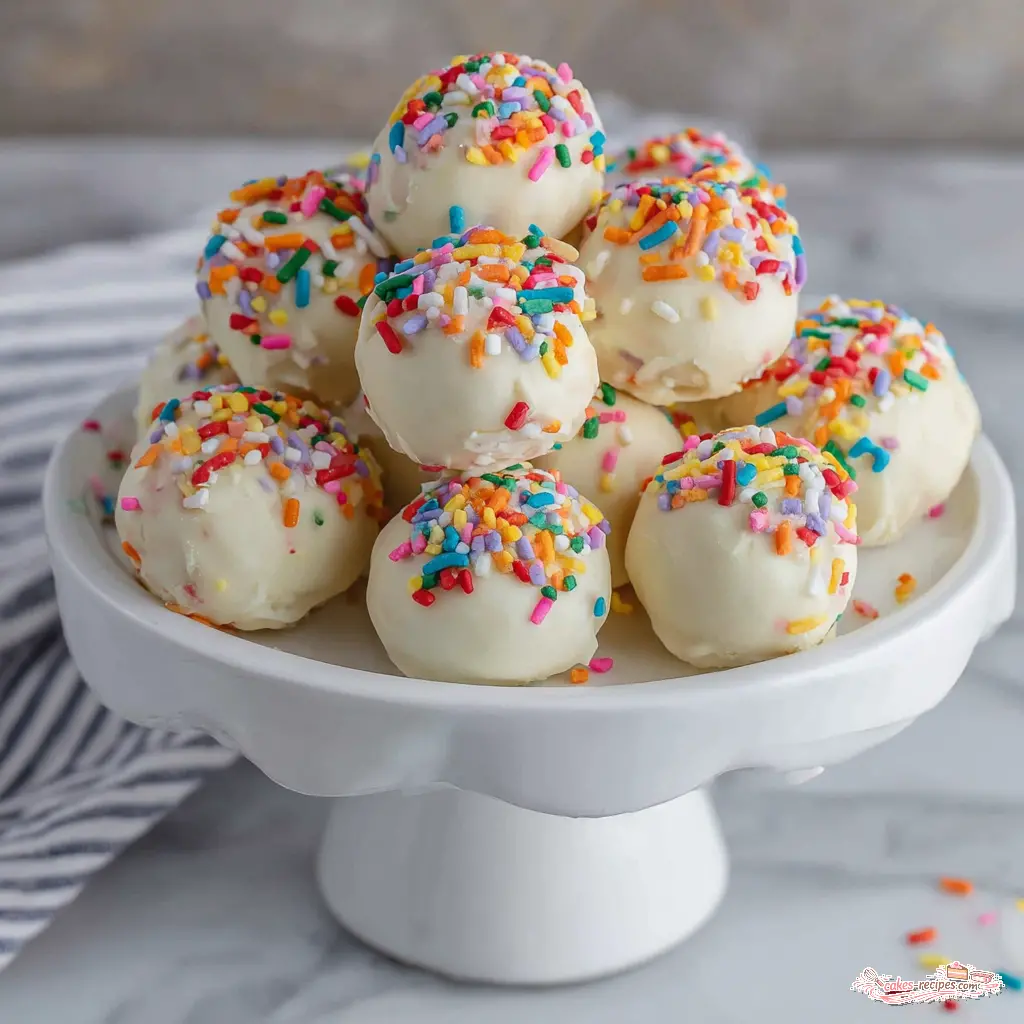
So what are they? Think of the best parts of a birthday cake, minus the slicing and serving. You take a baked yellow cake, crumble it up, mix it with buttercream frosting and a ton of rainbow sprinkles, roll it into little balls, and then dip them in white chocolate. That’s it. They’re like cake batter truffles that actually taste like the real deal, because they are the real deal. No baking required for the final treat, just a little patience while they chill.
I know you’re thinking, Is this really going to work? Yes, I promise. My first batch was a little wonky, honestly. Some were lopsided, a couple cracked when I dipped them, and I got chocolate on my counter. But you know what? No one cared. They were gone in ten minutes. These funfetti truffles are forgiving, and they look way more impressive than the effort you put in. That’s exactly what we’re looking for, right?
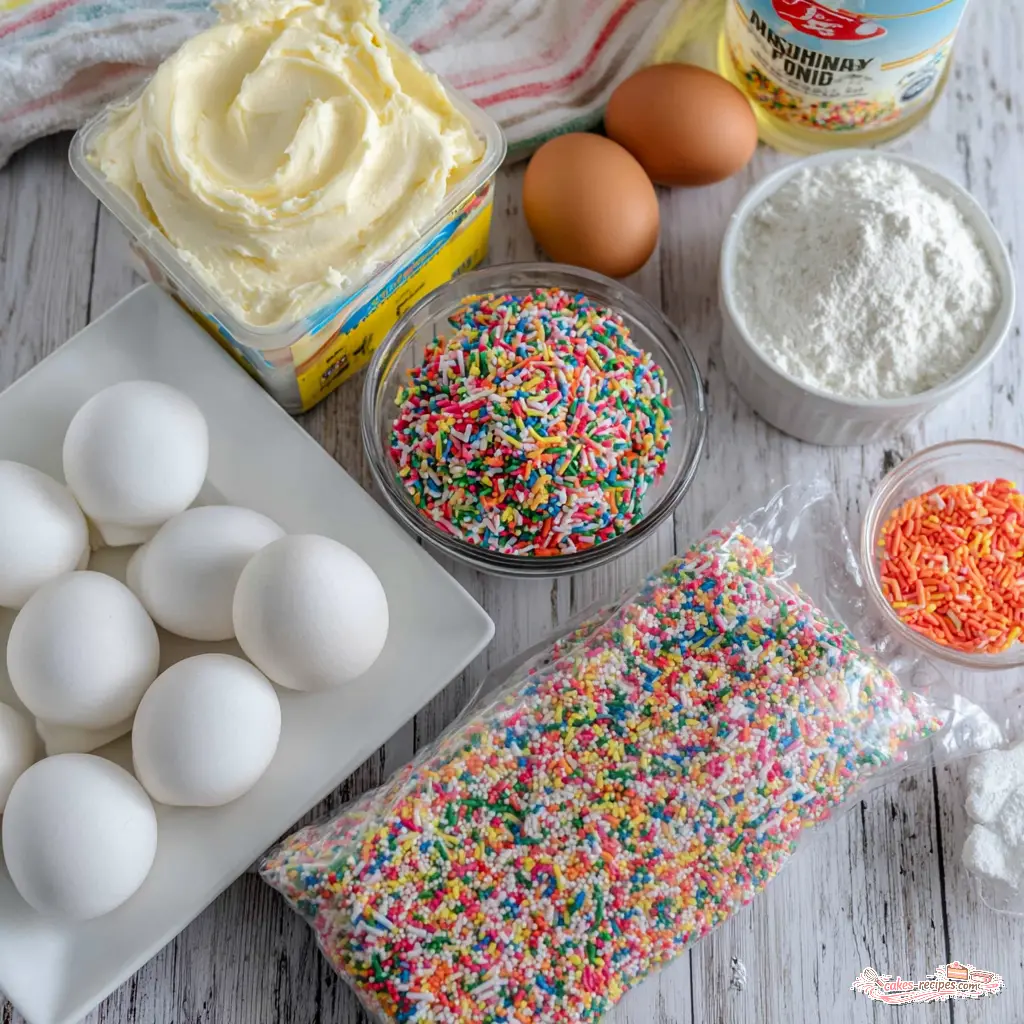
Ingredients for Birthday Cake Truffles
The ingredient list is short, and that’s the beauty of it. You don’t need anything fancy for these no bake birthday cake truffles. Here’s what you’ll need to grab from the store, plus a couple of notes from my own kitchen.
- Yellow cake mix: This is your base. A standard box, plus whatever it calls for on the back (usually eggs, oil, and water). I’ve used different brands, and they all work fine. Just bake it according to the box directions.
- Buttercream frosting: Store-bought is totally fine. You’ll need about 1 1/8 cups, which is roughly 18 tablespoons. If you’re feeling ambitious, homemade works too. The key is to use a classic vanilla buttercream for that true birthday cake flavored desserts taste.
- Rainbow sprinkles: Get the jimmies, the long skinny ones. They hold their color better when mixed into the dough. You’ll use a whole cup total, half in the truffle mixture and half for topping.
- White chocolate melting wafers: This is where you don’t want to cheap out. I’ve found that higher quality wafers, like Ghirardelli or Guittard, melt smoother and taste better. White chocolate chips work in a pinch, but you’ll need to add a teaspoon of shortening to help them melt evenly. That’s a good cake truffle coating tip to remember.
That’s it. No secret ingredients, no complicated shopping list. Just simple stuff you can find at any Ralphs or Vons. Makes perfect sense for a last-minute easy birthday treat ideas situation.
How to Make Birthday Cake Truffles
Alright, let’s get into the method. I’ll walk you through the four main stages. Remember, the recipe card above has the exact measurements, so use that as your guide. This is about the how and the why.
Stage 1: Bake and Cool the Cake
First things first, you need a cake. Preheat your oven to 350°F and bake that yellow cake mix in a 9×13-inch pan according to the package directions. Worth trying: let it cool completely. I mean completely. If you try to crumble it while it’s even a little warm, you’ll end up with a gummy mess. Give it a full 30 minutes on a wire rack. The texture of the cake matters here, you want it to be fluffy and dry, not dense. That’s what makes the best vanilla cake truffles.
Stage 2: Mix and Roll
Once the cake is cool, crumble it into a large bowl. I use my hands for this, it’s faster and you can feel for any big chunks. Add the buttercream frosting and half of your rainbow sprinkles. Mix with a spatula until everything comes together into a dough. It should look like a thick, slightly sticky paste. Now, roll it into 1-tablespoon-sized balls. A cookie scoop helps here for uniformity. Place them on a parchment-lined baking sheet. Then, here’s the crucial part: freeze them for a full 60 minutes. They need to be rock solid before you dip them. This is the secret to perfect how to make cake truffles without them falling apart.
Stage 3: Dip in Chocolate
Melt your white chocolate wafers in a microwave-safe bowl. Do it in 30-second bursts, stirring each time, until smooth. Be careful, white chocolate seizes up if it gets too hot or if any water gets in. That’s one of the common truffle mistakes. Once it’s smooth, grab your frozen truffle balls. Use a fork to dip each one into the melted chocolate, letting the excess drip off. Return them to the parchment. Work quickly, the cold balls will help the chocolate set fast.
Stage 4: Drizzle and Decorate
This is the fun part. Transfer the remaining melted chocolate to a small zip-top bag. Snip a tiny corner off, and drizzle zigzags over each truffle. While the drizzle is still wet, sprinkle on the rest of your rainbow sprinkles. Let them set at room temperature. This only takes about 15 minutes. The contrast of the smooth white chocolate and the crunchy sprinkles is perfect. These sprinkle truffles look like they came from a fancy bakery.
Tips for Perfect Birthday Cake Truffles
Over the years, I’ve learned a few things that make these cake truffle recipe with cake mix turn out perfectly every time. Here are my best tips, straight from my kitchen to yours.
My Top Tips
- Use a high quality cake as the base: I know it’s a box mix, but some brands are better than others. I prefer the ones that call for real butter and eggs, not just water. The flavor difference is noticeable.
- Underbake your cake slightly: Take it out a minute or two before the box says. A slightly underbaked cake is moister and crumbles better. It makes for softer birthday cake dessert bites.
- Don’t cheap out on the white chocolate: I’ve said it before, but it’s worth repeating. High-quality white chocolate like Ghirardelli or Guittard melts smoother and tastes less waxy. Your white chocolate truffles deserve the good stuff.
- Be careful when melting your white chocolate: Stir in between each 30-second burst in the microwave. If it starts to look grainy, you’ve overheated it. You can try to save it by stirring in a teaspoon of coconut oil or shortening.
Honestly, if your truffles don’t come out perfect, just call them rustic. That’s what I do. They’ll still taste amazing, and that’s what matters.
Variations and Substitutions
One of the best things about this recipe is how adaptable it is. You can change it up for any occasion. Here are a few ideas I’ve tried.
For a patriotic truffles for 4th of July twist: Use red, white, and blue sprinkles instead of rainbow. You can also dye the white chocolate with a little red or blue food coloring, but be careful not to add too much or it will seize. These are perfect for summer BBQs and pool parties.
For a different flavor: Swap the yellow cake mix for a white or vanilla cake mix. The flavor will be a little lighter, but still delicious. You can also add a teaspoon of vanilla extract to the truffle mixture for an extra flavor boost.
For kid friendly truffles: Let the kids help with the rolling and sprinkling. It’s a great hands-on activity. Just make sure the cake is completely cool before they start touching it.
Gluten-free option: Use a gluten-free yellow cake mix. The rest of the ingredients are naturally gluten-free, so you’re good to go. Just make sure your sprinkles are also gluten-free, some brands use wheat starch.
Dairy-free option: Use a dairy-free cake mix and frosting. For the coating, use dairy-free white chocolate chips or a vegan white chocolate alternative. It works, I’ve tested it.
These are perfect for truffles for parties because you can customize them to match any theme. I’ve even made them for a baby shower with pastel sprinkles. They’re always a hit.
How to Store Birthday Cake Truffles
Storage is simple, but important, especially during the summer. These truffles need to stay cool. Here’s what works for me.
- Refrigerate: Store your birthday cake truffles in an airtight container in the fridge. They’ll stay fresh for up to a week. The white chocolate coating will stay firm, and the inside will stay soft and cake-like.
- Freeze for longer storage: You can freeze them for up to 3 months. Place them in a single layer in a freezer-safe container, with parchment paper between layers. When you’re ready to eat them, let them thaw in the fridge for a few hours. This makes them great for make ahead birthday treats.
- Important note for summer: If you’re taking these to a party or a BBQ, keep them in a cooler until serving. The chocolate can melt in the heat, and the truffles can get soft. I learned this the hard way at a 4th of July picnic. Now I always pack them with an ice pack.
Truffle storage and refrigeration is key to keeping them looking and tasting their best. Don’t skip the chill time.
Frequently Asked Questions
I hope this answers your questions. If you’re still wondering about something, feel free to ask in the comments. I love hearing from you all.
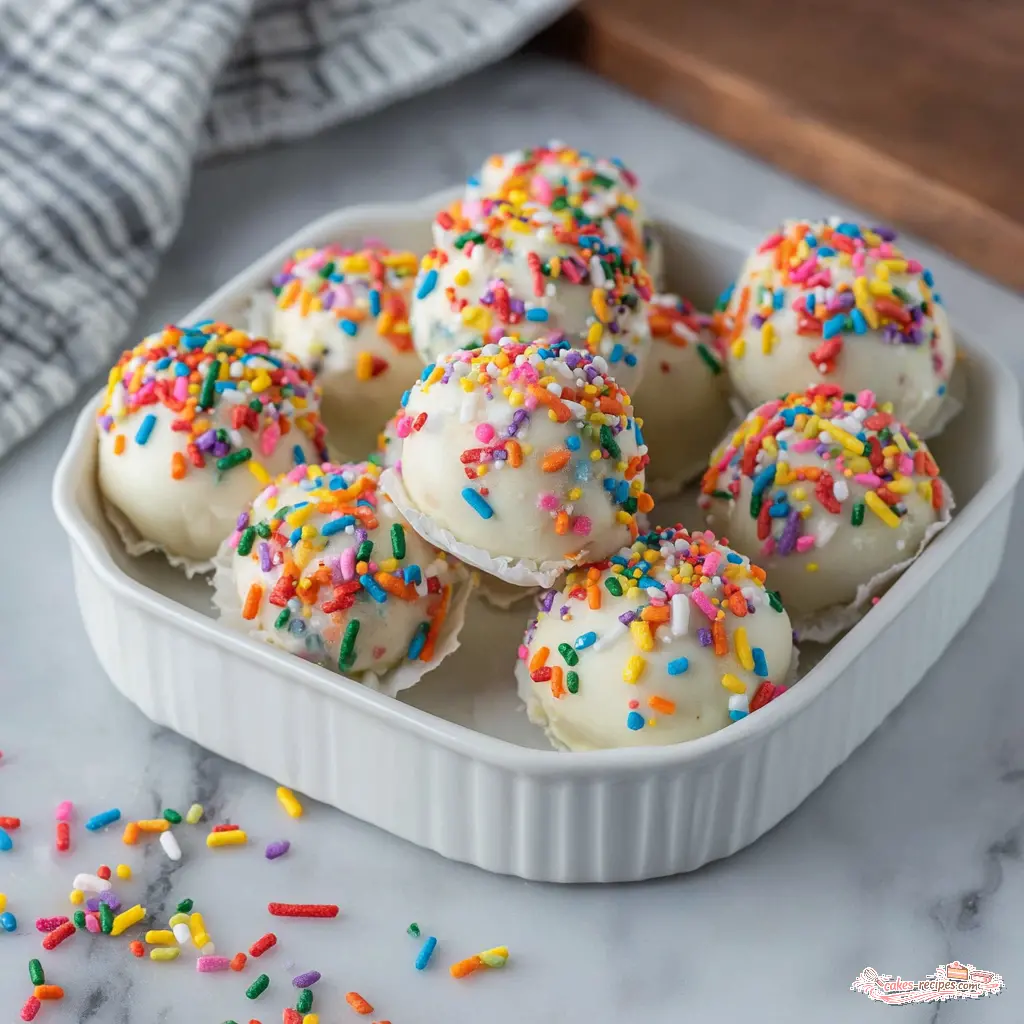
These birthday cake truffles have saved me more times than I can count. They’re the perfect last-minute dessert, a great gift for a friend, or just a fun treat to make with the kids. When you make them for your 4th of July BBQ or a summer pool party, everyone will ask for the recipe. And you can tell them it’s from me.
If you make these, tag me on social media. I love seeing your creations! And if you’re looking for more inspiration, come find me over on Pinterest. I’m always pinning new ideas.
Source: Nutritional Information