
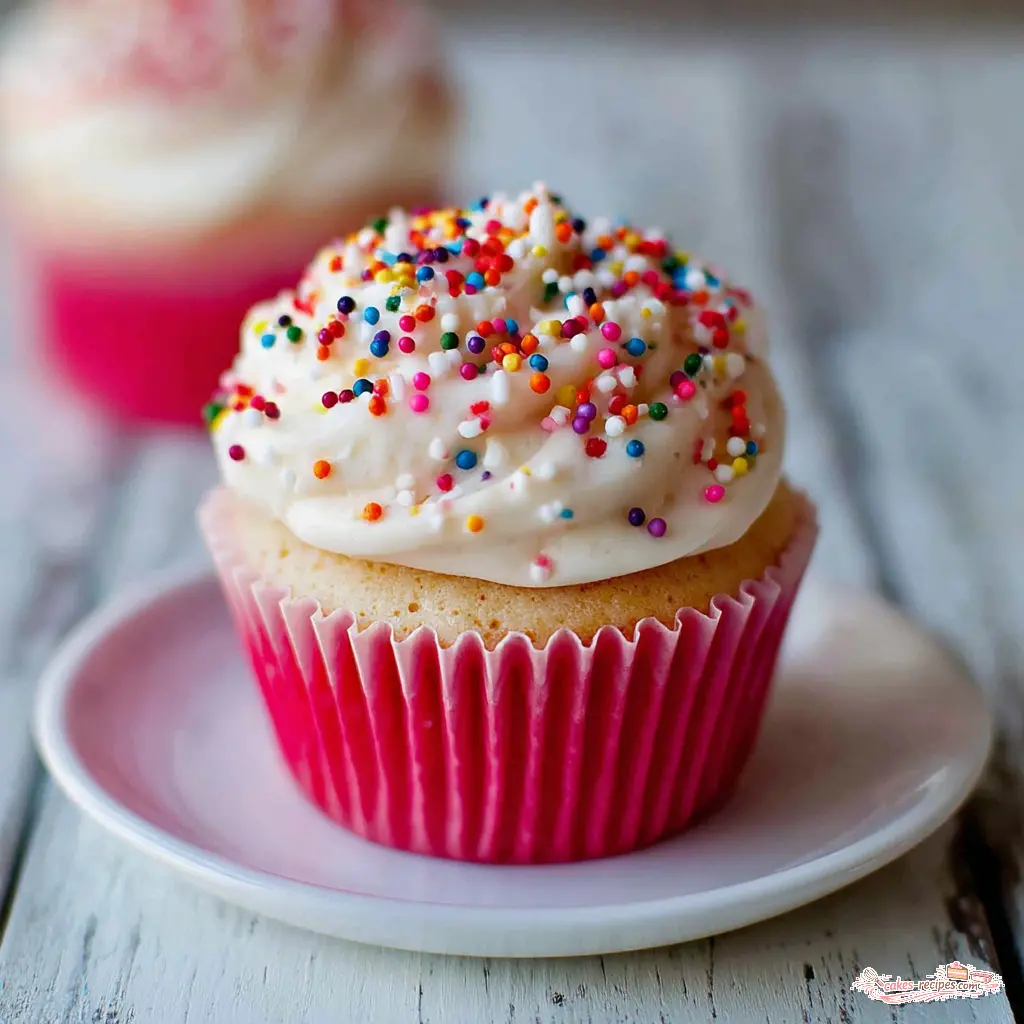
Single Serve Vanilla Cupcake
Ingredients
Method
- Preheat your oven to 350°F. Line a muffin pan with 2 paper liners or set out 2 small oven-safe ramekins with liners.
- In a small bowl, whisk together the melted butter, sugar, egg white, and vanilla extract until smooth. Add the self-rising flour and heavy cream, stirring gently just until combined—do not overmix.
- Divide the batter evenly between the two liners. Bake for 20 to 25 minutes, or until a toothpick inserted into the center comes out clean. Allow the cupcakes to cool completely on a wire rack before frosting.
- In a separate small bowl, combine the powdered sugar, softened butter, vanilla extract, and heavy cream. Stir until the frosting is smooth and spreadable. If it's too thick, add a tiny splash more cream; if too thin, add a little extra powdered sugar.
- Once the cupcakes are cool, spread the frosting evenly over the tops. Garnish with rainbow sprinkles if desired. Serve immediately or store in an airtight container.
Nutrition
Notes
Tried this recipe?
Let us know how it was!Why You’ll Love This Single Serve Vanilla Cupcake
It’s 9pm. You’re on the couch, scrolling, and suddenly you want something sweet. Not a full batch of cupcakes that’ll sit on your counter for days, not a store-bought snack that tastes like cardboard. Just one perfect, fluffy, bakery-quality vanilla cupcake with creamy frosting. I’ve been there more times than I can count.
This single serve vanilla cupcake recipe is my answer to that craving. It makes exactly two cupcakes (one for you, one for… well, also you), uses minimal ingredients, and comes together in about 30 minutes. No leftover batter, no half-used ingredients, no guilt. Just pure, sweet satisfaction.
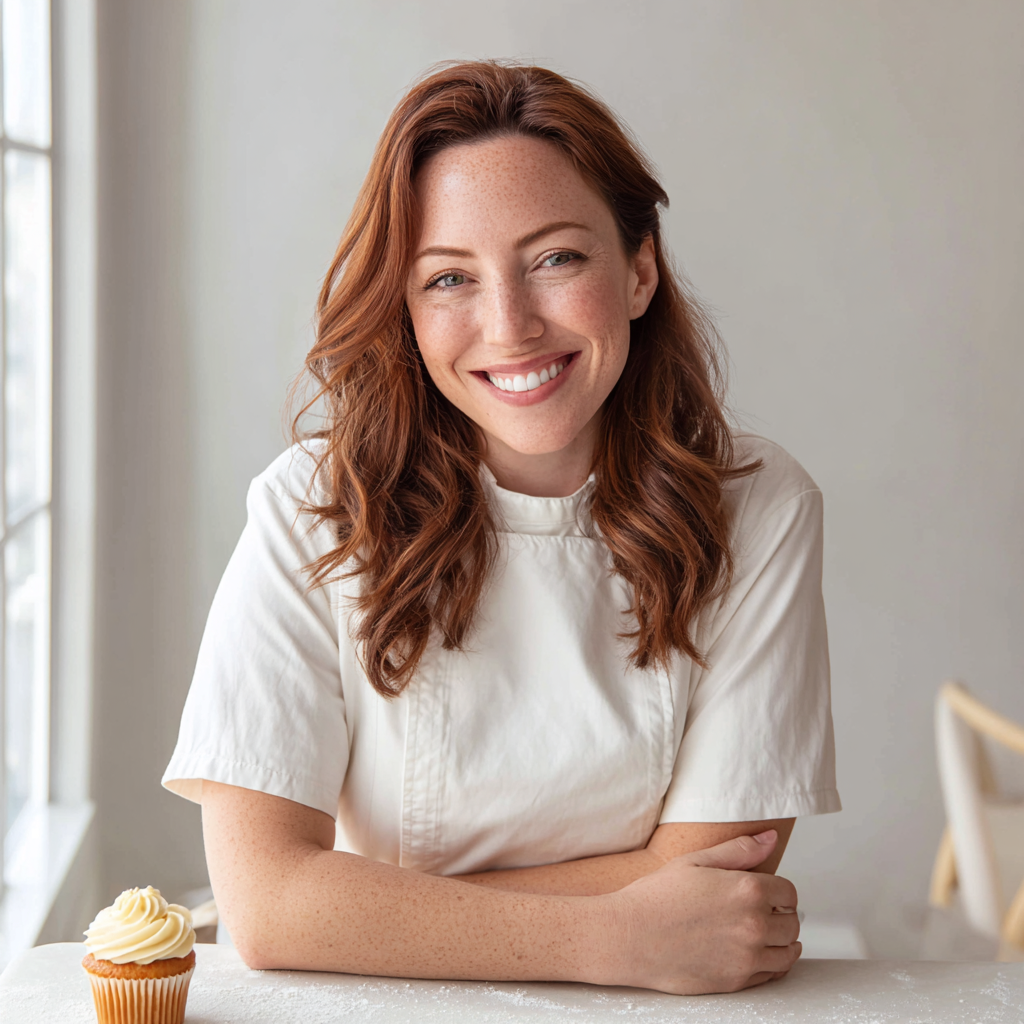
I grew up in Lyon spending summers at my Mimi’s pâtisserie. She taught me that small things deserve as much care as big ones. And honestly? This tiny batch of cupcakes gets the same love I’d give a three-tiered cake. The texture is light, the flavor is pure vanilla, and the frosting is that perfect buttercream that melts on your tongue.
Oh my goodness, I’m obsessed with how cute these are. And you’ve got this I promise.
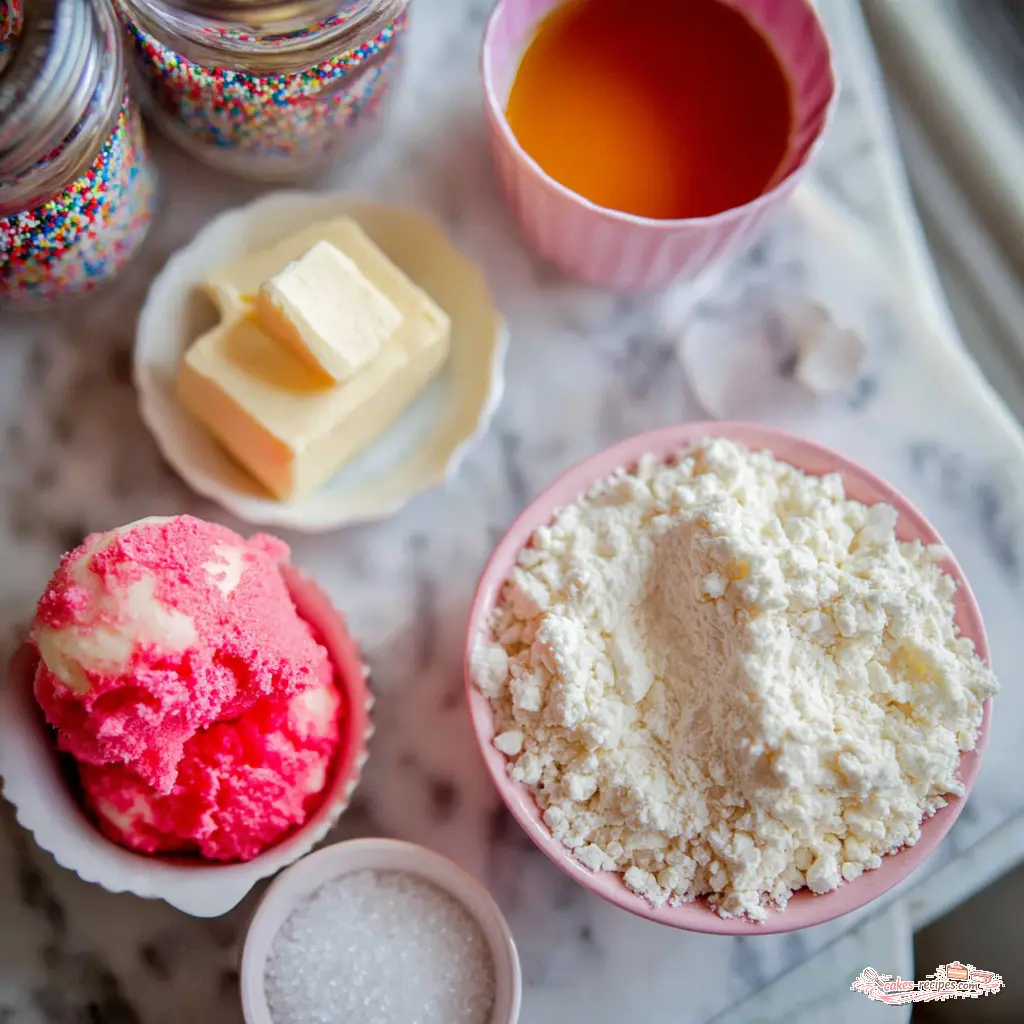
Ingredients for Single Serve Vanilla Cupcakes
Here’s what you need. And the best part? You probably already have most of it in your pantry. This recipe is designed for small batch baking, so no weird specialty items.
- Salted butter You’ll use it melted for the cupcake and softened for the frosting. If you only have unsalted, just add a tiny pinch of salt.
- Granulated sugar Plain white sugar. Nothing fancy.
- Egg white Just the white of one large egg. Room temperature, please. (More on why below.)
- Vanilla extract Pure vanilla extract is key here. Since this is a vanilla cupcake for one, the vanilla flavor really shines. Use the good stuff.
- Self-rising flour This is my secret weapon for fluffy vanilla cupcakes. It already has baking powder and salt mixed in. No self-rising? I’ll show you an easy swap.
- Heavy cream Adds richness and moisture. Room temperature matters here too.
- Powdered sugar For the frosting. Sift it if you can. Clumps are not your friend.
- Rainbow sprinkles Totally optional, but honestly, what’s a cupcake without sprinkles?
That’s it. No buttermilk, no sour cream, no weird extracts. Just simple, real ingredients that come together to make something magical.
Step-by-Step Instructions
Let me walk you through this. I’ll share the four main stages, and I’ll tell you exactly what to look for at each step. Even if you’ve never baked a single cupcake in your life, you’ll nail this.
Stage 1: Whisk the Wet Ingredients
Preheat your oven to 350°F. Line a muffin pan with two paper liners. (You can use ramekins too, but liners make it so much easier.)
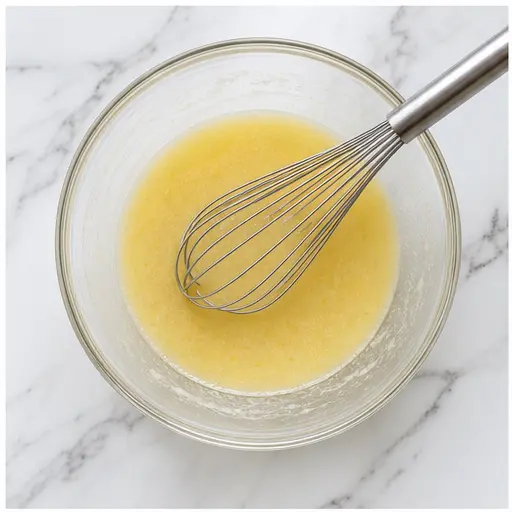
In a small bowl, whisk together the melted butter, granulated sugar, egg white, and vanilla extract. Whisk until it’s smooth and slightly pale. You’ll see the sugar start to dissolve. It smells amazing already that warm vanilla scent? That’s the promise of what’s coming.
I tend to like whisking by hand here. No electric mixer needed. Just a good old-fashioned whisk and some elbow grease.
Stage 2: Add the Dry Ingredients
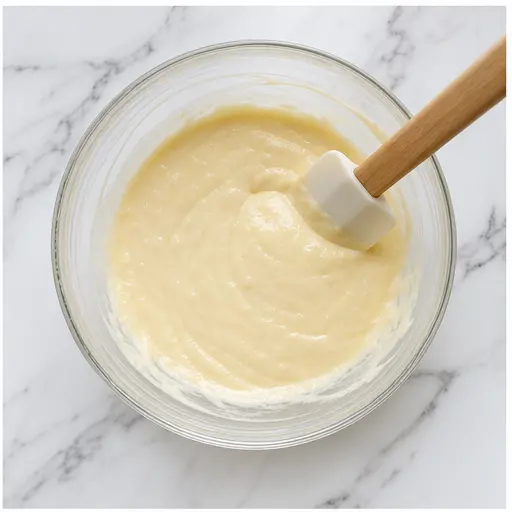
Now add the self-rising flour and heavy cream. Stir gently with a spatula until just combined. This is the most important part: do not overmix.
I learned this the hard way. My first single serve vanilla cupcake was tough and rubbery because I kept stirring, trying to get it perfectly smooth. Overmixing develops gluten, and gluten makes cupcakes dense. You want light and fluffy, not a hockey puck.
The batter should be thick but scoopable. A few tiny lumps are totally fine. Actually, they’re better than fine they mean you stopped mixing at the right time.
Stage 3: Bake to Golden Perfection
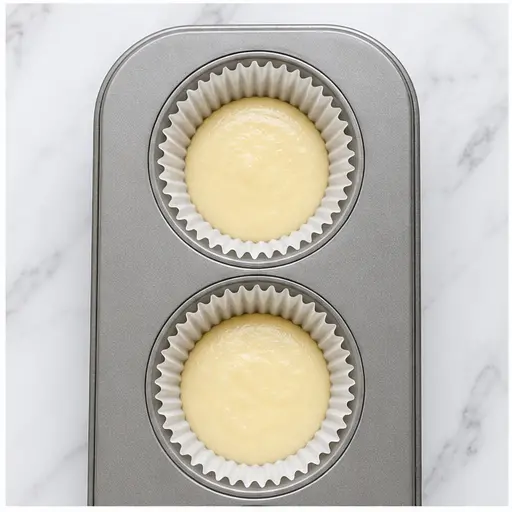
Divide the batter evenly between the two liners. They should be about two-thirds full. Pop the pan into the preheated oven and bake for 20 to 25 minutes.
Here’s where the magic happens. Your kitchen will start to smell like a bakery. That combination of vanilla and butter and warmth? It’s pure comfort. I swear, the aroma alone is worth making these.
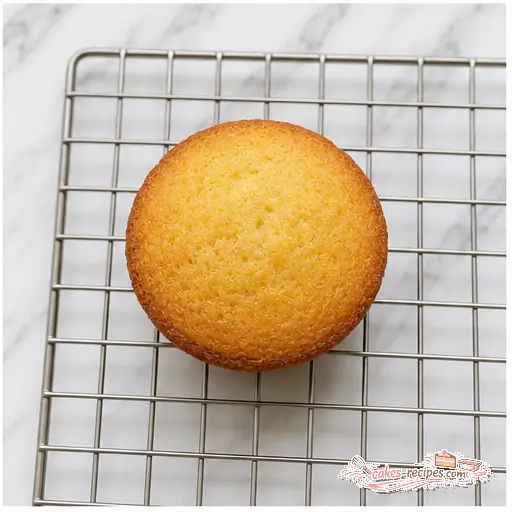
Check for doneness at 20 minutes. Insert a toothpick into the center if it comes out clean or with just a few moist crumbs, they’re done. If the toothpick has wet batter, give them another 2-3 minutes. Don’t overbake them, though. They continue to cook as they cool, so pulling them slightly underdone ensures a moist vanilla cupcake.
Let them cool completely on a wire rack before frosting. I know, I know, you want to eat them now. But warm frosting is a melty mess. Trust me on this.
Stage 4: Make the Frosting and Assemble
While the cupcakes cool, make the frosting. In a small bowl, combine the sifted powdered sugar, softened butter, vanilla extract, and heavy cream. Stir until smooth and spreadable.
If it’s too thick, add a tiny splash more cream. If it’s too thin, add a little extra powdered sugar. You want it thick enough to hold its shape but soft enough to spread easily.
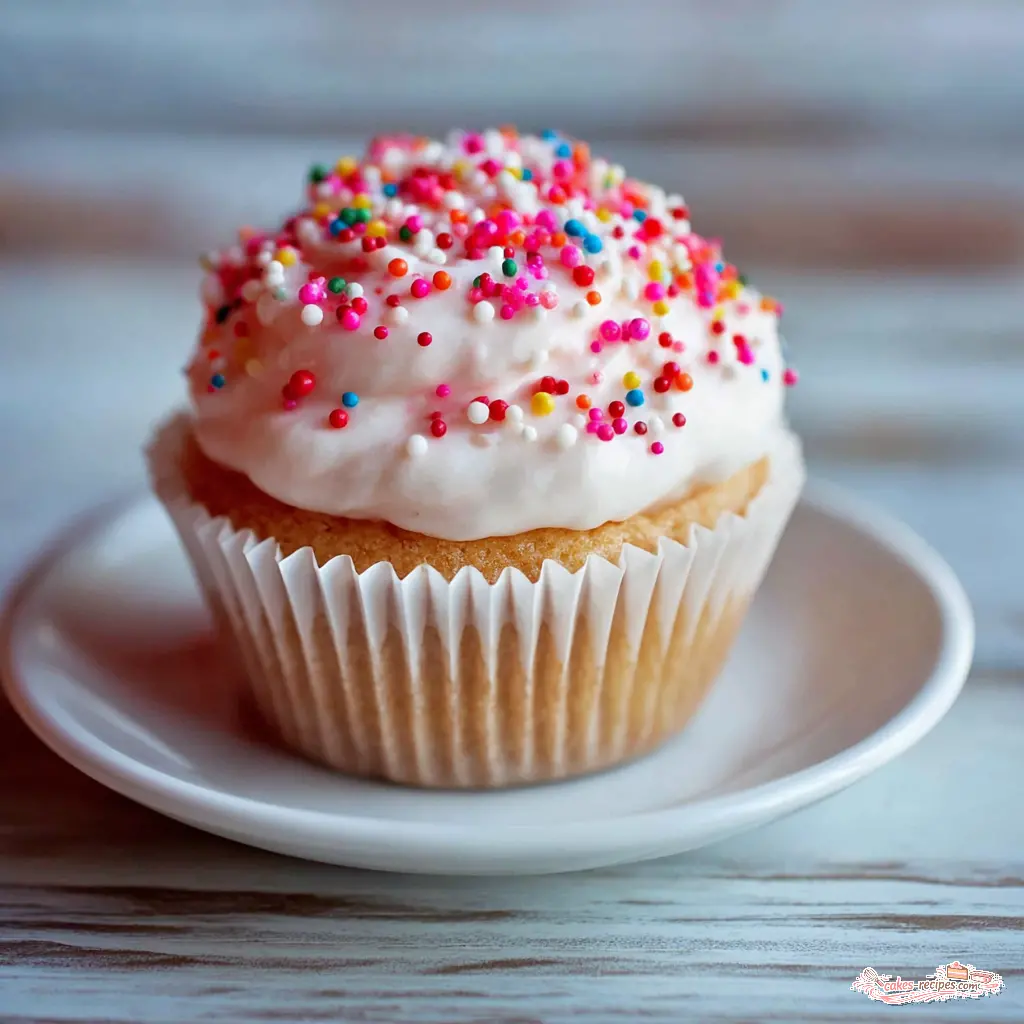
Once the cupcakes are completely cool, spread the frosting evenly over the tops. Add rainbow sprinkles if you’re feeling fancy. (I’m always feeling fancy.)
Take a moment to admire your work. Look how pretty that is! You made that. From scratch. For yourself. That’s a beautiful thing.
Tips for the Perfect Single Serve Vanilla Cupcake
I’ve made a lot of single cupcakes over the years. Some were amazing. Some were… learning experiences. Here’s what I’ve learned so you don’t have to make the same mistakes.
Pro Tips from My Kitchen
- Room temperature ingredients matter. Even for one cupcake. Cold egg white and cold cream won’t incorporate properly. Set them out 20 minutes before you start.
- Measure flour correctly. Spoon it into your measuring spoon and level it off with a knife. Scooping directly from the bag packs the flour and dries out your cupcakes.
- Don’t overmix. I said it before, I’ll say it again. Mix until just combined. A few lumps are fine.
- Don’t overbake. Check at 20 minutes. Underbake slightly for a moist cupcake.
- Use high-quality vanilla extract. Since this is a vanilla cupcake for one, the flavor is front and center. Cheap vanilla won’t do it justice.
- Be precise with measurements. Small discrepancies affect the final product a lot when you’re making just one. Use proper measuring spoons.
Oh, and one more thing: if your cupcake sinks a little in the middle, don’t panic. It still tastes amazing. Just cover it with extra frosting and call it a “designer” cupcake. I’ve done it. No shame.
Recipe Variations
Once you’ve mastered the basic single serve vanilla cupcake, you can start playing around. Here are some of my favorite twists.
- Almond extract swap: Substitute 1/2 teaspoon of the vanilla with almond extract. It gives the cupcake a subtle, nutty flavor that’s absolutely lovely.
- Citrus zest: Add a pinch of lemon or orange zest to the batter. It brightens the flavor and makes it feel extra special.
- Vegan version: Use plant-based milk and aquafaba (the liquid from a can of chickpeas) instead of the egg white. For the frosting, use your favorite vegan butter and plant-based milk.
- Gluten-free option: Use your favorite 1:1 gluten-free all-purpose flour blend. The texture might be slightly different, but it’ll still be delicious.
These variations are totally optional, but they’re fun to try when you want something a little different.
How to Store Leftover Cupcakes
Okay, let’s be real. “Leftover” single serve vanilla cupcake? That’s a rare occurrence in my house. But if you somehow don’t devour both immediately, here’s what to do.
Store frosted cupcakes in an airtight container at room temperature for up to 2 days. If you used a cream-based frosting, refrigerate them. They’ll last a bit longer, but the texture is best fresh.
Unfrosted cupcakes can be stored in a sealed container at room temperature for up to 2 days. Frost them right before serving for the best experience.
Can you freeze them? Technically yes. Wrap each unfrosted cupcake tightly in plastic wrap, then foil. Freeze for up to a month. Thaw at room temperature and frost fresh. But honestly? They’re so quick to make, I’d just bake a new batch.
Frequently Asked Questions
Final Thoughts
This single serve vanilla cupcake recipe is more than just a dessert. It’s a little act of self-care. It’s saying, “I deserve something special, and I’m worth the 30 minutes it takes to make it.”
I want you to try it tonight. Grab a bowl, preheat your oven, and make yourself one perfect cupcake. And when you do, tag me I want to see your solo cupcake victory. Share it on Pinterest and let’s celebrate small batch baking together.
You’ve got this. Happy baking!
Source: Nutritional Information














3 Responses
Made these last night and they were perfect! I only had all-purpose flour, so I used your note to add a pinch of baking powder and it turned out great. The frosting was the perfect amount—not too sweet. Thanks Sophie!
Loved the idea, but my cupcakes came out a bit dense. I used self-rising flour as directed—any tips to make them fluffier? Could it be that I overmixed the batter?
Hi Mark, thanks for trying the recipe! Yes, overmixing can definitely make them dense—mix just until the flour disappears. Also, make sure your butter isn’t too hot when you add it. Let me know if that helps!