
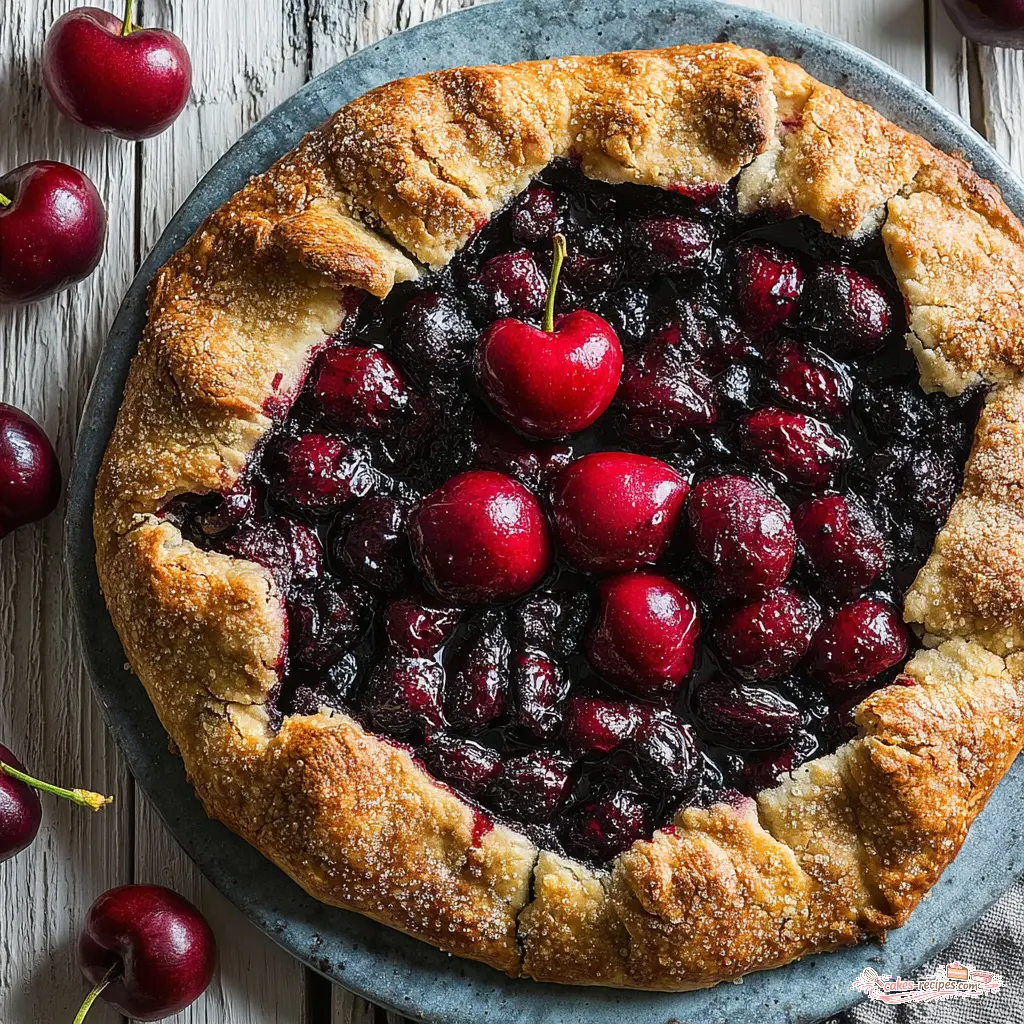
Why This Cherry Galettes Recipe Changed Everything for Me
I used to dread making pie dough. Like, actually dread it. The whole process felt like a high-stakes performance where one warm fingertip could ruin everything. Rolling, chilling, fitting it into the pan without tearing, crimping the edges so they actually look like something. And then there’s the filling. Does it need a lattice top? A full top crust? All those vents to let steam escape?
Then I discovered galettes. And honestly? It was like someone handed me permission to stop trying so hard. This cherry galettes recipe is exactly what you’re looking for if you want a dessert that looks like you spent hours on it but actually comes together in about an hour. It’s the no-fuss pastry that delivers every single time.
I’m Claire Morrison, and I’ve tested more pie recipes than I can count. But this rustic cherry tart is the one I keep coming back to. It’s the dessert I make for Fourth of July barbecues, for Sunday dinners with friends, for those moments when you want something special but don’t want to spend your whole afternoon in the kitchen. And trust me, this is going to be amazing.
Key Ingredients for This Cherry Galette
Let’s talk about what goes into this easy galette recipe. The ingredient list is short, which is part of the beauty. But each one plays a specific role, and understanding that makes all the difference.
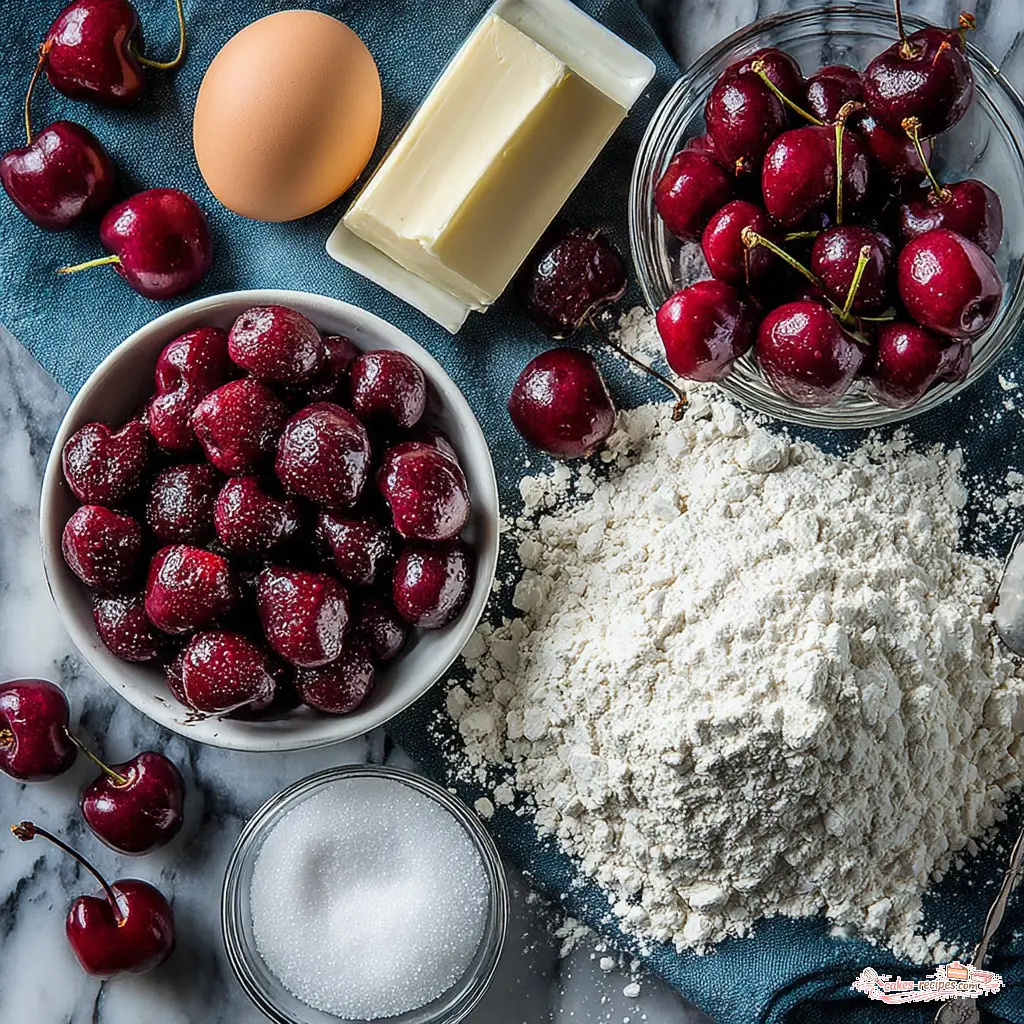
For the all-butter pie crust:
- All-purpose flour gives the crust structure without being tough. I use unbleached, but bleached works fine too.
- Unsalted butter, cold this is non-negotiable for a flaky crust. I prefer European-style butter with higher fat content. The flavor difference is subtle but real, and the texture is noticeably better.
- Salt just a quarter teaspoon to balance the sweetness.
- Egg adds richness and helps the dough hold together.
- White vinegar this is my secret weapon. It inhibits gluten development, which keeps the tender pastry tender. Don’t worry, you won’t taste it.
- Water just enough to bring the dough together. Start with one tablespoon and add more if needed.
For the cherry filling:
- Fresh cherries, pitted and halved sweet cherry varieties like Bing or Rainier work beautifully. If you’re using sour cherries, you might want to bump up the sugar by a tablespoon or two.
- Granulated sugar just a quarter cup. The cherries are sweet on their own, so you don’t need much.
- Cornstarch this is your thickening agent. Two tablespoons is enough to absorb the cherry juices without making the filling gloopy.
For the egg wash and topping:
- Egg beaten for that beautiful golden shine.
- Turbinado sugar the coarse crystals add crunch and sparkle. Demerara sugar works too.
That’s it. Eight ingredients for the whole thing. Fair enough for a summer fruit dessert that looks this impressive.
How to Make This Cherry Galettes Recipe
Here’s where we get into the actual process. I’m going to walk you through four major stages. Each one builds on the last, and I’ll explain the why behind each step so you understand what’s happening. That makes sense to me when I know why I’m doing something, I’m less likely to mess it up.
Stage 1: Making the Crust
The crust is where most people get nervous. But here’s the thing about a fruit galette dough it’s incredibly forgiving. You don’t need a food processor or a pastry cutter. Just a box grater and your hands.
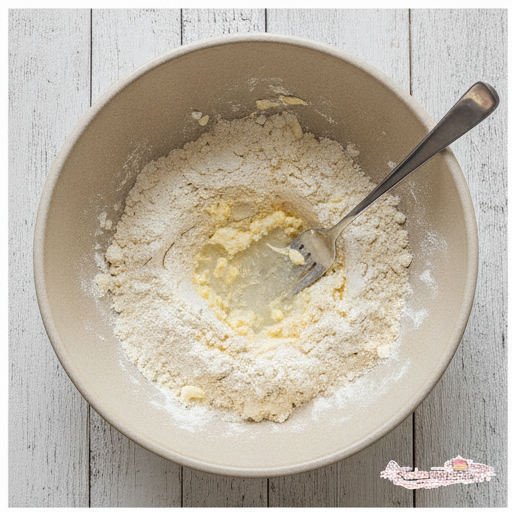
Start by whisking the flour and salt together in a medium bowl. Now here’s the trick: grate the cold butter directly into the flour using the large holes of a box grater. I keep my butter in the freezer for about 10 minutes before I start. It grates so much easier when it’s really cold. Stir with a fork until the butter is well coated. The mixture should look like coarse, pebbly meal with some visible butter pieces. Those little bits are what create the flaky layers.
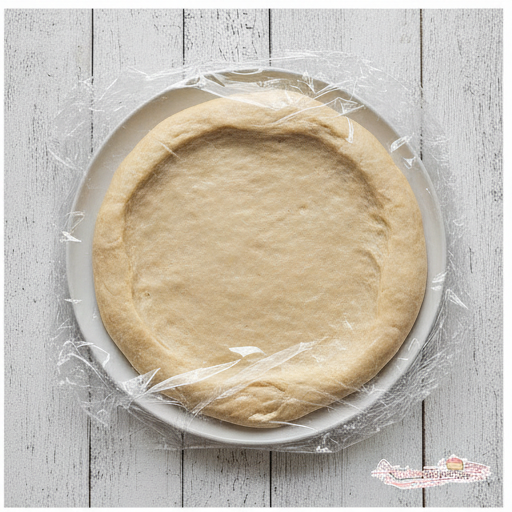
In a small bowl, beat the egg with the water and vinegar until smooth. Pour it into the flour mixture and stir just until a shaggy dough forms. If it seems dry, add water one teaspoon at a time until it holds together when pressed. Shape it into a disk, wrap it in plastic, and refrigerate for at least 30 minutes. This chilling step is crucial it lets the gluten relax and keeps the butter cold. Don’t skip it.
Stage 2: Preparing the Filling
While the dough chills, get your cherries ready. Pitting cherries is probably the most tedious part of this whole process, but I’ve got a tip. Use a paper clip. Unfold it, stick the curved end into the stem end of the cherry, and pop the pit out. It works better than any fancy cherry pitter I’ve tried.
Halve the cherries and toss them in a large bowl with the sugar and cornstarch. Make sure they’re evenly coated. The cornstarch will absorb the juices as they bake, creating that thick, beautiful filling that holds together when you slice it. Let the mixture sit while you roll out the dough. This gives the cornstarch a chance to start working.
Stage 3: Assembling the Galette
Preheat your oven to 375°F. Place the chilled dough on a sheet of parchment paper and roll it into a 12-inch round. Don’t worry if it’s not a perfect circle that’s the rustic appeal. If the edges crack a little, just press them back together. No one’s going to notice.
Slide the parchment onto a baking sheet. Spoon the cherry mixture into the center of the dough, leaving a 2-inch border. Now for the fun part folding. Lift the border up and over the fruit, pleating the dough as you go. Think of it like folding a blanket around a sleeping child. You’re not trying to make it perfect. You’re just trying to keep the filling contained. The pleats will create those beautiful irregular edges that make a galette look so charming.
Here’s something I learned the hard way: if the dough feels too warm and sticky at this point, pop the whole baking sheet in the fridge for 10 minutes before baking. Cold dough holds its shape better and creates those distinct flaky layers.
Stage 4: Baking and Finishing
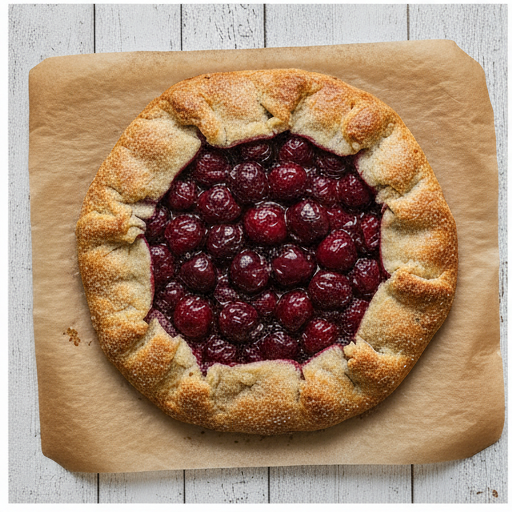
Beat the egg for the wash and brush it over the exposed crust. Don’t skip this the egg wash is what gives your galette that gorgeous golden shine. Sprinkle generously with turbinado sugar. The coarse sugar adds a lovely crunch and makes the crust sparkle.
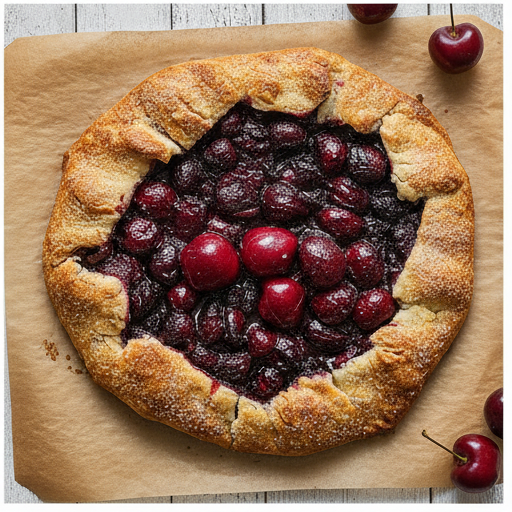
Bake for 30 to 35 minutes, until the crust is golden brown and the filling is bubbly. You might see some juice leaking out that’s normal. Let the galette cool on the baking sheet for 10 minutes before slicing. This gives the filling time to set up. If you cut into it too soon, the juices will run everywhere. I know because I’ve done it. More than once.
Imagine the buttery scent mingling with sweet cherries, the crust crackling as you cut into it, the deep red filling glistening in the summer light. That’s what you’re working toward.
Expert Tips for a Perfect Galette
After making this cherry galettes recipe dozens of times, I’ve collected a few tips that make a real difference. Let me share them.
Texture Targets
What to look for: The crust should be deep golden brown, not pale. The filling should be thick and bubbly, not watery. When you tap the crust, it should sound hollow. When you cut into it, the layers should separate easily.
How to prevent a soggy bottom: This is the number one question I get. Here’s what works:
- Keep your butter cold. Grated butter distributes more evenly and creates steam pockets that lift the crust away from the filling.
- Don’t overfill. A 2-inch border is plenty. Too much fruit means too much juice, which means soggy crust.
- Let it cool on the baking sheet. The residual heat continues to crisp the bottom.
- If you’re really worried, you can preheat your baking sheet in the oven for 10 minutes before placing the galette on it. The hot pan gives the bottom crust a head start.
Common mistakes and how to fix them:
- ❌ Dough cracking when you fold it → ✅ Let the dough sit at room temperature for 2-3 minutes to soften slightly. Cold dough is brittle. If it still cracks, just press the pieces together the egg wash will seal them.
- ❌ Filling too runny → ✅ Make sure you’re using cornstarch, not flour. Cornstarch has twice the thickening power. Also, let the cherry mixture sit for 5 minutes before spooning it onto the dough.
- ❌ Crust browning too fast → ✅ Tent the galette loosely with foil during the last 10 minutes of baking. Every oven behaves differently, so check at 25 minutes.
- ❌ Butter leaking out of the crust → ✅ Your dough was probably too warm when it went into the oven. Chill it for 10 minutes before baking next time.
Equipment I recommend: A box grater for the butter, a rolling pin (though a wine bottle works in a pinch), parchment paper (non-negotiable for easy cleanup and sliding onto the baking sheet), and a rimmed baking sheet to catch any drips.
Storage and Make-Ahead Instructions
This is where this cherry galettes recipe really shines for entertaining. You can prep almost everything ahead of time.
Make the dough ahead: Prepare the dough up to 2 days ahead and keep it wrapped in plastic in the refrigerator. You can also freeze it for up to a month. Just thaw it overnight in the fridge before rolling.
Store leftovers: Cover the galette loosely with foil and keep at room temperature for up to 2 days. Don’t refrigerate it the crust will get soft. If you have leftovers after that, you can freeze them for up to 2 weeks.
Reheat: To bring back that crispy crust, reheat slices in a 350°F oven for 5 minutes. The microwave will make the crust soggy, so avoid it if you can.
Variations and Substitutions
This easy galette recipe is flexible, and that’s one of the things I love about it. Here are some ways to mix it up.
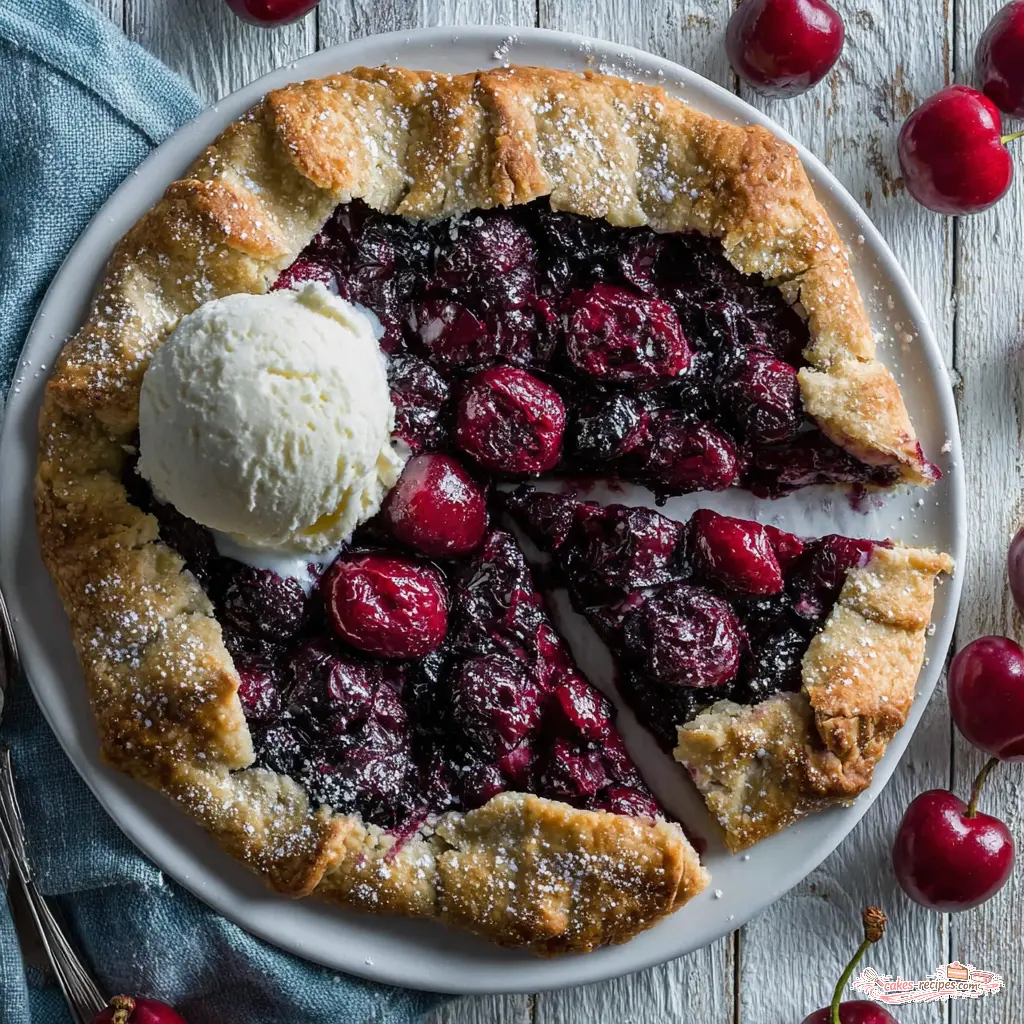
Use frozen cherries: If fresh cherries aren’t in season, frozen work great. Thaw them first and drain off the excess liquid. Reduce the sugar by a tablespoon since frozen fruit is often sweeter.
Add almond extract: A pinch of almond extract in the cherry filling is a classic flavor pairing. It’s completely optional, but it adds a lovely depth. (Just remember, this isn’t in the base recipe it’s a variation you can try.)
Use other fruit: This same technique works with blueberries, blackberries, sliced peaches, or apples. Adjust the sugar based on the sweetness of the fruit. Peaches might need a little more cornstarch since they’re juicier.
Gluten-free option: You can substitute a gluten-free flour blend for the all-purpose flour. Look for one that’s a 1:1 replacement. The texture will be slightly different, but it still works beautifully.
Make individual galettes: Divide the dough into 4 pieces and roll each into a 6-inch round. Use about a cup of filling per galette. Reduce the baking time to 20-25 minutes. These are perfect for parties where everyone wants their own.
Frequently Asked Questions
Conclusion
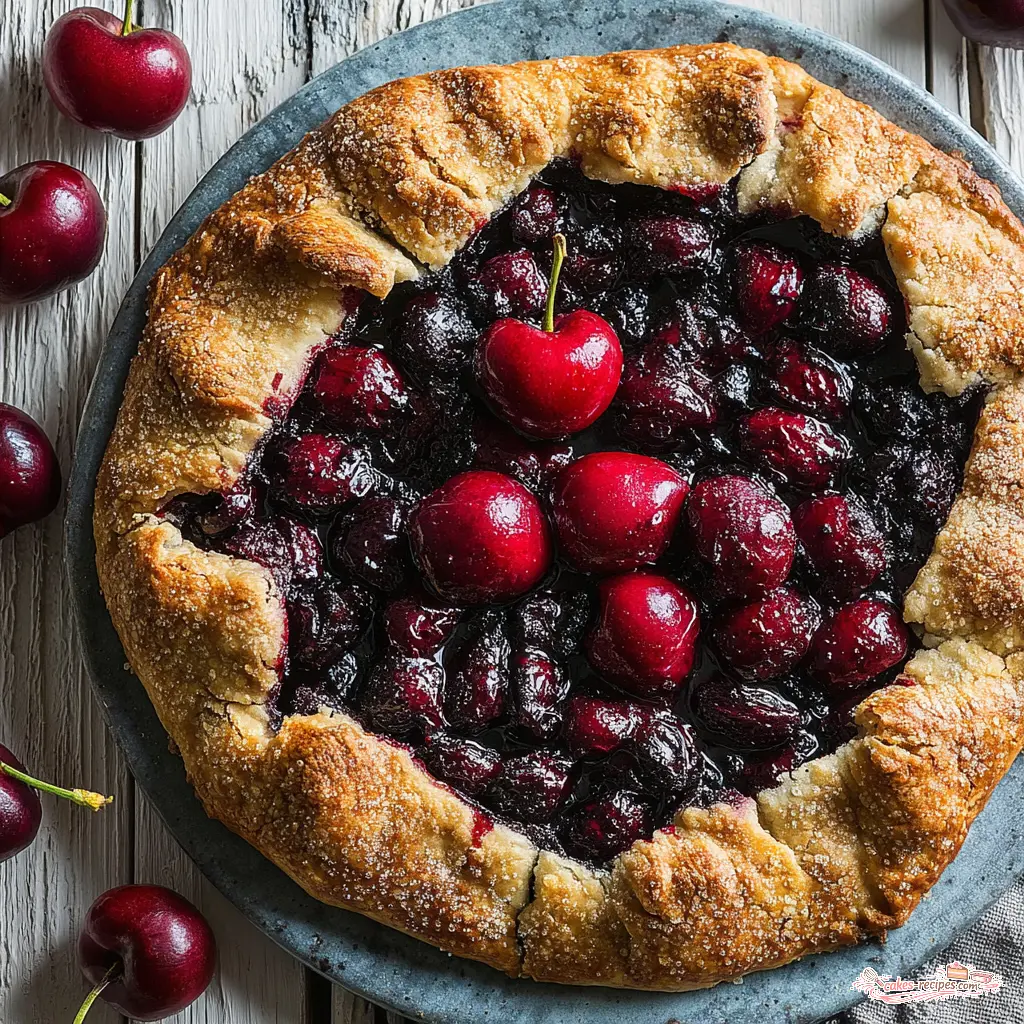
This cherry galettes recipe is the summer dessert you’ve been looking for. It’s simple enough for a Tuesday night, impressive enough for a Fourth of July party, and flexible enough to adapt to whatever fruit you have on hand. The flaky all-butter crust, the juicy cherry filling, the rustic folded edges it all comes together in a way that feels special without being fussy.
I’d love to see how yours turns out. Share your photos and tag me on Pinterest I’m always looking for inspiration from real home bakers. And remember, the first one might not be perfect, but it will still be delicious. My mom ate two slices of that lopsided chocolate cake I made when I was twelve, and she told me it was the best gift she’d ever received. That’s the thing about homemade desserts. They don’t have to be perfect. They just have to be made with love.
Easy Cherry Galettes Recipe for Summer Dessert
Ingredients
Method
- In a medium bowl, whisk together the flour and salt. Grate the cold butter directly into the flour using a box grater, then stir with a fork until the butter is well coated.
- In a small bowl, beat the egg with the water and vinegar until smooth.
- Pour the egg mixture into the flour mixture and stir just until a shaggy dough forms. If it seems dry, add water 1 teaspoon at a time until it holds together when pressed. Shape into a disk, wrap in plastic, and refrigerate for at least 30 minutes.
- Preheat the oven to 375°F. Place the chilled dough on a sheet of parchment paper and roll it into a 12-inch round. Slide the parchment onto a baking sheet.
- In a large bowl, toss the cherries with the sugar and cornstarch until evenly coated.
- Spoon the cherry mixture into the center of the dough, leaving a 2-inch border. Fold the border up and over the fruit, pleating as needed to enclose the filling.
- In a small bowl, beat the egg for the wash. Brush it over the exposed crust, then sprinkle generously with turbinado sugar.
- Bake for 30 to 35 minutes, until the crust is golden brown and the filling is bubbly. Let the galette cool on the baking sheet for 10 minutes before slicing and serving.
Nutrition
Notes
Tried this recipe?
Let us know how it was!Source: Nutritional Information















3 Responses
Made this for a family gathering last weekend and it was a huge hit! The crust came out perfectly flaky, and the cherry filling was just the right amount of sweet and tart. I did add a pinch of cinnamon to the filling because I love that flavor with cherries. Will definitely make again!
Loved the simplicity of this recipe, but my crust turned out a bit soggy on the bottom. Any tips for preventing that? I used frozen cherries (thawed and drained), but maybe I should have pre-cooked the filling first?
Hi David, great question! For frozen cherries, I recommend tossing them with the sugar and cornstarch, then letting them sit for 15 minutes before draining off any excess liquid. Also, try baking the galette on a preheated baking sheet—that extra bottom heat really helps crisp up the crust. Hope that helps next time!