
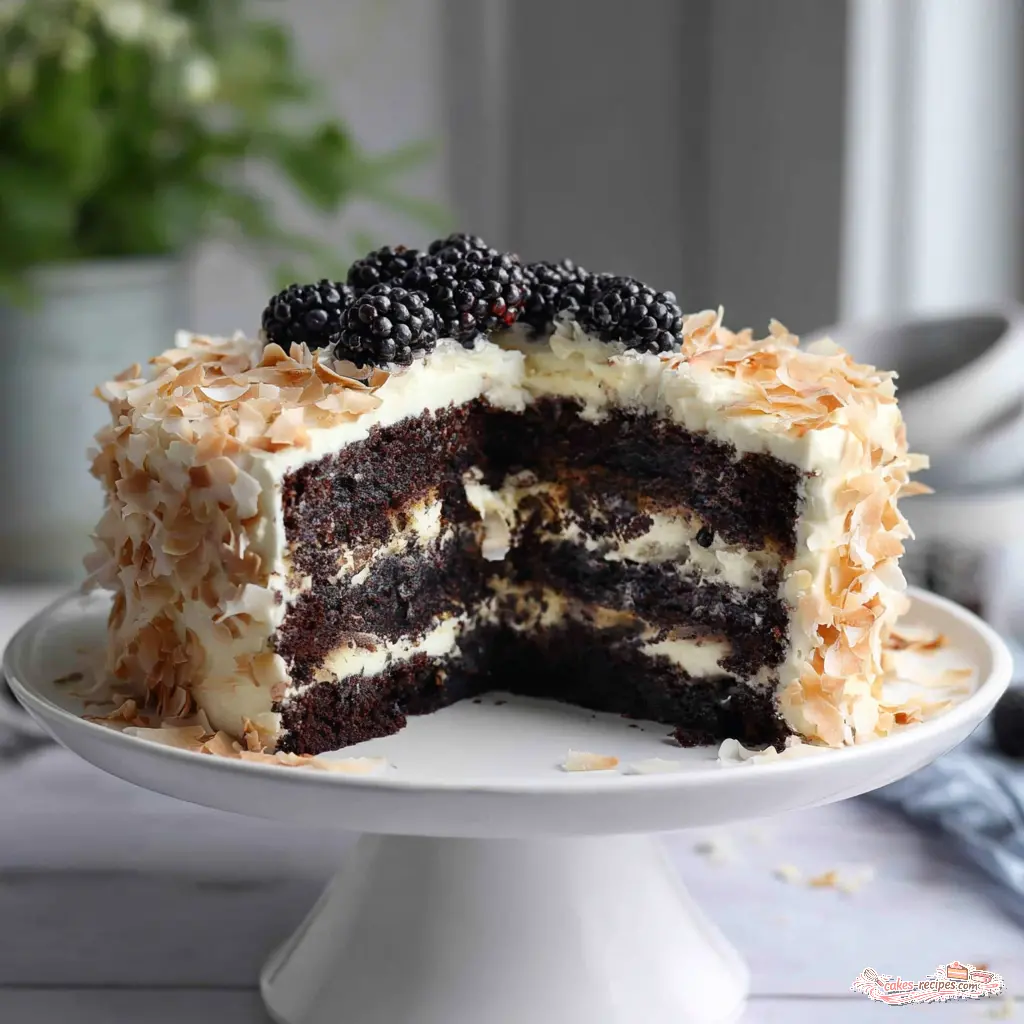
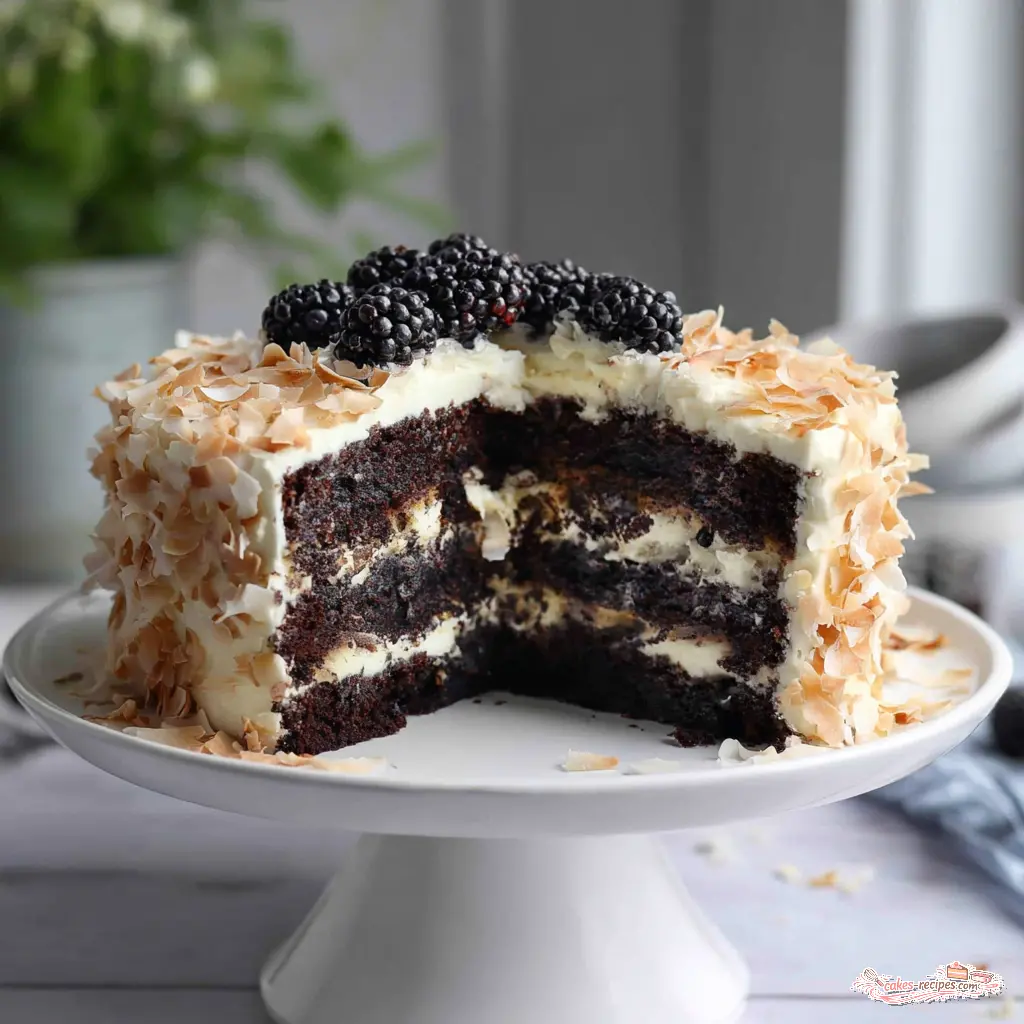
Ultimate Chocolate Coconut Cream Cake
Ingredients
Method
- Preheat your oven to 350 degrees Fahrenheit. Line the bottoms of three 8-inch round cake pans with parchment paper, then spray the pans with nonstick cooking spray. Set aside.
- In a small saucepan over medium-low heat, combine the water and butter. Once the butter is melted and the mixture is smooth, remove from heat. Whisk in the cocoa powder and chopped dark chocolate until fully melted and smooth. Stir in the brown sugar, vanilla, and salt.
- In a large bowl, whisk together the eggs and egg yolks. Slowly drizzle the egg mixture into the chocolate mixture, whisking constantly, until fully incorporated.
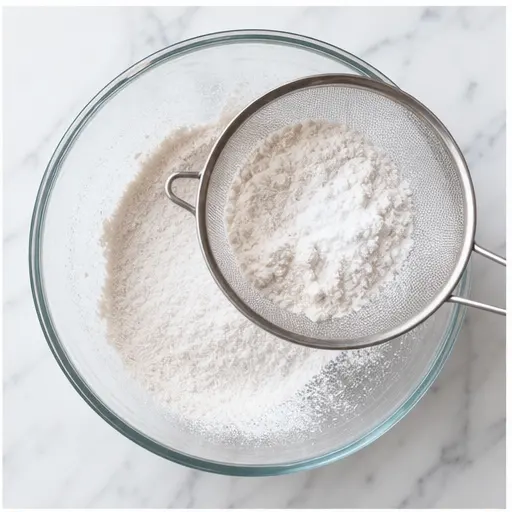
- Sift the flour and baking soda together, then gradually fold them into the batter until just combined. Be careful not to overmix; a few streaks of flour are fine.
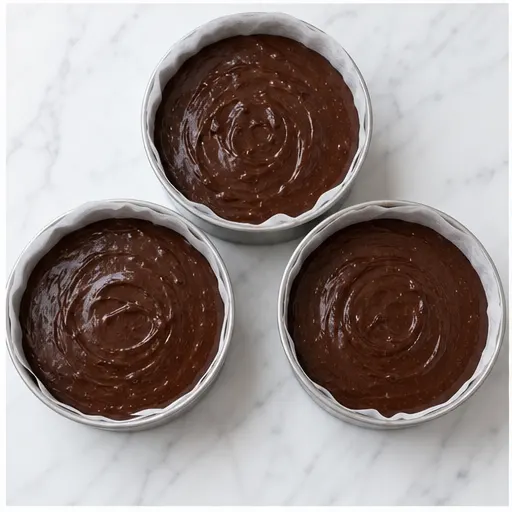
- Divide the batter evenly among the prepared pans. Bake for 25 to 30 minutes, until the cakes spring back when gently pressed and a toothpick inserted in the center comes out clean or with a few moist crumbs. Cool the cakes in their pans for 1 hour, then run a knife around the edges to loosen and turn them out onto a wire rack. Let cool completely before frosting.
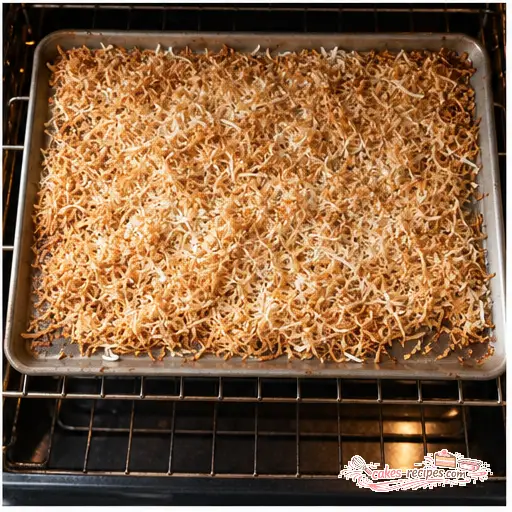
- Reduce the oven temperature to 325 degrees Fahrenheit. Spread the shredded coconut in a thin layer on a baking sheet and toast for 5 to 10 minutes, until lightly golden. Let cool completely.
- In a large bowl or stand mixer fitted with the paddle attachment, beat the room-temperature butter on medium speed until light and fluffy, about 4 minutes. Add about one-third of the sweetened condensed milk and beat until smooth and homogeneous.
- Add the vanilla, salt, and another third of the sweetened condensed milk. Beat until combined. Add the remaining sweetened condensed milk and 1/2 cup powdered sugar, and beat until smooth. If the frosting is too soft, chill it in the refrigerator for 15 to 20 minutes, or add up to 1/2 cup more powdered sugar.
- If your cakes have domed tops, use a serrated knife to level them so they are flat. Place one cake layer on a serving plate. Spoon about one-third of the frosting into a piping bag fitted with a round tip, and pipe it evenly over the cake layer. Sprinkle generously with toasted coconut. Repeat with the remaining layers, finishing with a layer of frosting and coconut on top. Garnish with fresh blackberries if desired.
Nutrition
Notes
Tried this recipe?
Let us know how it was!Why This Chocolate Coconut Cream Cake Works
There’s something about that first bite where dark chocolate meets silky coconut cream. It’s the kind of dessert that makes people close their eyes and go quiet for a second. That’s what I was chasing when I developed this recipe.
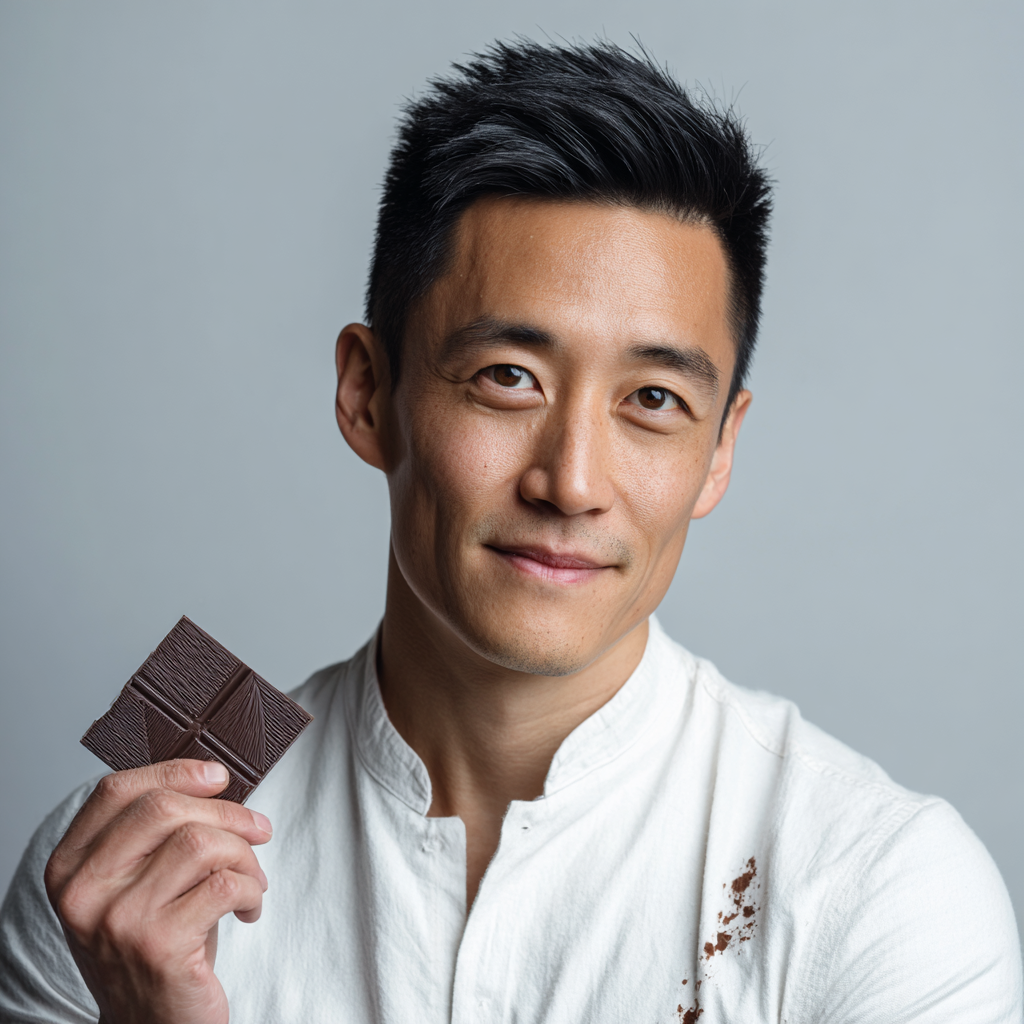
I grew up watching my mom temper chocolate at the kitchen counter every Sunday afternoon. She’d spread it on marble, scrape it back, test it on her wrist. I thought it was alchemy. When I finally learned the science behind tempering in culinary school, I called her and said ‘You were doing chemistry the whole time!’ She laughed and said ‘I was just doing what my teacher showed me.’ That’s how knowledge passes down.
This chocolate coconut cream cake is built on that same idea. It’s not complicated, but every step matters. The cake layers are deeply fudgy thanks to melted dark chocolate and Dutch-processed cocoa. The frosting is a Russian buttercream that’s silky and stable. And the toasted coconut? That’s the texture bomb that makes every bite interesting.
Let me walk you through it.
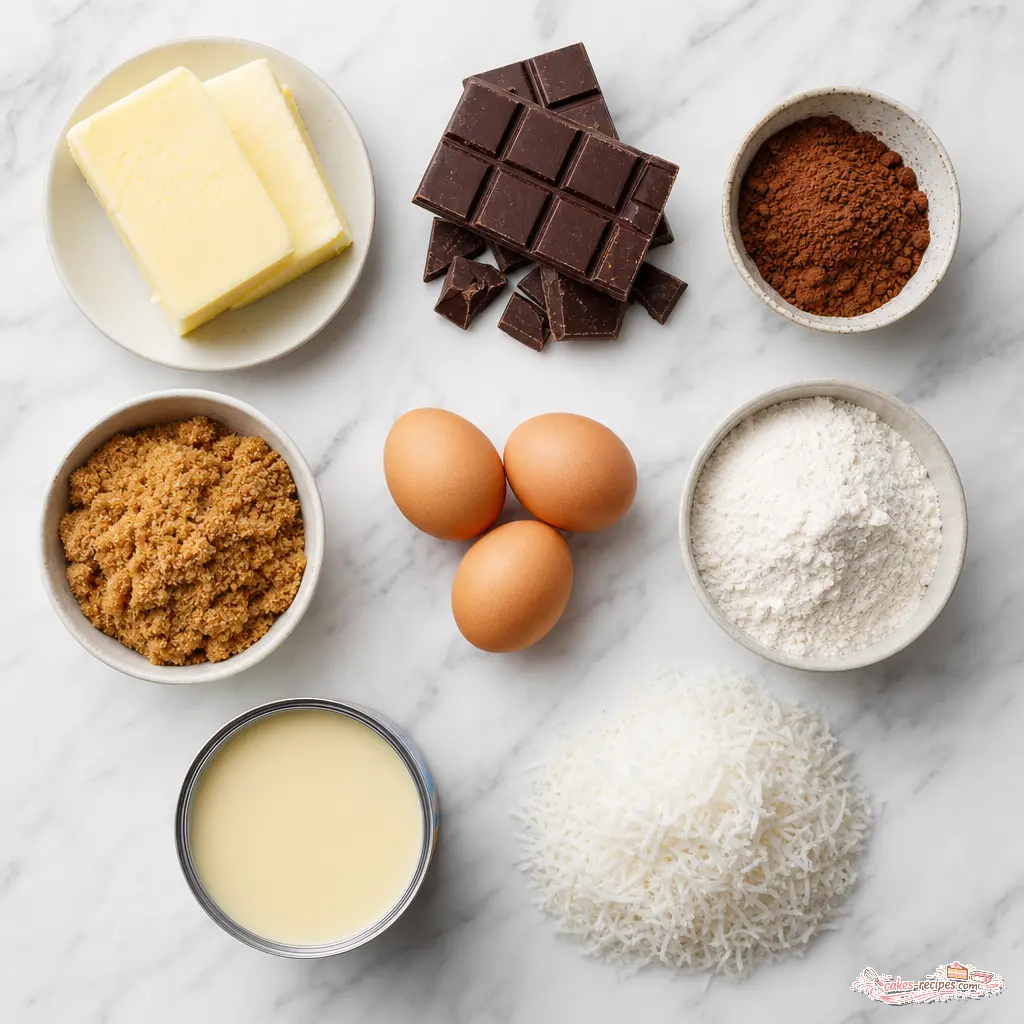
Key Ingredients and Substitutions
Here’s what makes this moist chocolate cake tick. I’m a stickler for specifics, and for good reason. Get these right and you’re golden.
Dutch-processed cocoa powder gives a darker color and milder chocolate flavor. It’s not interchangeable with natural cocoa here. The baking soda reacts with the acidity in the brown sugar and chocolate, so the cake rises properly. If you use natural cocoa, the layers won’t rise as much. I’ve tested this. It tracks.
72% dark chocolate is my sweet spot. 60% is too sweet for my taste, and anything above 75% can be bitter for most people. Finely chop it so it melts evenly into the butter and water mixture.
Brown sugar adds moisture and a subtle molasses note that complements the chocolate. Pack it firmly when measuring.
Eggs and extra yolks provide richness and structure. Use large eggs. Not medium, not extra large. That’s important for the liquid balance.
Sweetened shredded coconut is what we use for the topping. Toasting it deepens the flavor and makes it easier to chew. I highly recommend not skipping that step.
For substitutions, here’s what I’ve tested:
- Dairy-free option: Use vegan butter and a dairy-free dark chocolate. The frosting needs a different approach. Try a coconut cream-based frosting instead of Russian buttercream.
- Gluten-free option: Swap the all-purpose flour with a 1:1 gluten-free baking flour blend. Cup4Cup works well here.
- Coffee for water: Substitute the water with strong brewed coffee for a deeper chocolate flavor. It doesn’t make the cake taste like coffee. It just makes the chocolate taste more like itself.
How to Make the Devil’s Food Cake Layers
This is where the magic happens. The method here is a bit different from standard cake recipes. We’re melting the butter with water and chocolate first, then adding everything else. That’s what gives this cake its fudgy texture.
Start by preheating your oven to 350 degrees Fahrenheit. Line the bottoms of three 8-inch round cake pans with parchment paper, then spray the pans with nonstick cooking spray. I use parchment circles I cut myself. It’s worth the extra minute.
In a small saucepan over medium-low heat, combine the water and butter. Once the butter is melted and the mixture is smooth, remove from heat. Whisk in the cocoa powder and chopped dark chocolate until fully melted and smooth. You want a glossy, dark liquid. That’s the result you want.
Stir in the brown sugar, vanilla, and salt. The mixture will look grainy at this point. That’s fine. It’ll come together.
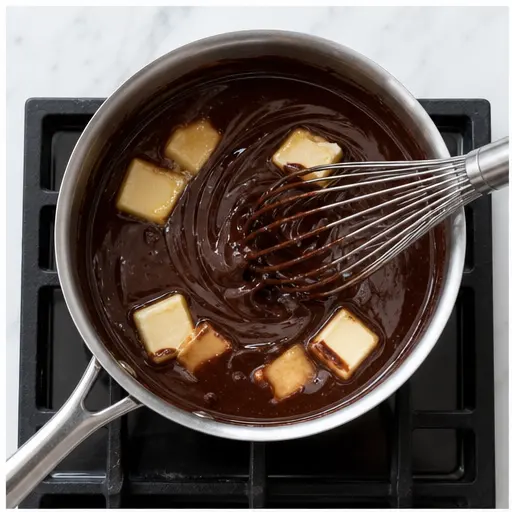
In a large bowl, whisk together the eggs and egg yolks. Slowly drizzle the egg mixture into the chocolate mixture, whisking constantly. This is called tempering. You’re gently warming the eggs so they don’t scramble. Go slow. If you dump them in all at once, you’ll get chocolate scrambled eggs. I learned that the hard way my first time.
Sift the flour and baking soda together, then gradually fold them into the batter until just combined. A few streaks of flour are fine. Overmixing develops gluten, which makes the cake tough. You want tender, not tough.
Divide the batter evenly among the prepared pans. Bake for 25 to 30 minutes, until the cakes spring back when gently pressed and a toothpick inserted in the center comes out clean or with a few moist crumbs.
Cool the cakes in their pans for 1 hour. This is crucial. If you turn them out too soon, they’ll break. Run a knife around the edges to loosen and turn them out onto a wire rack. Let cool completely before frosting. I usually bake these the day before and let them cool overnight. The texture actually improves.
How to Make Russian Buttercream Frosting
Russian buttercream is my secret weapon for this cake. It’s made with sweetened condensed milk instead of powdered sugar. The result is silky, creamy, and less sweet than American buttercream. It also holds up better in warm weather, which matters when you’re baking in July.
Start with room-temperature butter. This is non-negotiable. If your butter is too cold, the frosting will be lumpy. Too warm, and it’ll be thin and greasy. Let it sit out for at least an hour before you start.
In a large bowl or stand mixer fitted with the paddle attachment, beat the butter on medium speed until light and fluffy. This takes about 4 minutes. Don’t rush it. You’re incorporating air, which makes the frosting light.
Add about one-third of the sweetened condensed milk and beat until smooth and homogeneous. Then add the vanilla, salt, and another third. Beat until combined. Add the remaining sweetened condensed milk and the powdered sugar, and beat until smooth.
If the frosting is too soft, chill it in the refrigerator for 15 to 20 minutes, or add up to 1/2 cup more powdered sugar. If it splits or looks curdled, don’t panic. It probably got too warm. Pop the whole bowl in the fridge for 10 minutes, then re-whip. That usually fixes it.
How to Toast Coconut for Topping
Reduce the oven temperature to 325 degrees Fahrenheit. Spread the shredded coconut in a thin layer on a baking sheet. Toast for 5 to 10 minutes, until lightly golden. Watch it carefully. Coconut goes from golden to burnt in about 30 seconds. The smell is your best indicator. When you start smelling toasted coconut, it’s done.
Let it cool completely before using. It’ll crisp up as it cools.
How to Assemble the Cake
If your cakes have domed tops, use a serrated knife to level them. A gentle sawing motion works best. You want flat layers so the cake doesn’t lean.
Place one cake layer on a serving plate. Spoon about one-third of the frosting into a piping bag fitted with a round tip. Pipe it evenly over the cake layer. Piping creates an even layer without dragging crumbs into the frosting. If you don’t have a piping bag, use a spatula and be gentle.
Sprinkle generously with toasted coconut. Repeat with the remaining layers, finishing with a layer of frosting and coconut on top. Garnish with fresh blackberries if desired.
For a cleaner look, you can press toasted coconut onto the sides of the cake. Just scoop it up with your hand and gently press it against the frosting. Work over a baking sheet to catch the excess.
Expert Tips for Perfect Results
I’ve made this chocolate coconut cream cake more times than I can count. Here’s what I’ve learned:
- Measure flour correctly. Spoon it into the cup and level it off with a knife. Scooping directly packs the flour and gives you too much, which makes the cake dry.
- Cool cakes completely before frosting. Warm cake will melt the frosting into a puddle. I’ve seen it happen. It’s not pretty.
- Toast the coconut. It adds a distinct nuttiness and makes the shredded coconut easier to chew. The texture is completely different from raw coconut.
- Chill the layers before assembly. A 20-minute chill in the freezer firms up the cakes, making them easier to handle and less likely to crumble.
- Use an offset spatula for smoother frosting application. It’s worth the few dollars.
- If the frosting is too soft, chill it for 15 minutes. If it’s too stiff, let it sit at room temperature for 10 minutes and re-whip.
- Make the frosting a day ahead. It keeps well in the fridge. Let it soften at room temperature and re-whip before using.
Recipe Variations to Try
This recipe is a great base for experimentation. Here are a few variations I’ve tested and loved:
- Almond Joy twist: Add toasted sliced almonds along with the coconut. The combination tastes like an Almond Joy candy bar. My niece approves.
- Extra coconut flavor: Add a dash of coconut extract to the cake batter or frosting. It amplifies the coconut without overwhelming the chocolate.
- Sheet cake version: Bake the batter in a 9×13 inch pan. Adjust baking time to 30-35 minutes. Frost with the same buttercream and top with toasted coconut.
- Chocolate drizzle: Melt a few ounces of dark chocolate with a tablespoon of coconut oil and drizzle it over the finished cake for a glossy finish.
Frequently Asked Questions
How to Store Leftovers
Store leftover chocolate coconut cream cake in an airtight container in the refrigerator for up to 3 days. The coconut topping might soften slightly, but the flavor will be just as good. Bring slices to room temperature before serving for the best texture. I actually think this cake tastes better on day two. The flavors have time to meld.
For longer storage, freeze individual slices. Flash freeze them on a baking sheet, then wrap each piece in plastic wrap and foil. Place into a freezer bag and freeze for up to 3 months. Thaw in the fridge overnight.
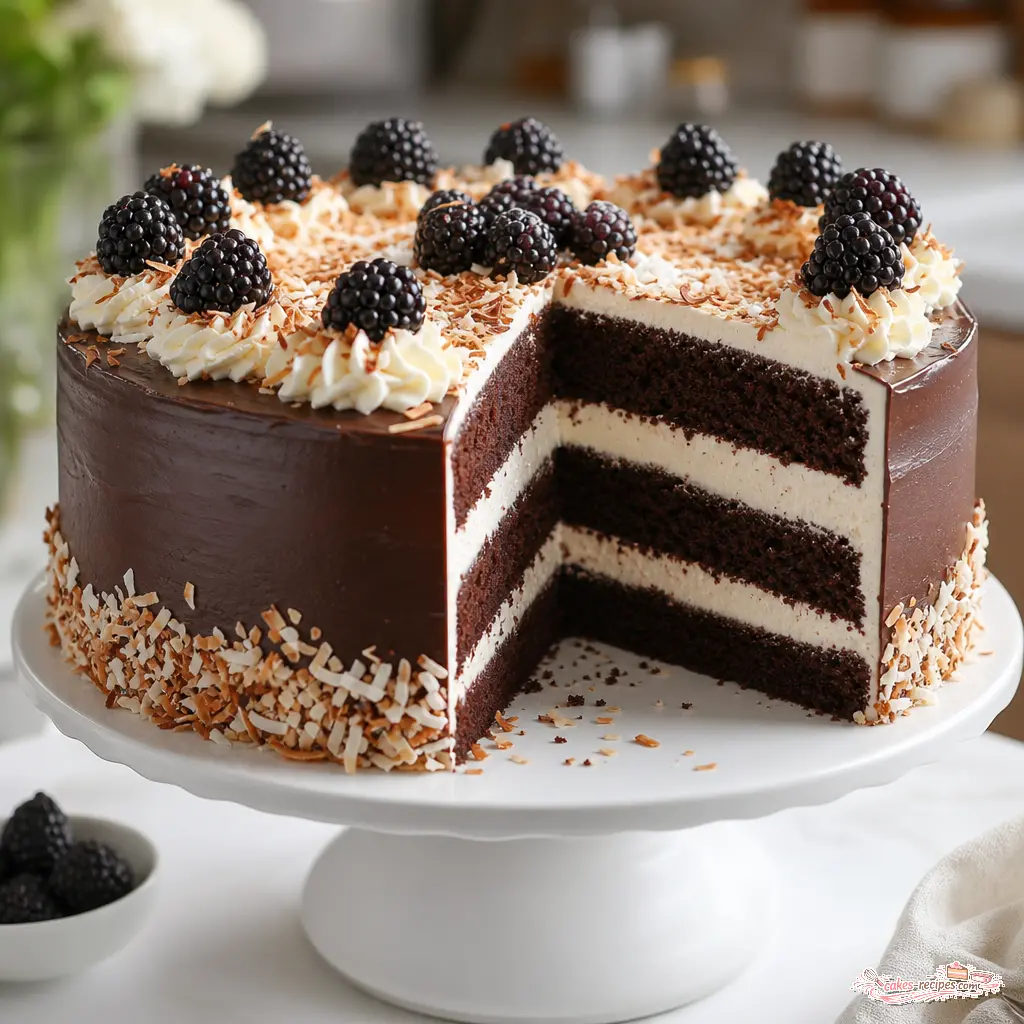
This chocolate coconut cream cake has become my go-to for summer birthdays and special occasions. It’s the kind of dessert that gets ‘wow’ reactions. The combination of fudgy chocolate, silky cream, and crunchy toasted coconut is hard to beat.
I’d love to see your creation. Tag me on Pinterest when you make it. Happy baking.
Source: Nutritional Information
Can you substitute Dutch process for regular cocoa in chocolate coconut cream cake?
Not directly. Dutch-processed cocoa is alkalized, which neutralizes its acidity. This recipe uses baking soda as the leavener, which needs acid to react. If you substitute natural cocoa, the cake won’t rise properly. Stick with Dutch-processed for this recipe.
How far in advance can I make this chocolate coconut cream cake?
You can bake the cake layers up to 2 days ahead. Wrap them tightly in plastic wrap and store at room temperature. The frosting can be made a day ahead and refrigerated. Assemble the cake the day you plan to serve it for the best texture and appearance.
How should I store leftover chocolate coconut cream cake?
Store leftovers in an airtight container in the refrigerator for up to 3 days. Bring slices to room temperature before serving for the best texture. The cake actually tastes better on day two as the flavors meld together.
Can this chocolate coconut cream cake be frozen?
Yes. Freeze the unfrosted cake layers wrapped tightly in plastic wrap and foil for up to 3 months. Thaw at room temperature before frosting. Alternatively, freeze the assembled cake for up to 2 weeks. Thaw in the refrigerator overnight.














One Response
I really wanted to love this, but I found the cake a bit too dense for my taste. I followed the recipe exactly, but the texture was almost brownie-like rather than cake. Maybe I overmixed the batter? The frosting was phenomenal though – I’ll definitely use that Russian buttercream recipe again.