
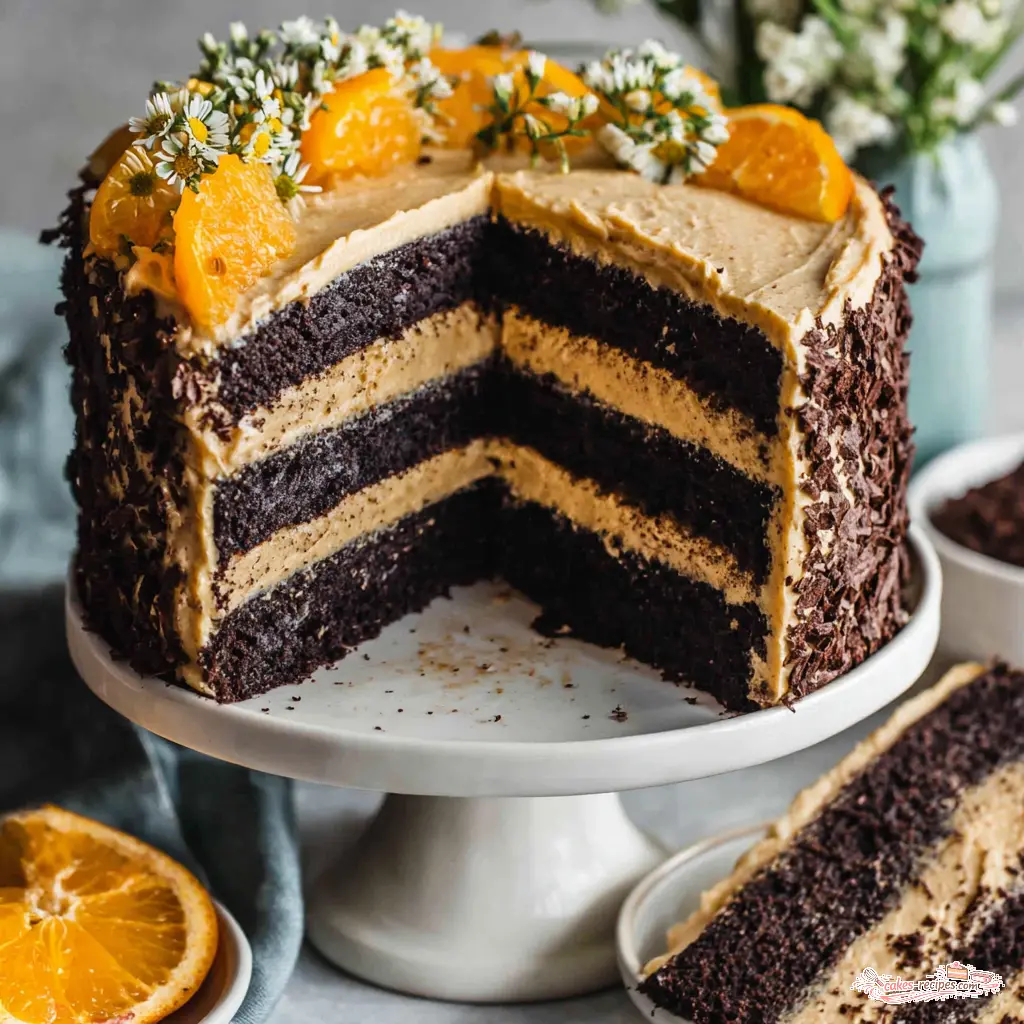
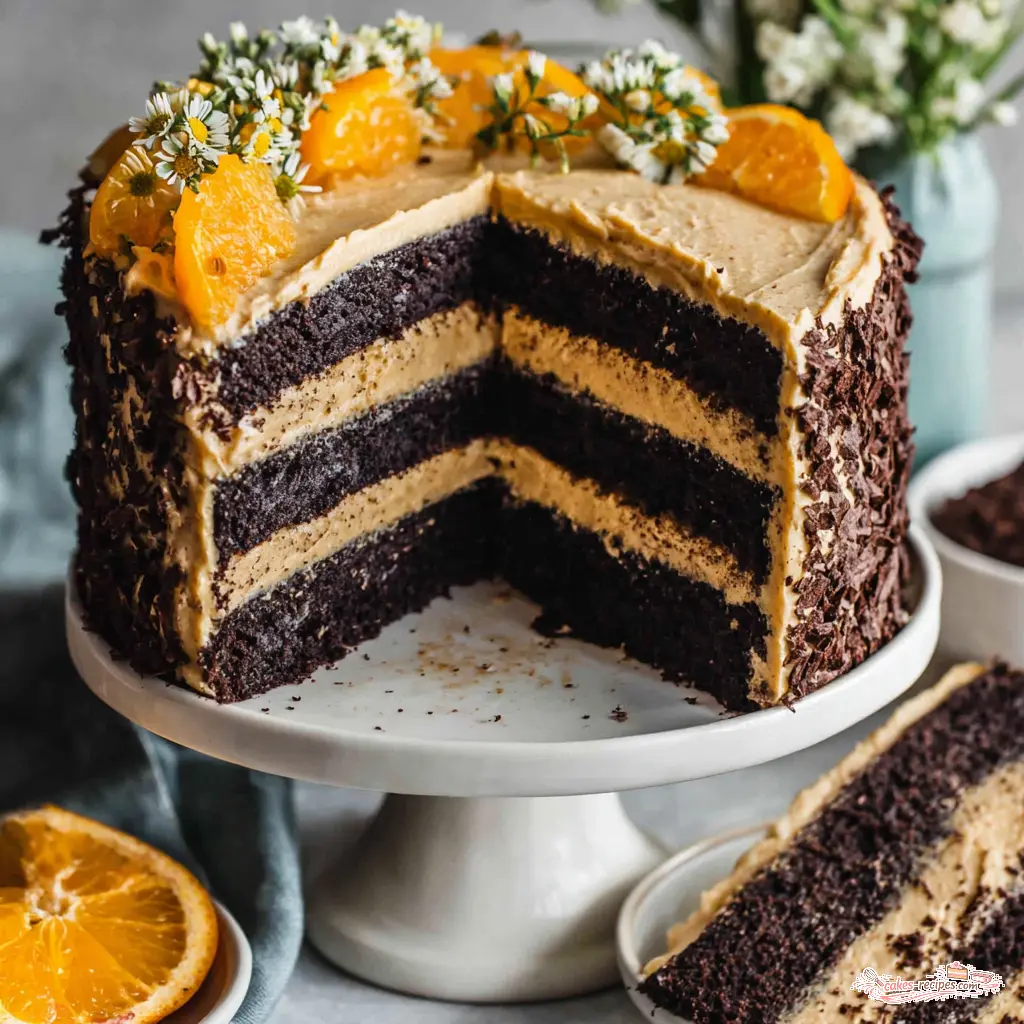
Chocolate Orange Cream Layer Cake
Ingredients
Method
- Preheat the oven to 350°F. Grease two 8-inch round cake pans with butter or nonstick spray.
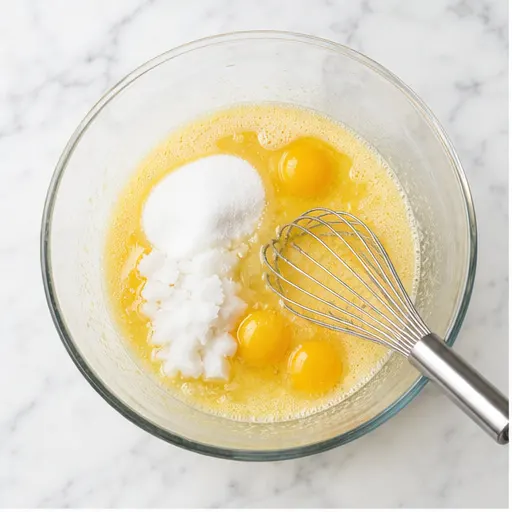
- In a large bowl, whisk together the eggs, sugar, melted coconut oil, milk, orange juice, and vanilla until smooth.
- Add the flour, cocoa powder, orange zest, baking soda, baking powder, and salt. Stir gently until about 90% combined. The batter will be thick.
- Pour the hot water over the batter and gently whisk until fully incorporated and smooth, scraping the bottom to remove any lumps.
- Divide the batter evenly between the prepared pans. Bake for 30 to 35 minutes, until a toothpick inserted in the center comes out clean. Cool the cakes in the pans for 10 minutes, then turn out onto a wire rack to cool completely. Once cool, refrigerate the layers for 30 minutes to make frosting easier.
- For the icing: In a stand mixer or with a hand mixer, beat the softened butter and salt on medium-high until light and fluffy, about 2 minutes. Gradually add the powdered sugar, 1/2 cup at a time, alternating with the orange juice and zest, beating well after each addition. Adjust the amount of powdered sugar to reach a spreadable consistency. Gently fold in the shaved chocolate by hand; do not overmix to avoid discoloring the frosting.
- To assemble: If the cake layers have domed tops, level them with a serrated knife. Place one layer on a cake stand or turntable. Spread about 1/3 of the icing evenly over the top. Place the second layer on top and spread another 1/3 of the icing over it. Use the remaining icing to cover the sides. Smooth the top and sides with a cake scraper or offset spatula. The chocolate shavings will create a textured finish.
- Garnish with fresh orange slices or twists if desired. Slice with a sharp knife and serve.
Nutrition
Notes
Tried this recipe?
Let us know how it was!Why This Chocolate Orange Cream Layer Cake Works
My first layer cake, looking back, was a disaster. I was maybe fourteen, trying to impress my mom with a chocolate orange creation for her birthday. The layers were uneven, the frosting slid off like a mudslide, and the whole thing leaned at a precarious angle. It tasted fantastic though, which I think is what matters most. That tilted tower taught me something: a great recipe forgives a lot of mistakes.
This chocolate orange cream layer cake is that forgiving recipe. It’s the one I’ve refined over years of Sunday baking, the one that turns out reliably moist, deeply chocolatey, and bright with citrus. The orange cream filling for cake is stable enough for a beginner but impressive enough for a celebration. I’ve made it for summer birthdays, porch parties, and quiet afternoons when you just want something beautiful.
The secret is in how the flavors work together. The cocoa powder gets a boost from the hot water in the batter, which deepens the chocolate without making it bitter. And the orange zest, fresh juice, and shaved dark chocolate in the frosting create this layered citrus hit that cuts through the richness. It’s not an either-or situation with chocolate and orange. They actually make each other better.
I tend to prefer natural cocoa powder for this recipe. It has a brighter, more assertive chocolate flavor that stands up to the orange. Dutch-process gives a darker color and milder taste, and they’re not really interchangeable despite what some recipes claim. For this cake, natural works best. That makes sense if you think about it, the acidity in the cocoa reacts with the baking soda to help the cake rise properly.
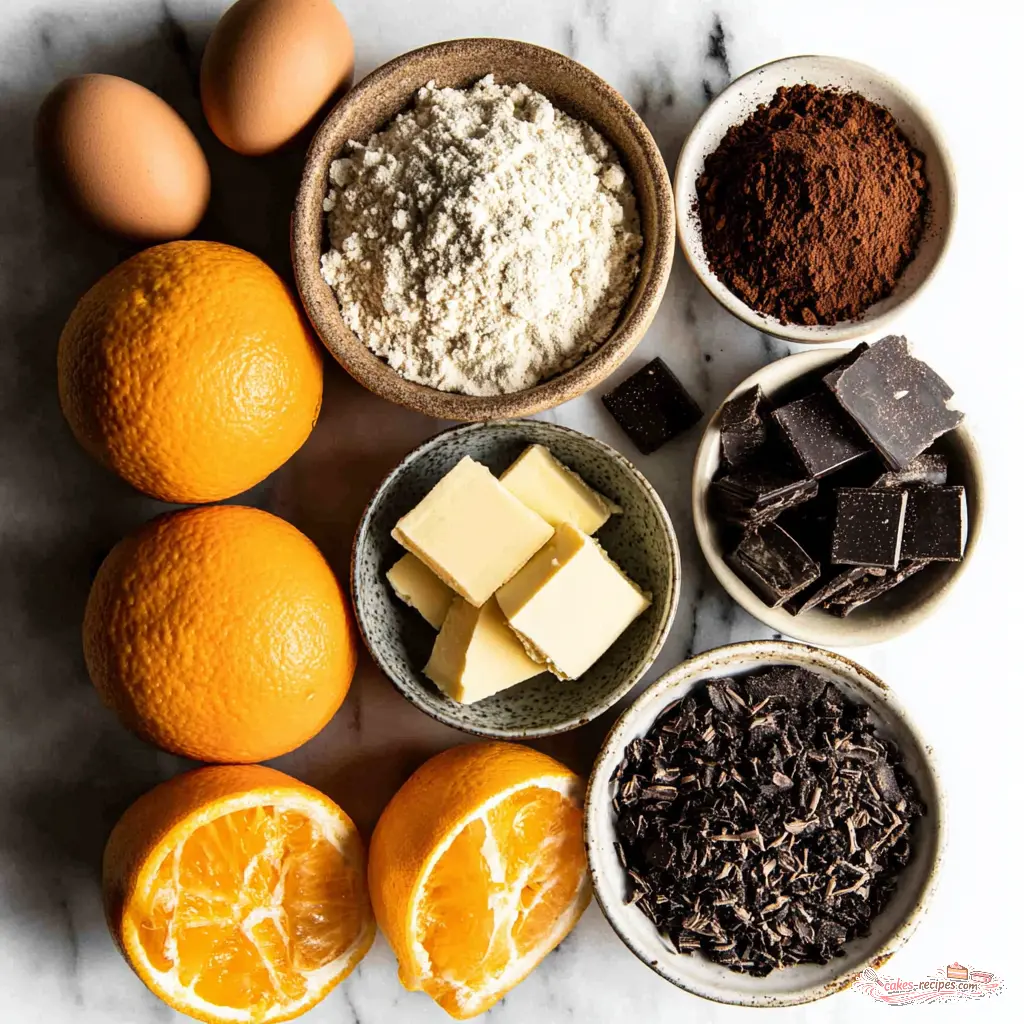
Ingredient Notes
Let me walk you through what makes this cake tick. Each ingredient has a job, and understanding that helps you avoid trouble. Generally speaking, if you follow the list as written, you’ll get the result you want. But here’s what you need to know about the key players.
- Coconut oil is the fat here, and it’s a deliberate choice. It keeps the crumb tender and moist without making the cake greasy. Melt it gently before adding, and make sure it’s not too hot when it hits the eggs. You don’t want scrambled eggs in your cake batter.
- Fresh orange juice and zest are non-negotiable. Bottled juice tastes flat and lacks the bright essential oils you get from fresh oranges. Zest the oranges before you juice them, it’s much easier. You need about two medium oranges for the zest and juice in both the cake and frosting.
- Unsweetened cocoa powder gives you control over the sweetness. Don’t use Dutch-process for this recipe, the natural acidity helps the cake rise. The hot water at the end blooms the cocoa, which deepens the chocolate flavor dramatically. This is the step that makes the cake taste like actual chocolate, not just sweet brown.
- Shaved dark chocolate in the frosting adds texture and a hit of real chocolate. I prefer 70% dark chocolate for most baking. 60% is too sweet for my taste, and anything above 75% can be bitter for most people. Use a vegetable peeler to get nice curls from a chocolate bar.
This works for me, but you might have different preferences. The important thing is that the ingredients are at room temperature before you start. Cold eggs and milk won’t emulsify properly with the coconut oil, and you’ll end up with a separated batter. Trust me on this, I’ve learned the hard way.
Step-by-Step Instructions
Let’s break this down into manageable stages. I’ll walk you through the process and point out where things can go wrong, because that’s how you actually learn. This is a chocolate orange dessert that looks like you spent hours on it, but the actual work is pretty straightforward.
Stage 1: Making the Batter
Start by preheating your oven to 350°F. Grease two 8-inch round cake pans with butter or nonstick spray, then line the bottoms with parchment paper. This extra step prevents sticking and makes for clean release. I’ve had cakes stick without parchment, and you end up with half the layer still in the pan. Not ideal.
In a large bowl, whisk together the eggs, sugar, melted coconut oil, milk, fresh orange juice, and vanilla until smooth. The mixture should look uniform and slightly frothy. This is where you want everything at room temperature. Cold ingredients won’t combine smoothly, and the batter will look curdled.
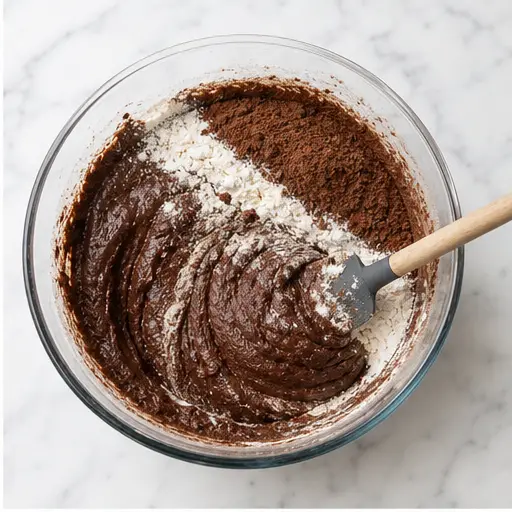
Add the flour, cocoa powder, orange zest, baking soda, baking powder, and salt. Stir gently until about 90% combined. The batter will be thick at this point, almost like a paste. Don’t overmix, or you’ll develop gluten and end up with a tough cake.
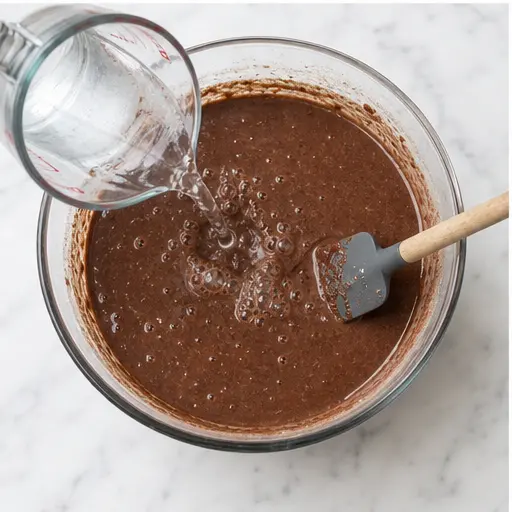
Pour the hot water over the batter and gently whisk until fully incorporated and smooth. Scrape the bottom of the bowl to make sure there are no hidden lumps. The batter will thin out significantly, this is normal. It should look like a thin chocolate milkshake.
Stage 2: Baking the Layers
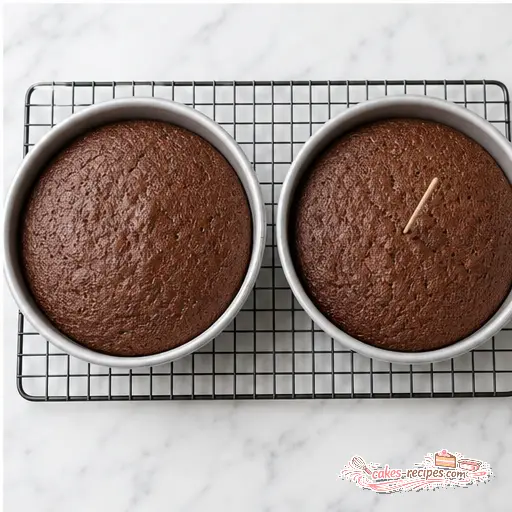
Divide the batter evenly between the prepared pans. I use a kitchen scale for this, but you can also eyeball it. Bake for 30 to 35 minutes, until a toothpick inserted in the center comes out clean. The cake should pull away slightly from the edges of the pan.
Let the cakes cool in the pans for 10 minutes. Then turn them out onto a wire rack to cool completely. This is where patience matters. If you try to frost warm cake, the frosting will melt and slide off. Once the layers are completely cool, refrigerate them for 30 minutes. This firms them up and makes them much easier to handle during assembly.
Is your chocolate glossy? Does it hold its shape? These are the questions you should be asking at each stage. If the cake layers domed on top, that’s fine. You’ll level them later with a serrated knife.
Stage 3: Making the Frosting
In a stand mixer or with a hand mixer, beat the softened butter and salt on medium-high until light and fluffy, about 2 minutes. The butter should look pale and aerated. This is the foundation of your frosting, so don’t rush it.
Gradually add the powdered sugar, 1/2 cup at a time, alternating with the orange juice and zest. Beat well after each addition. You want a spreadable consistency, so you might need up to an extra cup of powdered sugar depending on humidity. The frosting should hold its shape when you dollop it.
Gently fold in the shaved chocolate by hand. Do not overmix after adding the chocolate, or the friction can turn the frosting gray. This is a real thing, and it’s frustrating when it happens. Fold just until the chocolate is distributed.
Stage 4: Assembling the Cake
If the cake layers have domed tops, level them with a serrated knife. Use a gentle sawing motion, don’t press down. Place one layer on a cake stand or turntable. Spread about 1/3 of the icing evenly over the top. Place the second layer on top and spread another 1/3 of the icing over it.
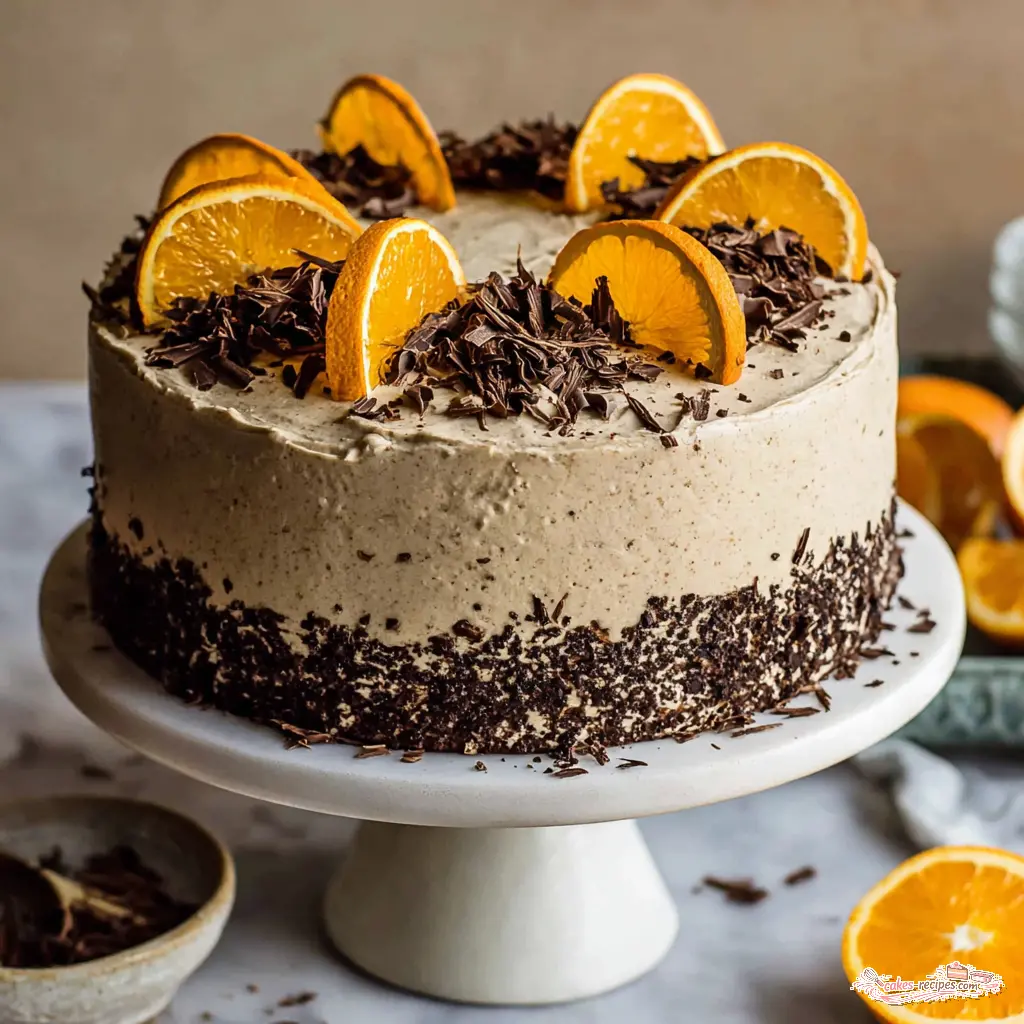
Use the remaining icing to cover the sides. This is where a crumb coat helps. Apply a thin layer of frosting all over, then chill the cake for 30 minutes. This traps any loose crumbs so the final coat stays clean. After chilling, apply the final layer of frosting and smooth it with a cake scraper or offset spatula. The chocolate shavings will create a textured finish.
Garnish with fresh orange slices or twists if desired. Slice with a sharp knife and serve. Now your cake is assembled, and you’re ready to impress.
Substitutions and Variations
This recipe is flexible, but some changes work better than others. Here’s what I’ve tested and what I’d recommend.
- Dairy-free option: Substitute the whole milk with almond or oat milk. Use vegan butter in the frosting. The texture will be slightly different, but still good.
- Gluten-free version: Substitute the all-purpose flour with a 1:1 gluten-free baking blend. Add 1/4 teaspoon xanthan gum if your blend doesn’t include it. The cake will be a bit more delicate, so handle it carefully.
- Eggless option: Use a flax egg (1 tablespoon ground flaxseed mixed with 3 tablespoons water per egg) or a commercial egg replacer. The cake won’t rise as much, but the flavor will still be there.
- Citrus variations: Use blood orange juice and zest for a richer color and flavor. Meyer lemons also work well, giving a more floral citrus note.
- Orange extract: If your oranges aren’t very flavorful, you can add 1 teaspoon of orange extract to the batter or frosting. But fresh zest is always better.
For a more intense chocolate experience, replace the chocolate shavings in the frosting with a dark chocolate ganache drip. Just heat 1/2 cup heavy cream and pour over 4 oz of chopped dark chocolate. Let it cool slightly, then drizzle over the assembled cake.
How to Store and Make Ahead
This cake stores well, which makes it perfect for planning ahead. Here’s what you need to know.
- Room temperature: Store the frosted cake in an airtight container at room temperature for up to 2 days. The texture is best at room temperature, so let it sit out for about 30 minutes before serving if you’ve refrigerated it.
- Refrigerator: Store leftovers in the fridge for up to 5 days. Wrap the cut side with plastic wrap to prevent drying. Let slices come to room temperature before serving for the best flavor.
- Freezer: Freeze the unfrosted cake layers wrapped tightly in plastic wrap and then aluminum foil for up to 1 month. Thaw overnight in the refrigerator before frosting. You can also freeze the entire frosted cake. Chill it in the fridge until the frosting hardens, then wrap it well and freeze for up to 1 month.
For make-ahead convenience, bake the cake layers and freeze them. Then make the frosting and assemble the cake on the day you need it. This breaks the work into manageable chunks and reduces stress.
Expert Tips for Best Results
These are the little things that separate a good cake from a great one. I’ve learned most of them through trial and error, so you don’t have to.
- Weigh your ingredients. Flour is especially tricky. Scooping directly from the bag can give you 20% more flour than the recipe calls for, which makes a dry cake. Use a kitchen scale if you have one. If not, spoon the flour into your measuring cup and level it off with a knife.
- Don’t overmix the batter. Once you add the flour, mix just until combined. Overmixing develops gluten, which makes the cake tough and dense. A few lumps are okay, they’ll bake out.
- Use parchment paper. Grease the pans and line the bottoms with parchment rounds. This guarantees clean release. I’ve had cakes stick without parchment, and it’s heartbreaking.
- Cool completely before frosting. This is the most common mistake. Warm cake will melt your frosting into a puddle. Refrigerate the cooled layers for 30 minutes before assembly for even easier handling.
- Level your layers. Use a serrated knife to trim any domed tops. This gives you flat, even layers that stack perfectly. A cake leveling tool makes this even easier.
- Apply a crumb coat. A thin layer of frosting on the outside traps crumbs so the final coat stays clean. Chill for 30 minutes after the crumb coat before adding the final layer.
Frequently Asked Questions
I hope this guide helps you create a cake you’re proud of. If you make this chocolate orange cream layer cake, I’d love to hear about it. Share your results on Pinterest and tag me so I can see your beautiful creation. Happy baking!
Source: Nutritional Information














5 Responses
Can I substitute the coconut oil with something else? I don’t have any on hand, but I do have butter and vegetable oil. Also, would it work to use almond milk instead of regular milk?
Absolutely, Sarah! Melted butter or any neutral oil like vegetable oil will work perfectly in place of coconut oil. And yes, almond milk is a great dairy-free substitute—just use an unsweetened variety to keep the sweetness balanced. Enjoy!
Great recipe overall, but I found the frosting a bit too sweet with 4 cups of powdered sugar. I’d recommend starting with 3 cups and tasting before adding more. The cake layers were incredibly moist though!
This cake brought back memories of my grandmother’s orange chocolate cake from the 70s. Yours is even better! The tip about natural cocoa is spot on. I’ll be making this for Thanksgiving.
I made this cake for my daughter’s birthday last weekend and it was a huge hit! The orange zest really brightens up the chocolate. I did use Dutch-process cocoa by accident, but it still turned out delicious. Next time I’ll try natural as you suggest.