
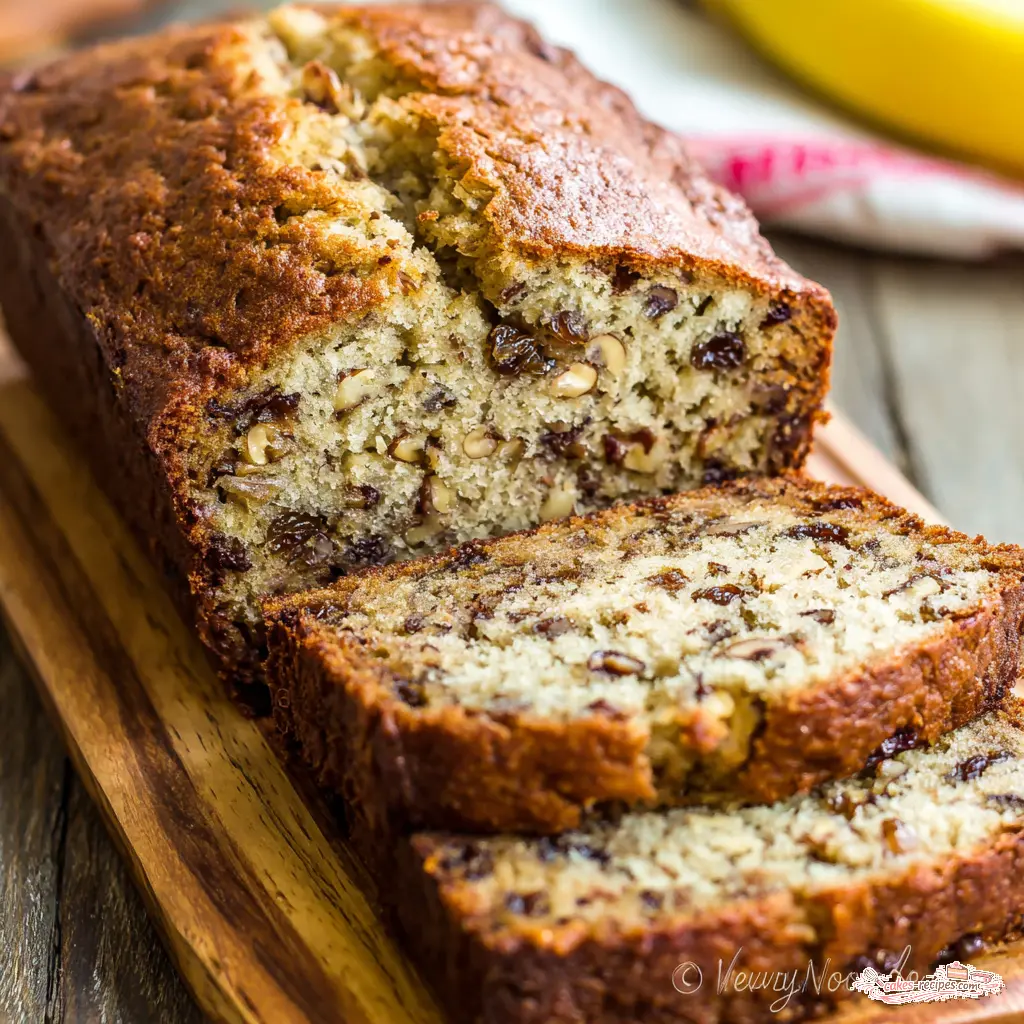
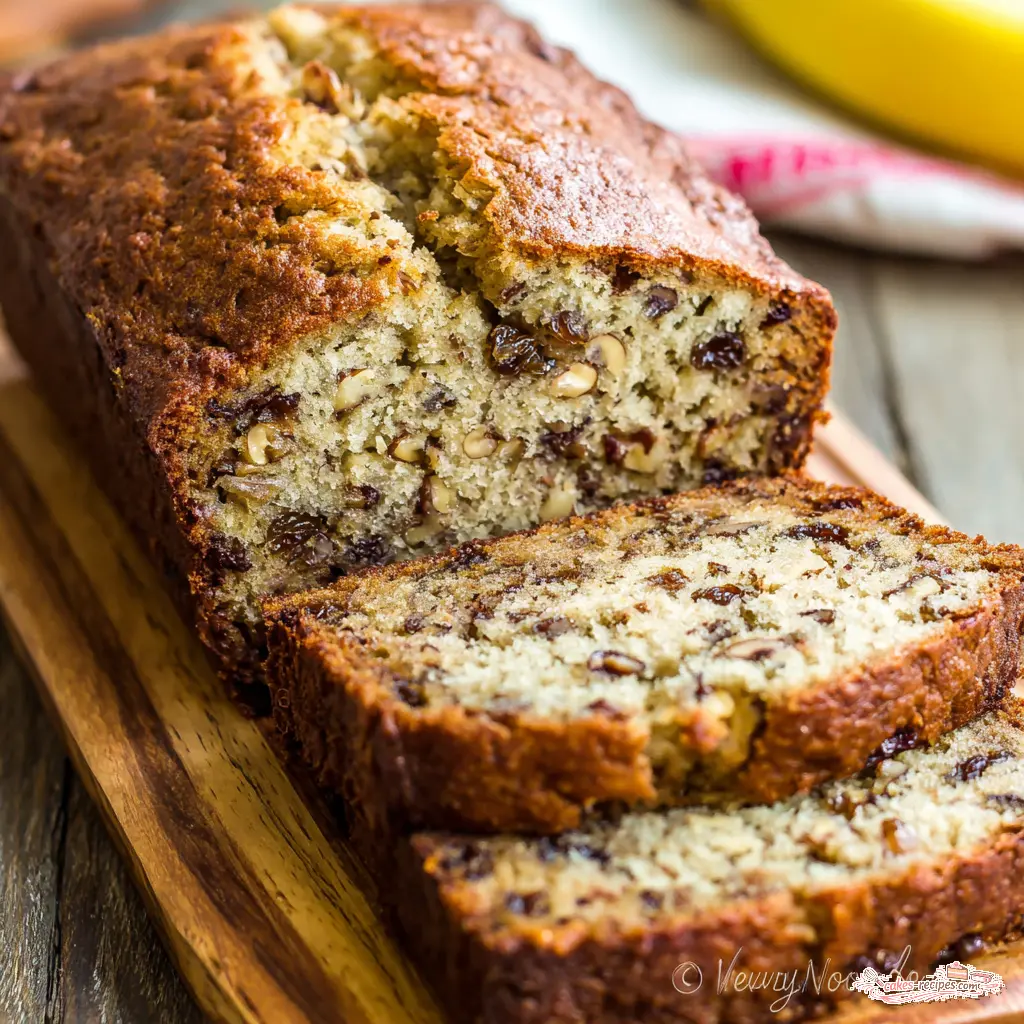
Ultimate Banana Walnut Bread with Raisins
Ingredients
Method
- Preheat your oven to 350°F. Grease and flour a 9x5-inch loaf pan. In a dry skillet over medium heat, toast the walnuts, stirring constantly, until fragrant, about 3-4 minutes. Remove from heat, let cool, then coarsely chop.
- In a large mixing bowl, cream together the softened butter and sugar until light and fluffy.
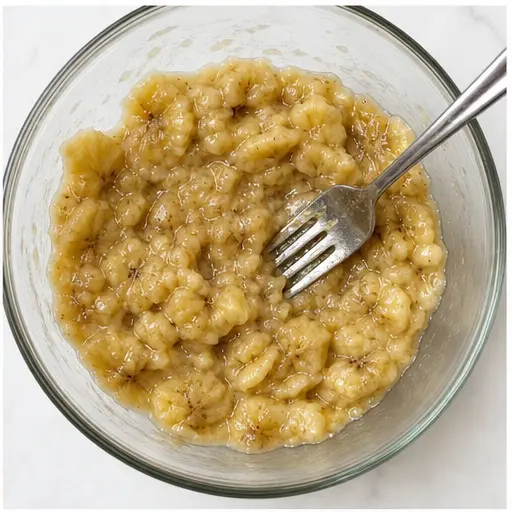
- Mash the bananas with a fork until they resemble chunky applesauce. Add the mashed bananas and eggs to the butter mixture, and mix until well combined.
- In a separate bowl, whisk together the flour, baking soda, and salt. Gradually add the dry ingredients to the wet mixture, stirring just until incorporated.
- Stir in the vanilla extract, then fold in the toasted walnuts and raisins. Pour the batter into the prepared loaf pan. Bake for 55-60 minutes, or until a toothpick inserted into the center comes out clean. Let the bread rest in the pan for 10 minutes before transferring to a wire rack to cool completely.
Nutrition
Notes
Tried this recipe?
Let us know how it was!Why This Banana Walnut Bread Works
It’s 8pm, the bananas on your counter are beyond sad, and you need a win. I’ve been there. That’s exactly why I developed this banana walnut bread recipe. It’s the kind of bake that makes you look like you have your life together, even when you absolutely don’t.
Here’s the deal: this is a one bowl banana bread. One bowl to mix, one bowl to wash. No stand mixer, no complicated techniques, no stress. Just you, a fork, and a warm, cinnamon-kissed loaf that fills your kitchen with that cozy scent we all crave. Fair enough?
I grew up in Queens eating at my uncle Sal’s diner every Sunday after church. His cheesecake was legendary, but his banana bread? Man, that was the sleeper hit. He’d always say, “Danny, the secret is never overthink it. Let the bananas do the work.” That stuck with me. This recipe is my tribute to that philosophy.
Straight up, this is the most reliable moist banana bread recipe I’ve ever made. The toasted walnuts add this incredible crunch, the raisins bring little bursts of sweetness, and the texture? Perfect. Dense but tender, not heavy. That’s what you want.
Ingredients You’ll Need
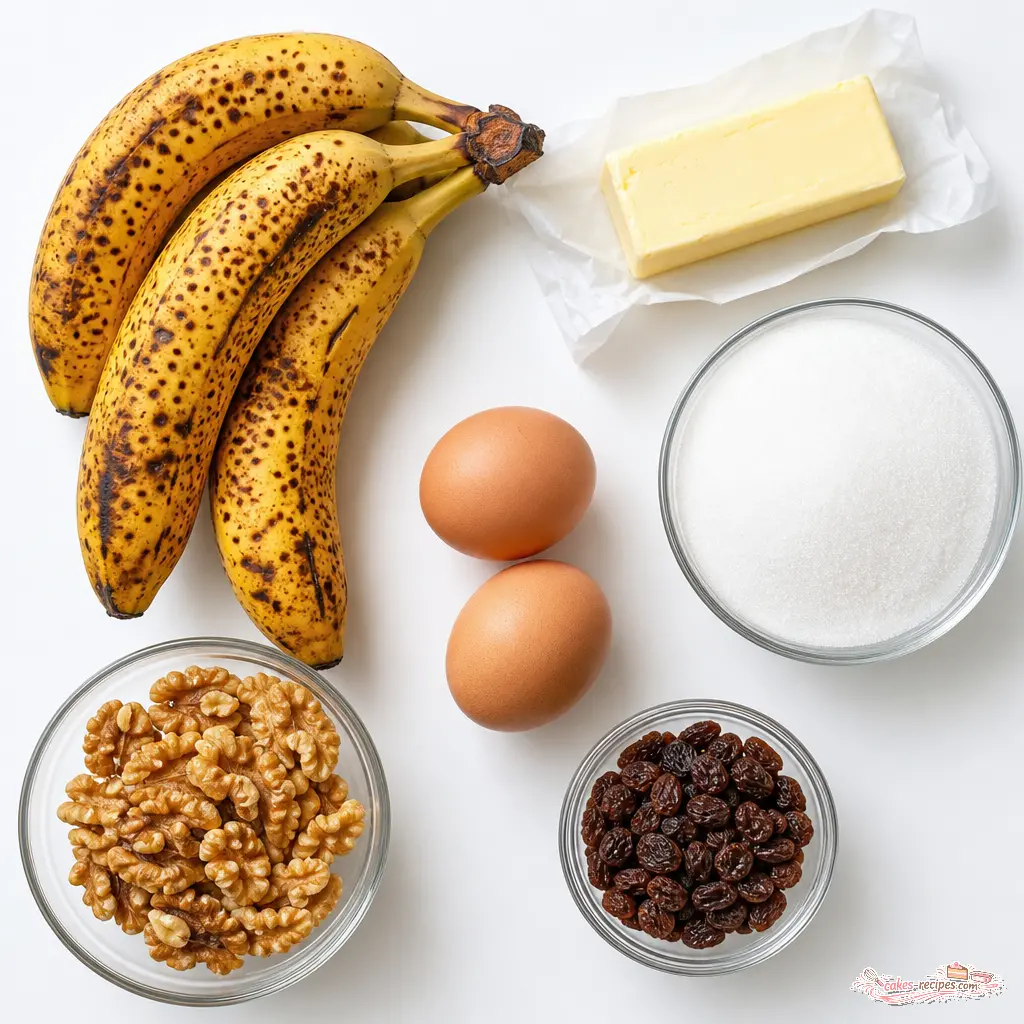
Let’s talk about what goes into this simple banana walnut loaf. Nothing fancy, I promise. You probably have most of this stuff already.
- 3 very ripe bananas – This is non-negotiable. They need to be covered in brown spots. The riper they are, the sweeter and more moist your bread will be. If yours aren’t there yet, we’ll fix that later.
- 1/2 cup unsalted butter – Softened to room temperature. Makes creaming way easier.
- 3/4 cup granulated sugar – If your bananas are super ripe, you can cut this to 1/2 cup. No question.
- 2 large eggs – Room temp is best, but cold works in a pinch.
- 1 1/2 cups all-purpose flour – The backbone. Nothing fancy needed.
- 1 tsp baking soda – Our leavening agent. Makes the bread rise.
- 1/2 tsp salt – Balances the sweetness.
- 1/2 tsp vanilla extract – Pure, not imitation. Makes a difference.
- 1 cup walnuts – Toasted and coarsely chopped. Trust me on the toasting.
- 1/2 cup raisins – Or dried cranberries, or chopped dates from Coachella Valley. Your call.
The first time I made this banana walnut bread, I didn’t toast the walnuts. They were soft and kind of sad. Learn from me. Toasting brings out their oils and makes them crunchy. That’s the move.
Kitchen Tools Required
Before we start, let’s get organized. You don’t need much, which is the whole point of this one bowl banana bread.
- A 9×5-inch loaf pan
- One large mixing bowl (that’s it!)
- A fork for mashing
- A wooden spoon or rubber spatula
- A dry skillet for toasting walnuts
- A wire rack for cooling
- Measuring cups and spoons
No stand mixer. No hand mixer. No food processor. Just your hands and a little patience. Makes sense, right?
How to Make Banana Walnut Bread
Alright, let’s get into it. I’m going to walk you through the four major stages of making this easy banana bread. Each step builds on the last, and I’ll explain why things work the way they do.
Stage 1: Toast the Walnuts and Prep
First thing’s first. Preheat your oven to 350°F. Grease and flour your 9×5-inch loaf pan. Then grab a dry skillet and set it over medium heat. Add your walnuts and stir them constantly. You’ll know they’re done when they smell amazing and are lightly golden, about 3-4 minutes. Remove them immediately and let them cool. Then coarsely chop them.
Why toast them? In my experience, raw walnuts in banana bread turn soft and almost mealy. Toasting releases their natural oils and gives them that satisfying crunch. It’s a small step that makes a huge difference.
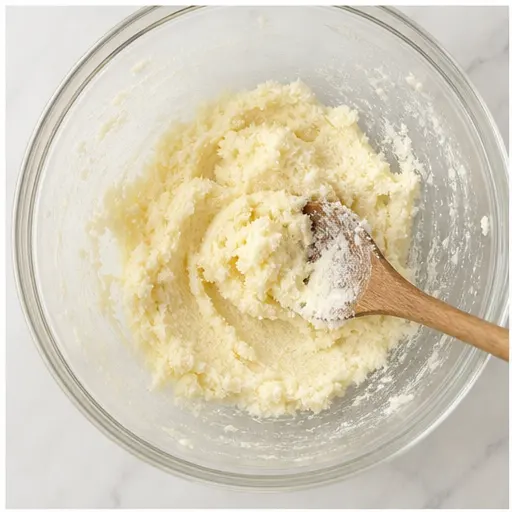
Stage 2: Cream the Butter and Sugar
In your one large mixing bowl, cream together the softened butter and granulated sugar. Use a wooden spoon and really work it until it’s light and fluffy. This should take about 2 minutes. You’re incorporating air into the butter, which helps the bread rise and stay tender.
Then mash your bananas with a fork until they look like chunky applesauce. Add the mashed bananas and eggs to the butter mixture. Mix until well combined. Don’t worry if it looks a little lumpy. That’s fine.
Stage 3: Combine Dry and Wet Ingredients
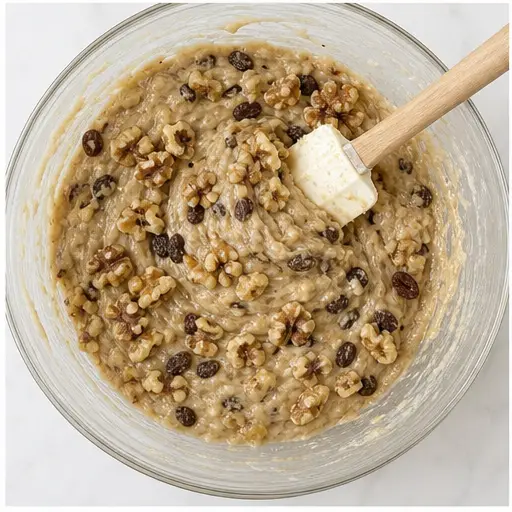
In a separate small bowl, whisk together the flour, baking soda, and salt. Gradually add these dry ingredients to the wet mixture. Here’s the most important tip: stir just until incorporated. Over-mixing develops gluten, and that makes your bread tough and dense. You want to see a few streaks of flour still? That’s okay. Stop mixing.
Now stir in the vanilla extract. Then fold in the toasted walnuts and raisins. Fold gently. You want them distributed evenly without overworking the batter.
This is where I had my biggest failure. The first time I made this banana walnut bread without a mixer, I got impatient and stirred too hard. The bread came out dense and almost rubbery. Now I know better. Gentle folding is your friend.
Stage 4: Bake and Cool
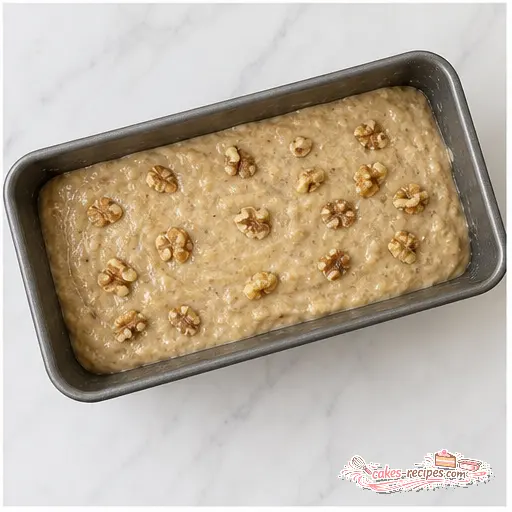
Pour the batter into your prepared loaf pan. Spread it evenly. Bake for 55-60 minutes, or until a toothpick inserted into the center comes out clean. Check at 55 minutes to avoid overbaking. If the top is getting too dark before the center is done, cover loosely with foil.
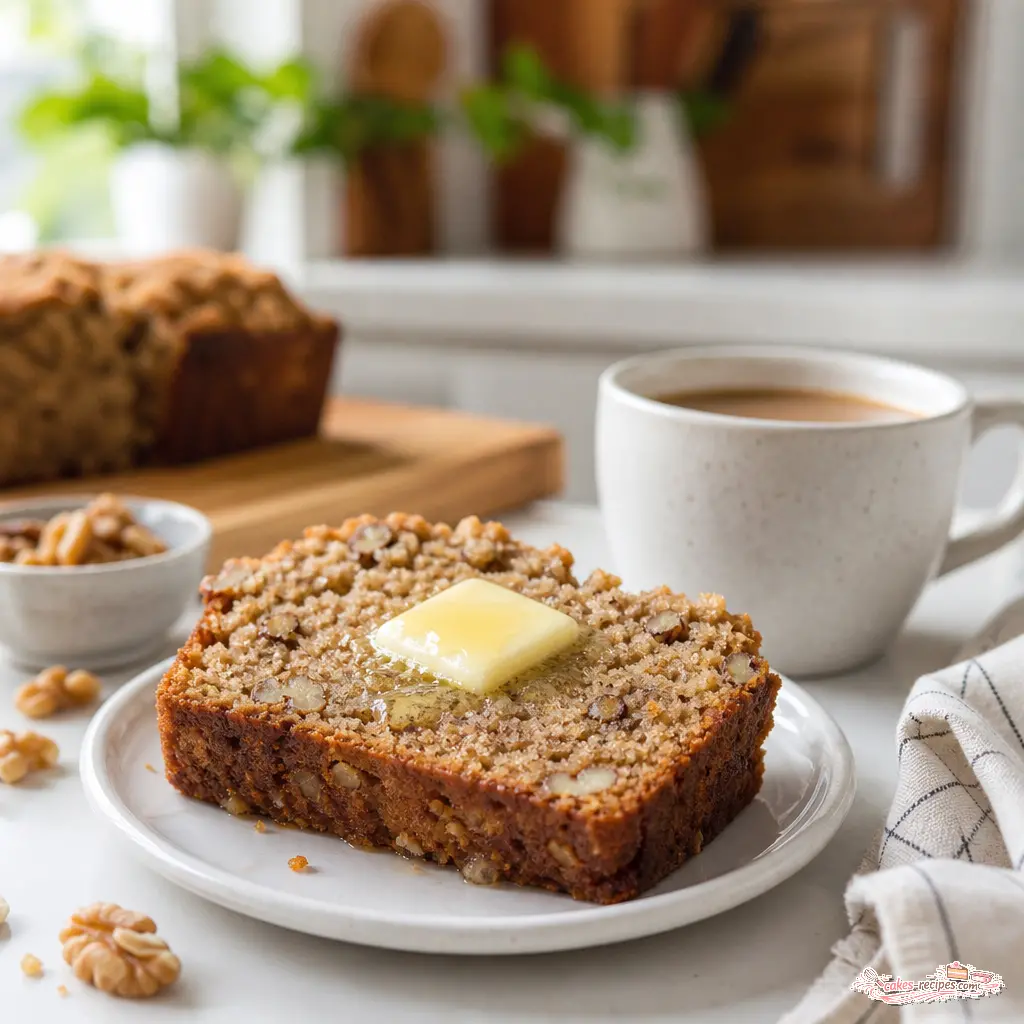
Let the bread rest in the pan for 10 minutes. Then transfer it to a wire rack to cool completely. I know it’s tempting to slice into it immediately. Don’t. It needs to set. When you slice into this tomorrow morning, you’ll thank yourself.
Tips for the Best Banana Bread
Over the years, I’ve learned a few things that make this homemade bread snack turn out perfect every time. Here they are, no fluff.
- Use the ripest bananas you can find. They should be covered in brown spots. If they’re not ripe enough, your bread won’t be as sweet or moist.
- Don’t over-mix the batter. This is the number one mistake. Mix just until the flour disappears.
- Toast your walnuts. I already said this, but it’s worth repeating. It changes everything.
- Check for doneness early. Ovens vary. Start checking at 55 minutes.
- Let it cool completely. Patience pays off in texture.
If your bananas aren’t ripe enough, here’s a trick: bake them at 250°F for 15-20 minutes. They’ll soften and sweeten up. Or place them in a paper bag with an apple at room temperature for 24 hours. That works too.
Fun Variations to Try
This banana walnut bread recipe is a great base for experimentation. Here are some ways to switch it up.
- No walnuts? Use chopped pecans, hazelnuts, or even almonds. No nuts at all? Just leave them out. No one’s judging.
- Add chocolate chips. Swap half the walnuts for dark chocolate chips or chunks. Peanut butter chips work too.
- Different dried fruit. Replace raisins with dried cranberries, cherries, or chopped dates.
- Make it into muffins. Line a muffin pan with liners, fill 3/4 full, and bake at 350°F for 24-28 minutes. Perfect for lunchboxes.
- Swap the extract. Use almond extract instead of vanilla for a different flavor profile.
- Add a cinnamon sugar swirl. Mix 1 tablespoon of cinnamon with 2 tablespoons of sugar and swirl it through the batter before baking.
These banana walnut bread variations are all tested and work great. The base recipe is forgiving, so feel free to make it your own.
How to Store and Freeze
Storage is where a lot of people mess up. Here’s the right way to keep your banana walnut bread fresh.
Wrap the cooled bread tightly in plastic wrap and store at room temperature for up to 3 days. Don’t refrigerate it. The fridge dries out baked goods. If you need it to last longer, freeze it.
To freeze the whole loaf, wrap it tightly in plastic wrap, then wrap again in aluminum foil. It’ll keep for up to 3 months. To freeze individual slices, wrap each one in plastic wrap and place them in a zip-top bag. This is great for grab-and-go breakfasts.
Thaw a frozen loaf at room temperature for at least an hour. Individual slices thaw in about 30 minutes. For the best texture, warm slices gently in the oven or toaster.
Common Mistakes to Avoid
Let’s troubleshoot some common issues so you don’t have to learn the hard way like I did.
❌ Dry banana bread – This usually means you overbaked it or used bananas that weren’t ripe enough. Check for doneness at 55 minutes. Use bananas with lots of brown spots.
✅ Solution: Next time, reduce baking time by 5 minutes and make sure your bananas are super ripe.
❌ Sunken middle – This happens when the batter is over-mixed or the oven temperature is too low. Over-mixing develops gluten and weakens the structure.
✅ Solution: Mix just until combined. Make sure your oven is actually at 350°F. Use an oven thermometer if you’re unsure.
❌ Walnuts sinking to the bottom – This happens when the batter is too thin or the walnuts are too heavy. Toasting and chopping them helps.
✅ Solution: Toss the chopped walnuts in a tablespoon of flour before folding them in. This helps them stay suspended in the batter.
❌ Top getting too dark – Your oven might run hot, or the bread is baking too long on top before the center sets.
✅ Solution: Cover the loaf loosely with foil halfway through baking. Check at 55 minutes.
Frequently Asked Questions
When you slice into this banana walnut bread tomorrow morning, you’ll thank yourself. It’s the kind of recipe that makes you feel like you’ve got it all figured out, even if the rest of your life is chaos. Nailed it.
If you try this recipe, I’d love to hear about it. Share your photos and tag me on Pinterest. I love seeing your baking wins.
Source: Research Source
Can You Freeze Banana Bread?
Absolutely. Wrap the cooled banana walnut bread tightly in plastic wrap, then in foil, and freeze for up to 3 months. For individual servings, wrap slices separately and store in a zip-top bag. Thaw at room temperature for about an hour for a whole loaf, or 30 minutes for slices.
Can I Omit Walnuts and Raisins?
Yes, you can leave them out entirely. The banana walnut bread will still be moist and delicious. You can also swap them for chocolate chips, dried cranberries, or chopped pecans. The base recipe is flexible, so feel free to adapt it to what you have on hand.















6 Responses
Solid recipe, but I found it a bit too sweet for my taste. Next time I’ll cut the sugar down to 1/2 cup. Also, the raisins sank to the bottom of my loaf—any tips to prevent that?
Thanks for the feedback, Mike! To keep raisins from sinking, toss them in a tablespoon of flour before folding them into the batter. And feel free to adjust the sugar—banana sweetness varies a lot, so trust your taste buds!
Great recipe, Daniel! I love the story about your uncle Sal. Quick question: my banana bread came out a bit dense on the bottom even though the top was perfect. Could I be overmixing the batter? I used a whisk instead of a fork.
Hey James, thanks for giving it a try! Yes, overmixing can definitely cause density issues. A fork is best because it keeps the batter light—whisking can develop too much gluten. Also, make sure your bananas are super spotty; that extra moisture helps too.
I made this last night and it turned out amazing! The toasted walnuts really make a difference. I didn’t have raisins so I used dried cranberries instead, and it still worked perfectly. My kids devoured half the loaf before it even cooled down.
I’ve tried so many banana bread recipes, and this one is by far the best texture-wise. The raisins add just the right amount of sweetness without being overpowering. I added a pinch of cinnamon because I can’t resist, and it was a lovely touch. Will definitely make again!