
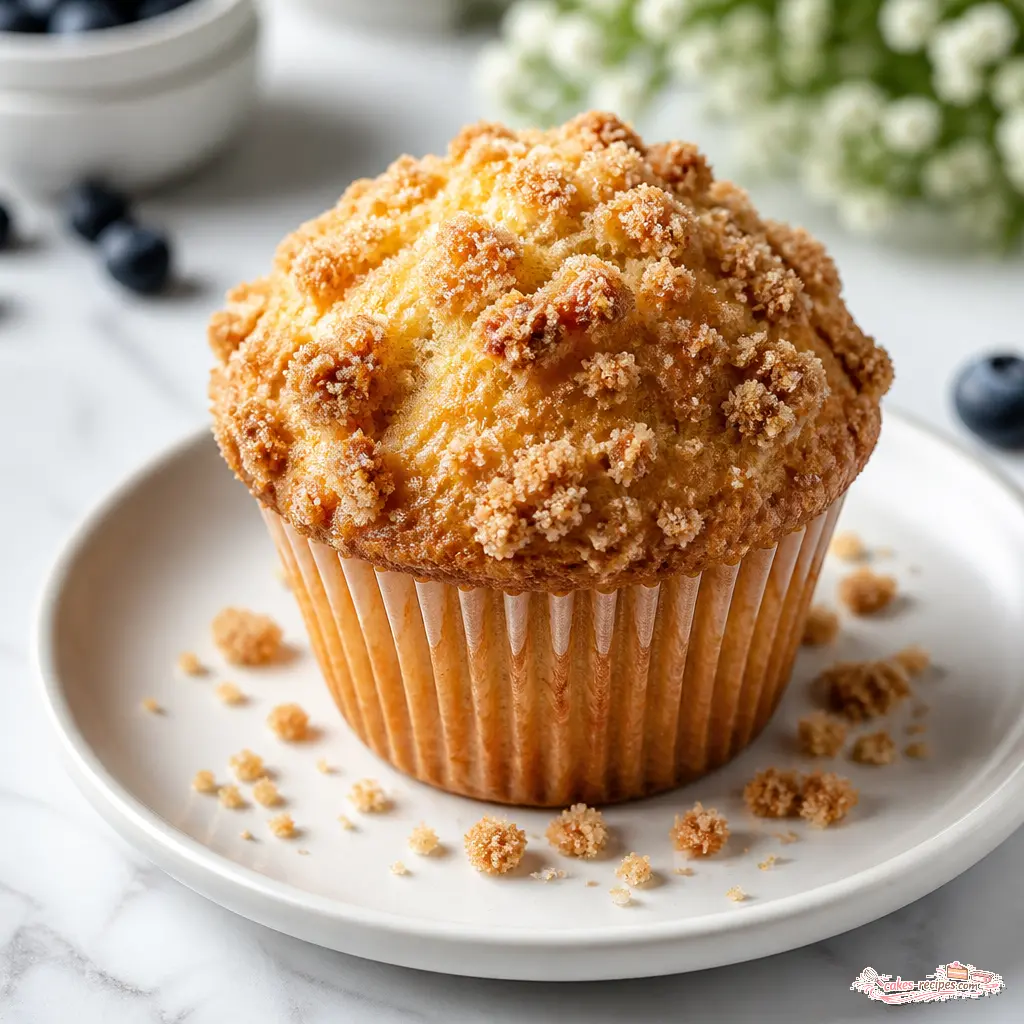
Why This Base Muffin Recipe Works
I’ll tell you something I don’t usually admit. My first batch of homemade muffins, about fifteen years ago, came out looking like sad little hockey pucks. Dry, dense, and not a single one had a dome on top. My grandmother Eunice would’ve shaken her head and said, “Bless your heart, James, but that’s not a proper muffin.”
She was right, of course. But here’s the thing I learned from that failure. And over the years, through trial and error and a lot of Saturday mornings in the kitchen, I finally cracked the code. These muffin recipes are the result of all that practice. They’re the ones I make for my own kids now, and the ones that disappear fastest from the counter.
What makes this recipe different? It’s forgiving. It’s adaptable. And it uses ingredients you probably already have in your pantry. No fancy equipment, no hard-to-find items. Just good, honest baking that works every single time.
In my experience, the best muffin recipes share a few key traits. They’re moist without being greasy. They have a tender crumb that holds together. And they rise with a beautiful dome that makes you feel like a professional baker. This recipe delivers all that, plus it’s freezer-friendly and perfect for quick breakfast muffins or lunchbox muffins.
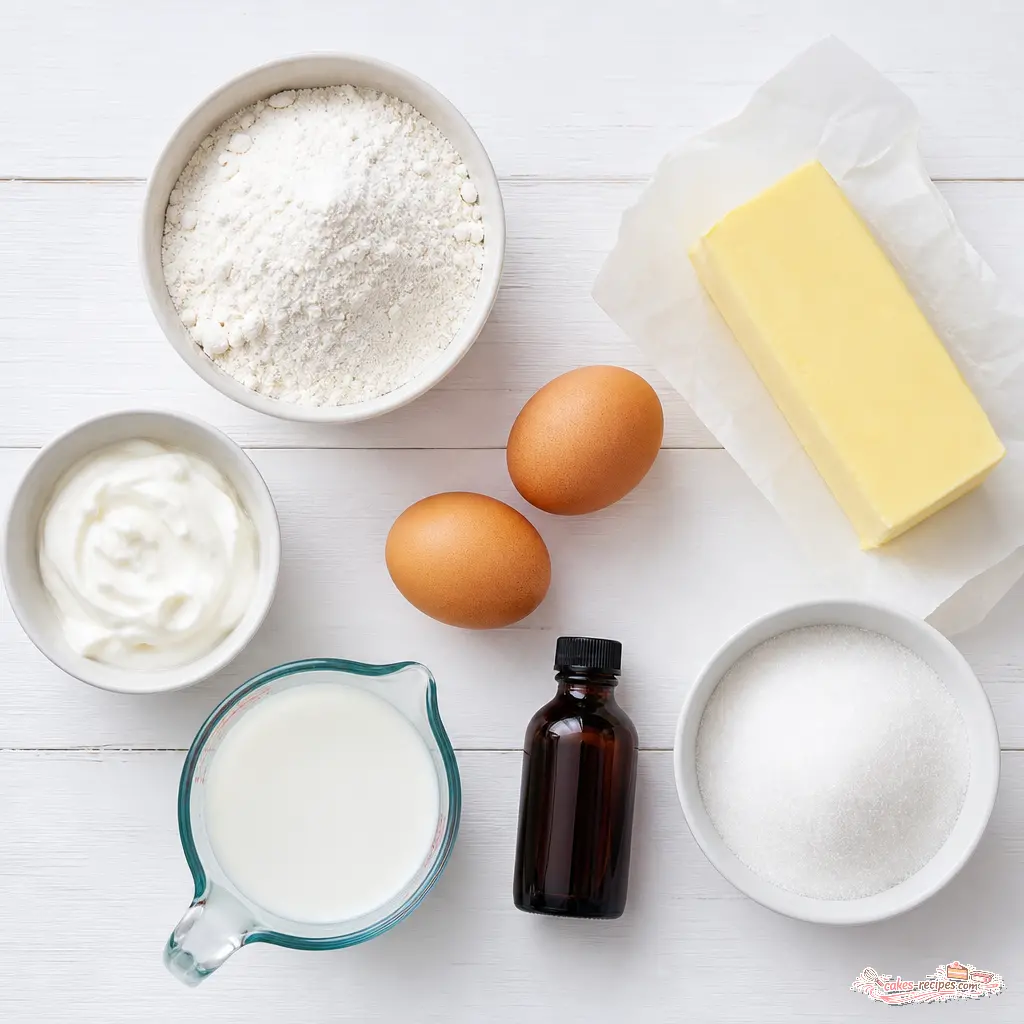
Ingredients for the Muffin Batter
Let me walk you through what you need. The list might look long, but I promise it’s straightforward. And I’ll explain why each ingredient matters, so you understand what’s happening in that bowl.
- All-purpose flour 1 3/4 cups, spooned and leveled. Don’t scoop directly from the bag, that packs the flour and makes dry muffins.
- Baking powder and baking soda This one-two punch gives you lift. They work together to create those tall tops.
- Salt Just half a teaspoon. It balances the sweetness and brings out flavor.
- Ground cinnamon Optional, but I almost always add it. Gives warmth to the base.
- Unsalted butter Half a cup, softened to room temperature. I prefer real butter over any substitute. The flavor and texture cannot be replicated.
- Granulated sugar and brown sugar The combination adds sweetness and moisture. Brown sugar has molasses, which keeps things tender.
- Sour cream or plain yogurt This is the secret to moist muffins. The acidity tenderizes the gluten and adds richness.
- Eggs Two large ones, at room temperature. Cold eggs can seize the butter mixture.
- Pure vanilla extract Don’t skimp here. Real vanilla makes a difference.
- Milk Just a quarter cup, any kind works.
See? Nothing exotic. You can find all of this at Ralphs or Vons without breaking a sweat. The way I learned from Grandma Eunice, good baking starts with good ingredients, but it doesn’t have to be complicated.
Muffin Topping Options
Now, let’s talk about the crown jewel. A muffin without a good topping is like a Sunday dinner without sweet tea it’s just not complete.
This recipe includes a crumb topping that’s absolutely irresistible. Here’s what goes into it:
- 1/3 cup packed brown sugar
- 1 tablespoon granulated sugar
- 1/2 teaspoon ground cinnamon
- 4 tablespoons unsalted butter, melted
- 2/3 cup all-purpose flour
The trick is mixing it with a fork until it’s crumbly. Don’t overwork it, or you’ll get a paste instead of those lovely little clusters. I like to refrigerate mine while I make the batter keeps the butter cold so the crumbs stay distinct.
If you’re not in the mood for crumb topping, you can sprinkle the tops with coarse sugar before baking. That gives them a nice sparkly crunch. Or leave them plain these homemade muffins are good enough to stand on their own.
The Trick to Tall Muffin Tops
Here’s where things get interesting. You know those bakery muffins with the huge domed tops that look like they’re about to topple over? I used to think they were made with magic or some special equipment. Turns out, it’s just a clever baking technique.
The secret is a high-heat start. You preheat your oven to 425 degrees Fahrenheit. Pop the muffins in for exactly 5 minutes at that high temperature. Then, without opening the door, reduce the temperature to 350 degrees and bake for another 15 to 18 minutes.
That initial blast of heat causes the edges to set quickly while the center keeps rising. The batter gets pushed upward, creating that beautiful dome. It works like a charm every single time.
Another tip? Fill your muffin cups all the way to the top. I know it feels wrong, like they’ll spill over. But trust me on this. The batter is thick enough that it won’t overflow, and that extra volume gives you the height you’re after.
Muffin Tips from My Kitchen
Don’t overmix: This is the most common mistake. Mix until you see a few streaks of flour left, then stop. Overmixing develops gluten and makes tough muffins. The batter should be thick and slightly lumpy.
Room temperature ingredients: Cold eggs or cold sour cream won’t incorporate smoothly. Take them out of the fridge 30 minutes before you start.
The toothpick test: Insert a toothpick into the center of a muffin. If it comes out clean or with a few moist crumbs, they’re done. If it’s wet batter, give them a couple more minutes.
Even More Muffin Flavors
This is where the fun really begins. The base recipe is like a blank canvas. You can add just about anything and it’ll work. Here are some of my favorite variations, all tested in my own kitchen:
- Blueberry Muffins Fold in 1 1/2 cups fresh or frozen blueberries. If using frozen, don’t thaw them first. That prevents the batter from turning blue.
- Chocolate Chip Muffins Use 1 cup semi-sweet chocolate chips. My kids request these for every school event.
- Banana Nut Muffins Mash 1 ripe banana and add 1/2 cup chopped walnuts. The banana adds extra moisture.
- Lemon Poppy Seed Add the zest of 1 lemon and 2 tablespoons poppy seeds. Bright and fresh for summer mornings.
- Pumpkin Spice Replace the sour cream with 1/2 cup pumpkin puree and add 1 teaspoon pumpkin pie spice. Perfect for fall.
- Summer Fruit Muffins Try peaches, nectarines, or raspberries. Whatever looks good at the Santa Monica Farmers Market.
For jumbo muffins, use a jumbo pan and bake at 350 degrees for 25-28 minutes. For mini muffins, 10-12 minutes at 350 degrees does the trick. The muffin baking temperature stays the same, just the time changes.
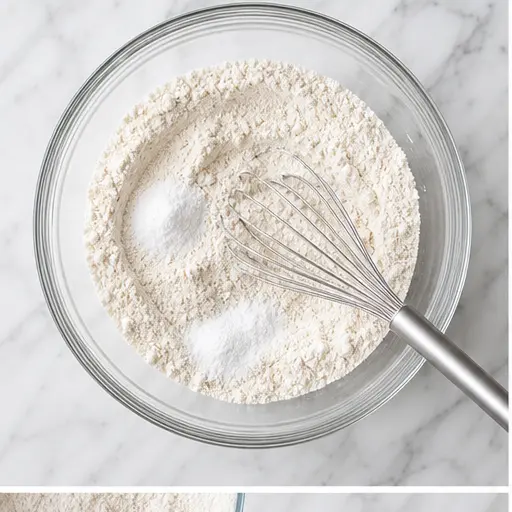
How to Make These Muffins: The Four Stages
Let me walk you through the process. I’ve broken it into four stages so you can follow along without feeling overwhelmed. The way I learned from Grandma Eunice, understanding the why behind each step makes you a better baker.
Stage 1: Prep and Crumb Topping
Start by preheating your oven to 425 degrees. Spray a 12-count muffin pan with nonstick spray or line it with paper liners. Then make the crumb topping. In a medium bowl, combine the brown sugar, granulated sugar, and cinnamon. Stir in the melted butter. Using a fork, gently work in the flour just until combined. You want it crumbly, not pasty. Set it aside or pop it in the fridge while you work on the batter.
The smell of cinnamon and brown sugar at this stage always takes me back to Saturday mornings at my grandmother’s house. She’d be up before dawn, the whole kitchen warm and fragrant.
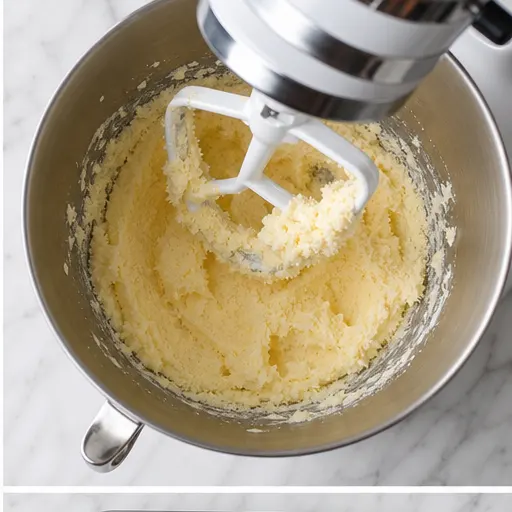
Stage 2: Mix the Dry and Wet Ingredients
In a large bowl, whisk together the flour, baking powder, baking soda, salt, and cinnamon if you’re using it. Set that aside. In another large bowl or the bowl of your stand mixer beat the softened butter, granulated sugar, and brown sugar on high speed until smooth and creamy. This takes about 3 minutes. Scrape down the sides as needed.
Add the sour cream, eggs, and vanilla. Beat on medium speed for a minute, then increase to high until it’s all combined. Scrape down again. The mixture should look light and fluffy, almost like a thick milkshake.
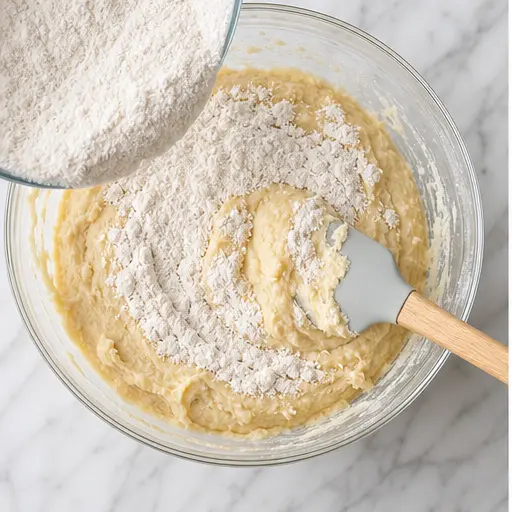
Stage 3: Combine and Add Mix-ins
Here’s the critical part. Pour the dry ingredients into the wet mixture and beat on low speed until just barely combined. Add the milk and beat on low until combined. You should still see a few streaks of flour. That’s your cue to stop.
Now fold in your chosen add-ins blueberries, chocolate chips, whatever you decided on. Use a rubber spatula and gentle strokes. The batter should be thick. If it looks runny, you’ve mixed too long. But don’t worry, it’s forgiving. Just make a note for next time.
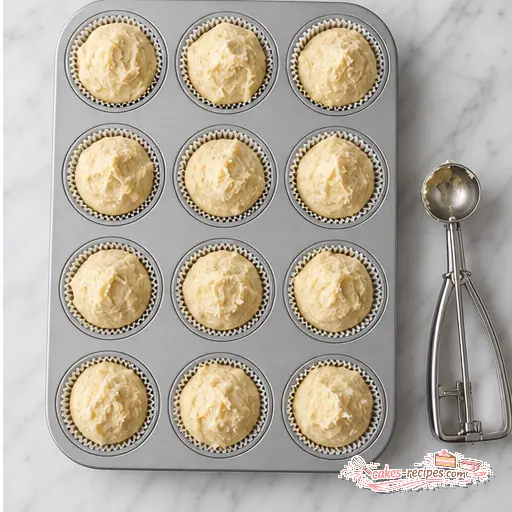
Stage 4: Fill, Top, and Bake
Spoon the batter into the prepared muffin cups, filling them all the way to the top. Don’t be shy about it. Sprinkle with coarse sugar or spoon on the crumb topping and lightly press the crumbles so they stick. Bake at 425 degrees for 5 minutes, then reduce to 350 degrees and bake for another 15 to 18 minutes.
You’ll know they’re done when a toothpick inserted in the center comes out clean. The tops will be golden brown and spring back when you touch them gently. Let them cool in the pan on a wire rack for 10 minutes, then transfer them directly to the rack to cool completely. If you can wait that long.
Storage and Freezing Tips
These muffins stay fresh at room temperature for up to 5 days if you keep them tightly covered. I use a glass container with a lid or wrap them individually in plastic wrap. They’ll keep in the refrigerator for up to a week, though I find they dry out a bit faster in there.
For longer storage, these freezer-friendly muffins are perfect. Let them cool completely, then wrap each one tightly in plastic wrap and place them in a freezer bag. They’ll keep for up to 3 months. When you’re ready for one, just thaw at room temperature or pop it in the microwave for about 20 seconds.
This is great for back to school muffins or busy mornings when you need something quick. Just grab one from the freezer and go.
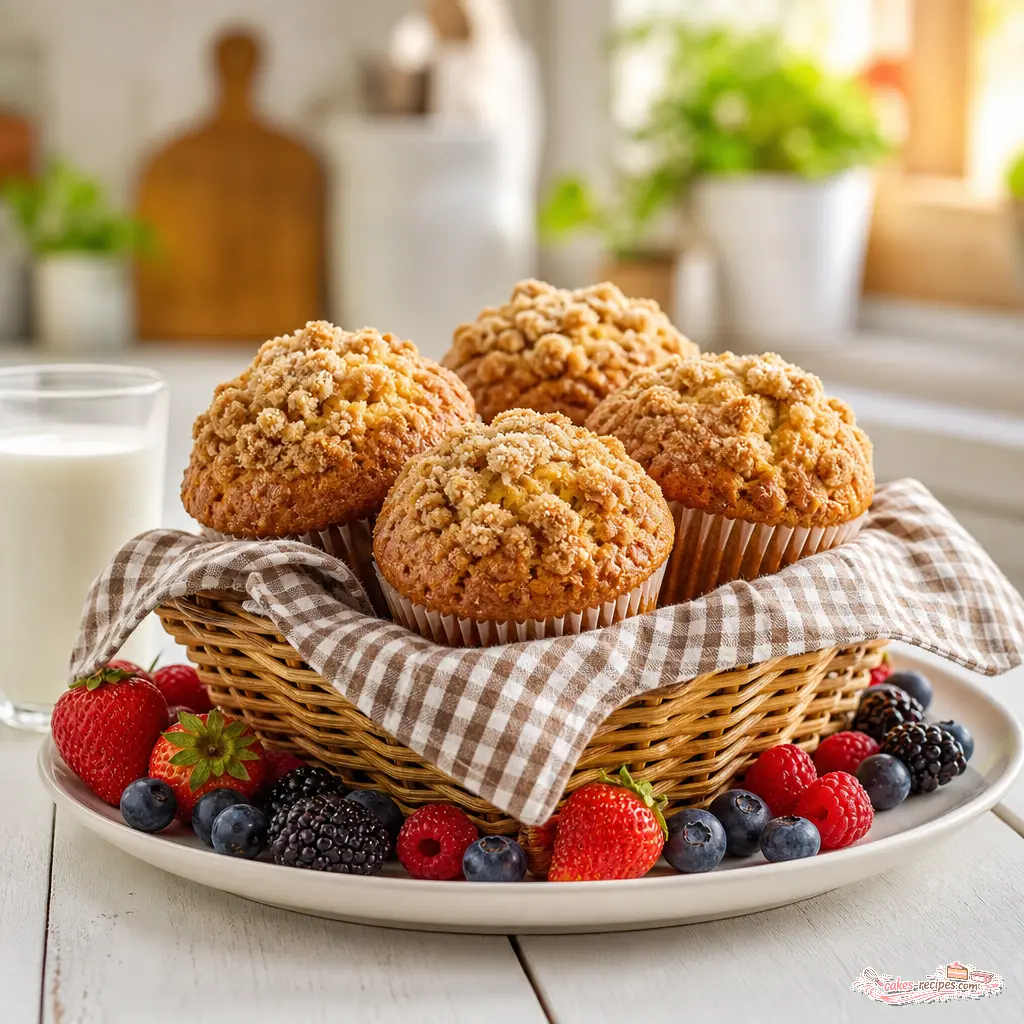
Share Your Muffin Masterpiece!
I’d love to see what you create with these recipes. Tag me on Pinterest or leave a comment below with your favorite variation. My fifteen-year-old daughter has started making these for her friends, and she texts me photos of the tops for approval. Last week she got a perfect dome and captioned it “Grandma would be proud.” She’s right. I am too.
Remember, baking should be fun, not stressful. If your first batch isn’t perfect, that’s okay. The way I learned, every failure teaches you something. And these muffin recipes are forgiving enough that even a beginner can pull off something delicious.
So preheat that oven, get out your muffin pan, and give it a try. You might surprise yourself. And if you need more inspiration, check out my Pinterest board for more ideas and variations.
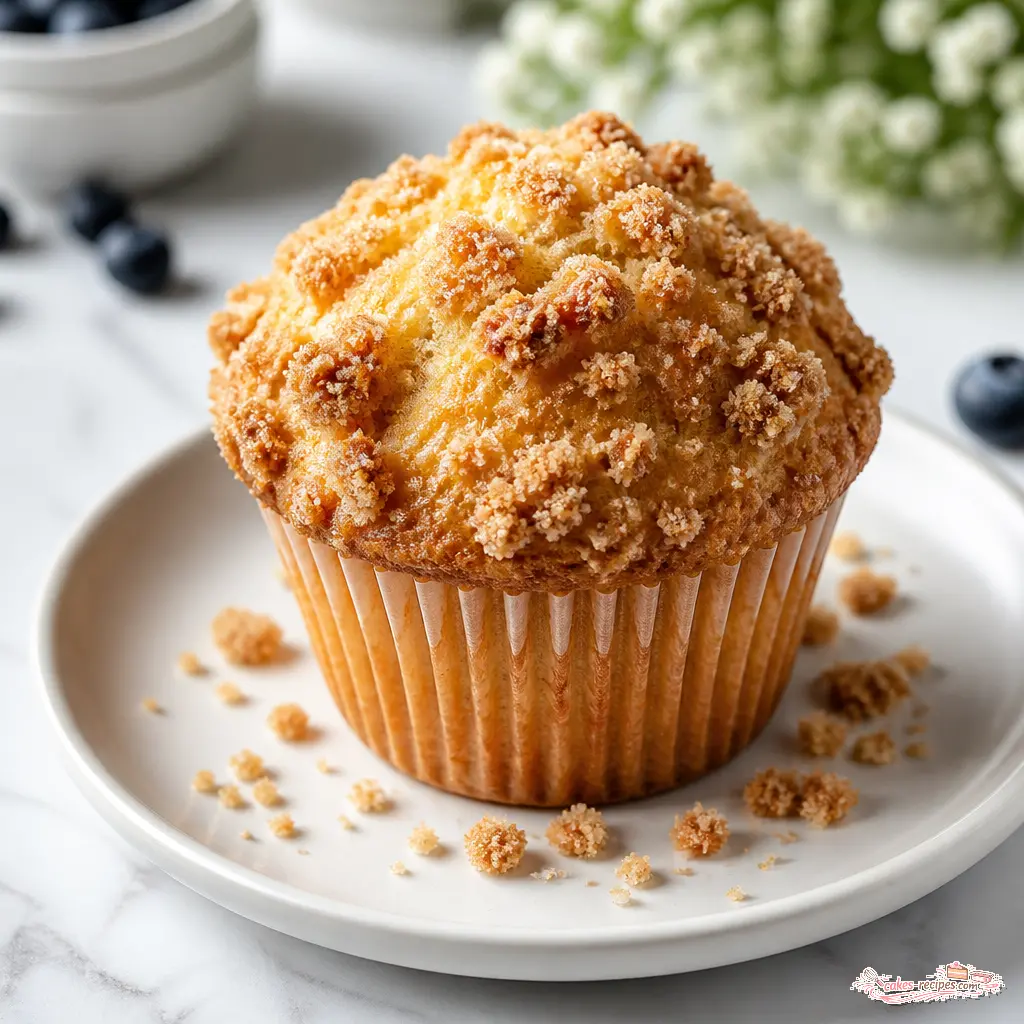
California Dreamin' Muffin Recipes: Ultimate Base Muffin
Ingredients
Method
- Preheat your oven to 425 degrees Fahrenheit. Spray a 12-count muffin pan with nonstick spray or line it with paper liners. Set aside.
- In a medium bowl, combine the brown sugar, granulated sugar, and cinnamon. Stir in the melted butter. Using a fork, gently work in the flour just until combined. The mixture should be crumbly and not overmixed. Set aside or refrigerate until ready to use.
- In a large bowl, whisk together the flour, baking powder, baking soda, salt, and cinnamon (if using). Set aside.
- In another large bowl, using a hand mixer or stand mixer fitted with a paddle attachment, beat the softened butter, granulated sugar, and brown sugar on high speed until smooth and creamy, about 3 minutes. Scrape down the sides and bottom as needed. Add the sour cream, eggs, and vanilla. Beat on medium speed for 1 minute, then increase to high speed until combined. Scrape down again.
- Pour the dry ingredients into the wet mixture and beat on low speed until just barely combined. Add the milk and beat on low until combined. Fold in your chosen add-ins. The batter should be thick.
- Spoon the batter into the prepared muffin cups, filling them all the way to the top. Sprinkle the tops with coarse sugar or spoon on the crumb topping and lightly press the crumbles so they stick.
- Bake the muffins for 5 minutes at 425 degrees Fahrenheit. Then, keeping the muffins in the oven, reduce the temperature to 350 degrees Fahrenheit and bake for an additional 15 to 18 minutes, or until a toothpick inserted in the center comes out clean. Total baking time is about 22 to 23 minutes. Let the muffins cool in the pan on a wire rack for 10 minutes, then transfer them directly to the rack to cool completely.
- Store muffins tightly covered at room temperature for up to 5 days, or in the refrigerator for up to 1 week.
Nutrition
Notes
Tried this recipe?
Let us know how it was!Frequently Asked Questions
Source: Health & Nutrition Research
What is the secret to making moist muffins?
The secret is using sour cream or yogurt in the batter. The acidity tenderizes the gluten and adds richness without making the muffins greasy. Also, don’t overmix and don’t overbake. Both dry out the crumb.
What is the most popular muffin?
Blueberry muffins consistently top the list as the most popular. They’re a classic for good reason. The sweet-tart berries pair beautifully with the tender, buttery base. Chocolate chip comes in a close second, especially with kids.
What is one thing you should never do to a muffin mixture?
Never overmix the batter. Mix until the dry ingredients are just barely combined, with a few streaks of flour still visible. Overmixing develops gluten, which makes muffins tough and dense instead of light and tender.
How to make the best muffin ever?
Start with room temperature ingredients, cream the butter and sugar thoroughly, and use the high-heat baking method. Fill the cups to the top and don’t overmix. Add sour cream for moisture and your favorite mix-ins. That’s the formula.















6 Responses
I tried these as mini muffins for my son’s lunchbox, but they came out a bit dry. I followed the recipe exactly except I used Greek yogurt instead of sour cream. Could that have caused the dryness? I’d love to get them right next time.
Great question, Mark! Yes, Greek yogurt is thicker and less fatty than sour cream, which can make muffins drier. I’d suggest using full-fat sour cream or adding an extra tablespoon of milk if you stick with yogurt. Also, be sure not to overmix the batter that’s a common cause of dry muffins too!
Made these with blueberries and the crumb topping this morning. They turned out perfect nice domed tops and so moist! My kids devoured them in about 10 minutes. Thanks for the tip about using room temperature ingredients, it really made a difference.
Decent recipe but I found the muffins a little too sweet for my taste. Next time I’ll cut the sugar by a quarter cup. Also, my crumb topping didn’t get as crunchy as I’d hoped any tips for that?
Hi David! For a crunchier crumb topping, try using cold butter cut into small cubes instead of melted butter it creates more distinct crumbly bits. And don’t skip the cinnamon in the topping; it helps with texture too. Feel free to adjust the sugar that’s the beauty of a base recipe!
I’ve been searching for a reliable base muffin recipe for years and this is it! Made chocolate chip muffins last week and cinnamon streusel today. Both were bakery-quality. The note about not overmixing was a game-changer for me.