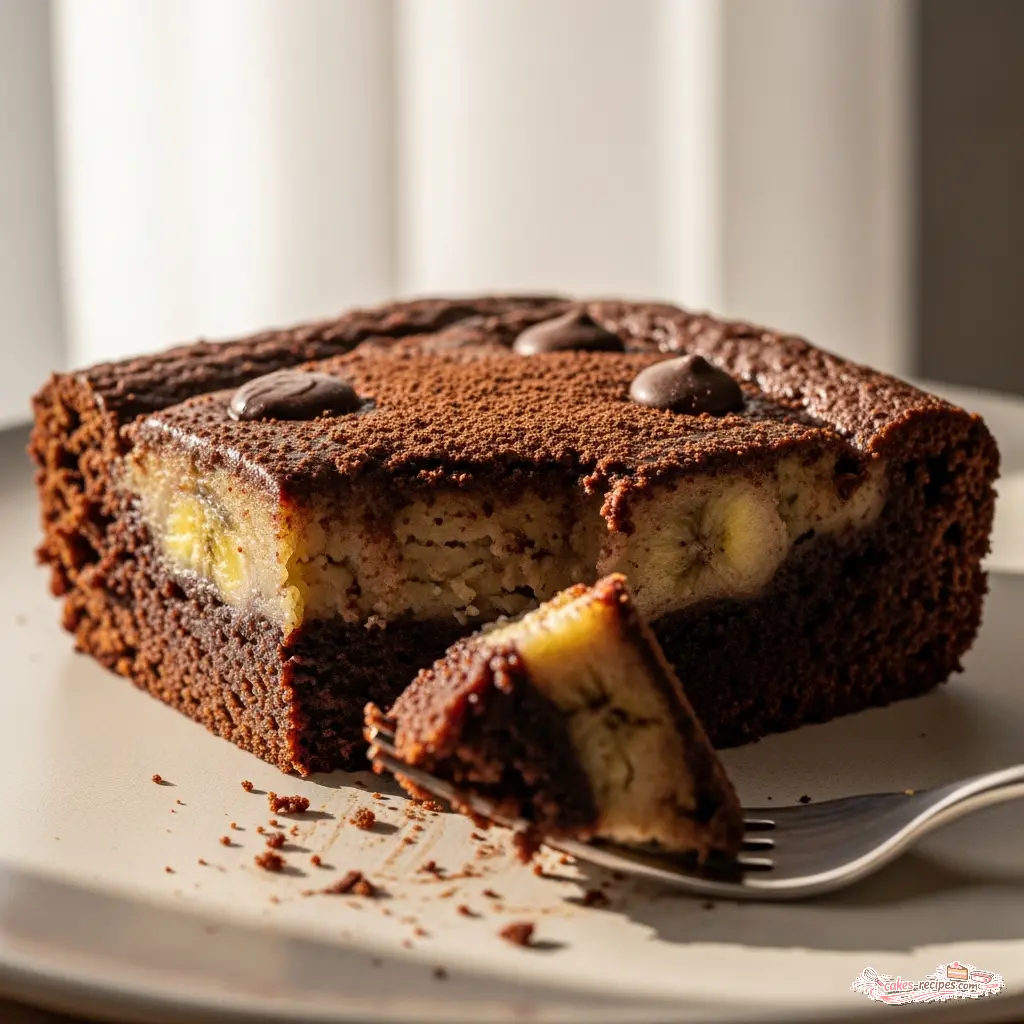
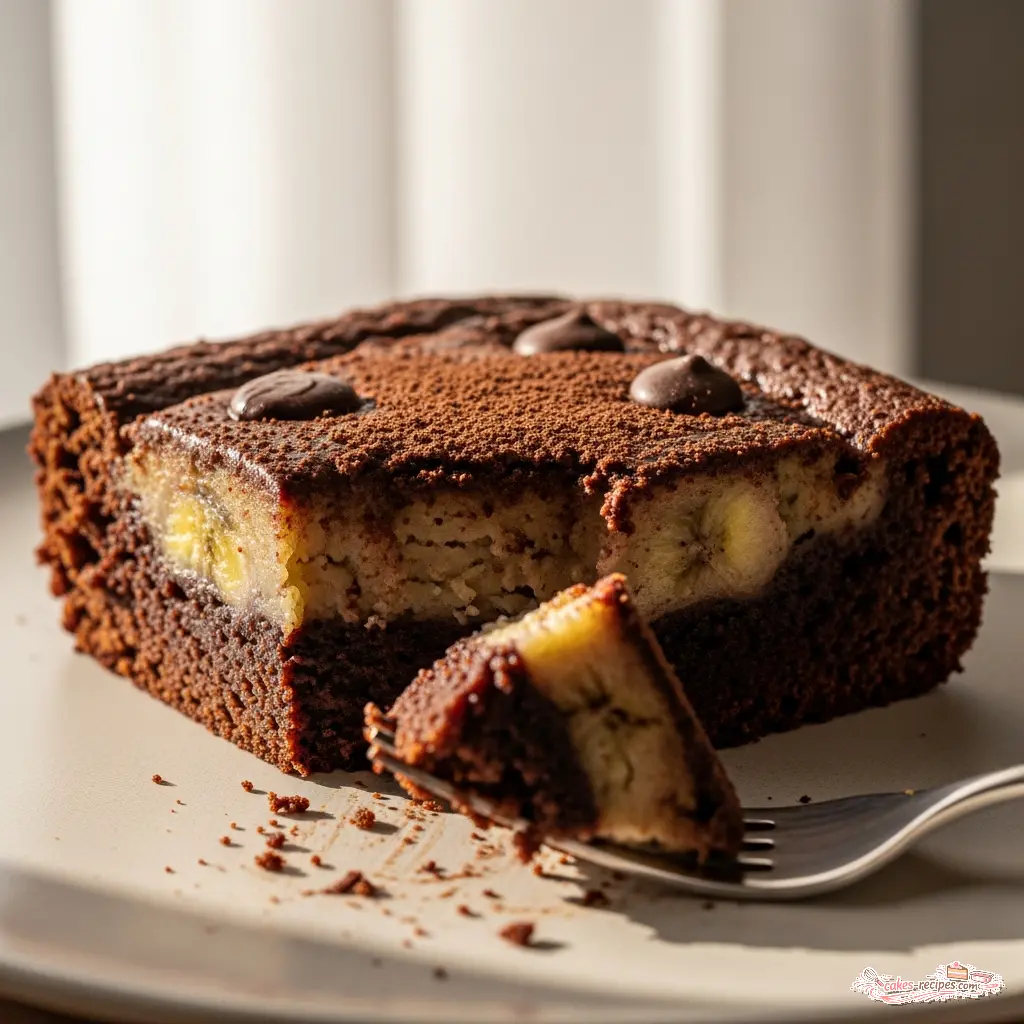
3 Ingredient Cocoa and Banana Brownies
Ingredients
Method
- Preheat the oven to 350°F (180°C) and line a 7-inch square brownie pan with parchment paper.
- Mash three ripe bananas in a large bowl, then stir in the peanut butter until the mixture is smooth.
- Sift the cocoa powder into the mixture, stir to combine, and pour the batter into the prepared brownie pan.
- Bake in a preheated oven for 22 to 30 minutes, then allow to cool completely at room temperature before slicing.
Nutrition
Notes
Tried this recipe?
Let us know how it was!The “Banana Graveyard” Solution
I’ve been there. You walk into the kitchen on a Wednesday evening, tired from the LA traffic, and spot them. The banana graveyard. Those three or four spotted, browning fruits sitting in the bowl, judging you. I used to feel a pang of guilt every time I let them go too far, eventually tossing them in the bin.
That guilt stopped the day I realized that overripe bananas aren’t waste. They are sugar, structure, and moisture all wrapped in a yellow peel. I started experimenting with banana and cocoa powder recipes because I wanted something that felt like a decadent dessert but didn’t require dragging out the stand mixer or tempering chocolate on a marble slab (though my mom would argue that’s the best part).
This isn’t just about saving fruit. It’s about that specific moment when you crave chocolate real, deep chocolate flavor but don’t want the sugar crash that comes with a standard brownie. When you find the right banana and cocoa powder recipes, you get this incredible, fudgy texture that feels like cheating. It’s vegan, gluten-free, and honestly, easier than making toast. Let me walk you through how to turn that mushy fruit into the best 2-ingredient snack you’ve ever made.
The Magic of Mashing: Getting Started
The first time I tried this, I was skeptical. How can fruit and powder turn into a brownie? The secret is in the mash. You can’t just roughly squash them. You need to obliterate the texture until it’s a smooth, golden liquid. I use a fork, but if you want to be precise, a potato masher works wonders.
You’ll notice as you mash that the bananas release a lot of liquid. That’s exactly right. That liquid is what hydrates the cocoa powder. If your bananas are underripe, they’ll be starchy and dry, and your result will taste like… well, like cardboard. We want overripe bananas. I’m talking plenty of brown spots, maybe even fully black skins. That’s where the natural sweetness lives.
Once you have your liquid gold, you sift in the unsweetened cocoa powder. Please, sift it. I know it adds thirty seconds, but nobody wants to bite into a pocket of dry, bitter dust. Fold it in gently. It will look dry at first, like it won’t come together. Keep stirring. Suddenly, it transforms into a thick, glossy, dark batter that smells like a bakery.

The Science of Flourless Baking
Let’s get a little technical for a second. In traditional baking, flour provides the structure (gluten) and eggs provide the binding. So how do banana and cocoa powder recipes hold together without either? It comes down to pectin and starch.
Bananas contain pectin, a natural gelling agent, and starch. When you heat the banana puree, those starches gelatinize, absorbing the moisture and setting into a firm structure. The cocoa powder acts as a dry bulk, similar to flour, absorbing the excess liquid. This is why the ratio is critical. Too much banana, and you have pudding. Too much cocoa, and you have a desert.
I tend to prefer Dutch-process cocoa powder here. It has a lower acidity and a darker color, which gives a more “Oreo-like” flavor profile that masks the banana taste slightly better than natural cocoa. However, natural cocoa works if you like that fruity acidity. Just remember, since there’s no baking soda reacting with acid here for lift, the type of cocoa is purely about flavor preference, not chemistry.
Microwave & Air Fryer Adaptations
I know not everyone wants to fire up the oven, especially if you’re just making a quick snack for yourself. I’ve tested these banana and cocoa powder recipes in pretty much every appliance I own.
The Microwave Mug Cake
This is dangerous knowledge because it’s too easy. Mix 1 mashed banana with 2 tablespoons of cocoa powder in a microwave-safe mug. Microwave on high for 60 to 90 seconds. It will rise dramatically and then sink. That’s normal. It’s essentially a steamed pudding. The texture is spongier than the oven version, but for a 2-minute fix? Worth considering.
The Air Fryer Method
If you want that oven-baked texture without heating up the whole house, the air fryer is your friend. Use small silicone muffin liners or a small ramekin. Bake at 350°F (175°C) for about 8-10 minutes. The circulating air creates a nice “skin” on top that I really enjoy. Just watch them closely; air fryers can dry things out faster than a standard oven.
Troubleshooting & The “Set-in-Fridge” Rule
This is the part where most people panic. You pull the pan out of the oven, touch the center, and it feels… squishy. Not just soft, but unstable. You might think, “I’ve messed up this banana and cocoa powder recipe.”
Stop. Don’t put it back in.
These are flourless. They don’t set like a cake. They set like a cheesecake or a custard. When they are hot, the starches are soft. They need to cool completely to firm up. In my experience, though others might differ, the fridge is non-negotiable. I let them cool on the counter for 20 minutes, then pop the whole pan in the fridge for at least an hour. That’s when the magic happens. The texture transforms from “hot mush” to “fudgy truffle.”
Common Mistakes & Fixes
Mistake: The texture is rubbery.
Solution: You likely overmixed the batter or overbaked it. Treat it gently. Once the cocoa is incorporated, stop mixing.
Mistake: It tastes bitter or chalky.
Solution: Your bananas weren’t ripe enough. If you’re stuck with yellow bananas, add a tablespoon of maple syrup or honey to balance the cocoa.
Mistake: It’s too dry and crumbly.
Solution: You used too much cocoa powder. Measure carefully. If you scoop the cocoa with the cup, you pack it down and get too much. Spoon it into the cup and level it off.
Variations & Customization
Once you nail the base, you can start playing around. My niece loves it when I add a handful of semi-sweet chocolate chips. They melt during baking and create these little pockets of texture that break up the smoothness.
If you want a protein boost, I’ve had success adding a scoop of chocolate protein powder. However, you’ll need to add a splash of almond milk or an extra half-banana to compensate for the extra dry ingredients. It’s a balancing act. For a nuttier profile, a swirl of peanut butter or almond butter on top before baking looks professional and tastes amazing.
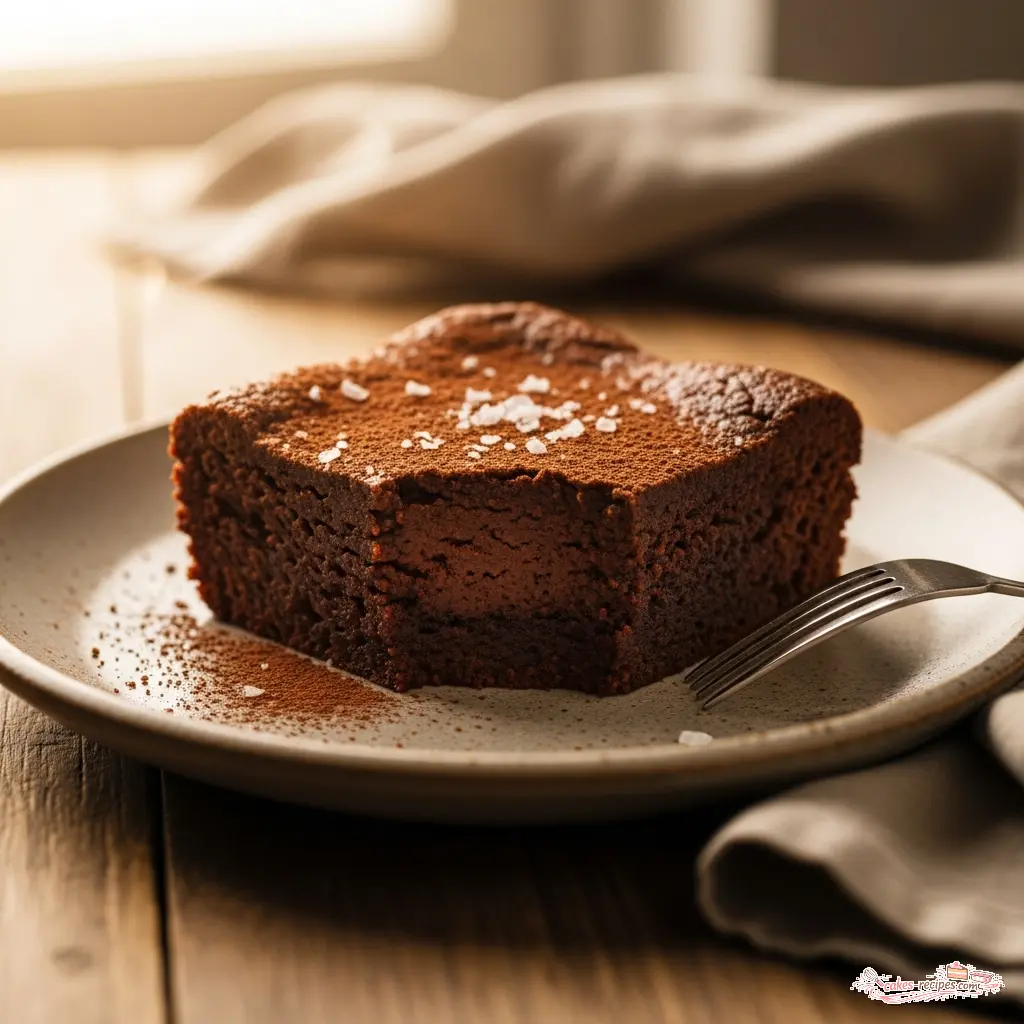
And salt. Always salt. A tiny pinch of sea salt in the batter, or flaky salt on top, wakes up the chocolate flavor. It’s the difference between “good” and “wow.”
Storage & Serving
Since these are moisture-heavy banana and cocoa powder recipes, they don’t love sitting out on the counter for too long. I generally store them in an airtight container in the fridge. They’ll stay fresh and fudgy for up to 5 days. Honestly, I prefer them cold. The texture is denser, almost like a chilled truffle.
If you want to freeze them for later (meal prep snacks, anyone?), wrap individual squares in parchment paper and then place them in a zip-top bag. They freeze beautifully for about 3 months. When the craving hits, just let one thaw on the counter for 15 minutes. Or don’t. Frozen, they taste like a chocolate ice cream bar. I’ve eaten more than I care to admit standing right in front of the freezer.
Frequently Asked Questions
Go Save Those Bananas
When you take that first warm bite, or better yet, that first chilled, fudgy bite from the fridge, you’ll understand why I keep coming back to this. It’s simple, it’s honest, and it solves a problem we all have. No more throwing away produce. No more complicated cleanup.
So, go check your fruit bowl. If you see spots, you’re in business. Grab the cocoa, mash away, and treat yourself to one of the easiest banana and cocoa powder recipes out there. You’ve got this.
Reference: Original Source