
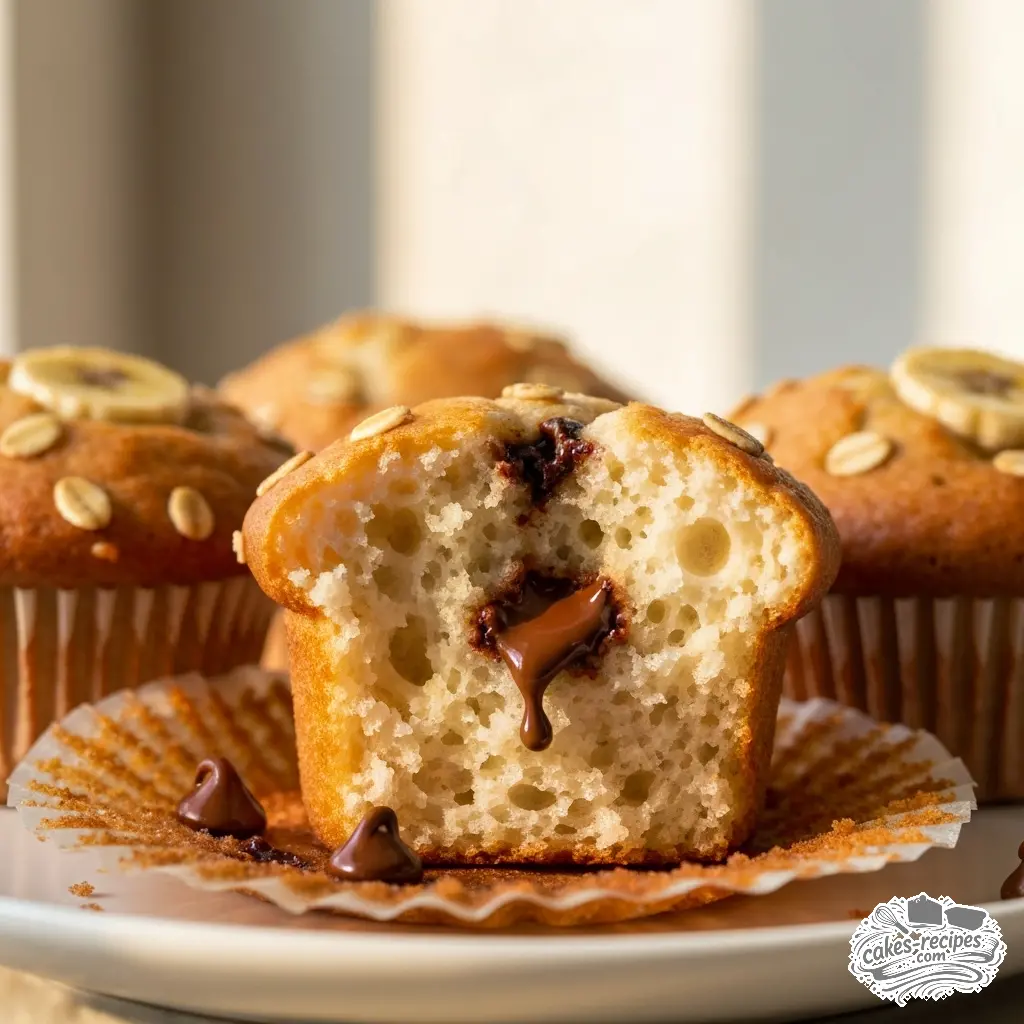
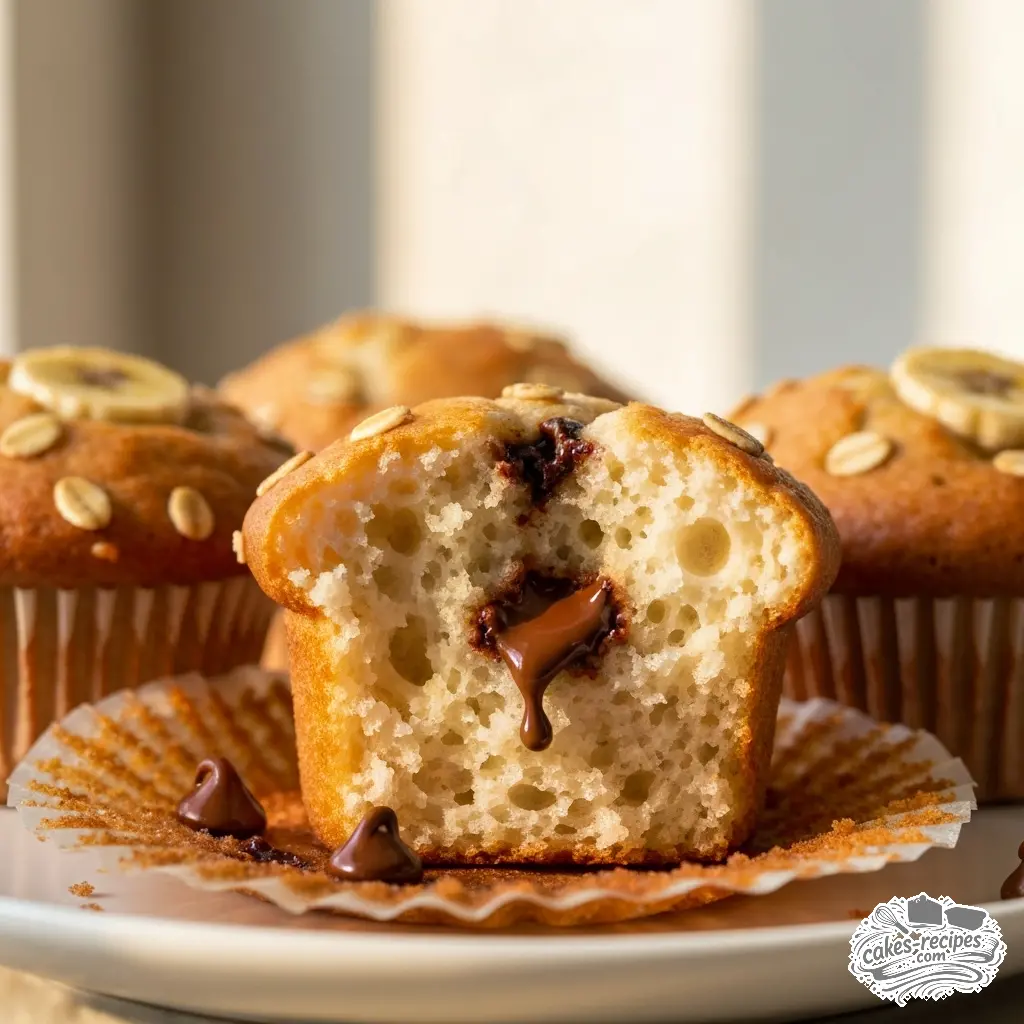
Add banana to muffin mix for your best moist muffins
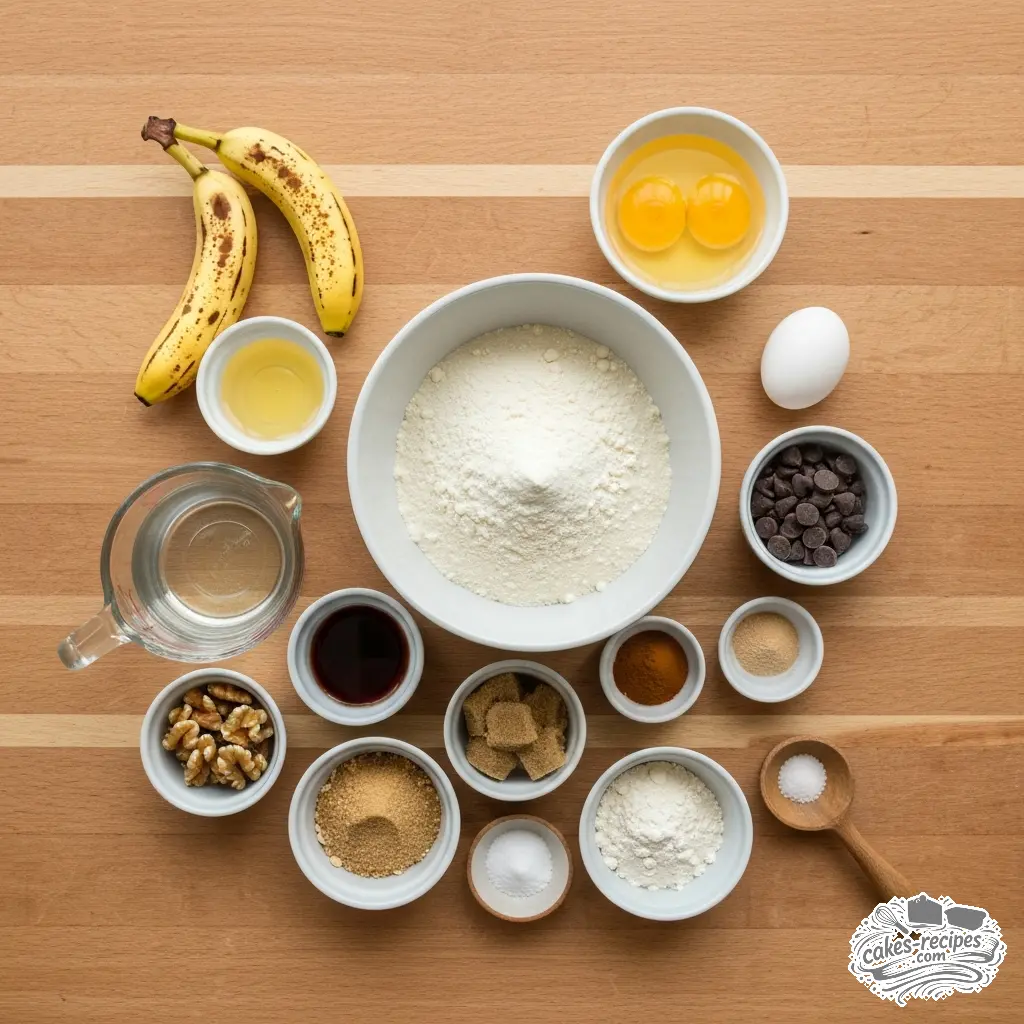
Ingredients
Method
- Heat the oven to 425F (220C) and prepare a muffin pan with paper liners.
- Mash peeled bananas in a large bowl with a fork or potato masher until they are thoroughly crushed.
- Combine the oil and melted butter, then mix thoroughly.
- Mix in the sugars until thoroughly incorporated.
- Combine the eggs, buttermilk, and vanilla extract, stir thoroughly, and set aside.
- Whisk the flour, baking powder, baking soda, and salt together in a separate bowl.
- Gently fold the dry ingredients into the wet batter until just incorporated, being careful not to over-mix.
- Fill each prepared muffin liner three-quarters full with batter, then set the pan aside and make the streusel topping.
- Stir together the flour, brown sugar, and salt in a medium bowl using a fork.
- Cut the cold butter into the mixture using a pastry cutter until well-incorporated and the texture resembles coarse crumbs.
- Distribute the streusel topping uniformly across the top of each muffin.
- Bake the muffins at 425F (218C) for 8 minutes. Without opening the oven door, reduce the temperature to 350F (177C) and bake for an additional 7 to 8 minutes. Test for doneness by inserting a toothpick into the center of the largest muffin; it should come out clean or with a few moist crumbs and no wet batter.
- Let muffins cool completely before serving.
Nutrition
Notes
Tried this recipe?
Let us know how it was!The Secret to Saving Those Sad Bananas
Let me tell you, there is a very specific kind of guilt that comes from staring at a bunch of bananas turning slowly into brown mush on the kitchen counter. You know the look. They sit there, spotting and softening, practically begging to be used. I’ve been there a hundred times. Usually, my first instinct is banana bread, but sometimes honestly, most times I just don’t have the energy for the measuring, the flour dusting, and the hour-long bake time. That is exactly when I decide to add banana to muffin mix.
It’s the perfect compromise. You get that homemade smell filling up the kitchen, you save the fruit from the compost bin, and you look like a domestic genius without actually doing the heavy lifting. My aunt Caroline, who ran a bakery in Vermont back in the 90s, used to say that “semi-homemade isn’t cheating, it’s just smart resource management.” She was right. When you add banana to muffin mix, you are essentially hacking the system. You take a standard, shelf-stable box and transform it into something that tastes like it came from a high-end cafe. It is moist, it is flavorful, and best of all, it is fast.
But here is the thing. You can’t just toss a banana in and hope for the best. I learned this the hard way. If you don’t adjust your liquids, you end up with a gummy, dense mess that never quite bakes through in the middle. I’ve done the testing so you don’t have to. We are going to walk through exactly how to do this so you get perfectly tender, golden brown muffins every single time.
Why This Recipe Works (The Science of Moisture)
When you decide to add banana to muffin mix, you are introducing a massive amount of moisture and sugar that the box developers didn’t account for. A medium banana is about 75% water. That is a lot of liquid. If you follow the box instructions for water or milk and then add bananas, you are essentially drowning your flour.
The gluten structure can’t support that much weight. The result? That dreaded “wet bottom” muffin that falls apart when you unwrap it. Not appetizing.
The trick is balance. By reducing the oil or water called for on the box, we make room for the banana. The fruit acts as a binder and a moisturizer, much like eggs or oil do. My aunt Caroline taught me that fruit purees can often replace fat in baking. While we aren’t going fully fat-free here, we are leaning on the banana to provide that richness. This creates a crumb that stays moist for days, much longer than a standard box mix muffin would.
The Two Ways to Do It
There are generally two schools of thought here. I’ve tried both, and they serve different purposes depending on how desperate you are for a snack.
1. The “2-Ingredient” Hack
This is the viral internet method. You take a box of cake mix or muffin mix and combine it only with mashed bananas. No eggs. No oil. No water. Does it work? Yes. Is it the best muffin you’ll ever eat? Honestly, no. It tends to be a bit dense and rubbery. It’s great if you are out of eggs or need a vegan option (assuming your mix is vegan), but for a bakery-style texture, we need a little more structure.
2. The “Enhanced Mix” Method (Recommended)
This is what we are doing today. We use the base ingredients from the box eggs, oil, water but we tweak the ratios. We keep the eggs for lift and structure. We keep a little fat for tenderness. But we swap out the bulk of the liquid for the mashed banana. This gives you the best of both worlds: the convenience of the mix with the texture of a scratch-made recipe. It is worth the extra two minutes of effort. Trust me.
The Golden Ratio: How Many Bananas?
Here is the rule I live by. For a standard 14-16oz box of muffin mix (like Betty Crocker, Krusteaz, or Martha White), you want to use 2 medium overripe bananas. This usually yields about 1 cup of mashed banana.
If you have giant bananas, measure them after mashing. You really don’t want more than a cup, or things get heavy. If you have tiny bananas, use three. Precision matters a little bit here, but don’t stress too much. It’s a forgiving batter.
The Liquid Swap
This is the most critical step. When you add banana to muffin mix, you must reduce the other liquids.
The Rule: Reduce the oil or water in the recipe by 2 tablespoons.
If the box calls for 1/2 cup of water, use a scant 1/2 cup (or about 1/4 cup plus 2 tablespoons). If it calls for 1/3 cup oil, cut it back to just under 1/4 cup. The banana makes up the difference.
Quick-Ripening Hack for Bananas
Okay, so you want to make these muffins now, but your bananas are yellow and firm. We have all been there. You can’t mash a yellow banana. It’s starchy and bland. You need that enzymatic breakdown that creates sugar and soft texture.
Here is my favorite trick. Preheat your oven to 300°F. Place your unpeeled bananas on a baking sheet lined with parchment paper (they might leak). Bake them for about 15-20 minutes until the skins are completely black. Yes, black. It looks scary, but inside, the fruit will be soft, sweet, and perfect for baking. Let them cool completely before you peel and mash them, or you will scramble the eggs in your batter. I’ve burned my fingers enough times to warn you about this!
Cake Mix vs. Muffin Mix: What’s the Difference?
People ask me this all the time. Can you add banana to muffin mix and cake mix interchangeably? Sort of.
Muffin Mix: Generally has less sugar and a slightly coarser crumb. When you add banana, it stays breakfast-appropriate.
Cake Mix: Much sweeter and finer milled flour. If you add banana to a yellow cake mix, you are making cupcakes, not muffins. They will be very soft and delicate. If you go this route, I recommend adding a handful of walnuts or oats to give it some texture so it feels like a muffin.
Visual Troubleshooting: The “Gummy” Factor
The biggest fear when adding fruit to batter is the gummy center. You know, where the middle looks wet and dark even after baking. Here is how to spot trouble before it happens.
The Batter Test: Your batter should be thick and spoonable, not pourable. If it runs off the spoon like water, it is too thin. Add a tablespoon of flour. If it stands up stiff like cookie dough, it is too thick. Add a splash of milk. You want it to look like thick oatmeal.
The Oven Check: Because of the extra moisture from the bananas, these muffins will take longer to bake than the box says. If the box says 15-18 minutes, set your timer for 18, but expect to go to 20 or 22. Don’t open the door until the minimum time is up. That blast of cold air can cause them to collapse.
Tips & Tricks for Bakery-Style Results
I’ve spent years tweaking box mixes to make them taste like my aunt’s recipes. Here are the small changes that make a huge difference when you add banana to muffin mix.
Don’t Overmix. This is the cardinal sin of muffin making. Once you add the wet ingredients to the dry, stir gently with a spoon or spatula just until the flour disappears. Lumps are fine! Lumps are actually good. If you beat it until smooth, your muffins will be tough and have tunnels inside.
The Toothpick Test. Visual cues are deceptive here. Banana muffins brown faster because of the fruit sugar. They might look done on top but be raw inside. Always insert a toothpick into the center of the tallest muffin. It should come out clean or with a few moist crumbs. If it has wet batter on it, keep baking.
The “Bounce” Test. Gently press the top of a muffin with your finger. If it springs back, it is done. If your finger leaves a dent, it needs more time.
Let Them Set. This is crucial. Banana muffins are fragile when hot. Let them cool in the pan for exactly 5 minutes, then move them to a wire rack. If you leave them in the hot pan too long, the bottoms get soggy from the steam.
Frequently Asked Questions
Storage & Serving
If you somehow have leftovers (which is rare in my house with two growing kids), storage is simple. Place them in an airtight container or a resealable bag. I like to put a paper towel in the bottom of the container to absorb excess moisture so the bottoms don’t get soggy.
Freezing: These freeze exceptionally well. Wrap each muffin individually in plastic wrap and then place them all in a large freezer bag. They will keep for up to 3 months. To eat, just unwrap and microwave for about 30 seconds. It makes for a perfect grab-and-go breakfast on busy mornings.
Serving Suggestion: My favorite way to serve these is warm, split open, with a smear of salted butter. The salty-sweet combination is just right. If I’m feeling fancy, I might drizzle a little honey or sprinkle some cinnamon sugar on top before serving.
Variations to Try
Once you master the base technique to add banana to muffin mix, you can get creative.
Banana Nut: Add 1/2 cup of chopped walnuts or pecans.
Chocolate Chip: Fold in 1/2 cup of semi-sweet chips. The kids love this one.
Spiced: Add a teaspoon of cinnamon and a pinch of nutmeg to the dry mix before adding the wet ingredients.
Berry Banana: Gently fold in a handful of fresh or frozen blueberries. The tartness cuts the sweetness beautifully.
I really hope this helps you tackle that bunch of brown bananas staring you down. It is such a simple way to elevate a pantry staple into something special. If you try this, let me know how it turned out! I’d love to hear what mix-ins you used.
For more inspiration, check out my Pinterest boards where I save all my favorite baking hacks and seasonal ideas.
Reference: Original Source
Can I add fresh banana to a banana-flavored mix?
Absolutely. I do this often for a double-banana punch. The artificial flavor in the box is okay, but fresh fruit adds real depth. Just be sure to follow the liquid reduction rules, as the mix doesn’t know you’re adding extra moisture. It makes for an incredibly rich muffin.
Do banana muffins need to be refrigerated?
Generally, no. Because of the high sugar content, they are safe at room temperature for about 3 to 4 days if kept in an airtight container. However, if you live in a very humid climate or your kitchen is warm, popping them in the fridge can extend their life to a week.
Can you use gluten free cake mix?
Yes, and it works beautifully. Gluten-free mixes often benefit from the extra moisture and binding power of the banana. You might need to bake them a few minutes longer, as GF flours can take more time to absorb liquid. Keep an eye on them.
How long do they stay fresh?
These stay moist longer than standard muffins thanks to the fruit. They are best within the first 2 days but remain tasty for up to 4 days on the counter. If you notice them getting a bit sticky on top, that’s just the moisture migrating out. A quick warm-up fixes that texture.















2 Responses
I added a handful of walnuts and some cinnamon. Really elevated the yellow cake mix flavor!
Added some mini chocolate chips to the batter. They were a huge hit at my office potluck this morning.