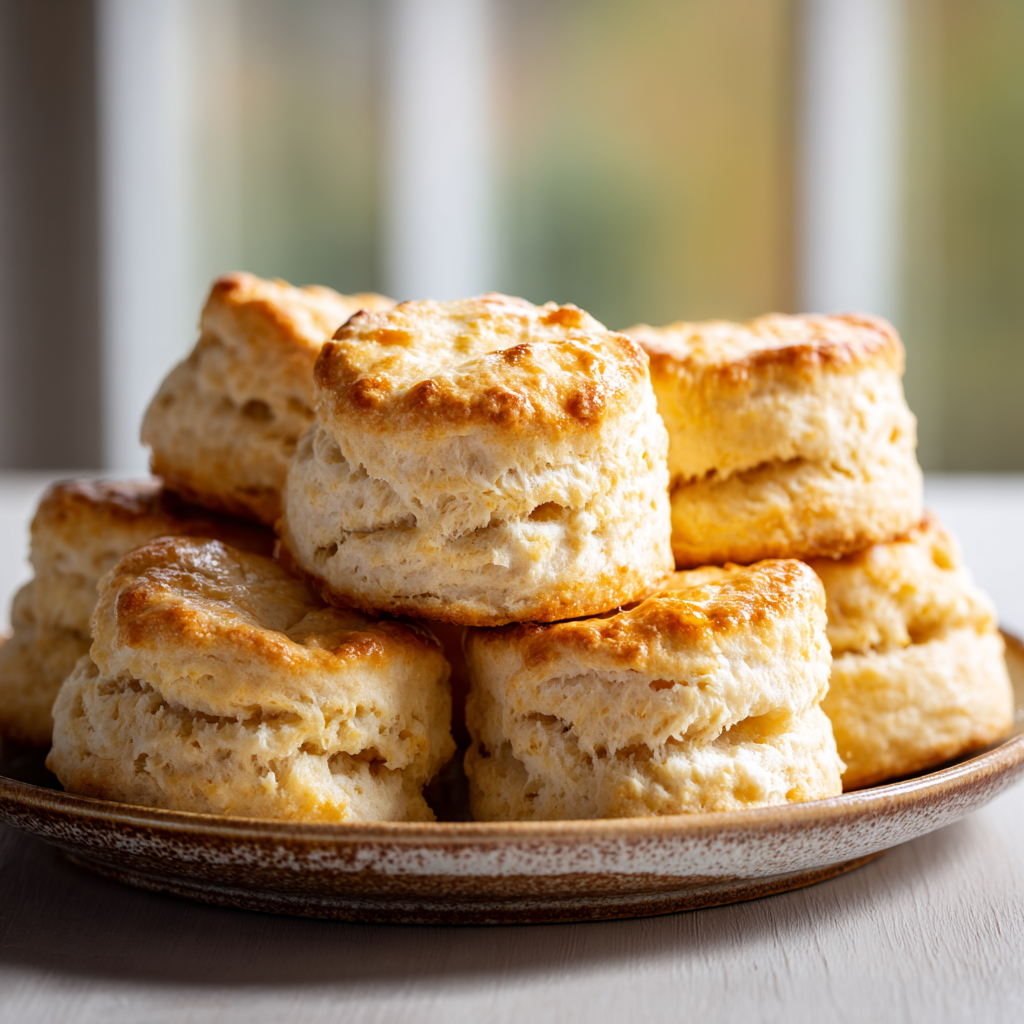
Why This 1940s Biscuit Recipe Works
My grandmother kept a small metal recipe box on her kitchen counter. I remember flipping through it as a kid, the cards yellowed and splattered with decades of use. One card, written in pencil, just said “Biscuits – 1942.” No measurements at first, just a note that said “use what you have.” That’s the spirit of this biscuit recipe 1940s style.
Here’s the deal: this isn’t some fussy modern baking project. This is wartime home cooking at its finest. During WWII, butter was rationed, eggs were scarce, and sugar was precious. So home cooks got creative. They made vintage biscuits with what they had on hand. Shortening instead of butter. Milk instead of buttermilk. No eggs at all. And you know what? The results were incredible.
This simple biscuit recipe uses just five ingredients. Five. And most of them are probably in your pantry right now. No special equipment needed either. No stand mixer, no food processor, no silicone mats. Just your hands, a bowl, and a baking sheet. That’s the beauty of 1940s cooking.
What you get is a biscuit that’s flaky on the inside, golden on the bottom, and just dense enough to hold up to gravy or jam. They’re not those tall, fluffy cloud-biscuits you see on Instagram. These are honest, sturdy, old fashioned biscuits that taste like Sunday dinner at your grandmother’s house.
What Makes This Recipe Special
No eggs, no fuss: This is a true no egg biscuit recipe, perfect for when you’re out of eggs or just want something simpler.
Rationing-friendly: Uses vegetable shortening instead of butter, which was hard to come by during the war. It still tastes amazing.
30 minutes start to finish: Prep takes 10 minutes, baking takes 20. That’s it.
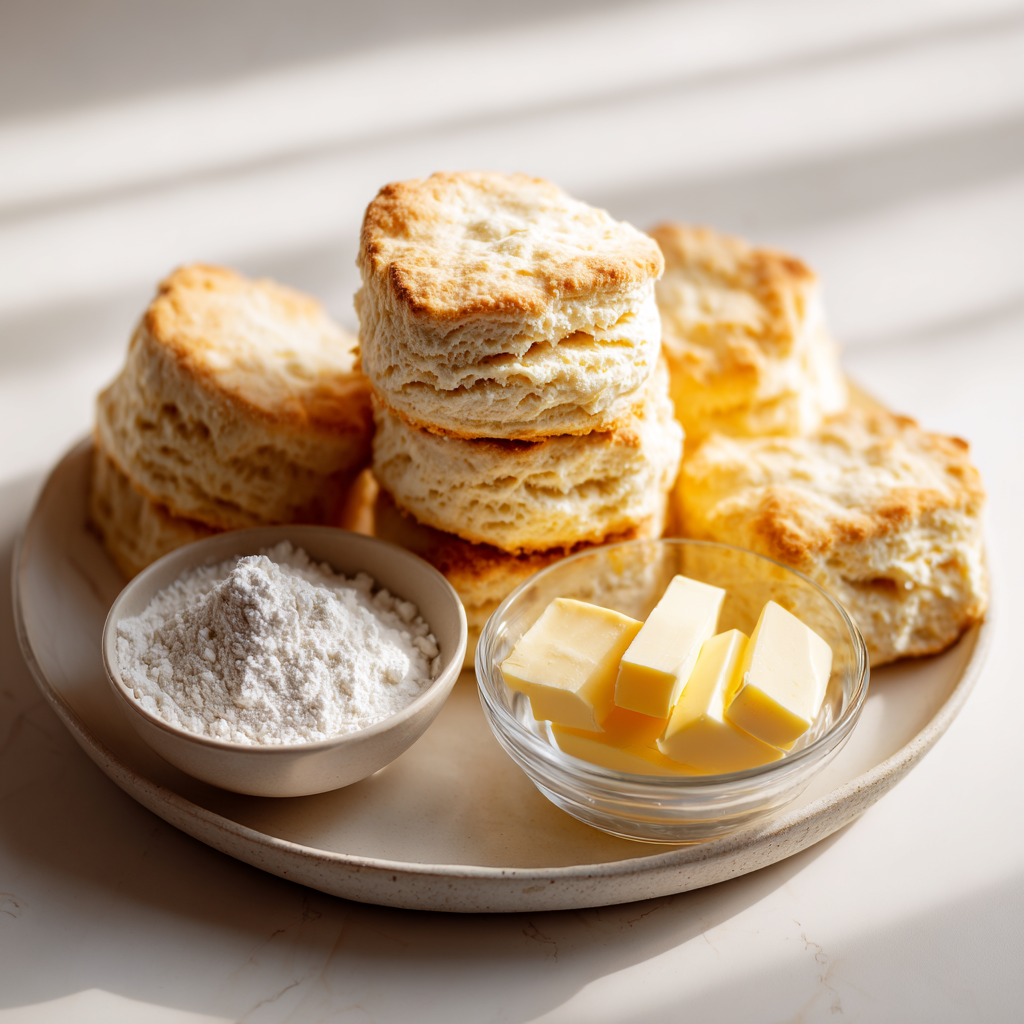
Ingredient Functions & Substitutions
Let’s talk about what each ingredient does. Because understanding the why makes you a better baker. Fair enough?
All-purpose flour. This is your structure. The protein in flour creates gluten when you add liquid, and that gluten gives biscuits their chew. For this biscuit recipe from scratch, all-purpose is perfect. Bread flour would make them too tough. Cake flour would make them crumbly. Stick with AP.
Baking powder. This is your lift. Two tablespoons might seem like a lot, but classic American biscuits rely on baking powder for their rise. Make sure yours is fresh. If it’s been sitting in your cabinet for two years, it’s probably dead. Quick test: drop a teaspoon into hot water. If it fizzes vigorously, you’re good.
Fine sea salt. Salt isn’t just for flavor. It strengthens the gluten structure and balances the richness of the fat. Don’t skip it. Table salt works fine too, just use a little less since it’s denser.
Cold vegetable shortening. This is where the magic happens. Shortening has a higher melting point than butter, which means it stays solid longer during mixing. Those little pea-sized bits of fat create steam pockets in the oven, and that’s what gives you flaky layers. Real talk: you can use butter if you want, but the texture will be different. Butter vs lard biscuits is a debate that’s been going on for generations. For an authentic wartime baking experience, shortening is the way to go. If you can find lard, even better.
Whole milk. Cold milk brings the dough together and adds tenderness. The fat in whole milk keeps the biscuits moist. You can use 2% in a pinch, but don’t go lower than that. And please, don’t use skim milk. It’ll make sad, dry biscuits.
How to Make 1940s Biscuits
Making these homemade biscuits is straightforward. But there are a few tricks that make the difference between good biscuits and great ones. Let me walk you through it.
Stage 1: Mix the dry ingredients. Whisk your flour, baking powder, and salt together in a large bowl. Make sure everything is evenly distributed. This takes about 30 seconds. Don’t overthink it.
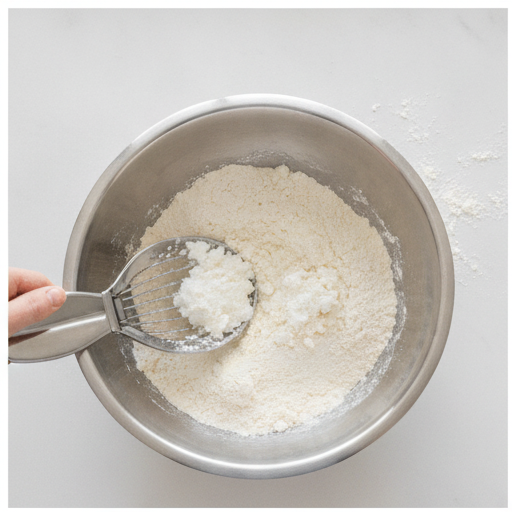
Stage 2: Cut in the shortening. This is the most important step for achieving flaky layers. Add your cold shortening pieces to the flour mixture. Use a pastry blender or two table knives to cut the fat into the flour. You’re looking for a texture that resembles coarse crumbs with some pea-sized bits remaining. Those bits are what create the flaky layers. In my experience, this takes about 2-3 minutes if you’re doing it by hand. Don’t rush it.
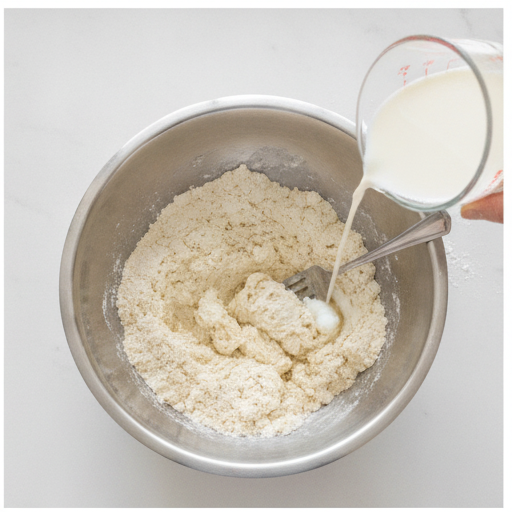
Stage 3: Add the milk and bring it together. Pour the cold milk into the bowl a little at a time, stirring with a fork. The dough will look shaggy and uneven. That’s what you want. Stop as soon as it comes together. Overmixing at this stage develops too much gluten, and you’ll get tough biscuits. The dough should feel like soft playdough, not dry and crumbly.
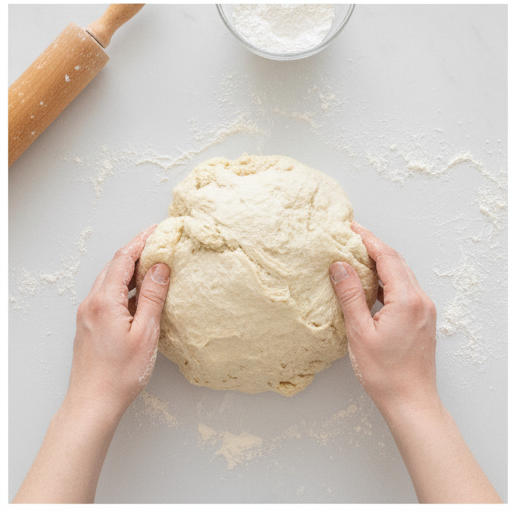
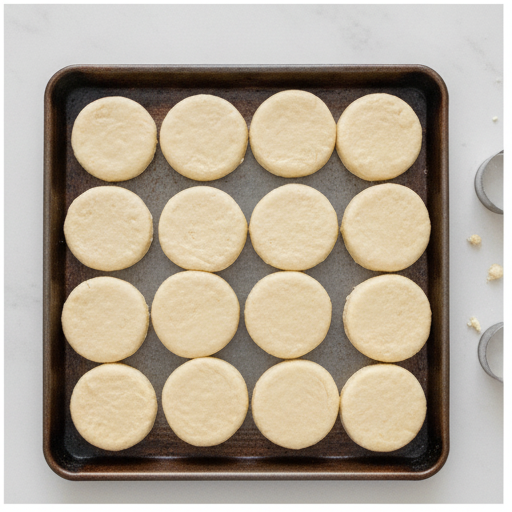
Stage 4: Knead, cut, and bake. Turn the dough onto a lightly floured surface. Gently knead it 8 to 10 times. That’s it. Just enough to bring it together. Pat or roll it to about 3/4-inch thickness. Use a floured biscuit cutter to cut out rounds, pressing straight down without twisting. Twisting seals the edges and prevents rising. Place them on an ungreased baking sheet with sides touching. Let them rest for 10 minutes, then bake at 350°F for 15-20 minutes until lightly golden.
Variations to Try
Once you’ve mastered the basic biscuit recipe 1940s style, feel free to experiment. Here are a few variations that work well.
- Buttermilk Biscuits: Substitute the whole milk with buttermilk. The acid in buttermilk reacts with the baking powder for extra lift and a tangy flavor. This is a classic buttermilk biscuits variation that many Southern biscuits recipes use.
- Drop Biscuits: Increase the milk to 1 cup. Drop the dough by tablespoons onto a greased baking sheet. No rolling, no cutting. These are more rustic and take about 12-15 minutes to bake.
- Skillet Biscuits: Increase milk to 3/4 cup. Place the dough rounds into a lightly greased, hot cast-iron skillet. Cover and cook over very low heat until brown on the underside, then flip and brown the other side. These were common in depression era recipes when ovens weren’t always available.
- All Butter Biscuits: Swap the shortening for cold unsalted butter. The flavor will be richer, but the texture will be slightly less flaky. Still delicious though.
Storage & Make-Ahead Tips
These vintage biscuits store well, which is great for meal prep. Here’s how to handle them.
Room temperature: Store cooled biscuits in an airtight container at room temperature for up to 2 days. Wrap them in foil to keep them from drying out.
Refrigerator: They’ll keep in the fridge for up to a week. Reheat them in a 300°F oven for 5-7 minutes. The microwave works in a pinch, but the oven gives you that fresh-baked texture back.
Freezer (baked): Freeze fully cooled biscuits in a zip-top bag for up to 3 months. Reheat straight from frozen at 300°F for 10-12 minutes.
Freezer (unbaked): This is my preferred method. Cut the biscuits, place them on a tray, and freeze until solid. Transfer to a freezer bag. When you’re ready, bake from frozen at 350°F, adding 3-5 minutes to the baking time. Fresh biscuits any morning with zero effort.
Reheating: The best way to reheat a biscuit is in a toaster oven or regular oven at 300°F for about 5 minutes. Split it open and toast the cut sides under the broiler for 30 seconds if you want that crispy edge.
Frequently Asked Questions
Notes for Perfect Biscuits
Let me leave you with a few final thoughts. These are the things I’ve learned from making this biscuit recipe 1940s style more times than I can count.
Cold ingredients are non-negotiable. Cold shortening and cold milk create steam in the oven, and steam creates flaky layers. If your kitchen is warm, pop the flour mixture and shortening in the freezer for 10 minutes before mixing.
Don’t overwork the dough. This is the number one mistake people make. The more you handle it, the tougher it gets. Gentle handling keeps them tender.
Don’t twist the cutter. Push straight down and lift straight up. Twisting seals the edges and prevents the biscuits from rising evenly.
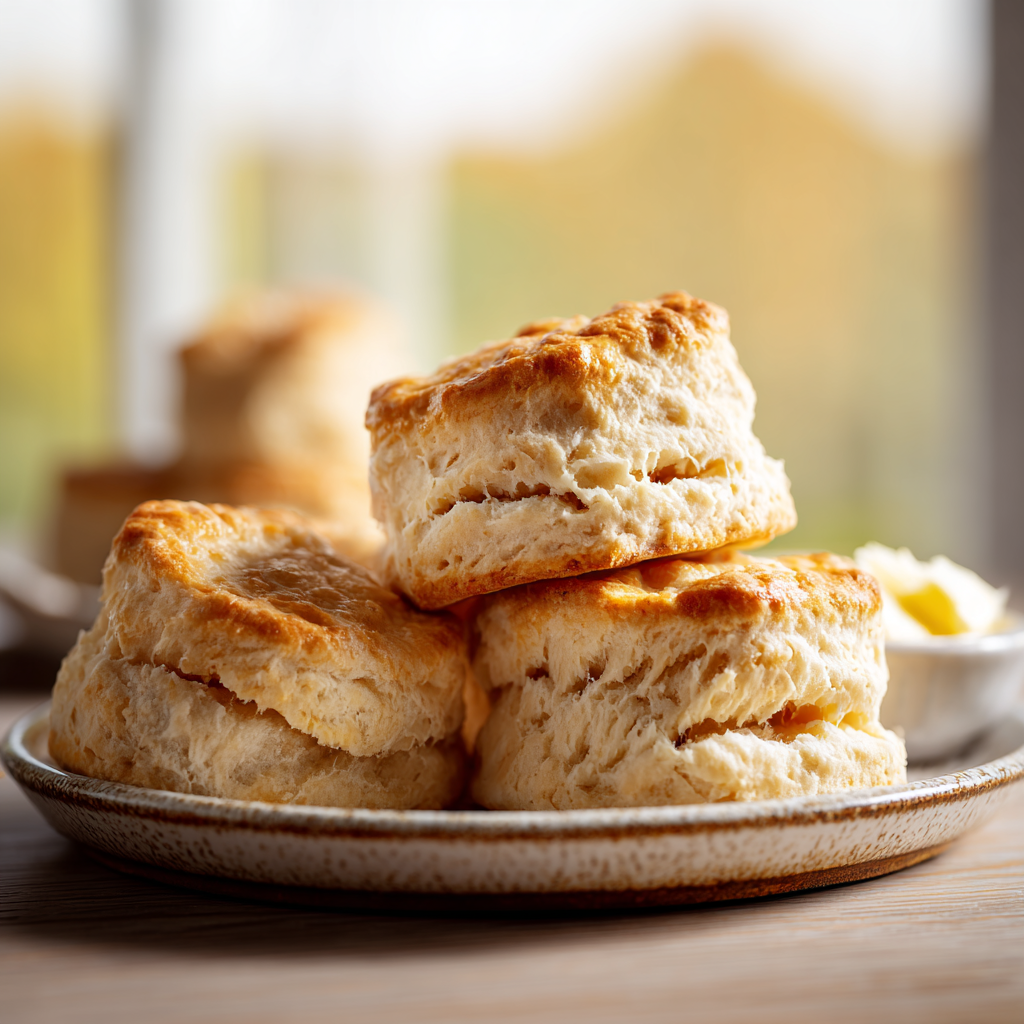
Visual cues for doneness. The tops should be lightly golden brown, the bottoms should be a deeper golden brown, and the biscuits should have risen noticeably. If you tap one gently, it should sound hollow.
Serve warm. These are at their best within 30 minutes of coming out of the oven. Split them open, add a pat of butter, and watch it melt into all those flaky layers. That’s what you want.
I hope you give this vintage biscuit recipe a try. Share your biscuit photos and tag me I love seeing history come to life in people’s kitchens. Nailed it? Let me know in the comments.
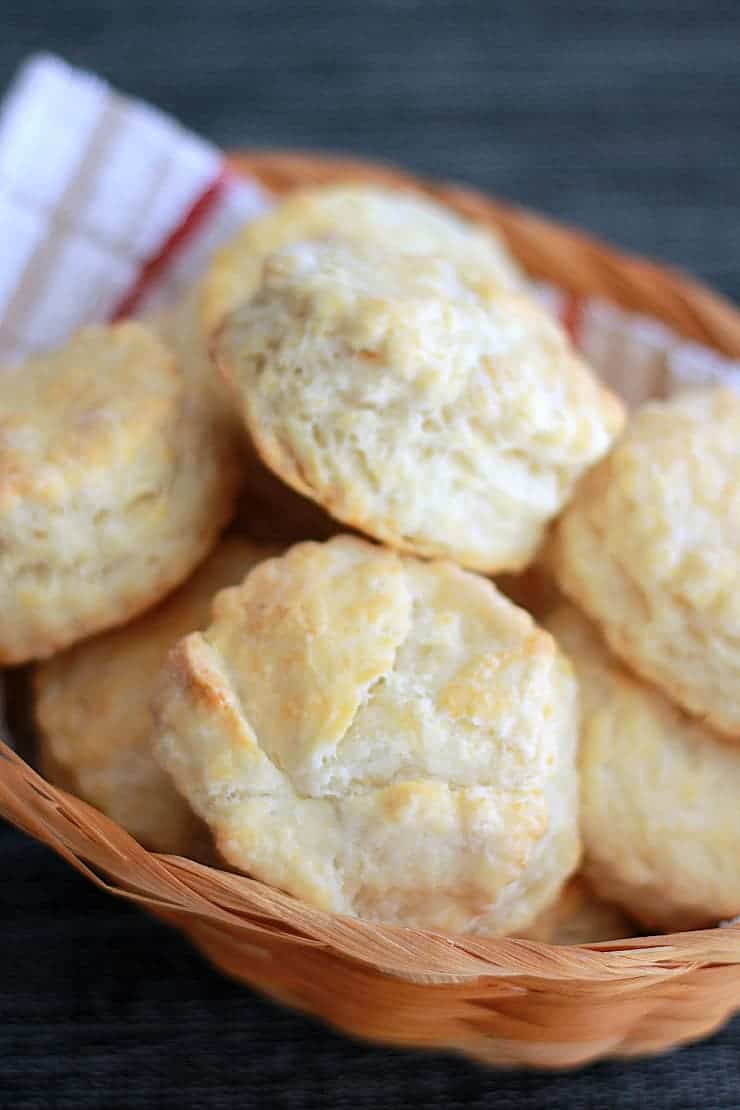
Classic 1940s Baking Powder Biscuit Recipe for Flaky Buttermilk Biscuits
Ingredients
Method
- Preheat your oven to 350°F. In a large bowl, whisk together the flour, baking powder, and salt until well combined.
- Add the cold shortening pieces to the flour mixture. Using a pastry blender or two knives, cut the shortening into the flour until the mixture resembles coarse crumbs with some pea-sized bits remaining.
- Pour the cold milk into the bowl a little at a time, stirring with a fork just until the dough comes together into a shaggy mass. Do not overmix.
- Turn the dough out onto a lightly floured surface. Gently knead it 8 to 10 times, just until it holds together. Pat or roll the dough to about 3/4-inch thickness.
- Use a floured 2-inch biscuit cutter to cut out biscuits, pressing straight down without twisting. Gather scraps, re-roll gently, and cut additional biscuits.
- Place the unbaked biscuits on an ungreased baking sheet, sides touching. Let them rest at room temperature for 10 minutes.
- Bake in the preheated oven for 15 to 20 minutes, until the tops are lightly golden brown and the biscuits have risen. Actual time may vary depending on biscuit size and your oven.
- Transfer the baked biscuits to a wire rack to cool slightly. Serve warm for the best flavor and texture.
Nutrition
Notes
Tried this recipe?
Let us know how it was!Source: USDA Nutritional Data
What is lard?
Lard is rendered pork fat that was commonly used in vintage baking before vegetable shortening became popular. It creates incredibly flaky biscuits. For this biscuit recipe 1940s style, you can substitute lard for the vegetable shortening cup for cup.
Where can I get lard?
Most grocery stores carry lard in the baking aisle or near the cooking oils. Look for shelf-stable blocks from brands like Armour. Some butcher shops sell fresh rendered lard, which has a richer flavor. Whole Foods and specialty markets often carry high-quality options.