Brown Butter Banana Bread
Ingredients
Method
- In a medium saucepan over medium heat, melt the butter. Once fully melted, it will begin to foam. Stir constantly with a rubber spatula or wooden spoon so you can see the color change. When the butter turns a deep golden brown and smells nutty, remove it from the heat immediately.
- Pour the browned butter into a heatproof bowl and let it cool for 15 to 20 minutes. You should have about 6 tablespoons (85 to 90 grams) of browned butter to use.
- Preheat the oven to 325°F. Line a 9x5-inch loaf pan with parchment paper, leaving some overhang on the long sides for easy removal.
- In a large bowl, combine the mashed bananas, granulated sugar, brown sugar, eggs, vanilla, milk, sour cream, and the cooled browned butter. Whisk until smooth and well blended.
- Add the flour, baking soda, and salt to the wet ingredients. Using a spatula, gently fold until just combined and no streaks of flour remain. Do not overmix.
- Pour the batter into the prepared loaf pan and spread it evenly. Bake for 60 to 65 minutes, or until the top is a rich caramel color and a wooden skewer inserted into the center comes out clean. (If the skewer has wet batter or wet crumbs, bake for 5 more minutes and check again.)
- Let the banana bread cool in the pan for 10 to 15 minutes, then lift it out using the parchment paper and transfer to a wire rack to cool completely before slicing.
Nutrition
Notes
Tried this recipe?
Let us know how it was!Why You’ll Love This Brown Butter Banana Bread
It’s 5 PM, you realize the bananas on the counter are way past their prime, and you need something quick to use them up. We’ve all been there. That’s exactly when this brown butter banana bread comes to the rescue. It’s not just any banana bread, it’s the one that’ll make your kitchen smell like a cozy bakery.
I once stood over the stove convinced I’d ruined the butter. It was bubbling and foaming, and I thought I’d scorched it. But then that nutty aroma hit me, like toasted hazelnuts and caramel. That’s the moment I knew I was onto something special. This recipe takes a classic and gives it a little extra love.
Here’s what makes it work. The browned butter adds a deep, toasty flavor that regular butter just can’t match. It transforms the whole loaf. Plus, the combination of granulated and brown sugar gives it a perfect sweetness with a touch of molasses. And the sour cream? That’s the secret to the moistest crumb you’ve ever had. Trust me on this one.
Even if your loaf sinks a little in the middle, it will still taste incredible. I’ve made this dozens of times, and every single loaf disappears fast. It’s the kind of recipe that becomes a family favorite. Fair point, you might be thinking, is it really worth browning butter for banana bread? Absolutely. That small extra step makes all the difference.
Ingredients You’ll Need
Let me walk you through what you need. The list is simple, but each ingredient plays a role. I tend to prefer using a kitchen scale for accuracy, but cups work fine too.
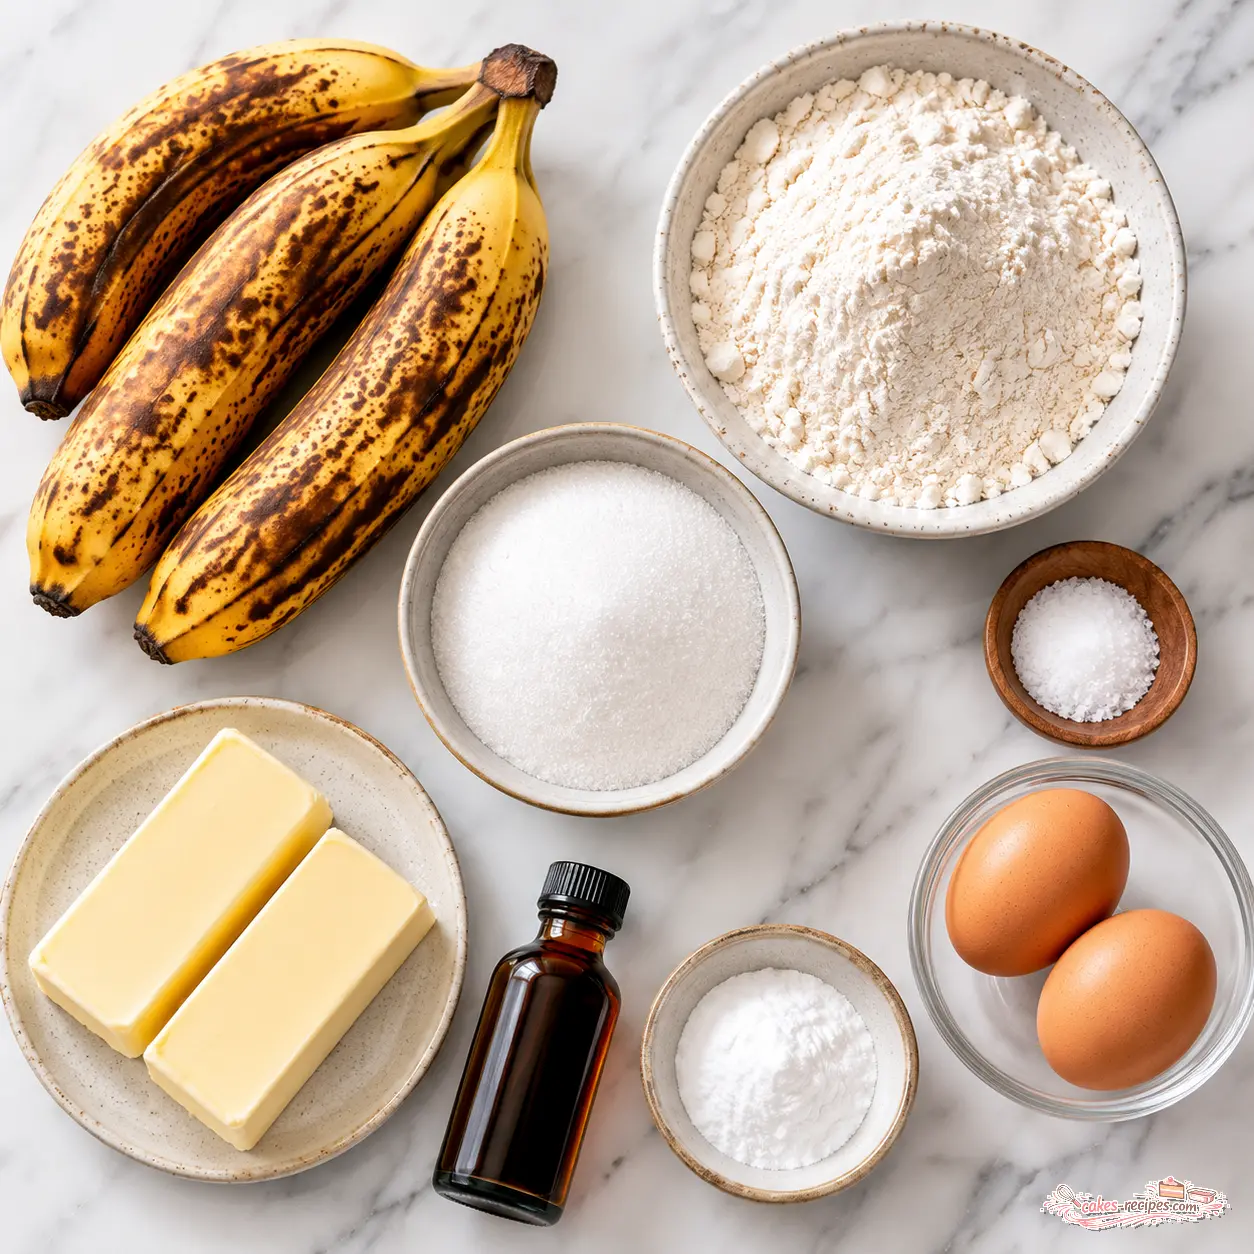
- Unsalted butter: One stick. You’ll brown it, so you control the salt level. That tracks with how I like to bake.
- Very ripe bananas: 2 to 3 large ones, the spottier the better. They should be soft and almost mushy. That’s where the sweetness comes from.
- Granulated sugar: Half a cup for sweetness and structure.
- Packed light brown sugar: A third of a cup. Adds moisture and that subtle molasses flavor. Worth considering if you only have dark brown sugar, it’ll work but the flavor will be deeper.
- Eggs: 2 large, at room temperature. Cold eggs can seize the brown butter. Let them sit out for 30 minutes.
- Vanilla extract: 1 teaspoon. Pure, not imitation.
- Whole milk: Half a cup, room temperature. Helps create a tender crumb.
- Sour cream: 2 tablespoons. This is the key to moisture. If you don’t have it, plain full-fat yogurt works as a substitute.
- All-purpose flour: 1 and 3/4 cups. Spoon and level it, don’t scoop directly from the bag.
- Baking soda: 1 teaspoon. Make sure it’s fresh. Expired baking soda won’t give you the rise you want.
- Salt: Half a teaspoon. Balances the sweetness.
That’s it. No complicated ingredients. Just pantry staples that come together beautifully.
How to Brown Butter
This is the step that might feel intimidating, but I promise it’s easier than you think. Let me break it down so you nail it every time.
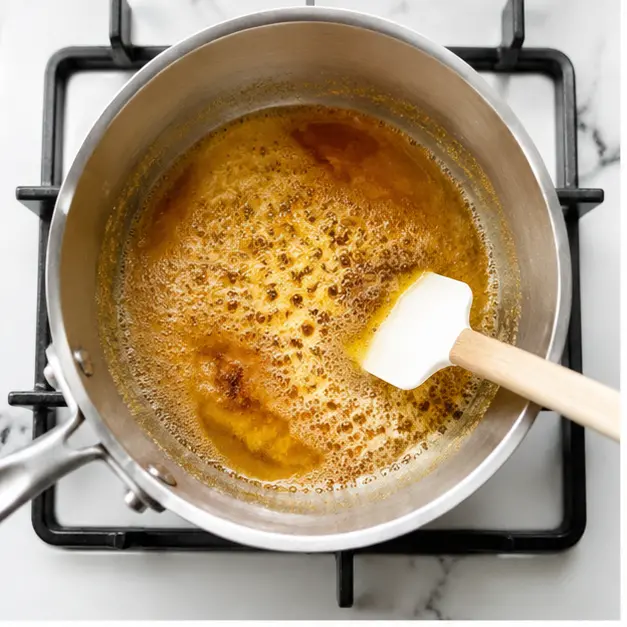
Start with a medium saucepan over medium heat. Add your stick of unsalted butter. Let it melt completely, then it will start to foam. Swirl the pan gently. When it smells like toasted hazelnuts and you see tiny dark specks forming at the bottom, remove it immediately. That’s the sweet spot.
Here’s the thing, you need to watch it closely. The butter goes from perfect to burnt in seconds. Stir constantly with a rubber spatula or wooden spoon so you can see the color change. When it turns a deep golden brown, pour it into a heatproof bowl to stop the cooking. Let it cool for 15 to 20 minutes. You should have about 6 tablespoons (85 to 90 grams) of browned butter left.
Pro Tip for Browning Butter
Watch for the specks: Those tiny brown specks at the bottom of the pan are the milk solids toasting. That’s where all the nutty flavor comes from. Don’t let them go too dark or they’ll taste bitter. The moment you see them and smell that nutty aroma, you’re done.
I’ve burnt my fair share of butter. It happens. But once you get the hang of it, you’ll be browning butter for everything. It’s a game-changer.
How to Make Brown Butter Banana Bread
Now for the fun part. Let’s put it all together. I’ll walk you through each stage so you know exactly what to look for.
Stage 1: Prep and Combine Wet Ingredients
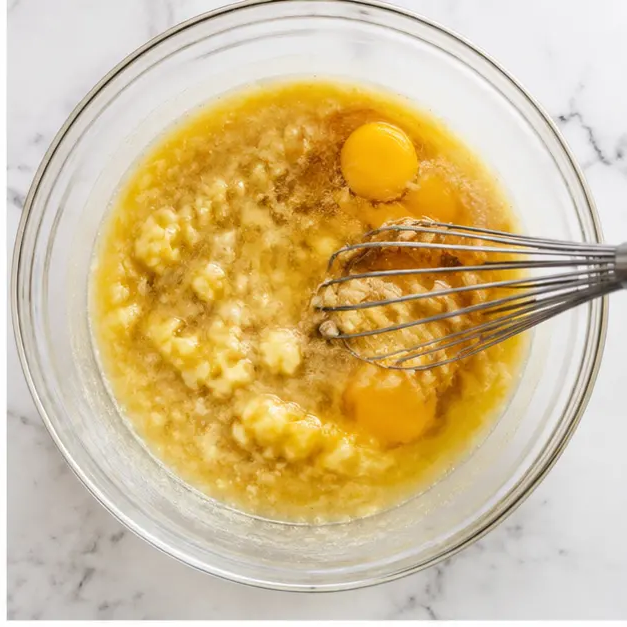
Preheat your oven to 325°F. Line a 9×5-inch loaf pan with parchment paper, leaving some overhang on the long sides. That makes lifting the bread out so much easier. In a large bowl, combine the mashed bananas, granulated sugar, brown sugar, eggs, vanilla, milk, sour cream, and your cooled browned butter. Whisk until smooth and well blended. The mixture should look creamy and smell incredible already.
Stage 2: Add Dry Ingredients
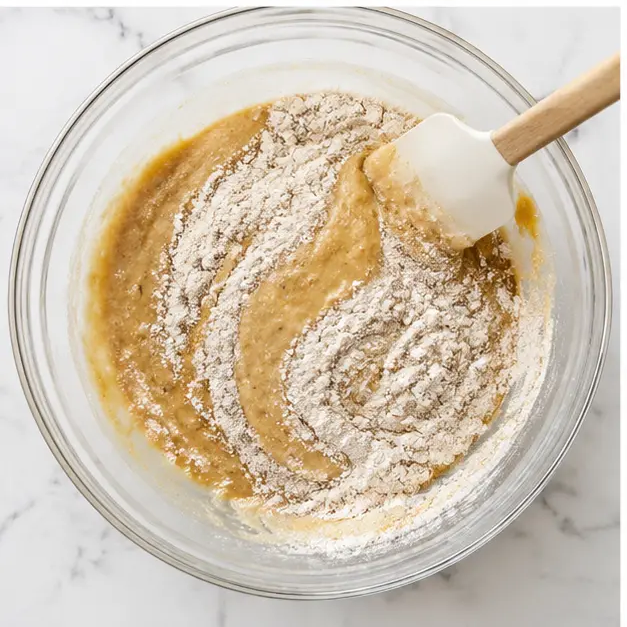
Add the flour, baking soda, and salt to the wet ingredients. Using a spatula, gently fold until just combined and no streaks of flour remain. This is where you need to be careful. Do not overmix. Overmixing develops the gluten and makes the bread tough. A few lumps are totally fine. The batter should be thick but scoopable.
Stage 3: Bake to Perfection
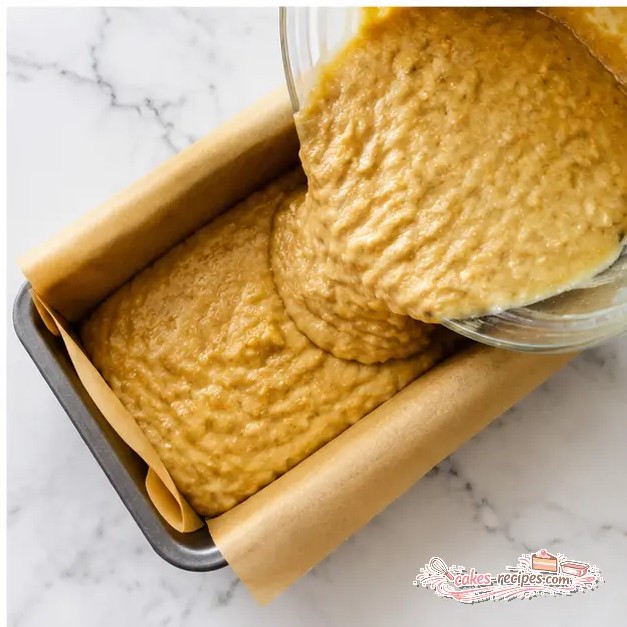
Pour the batter into your prepared loaf pan and spread it evenly. Bake for 60 to 65 minutes. The top should be a rich caramel color. A wooden skewer inserted into the center should come out clean. If it has wet batter or wet crumbs, bake for 5 more minutes and check again. Every oven is different, so trust your eyes and the skewer test.
Stage 4: Cool and Slice
Let the banana bread cool in the pan for 10 to 15 minutes. Then lift it out using the parchment paper and transfer to a wire rack to cool completely before slicing. I know it’s tempting to cut into it right away, but if you slice it while it’s warm, it will crumble. Patience pays off here.
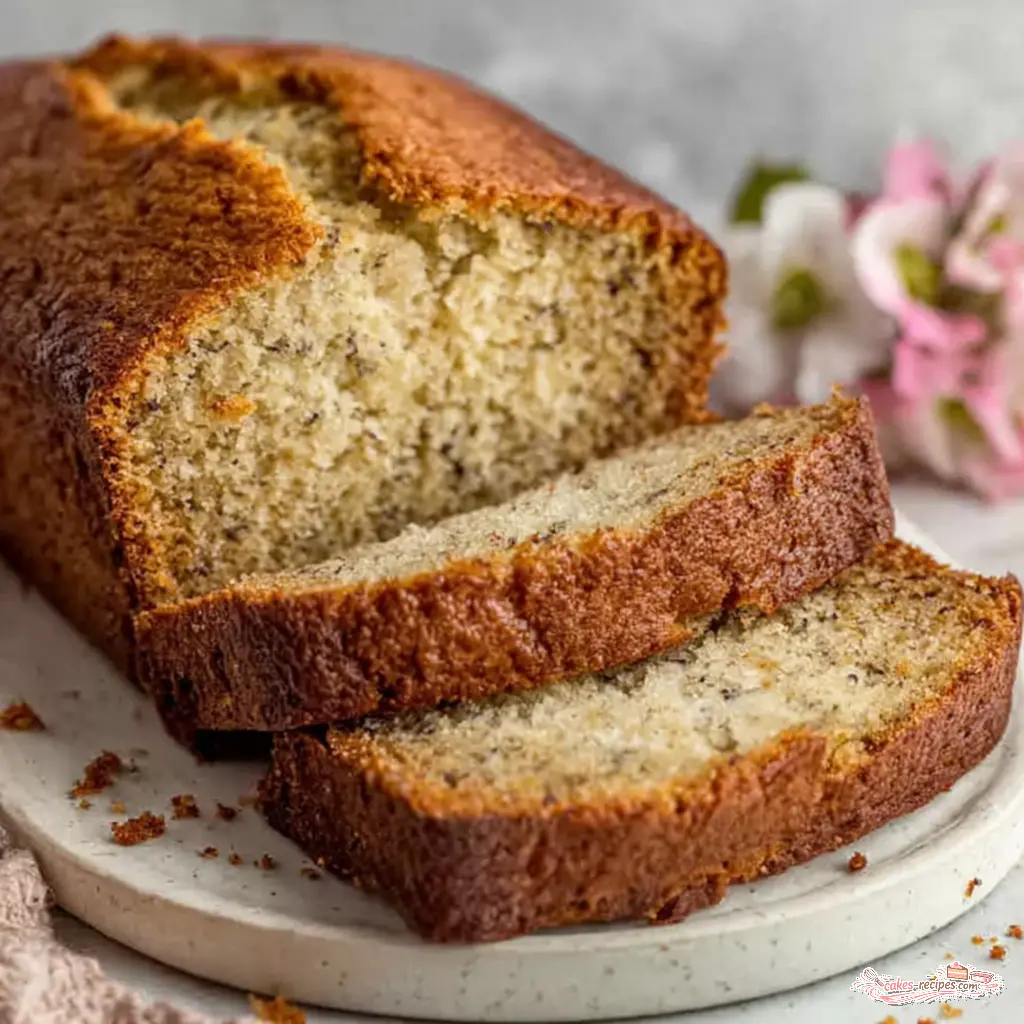
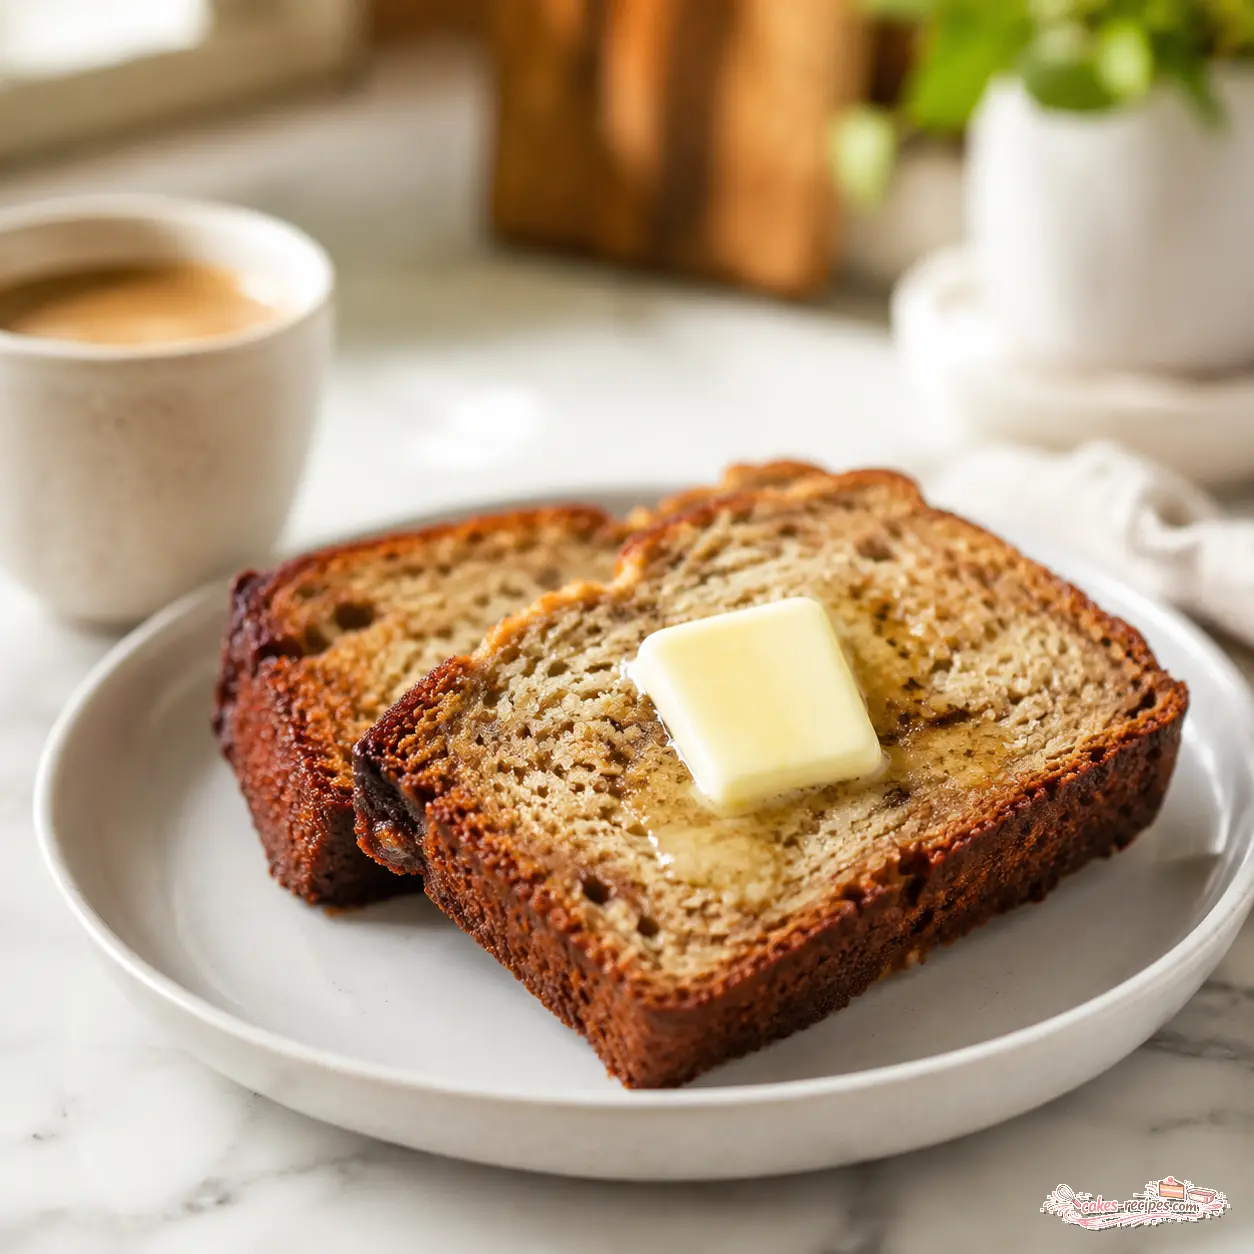
Now that’s proper banana bread making. The crust is golden and slightly crisp, the inside is tender and moist. You did it.
Tips for the Best Banana Bread
I’ve learned a few things over the years that make a real difference. Let me share them with you.
- Use overripe bananas: The ones with brown spots or even black peels. They’re sweeter and have more banana flavor. Green or yellow bananas won’t give you the same result.
- Room temperature ingredients: Eggs, milk, and sour cream should all be at room temperature. They blend more evenly into the batter, creating a smoother texture.
- Don’t overmix: Once you add the flour, fold gently until just combined. Overmixing leads to a dense, tough bread. A few lumps are your friend.
- Check for doneness: The skewer test is reliable, but also look at the top. It should be a deep golden brown and the edges should pull away from the pan slightly.
- Cool completely: Let the bread cool on a wire rack before slicing. This sets the crumb and makes for cleaner slices.
These small adjustments can take your banana bread from good to great. In my experience, though others might differ, these tips have never let me down.
Variations to Try
One of the best things about this recipe is how adaptable it is. You can customize it to your liking. Here are a few ideas.
- Banana bread with walnuts: Toast 1/2 cup of walnuts in a dry skillet until fragrant, then fold them into the batter. The crunch is wonderful against the soft crumb.
- Chocolate chips: Fold in 1/2 cup of dark or semi-sweet chocolate chips. They melt into little pockets of richness. No adjustments needed to the recipe.
- Spices: Add 1/2 teaspoon of cinnamon or a pinch of nutmeg to the flour mixture. It adds warmth and depth.
- Gluten-free: Substitute the all-purpose flour with a 1:1 gluten-free baking flour blend. The texture will be slightly different, but still delicious.
- Muffins: Divide the batter into a 12-cup muffin tin lined with paper liners. Bake at 350°F for 18 to 22 minutes, or until a toothpick comes out clean.
Feel free to experiment. That’s what makes baking fun. I’ve made this with toasted walnuts and dark chocolate chips, and it was a hit at a race event. Everyone was asking for the recipe.
How to Store and Freeze
This banana bread stores beautifully, which makes it perfect for meal prep or gift giving. Here’s how to keep it fresh.
Room Temperature: Store the cooled loaf in an airtight container at room temperature for up to 3 to 4 days. It stays moist and delicious. If your kitchen is warm, you might want to refrigerate it after a couple of days.
Refrigerator: Wrap the loaf tightly in plastic wrap and store it in the fridge for up to a week. Let it come to room temperature before serving, or warm a slice in the microwave for 15 to 20 seconds.
Freezer: This is my favorite method. Wrap the cooled loaf in plastic wrap, then in a layer of aluminum foil. Freeze for up to 3 months. To thaw, leave it on the counter overnight. You can also freeze individual slices wrapped in plastic wrap and stored in a freezer bag. They’re perfect for a quick breakfast or snack.
Reheating: For a warm slice, microwave with a damp paper towel for 15 to 30 seconds. Or toast it in a toaster oven for 3 to 5 minutes. Spread with a little salted butter or cream cheese. It’s pure comfort.
Frequently Asked Questions
I hope this recipe becomes a favorite in your kitchen. It’s one of those things that never lasts long around here. If you try it, let me know how it goes. And if you’re looking for more inspiration, I love sharing ideas over on my Pinterest page. You’ll find plenty of other recipes to explore there.
Source: Health & Nutrition Research
What is brown butter banana bread?
It’s banana bread made with browned butter instead of regular melted or softened butter. The butter is cooked until the milk solids turn golden and nutty, giving the bread a deeper, more complex flavor.
Can I make brown butter banana bread without walnuts?
Absolutely. The base recipe doesn’t include walnuts. They’re an optional add-in. Simply omit them and follow the recipe as written. The bread will still be moist and flavorful.
How do I brown butter for banana bread?
Melt a stick of unsalted butter in a saucepan over medium heat. Stir constantly as it foams. When you see tiny brown specks and smell a nutty aroma, remove it from the heat immediately. Pour into a bowl to cool.
How should I store brown butter banana bread?
Store it in an airtight container at room temperature for up to 4 days. For longer storage, wrap it tightly in plastic wrap and foil and freeze for up to 3 months. Thaw on the counter overnight.
Can I use sour cream in banana bread?
Yes, this recipe uses 2 tablespoons of sour cream. It adds moisture and a slight tang that balances the sweetness. Plain full-fat yogurt works as a substitute if you don’t have sour cream.
Can I put chocolate chips in this recipe? Should I make any adjustments?
Yes, fold in 1/2 cup of chocolate chips. No adjustments needed. Just gently fold them in with the flour mixture. Dark or semi-sweet chips work best to balance the sweetness.
Could you also specify the amount of baking soda in grams?
One teaspoon of baking soda is approximately 4.6 grams. For this recipe, you need 1 teaspoon, so about 4.6 grams. A kitchen scale is helpful for accuracy.
Can I make the batter in the evening, store it overnight in the fridge, and bake it in the morning?
I recommend baking it straight away. The baking soda starts reacting as soon as it hits the wet ingredients. Storing the batter overnight will result in a denser, less risen loaf.
Can I substitute the sugar for coconut sugar or maple syrup?
Coconut sugar can be used as a 1:1 substitute, but the texture will be slightly grainier. Maple syrup is a liquid sweetener, so you’d need to reduce the milk by about 3 tablespoons. The results will vary.
Can I make this in a cupcake pan? If so, how long and what temp?
Yes. Divide the batter into a 12-cup muffin tin lined with paper liners. Bake at 350°F for 18 to 22 minutes, or until a toothpick inserted in the center comes out clean.
Around how many grams of bananas did you use?
2 to 3 large very ripe bananas typically yield about 1 cup (240 grams) of mashed banana. That’s the amount you need for this recipe. Weighing is more accurate than counting.
Would pecans pair well with this?
Yes, pecans are a great substitute for walnuts. Toast 1/2 cup of pecans and fold them into the batter. They add a buttery crunch that complements the brown butter nicely.
Why do some breads use baking soda in addition to baking powder?
Baking soda needs an acid to activate, like sour cream or buttermilk. Baking powder contains its own acid. This recipe uses only baking soda because the sour cream provides enough acid for leavening.
Can I substitute wheat flour with gluten-free flour?
Yes, use a 1:1 gluten-free baking flour blend that contains xanthan gum. The texture will be slightly more tender and crumbly, but it will still be delicious. No other adjustments needed.
How should I adjust cook time and temperature for mini loaf pans?
For mini loaf pans, bake at 325°F for 35 to 45 minutes. Start checking at 35 minutes with a toothpick. The smaller pans bake faster, so keep an eye on them.
Can you offer high altitude adjustments for this recipe?
At 7,000 feet, reduce the sugar by 2 tablespoons, increase the milk to 2/3 cup, and bake at 350°F instead of 325°F. Check for doneness at 50 minutes.
How can I add more protein to this banana bread?
Replace 1/4 cup of the flour with almond flour or add 2 tablespoons of ground flaxseed. You can also fold in 1/4 cup of chopped nuts. These add protein without changing the texture too much.
How to speed up the ripening process for bananas?
Place unpeeled bananas on a baking sheet and bake at 300°F for 15 to 20 minutes until the peels turn black. Let them cool, then use them as usual. They’ll be soft and sweet.
Can I freeze overripe bananas?
Yes. Peel them first, then place them in a freezer bag. They’ll keep for up to 3 months. Thaw them in the fridge overnight before mashing. They’ll be very soft, which is perfect for baking.
How do I use frozen bananas in this recipe?
Thaw the frozen bananas in the fridge overnight. Drain off any excess liquid before mashing. The bananas will be very soft and may have released some water, which is normal.
Would this work with half brown sugar, half white sugar?
Yes, using half brown and half white sugar works. The brown sugar adds more moisture and a deeper flavor. The recipe already uses both, so you’re essentially just adjusting the ratio.
The ingredients say packed light sugar, but the instructions say granulated sugar. Please clarify.
The recipe uses both. Packed light brown sugar is listed as an ingredient. The instructions refer to the granulated sugar. They are separate ingredients. Using both gives the best flavor and texture.