
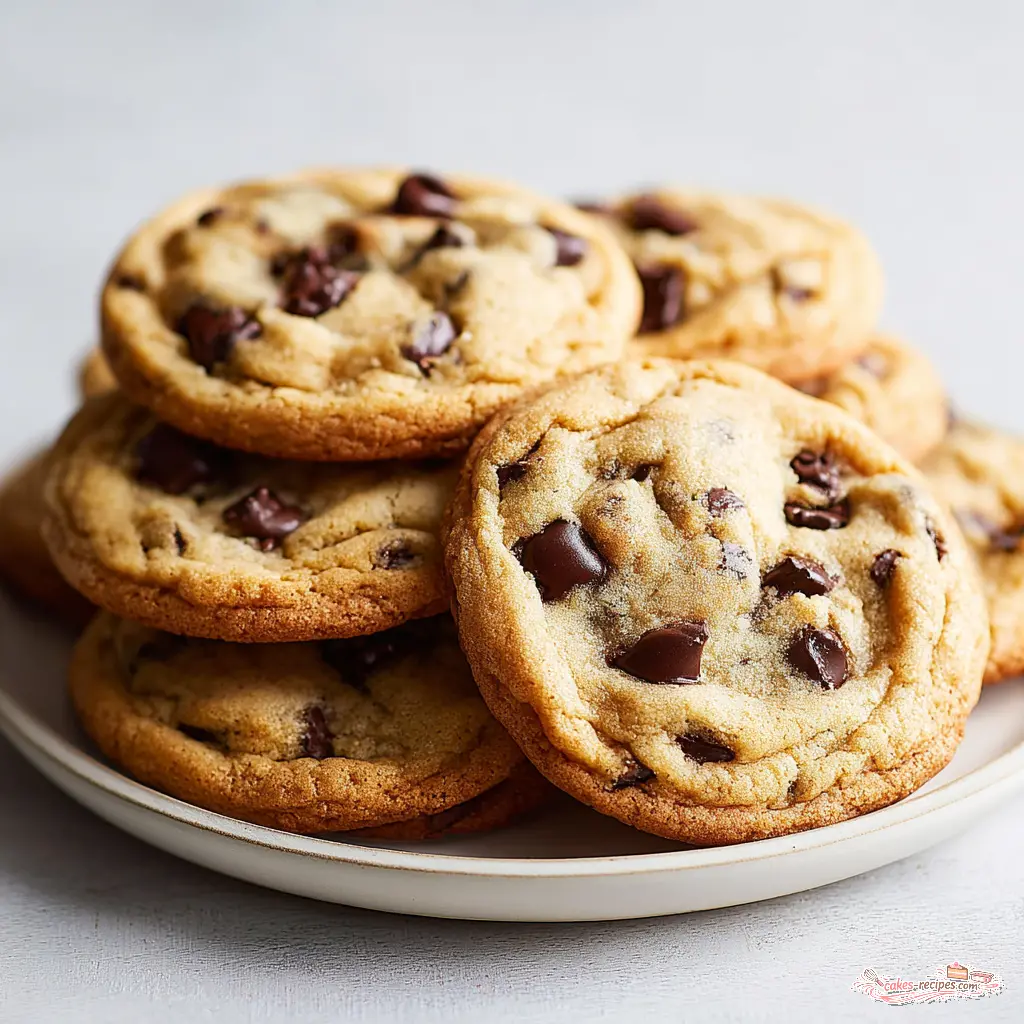
You know that feeling when you bite into a cookie and it’s just… meh? Too dry, too flat, or worse, too cakey? Let’s fix that. I’ve spent more Saturday mornings than I can count chasing the perfect cookie, the kind that makes you close your eyes for a second after that first bite. And I’ll tell you what the secret is simpler than you think. It’s all about the brown sugar.
These brown sugar chocolate chip cookies are everything you want. Thick, chewy centers. Golden, slightly crispy edges. Deep caramel flavor that lingers. And they come together in about 30 minutes, plus a little chill time that makes all the difference. My daughter, who’s fifteen now, made a batch for her friends last week and texted me a photo with the caption “These disappeared in 10 minutes.” That’s exactly right.
Why These Brown Sugar Chocolate Chip Cookies Work
Here’s the thing about brown sugar. It’s not just white sugar with a tan. Brown sugar has molasses in it, and molasses loves moisture. It’s hygroscopic, which is a fancy way of saying it pulls water from the air and holds onto it. That means your cookies stay soft and chewy for days, not hours.
When you use all brown sugar in chocolate chip cookies, you get three things:
- More moisture – The molasses keeps the dough tender and the finished cookies soft
- Deeper flavor – That warm, almost toffee-like taste that makes people ask what your secret is
- Better chew – Brown sugar inhibits spreading just enough to give you a thicker, denser cookie
The first time I made these, I forgot to soften the butter. I was rushing, as usual, and just threw cold sticks into the mixer. I thought for sure they’d be a disaster. But you know what? The brown sugar saved me. The cookies were a little thicker than usual, actually, and still perfectly soft. Bless your heart if you’ve ever had a baking panic moment brown sugar forgives a lot.
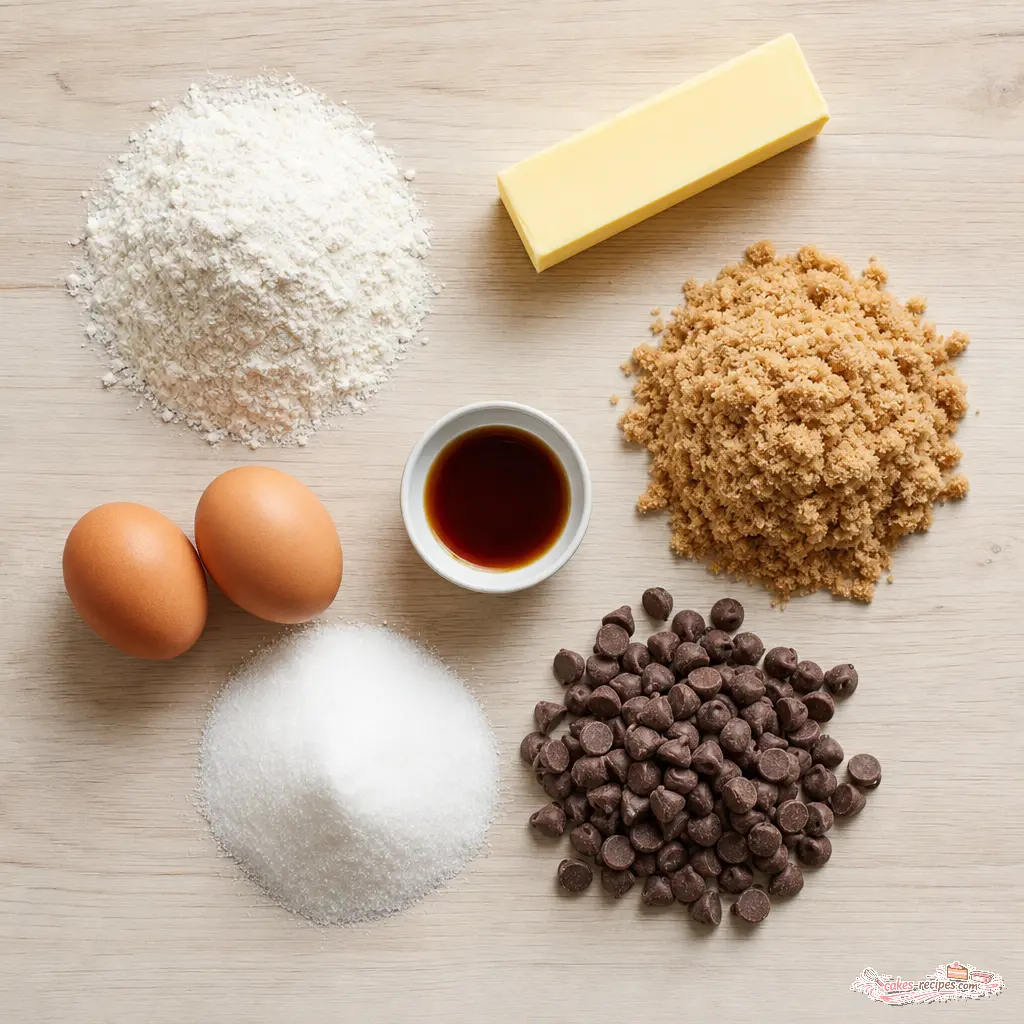
Ingredients You’ll Need
This recipe keeps things simple. No weird ingredients, no trips to specialty stores. Just good, honest baking ingredients from your pantry.
All-purpose flour – Spoon it into your measuring cup and level it off. Scooping directly from the bag packs the flour and gives you dense, dry cookies. I’ve tested this, and the difference is real.
Baking soda – Just a teaspoon. It helps the cookies spread just enough and gives them that slight lift. Don’t confuse it with baking powder they’re not the same thing.
Fine sea salt – I prefer fine sea salt over table salt. It dissolves more evenly and doesn’t leave little salty pockets. But table salt works fine if that’s what you have.
Unsalted butter – Two sticks, softened to room temperature. That means leaving it on the counter for about two hours. If you only have salted butter, reduce the added salt by about a quarter teaspoon.
Granulated sugar – Just half a cup. It gives the cookies a little crispness on the edges while the brown sugar handles the soft center.
Light brown sugar – One and a quarter cups, lightly packed. I use light brown sugar here because it’s milder. But dark brown sugar works too, and it gives an even deeper molasses flavor. Both are great.
Vanilla extract – Two teaspoons. Don’t skip it. Vanilla rounds out the flavor and makes everything taste more… cookie-ish.
Eggs – Two large ones, room temperature. Cold eggs can seize the butter and make the dough stiff.
Semisweet chocolate chips – Two cups. I like semisweet because it balances the sweetness of the brown sugar. But use whatever you love milk, dark, or even chopped chocolate bars.
How to Make Brown Sugar Chocolate Chip Cookies
I’ll walk you through the four main stages. The recipe card below has the exact measurements, but here’s how it all comes together.
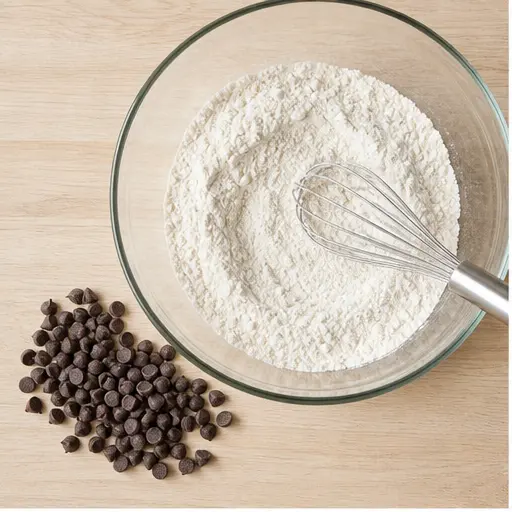
Stage 1: Mix the dry ingredients. Whisk the flour, baking soda, and salt together in a medium bowl. That’s it. Just make sure everything is evenly distributed. I usually do this while my butter is still softening.
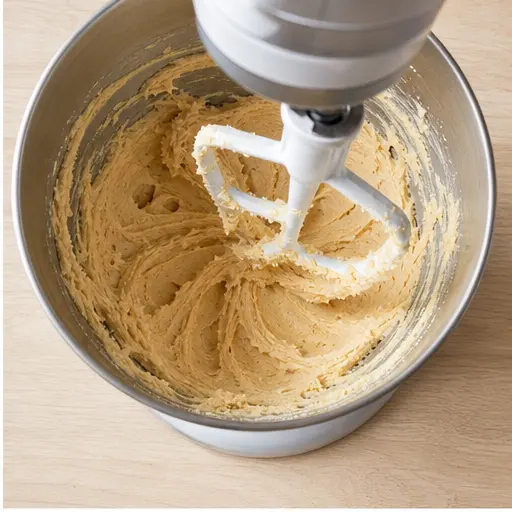
Stage 2: Cream the butter and sugars. This is where the magic starts. Beat the softened butter, granulated sugar, and brown sugar together on medium speed until it’s light and creamy. About two minutes. You’ll see it change color from pale yellow to almost white. Scrape down the bowl, then add the vanilla and eggs. Beat until smooth, then gradually add the flour mixture on low speed. Mix just until no streaks remain. Overmixing develops gluten and makes tough cookies.
Stage 3: Shape and chill. Fold in the chocolate chips with a spatula. Scoop the dough into 3-tablespoon portions a large cookie scoop is perfect here. Place them on a lined baking sheet, then transfer the dough balls to an airtight container and refrigerate for 24 to 72 hours. I know, waiting is hard. But this step deepens the flavor and makes the cookies thicker and chewier. The flour absorbs the moisture, the sugars dissolve more, and the result is a cookie that tastes like it came from a bakery.
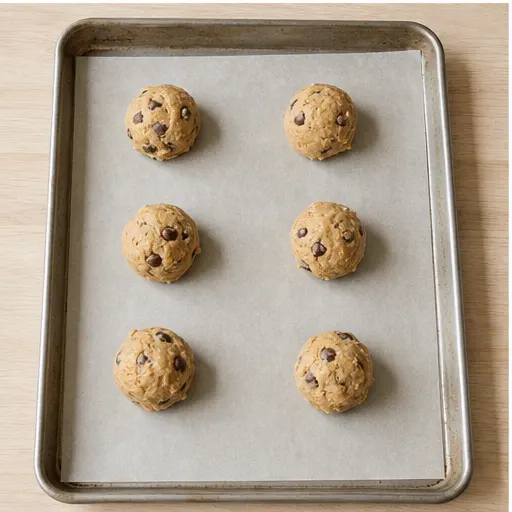
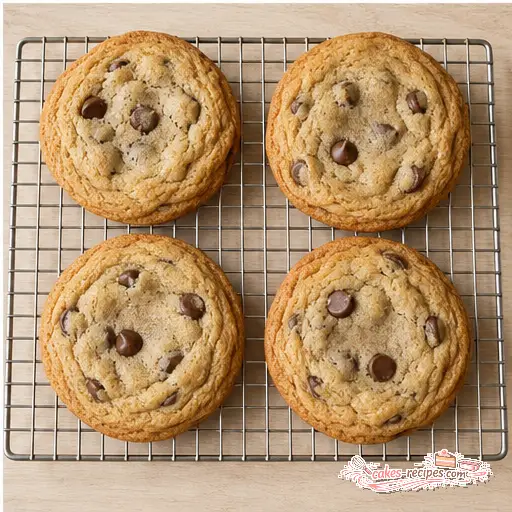
Stage 4: Bake. Preheat your oven to 350°F. Place the chilled dough balls on parchment-lined baking sheets, spacing them about 2 inches apart. Bake for 11 to 13 minutes. The edges should be golden brown and the centers should look just set maybe a little underdone. That’s exactly what you want. Let them cool on the baking sheet for 5 minutes, then transfer to a wire rack. The centers will continue to set as they cool.
Recipe Tips for Perfect Cookies
I’ve made enough batches to know what goes wrong and how to fix it. Here are the things I wish someone had told me when I started.
Common Mistakes and Fixes
❌ Overmixing the dough: Leads to dry, tough cookies. ✅ Solution: Mix just until the flour disappears. A few streaks are fine.
❌ Overbaking: Dry, crumbly cookies. ✅ Solution: Pull them out when the edges are golden but the centers still look slightly soft. They’ll firm up as they cool.
❌ Forgetting salt or vanilla: Flat, boring flavor. ✅ Solution: They’re not optional. Salt balances sweetness, vanilla adds depth.
❌ Using too much flour: Cookies that don’t spread and taste dry. ✅ Solution: Spoon and level your flour. Or use a kitchen scale 380 grams is your number.
Butter temperature matters. Softened butter should give slightly when you press it, but it shouldn’t be melted or greasy. If your kitchen is hot, the butter might soften faster than you expect. That’s fine just chill the dough longer.
Dark brown sugar vs light brown sugar: Light brown sugar gives a milder caramel flavor. Dark brown sugar has more molasses, so the cookies are deeper, richer, and even softer. I use light brown sugar in this recipe, but dark works beautifully. Try both and see which you prefer.
Chilling is non-negotiable. I know, you want cookies now. But 24 hours in the fridge transforms the dough. The flavors meld, the texture improves, and the cookies spread less. If you absolutely must bake immediately, chill the dough balls for at least 30 minutes. But trust me waiting is worth it.
How to Store Brown Sugar Chocolate Chip Cookies
These cookies stay soft for days, thanks to all that brown sugar. Here’s how to keep them that way.
At room temperature: Store baked cookies in an airtight container at room temperature for up to 3 days. I like to add a piece of bread to the container it absorbs excess air and keeps the cookies soft. Replace the bread every day.
Freezing baked cookies: Place cooled cookies in a single layer in a freezer-safe container, with parchment between layers. They’ll keep for up to 3 months. Thaw at room temperature for about 15 minutes, or pop them in a 300°F oven for 5 minutes to crisp the edges.
Freezing dough balls: This is my favorite trick. Scoop the dough into portions, place them on a baking sheet, and freeze until solid. Transfer to a freezer bag. When you want cookies, bake from frozen just add 2 to 3 minutes to the baking time. Fresh cookies anytime.
Frequently Asked Questions
More Chewy Cookie Recipes
If you love these brown sugar chocolate chip cookies, you might enjoy a few more from my kitchen. I’ve been testing cookie recipes for years, and these are the ones my family asks for again and again.
Try a classic oatmeal raisin cookie with the same brown sugar trick. Or a double chocolate cookie that uses cocoa powder and white chocolate chips. And if you’re feeling adventurous, a peanut butter cookie with a chocolate kiss pressed into the center never fails.
I’ll tell you what once you master the brown sugar method, you’ll see it everywhere. It’s the kind of technique that makes you feel like a real baker, not just someone following a recipe. And that’s a good feeling.
Bake these, then tell me if they didn’t disappear in 10 minutes. I’d love to hear how they turned out. And if you’re on Pinterest, come find me there I share my favorite recipes and tips all the time.
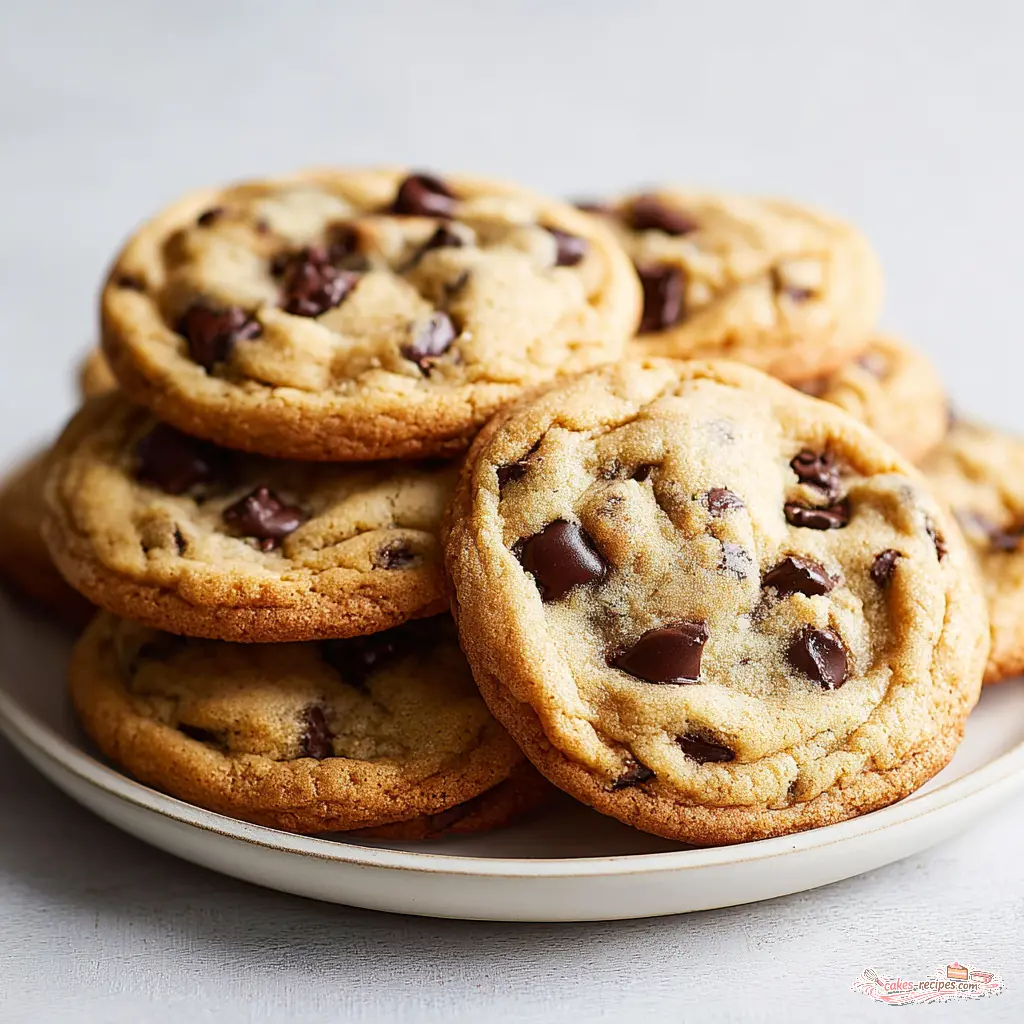
Ultimate Brown Sugar Chocolate Chip Cookies
Ingredients
Method
- Preheat your oven to 350°F. Line two baking sheets with parchment paper.
- In a medium bowl, whisk together the all-purpose flour, baking soda, and fine sea salt until well combined.
- In the bowl of a stand mixer fitted with the paddle attachment, beat the softened butter, granulated sugar, and brown sugar on medium speed until light and creamy, about 2 minutes. Scrape down the sides and bottom of the bowl with a spatula.
- Add the vanilla extract and eggs, then beat on medium until fully incorporated, scraping the bowl as needed. Gradually add the flour mixture on low speed, mixing just until no streaks remain. Fold in the chocolate chips with a spatula.
- Scoop the dough into 3-tablespoon portions using a large cookie scoop and place them on the prepared baking sheets, spacing about 2 inches apart.
- For best results, transfer the dough balls to an airtight container and refrigerate for 24 to 72 hours. This step deepens flavor and creates a thicker, chewier texture. Bake directly from the fridge.
- Bake the cookies for 11 to 13 minutes, until the edges are golden brown and the centers are just set. Let them cool on the baking sheet for 5 minutes, then transfer to a wire rack to cool completely.
Nutrition
Notes
Tried this recipe?
Let us know how it was!Source: Nutritional Information
What happens when you use all brown sugar in chocolate chip cookies?
Using all brown sugar gives you a softer, chewier cookie with a deeper caramel flavor. The molasses in brown sugar attracts and holds moisture, so the cookies stay tender longer. They also spread less, giving you a thicker, more bakery-style result.
Is brown sugar necessary for chocolate chip cookies?
Not strictly necessary, but it makes a huge difference. Brown sugar adds moisture, chewiness, and that warm toffee-like flavor that white sugar alone can’t match. If you only have white sugar, your cookies will be crisper and less flavorful. I always reach for brown sugar.
Can I freeze the cookie dough?
Absolutely. Scoop the dough into portions, freeze them solid on a baking sheet, then transfer to a freezer bag. They’ll keep for up to 3 months. Bake from frozen, adding 2 to 3 minutes to the baking time. Fresh cookies whenever you want them.
Can I freeze the baked cookies?
Yes. Let the cookies cool completely, then place them in a single layer in a freezer-safe container with parchment between layers. They’ll keep for up to 3 months. Thaw at room temperature for about 15 minutes, or warm them in a 300°F oven for 5 minutes.
Do you need to chill your chocolate chip cookie dough balls before baking?
I highly recommend it. Chilling for 24 to 72 hours deepens the flavor and creates a thicker, chewier texture. The flour absorbs moisture, the sugars dissolve, and the cookies spread less. If you’re in a hurry, chill for at least 30 minutes.
Can you freeze these cookies?
Yes, both baked cookies and unbaked dough freeze beautifully. Baked cookies keep for up to 3 months in a freezer-safe container. Unbaked dough balls also freeze well for 3 months. Bake frozen dough straight from the freezer, adding a couple extra minutes.









4 Responses
Finally, a cookie recipe that lives up to the hype! My family devoured these in one sitting. The only change I made was adding a pinch of cinnamon, which paired beautifully with the brown sugar. Thanks for sharing such a reliable recipe.
Great recipe, but I found the cookies spread a bit more than I expected. I chilled the dough for about 30 minutes as suggested—should I chill it longer next time, or maybe reduce the butter slightly?
Hi Mark, thanks for trying the recipe! Chilling for at least 1-2 hours can really help control spreading, especially if your kitchen is warm. Also, make sure your butter is at cool room temperature (around 67°F) and not too soft. Let me know how it goes!
I made these cookies last weekend and they were absolutely incredible! The texture was perfectly chewy and the brown sugar really does make a difference. I used gluten-free flour for my celiac friend and they still turned out amazing. Will definitely be making these again!