
Soft Homemade Burger Buns
Ingredients
Method
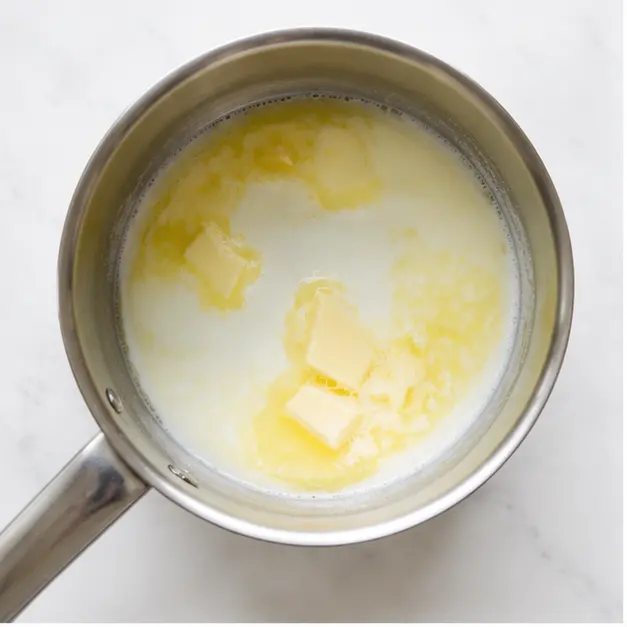
- Heat the milk and butter in a small saucepan over the lowest heat until the butter melts and the liquid is lukewarm, about 100-110°F. Remove the pan from the heat.
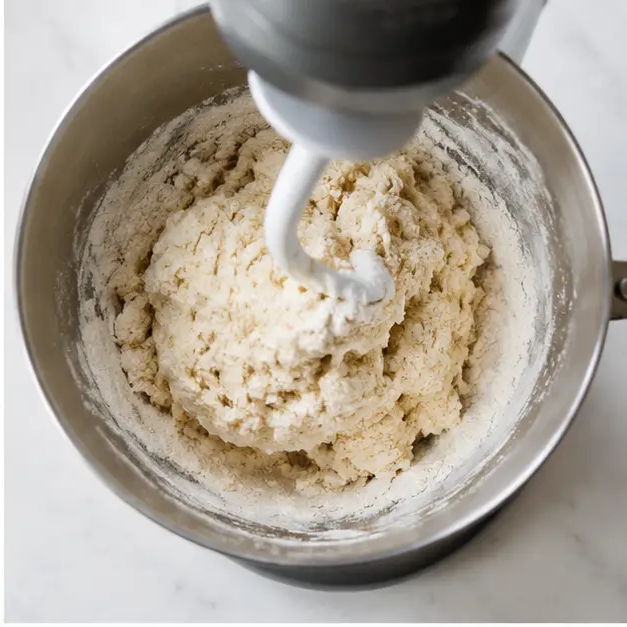
- Stir the yeast and sugar into the warm milk mixture until they dissolve. Put the flour in a large bowl, pour in the yeast mixture, and knead with a hand mixer fitted with dough hooks, or in a stand mixer with the dough hook, for about 2 minutes.
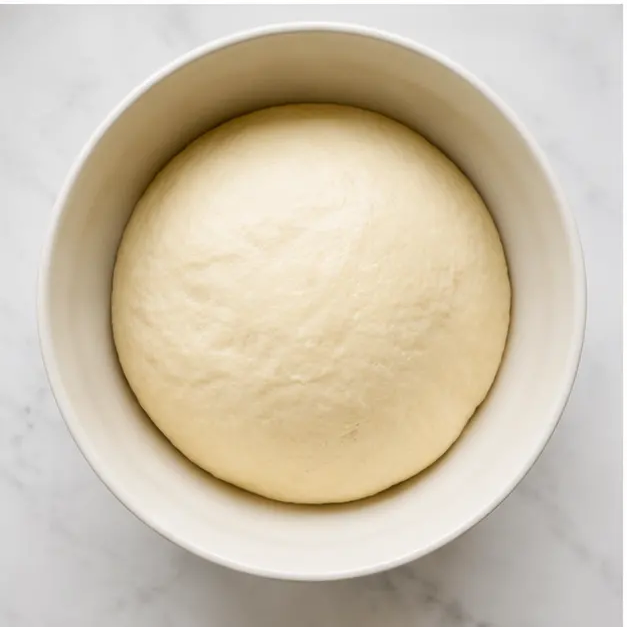
- Add the egg and salt and continue kneading for another 2 minutes until a smooth dough forms. Shape the dough into a ball with your hands, place it in an oiled bowl, dust it lightly with flour, cover with plastic wrap or a damp towel, and let it rise in a warm spot for about 30 minutes.
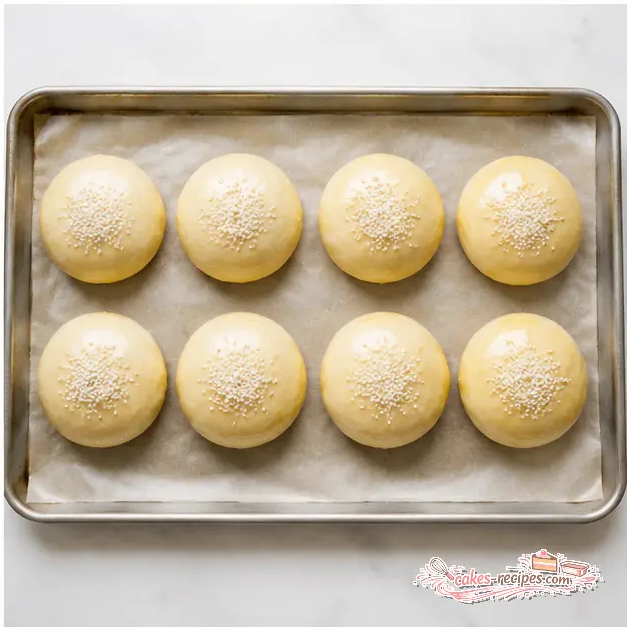
- Knead the dough briefly on a lightly floured surface, divide it into 8 equal pieces, and roll each piece into a smooth ball. Arrange the balls a few inches apart on a parchment-lined baking sheet, press them down slightly, cover, and let them rise for another 30 minutes.
- Preheat the oven to 400°F (200°C), or 350°F (175°C) for convection, with a rack in the middle.
- Brush the tops of the buns with a thin coat of milk, sprinkle with sesame seeds, and bake on the middle rack for about 25 minutes until golden brown. Transfer to a wire rack and let cool completely.
Nutrition
Notes
Tried this recipe?
Let us know how it was!Why You’ll Love These Burger Buns
I’ll tell you what, there’s nothing sadder than a perfect burger ruined by a flimsy store-bought bun. The patty’s juicy, the cheese is melting just right, and then you take one bite and the whole thing collapses into a soggy mess in your lap. Bless your heart if you’ve been there too. I certainly have.
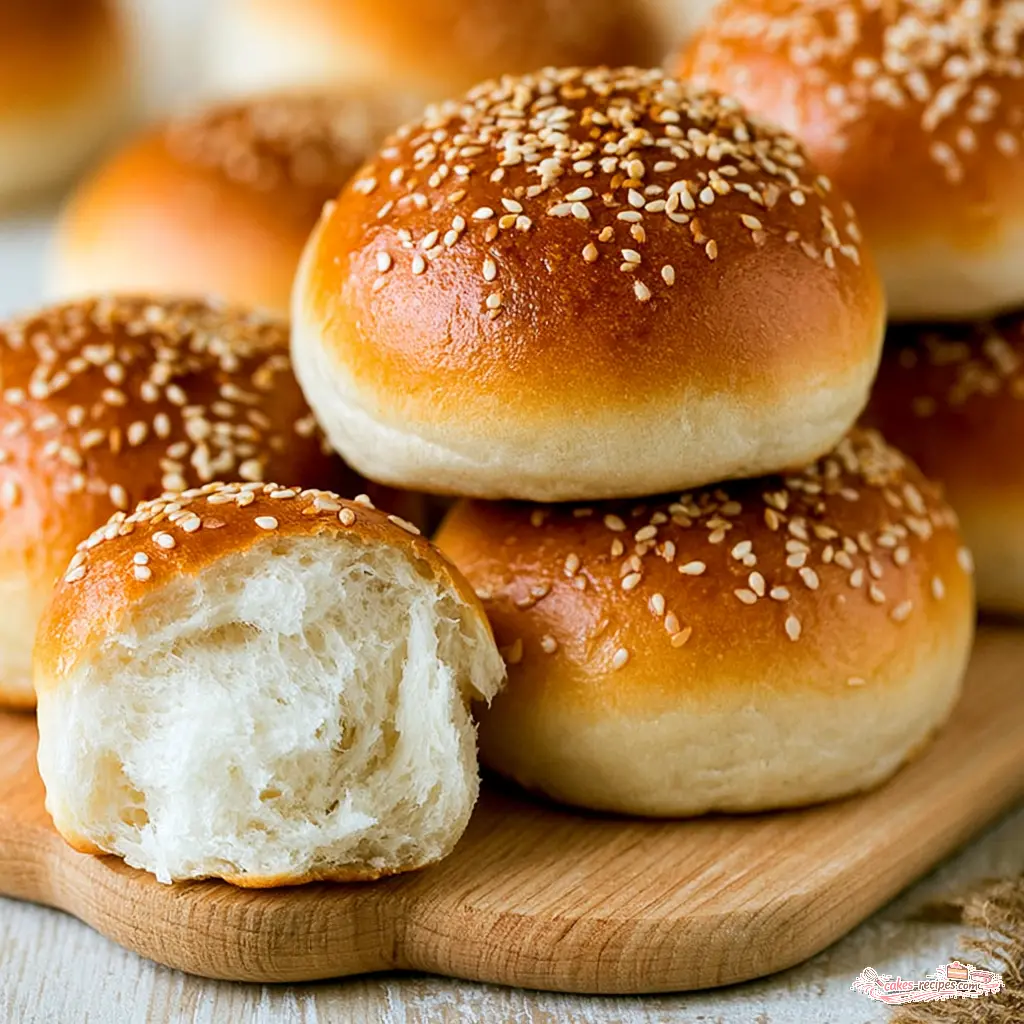
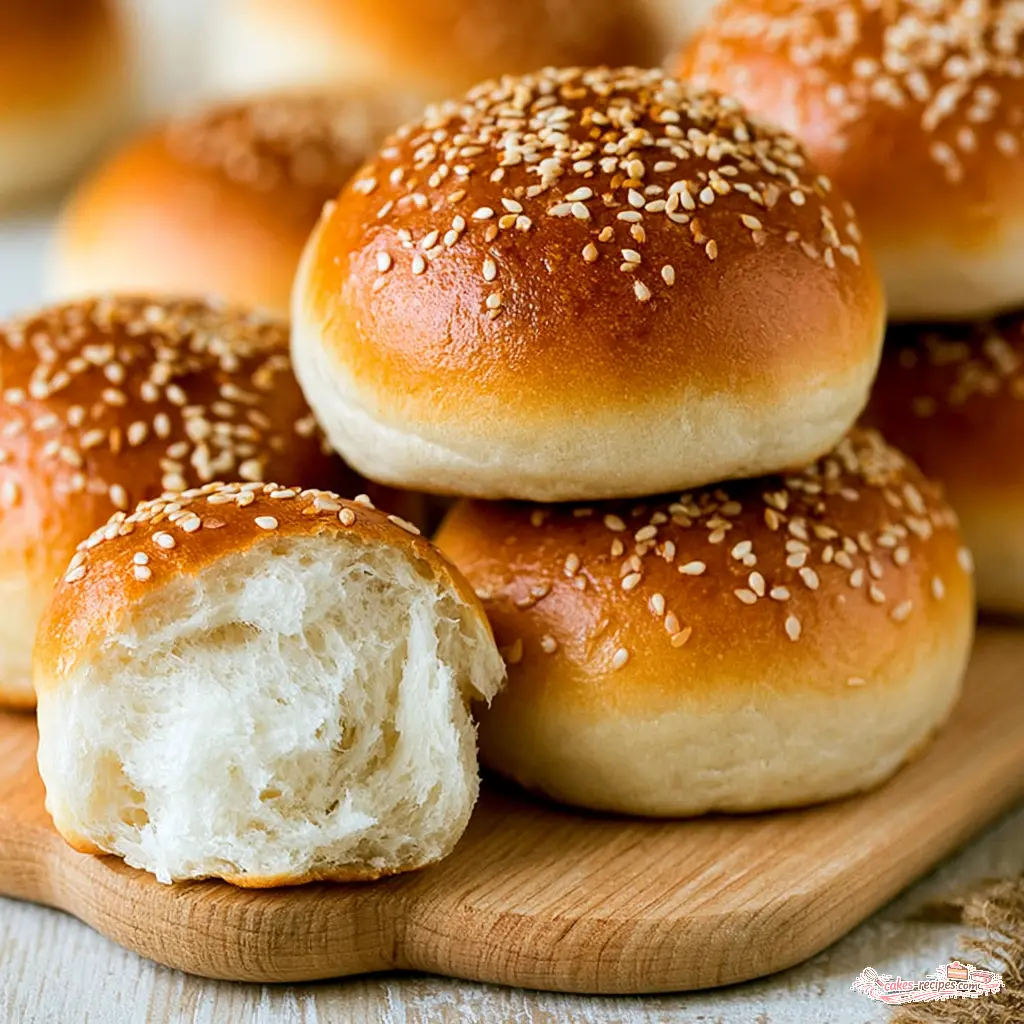
That’s why I started making my own burger buns a few years back. Grandma Eunice was a pound cake woman through and through, but she taught me that the best bread is the bread you make yourself. These burger buns have become my favorite thing to bake before a summer cookout. They’re pillowy, golden, faintly sweet, with a glossy sheen that makes them look bakery-bought, except better. Soft homemade burger buns don’t just hold your burger, they make it better, from the first bite to the last.
Here’s the thing. This isn’t a fussy project. You need simple staples: flour, milk, butter, an egg, yeast, a little sugar and salt. From start to finish it’s about 110 minutes, and most of that is waiting on the dough to rise. In my experience, even folks who’ve never touched yeast dough can manage this one. My first batch came out a little lopsided, I’ll admit it. The flavor was perfect though, and I learned to shape more carefully the next time. That’s just how it’s done. You try, you adjust, you bake again.
Labor Day is the grand finale of cookout season. That’s the weekend to pull a tray of golden homemade hamburger buns out of the oven while the kitchen fills with warm, buttery aroma. I appreciate that feeling more than words can say.
Ingredients for Soft Homemade Burger Buns
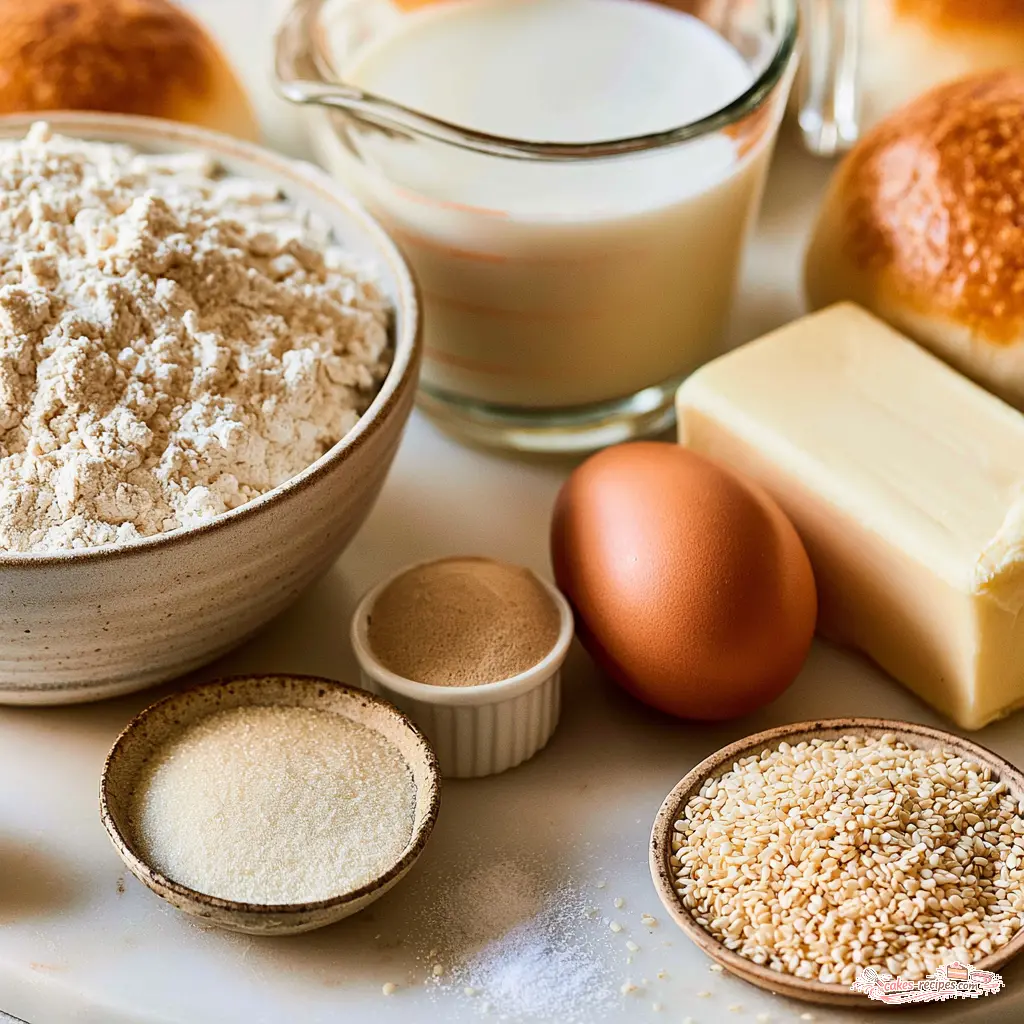
This recipe keeps things honest. No fancy equipment, no hard-to-find ingredients. Let me walk you through what each part does, because it makes good sense to know why you’re doing what you’re doing.
- Whole milk and butter. The fat brings tenderness. Melt the butter into the milk over the lowest heat until the liquid feels like warm bath water, around 100 to 110°F. Too hot and you’ll have problems with the yeast later.
- Active dry yeast. One packet, stirred into the warm milk with a teaspoon of sugar. That little bit of sugar wakes the yeast up and gets it moving.
- All-purpose flour. Four cups, spooned and leveled. In my experience, all-purpose is perfect here. No need to hunt down bread flour. As for the bread flour vs all-purpose flour debate, this recipe leans soft and tender, and all-purpose delivers exactly that.
- One large egg. Adds richness and helps these burger buns rise tall and even.
- Salt and sesame seeds. Salt balances the sweetness. Sesame seeds on top give you that classic sesame seed burger buns look everyone expects at a cookout.
How to Make Burger Buns Step by Step
The full measurements and timing are in the recipe card up above. This section is about the why behind each stage. Yeast dough for beginners can feel intimidating, but it’s really just patience and a warm spot. Proofing dough is not magic, it’s just giving the yeast time to do its job.
Warm the Milk and Wake the Yeast
Start by heating the milk and butter together until the butter melts. Stir in the yeast and sugar, then let it sit for a few minutes. If the mixture gets foamy on top, you’re in business. If it doesn’t, check the temperature of your milk and the date on your yeast packet. That’s the most common heartbreak in bread baking, and it’s easily avoided.
Mix and Knead the Dough
Pour the yeast mixture over the flour in a large bowl and knead for a couple of minutes. A stand mixer with a dough hook makes this easy, but kneading dough by hand works just as well if you don’t mind a little arm work. Add the egg and salt, then keep going until a smooth dough forms. It should feel soft and slightly tacky, not dry and stiff. When in doubt, keep it a touch too sticky rather than too dry. You can always knead in a little more flour.
First Rise and Shaping Burger Buns
Shape the dough into a ball, place it in an oiled bowl, and let it rise for about 30 minutes. You’re looking for it to double in size, with a soft dimple that holds when you poke it. A hot August kitchen will make this go faster, so keep an eye on it. Then turn the dough out, divide it into 8 equal pieces, and roll each one into a smooth ball. Press them down slightly on the baking sheet. That’s the secret to shaping burger buns that stay round and even instead of looking like blobs.
Second Rise, Egg Wash, and Bake
Let the shaped buns rise for another 30 minutes, then brush the tops with milk. The recipe calls for a simple milk wash, but if you want a richer golden finish, whisk one egg yolk with a tablespoon of milk and brush that on instead. Egg wash for buns gives you that deep brown bakery shine. Sprinkle sesame seeds over the top and bake at 400°F for about 25 minutes. Some recipes crank the oven to 425°F and bake for less time, but I like the lower, slower approach here. It lets the enriched dough bake through evenly without burning the tops. The buns are done when they’re deep golden brown and sound hollow when you tap the bottom. An instant-read thermometer should read about 190°F in the center. Let me help you with that: check one bun, and if it’s there, you’re done.
Burger Bun Variations
Once you’ve mastered this soft burger bun recipe, you can play around a little. The dough is forgiving, and small tweaks open up a whole new world.
- Slider buns. Divide the dough into 24 small pieces, about 33 grams each, and bake for 12 to 15 minutes. Perfect for party sliders.
- Smaller regular buns. Want 12 instead of 8? Divide the dough into 12 pieces, about 66 grams each, and bake 12 to 15 minutes.
- Topping swaps. Instead of plain sesame seeds, try everything bagel seasoning, poppy seeds, or dried onion flakes sprinkled on top before baking.
- Less sweet. Halve the sugar if you prefer a more savory roll. The original is only slightly sweet, which is why it works so well with burgers.
- Whole wheat. Swap out part of the all-purpose flour for whole wheat, but keep at least half white flour so the buns stay soft.
These are my favorite burger buns as written. Brioche burger buns and potato burger buns are lovely too, but this recipe gives you that classic, bakery-style burger bun taste with none of the fuss. If you want hot dog buns, flatten each piece into a rectangle, roll it up tight, and pinch the seams. The same dough does double duty.
Pro Tips for Perfect Burger Buns
Let me save you the trouble of learning these the hard way. I’ve made just about every mistake in the book over the years, so you don’t have to.
- ❌ Dense, heavy buns. This usually means the dough was too dry or under-kneaded. Keep it a little sticky rather than adding too much flour. A soft, tacky dough gives you a light, airy crumb.
- ✅ Fix it: When in doubt, knead a minute longer and resist the urge to add flour.
- ❌ Dough that won’t rise. The yeast was likely killed by milk that was too hot, or the packet was past its prime.
- ✅ Fix it: Keep the milk around 100 to 110°F, and always check the expiration date on your yeast.
- ❌ Flat, sad buns. Not enough proofing time, or the dough got deflated during shaping.
- ✅ Fix it: Let the buns rise until they’ve visibly puffed up and hold a gentle dimple when poked.
- ❌ Over-browned tops. Every oven runs a little differently. If yours runs hot, check the buns a few minutes early.
- ✅ Fix it: They’re done when golden brown and the center reads about 190°F on an instant-read thermometer.
The One Thing Not to Skip
Give the dough time to rise. The recipe says 30 minutes for each rise, but that’s a starting point. In a hot August kitchen, it might take less. In a cool spot, it might take more. Trust the visual cues, doubled in size and a soft dimple when poked, and you’ll be fine.
One more note on instant yeast vs active dry yeast. This recipe calls for active dry yeast, the classic choice. If you only have instant yeast on hand, you can use it, just stir it into the flour instead of dissolving it in the milk first. And about the tangzhong method, that’s a trick where you cook some flour and liquid into a paste to make buns even softer. It’s a great technique, but this recipe doesn’t need it. The butter, milk, and egg already give you a tender, long-lasting crumb.
What to Serve with Burger Buns
These burger buns are the best buns for burgers, period. But what goes inside matters just as much. Split and toast the cut sides on a hot skillet or griddle for extra texture. The contrast between the crisp, buttery interior and the soft, pillowy outside is something else.
Load them up with a juicy beef patty, melted cheddar, crisp lettuce, and a thick slice of ripe August tomato. That’s farm-to-fork eating at its finest. For a California twist, mash some avocado on the bottom bun and add a few slices of red onion. The buns are sturdy enough to hold all of it without falling apart.
How to Store and Freeze Burger Buns
Fresh baked burger buns are a gift, but they won’t stay perfect forever. Here’s how to make them last, because wasting good bread is a sin.
- Room temperature: Store cooled buns in an airtight container at room temperature for up to 2 days.
- Freezer: Wrap each bun tightly in plastic wrap or foil and freeze for up to 3 months. They thaw beautifully.
- Reheat: Warm them in a 350°F oven for about 5 minutes, or toast the cut sides in a skillet.
Whatever you do, don’t refrigerate these buns. The cold air dries them out and turns that lovely soft crumb into something sad. Freeze and reheat burger buns instead, and nobody will ever know they weren’t baked that morning.
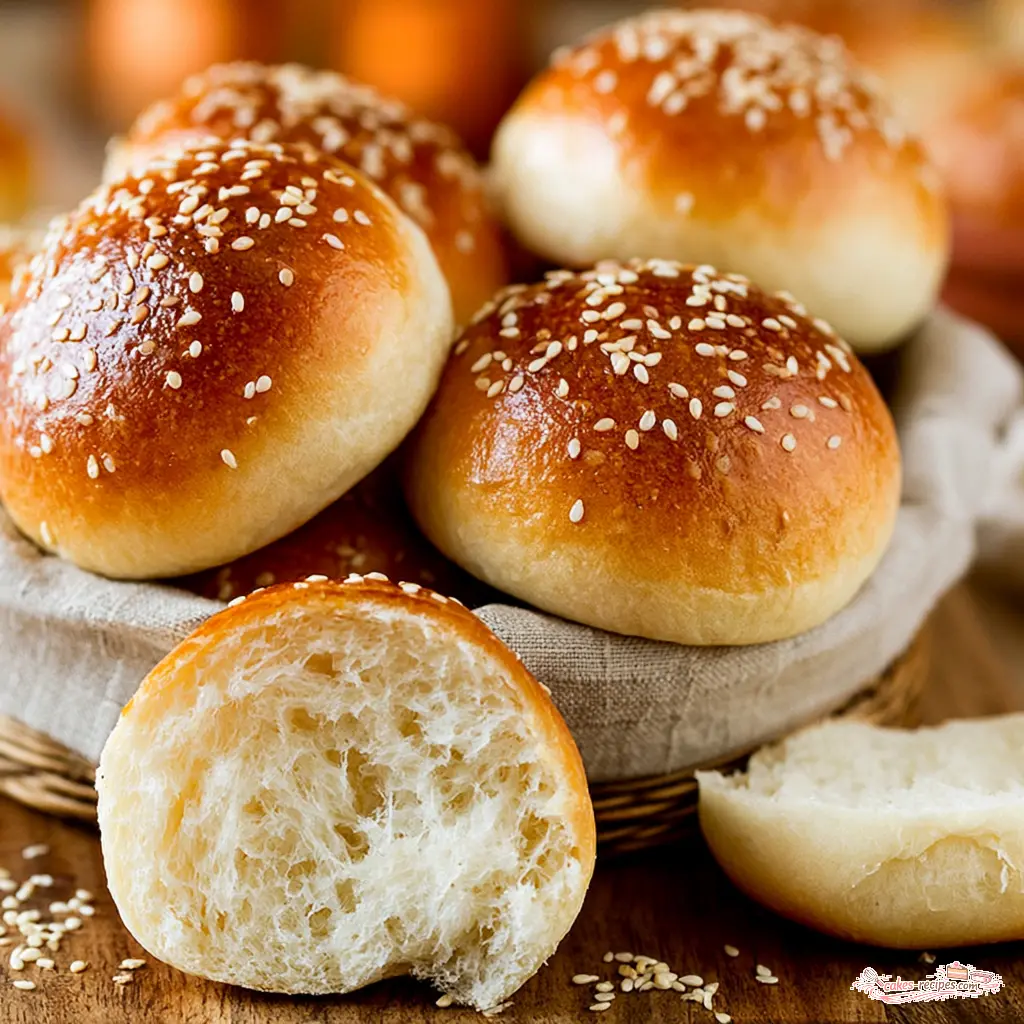
Labor Day weekend is nearly here, and I can already picture it. A tray of golden homemade burger buns cooling on the counter, the smell of butter and yeast filling the kitchen, and guests gathering around the grill. When you pull these from the oven, tag me, I want to see your buns. And if you’re looking for more summer baking inspiration, come browse my Pinterest boards for more cookout favorites. I’m always adding new recipes there.
Frequently Asked Questions
Source: Learn More About This Dish
I doubled the recipe and put them in my convection oven. Will it mess up the rise if I rotate halfway through?
Rotating the pan halfway through won’t hurt the rise at that point, since the buns have already proofed and are baking. For convection, lower the temperature to 350°F. Open the oven quickly, rotate the pan gently so you don’t deflate the buns, and continue baking until they’re golden and sound hollow when tapped.
My yeast doesn’t foam, what am I doing wrong?
Most of the time it’s the temperature. If the milk is too hot, above about 120°F, it kills the yeast. Too cold and the yeast stays sluggish. Aim for 100 to 110°F. Also check the expiration date on your yeast packet. Old yeast won’t foam no matter how careful you are.
Can I freeze these and cook them at a later date? I only need to make half a recipe for now, but would like to have some made up ahead
These burger buns freeze beautifully after baking. Cool them completely, wrap each bun in plastic wrap or foil, and place them in a freezer bag. They’ll keep for up to 3 months. To serve, thaw at room temperature and warm in a 350°F oven for about 5 minutes. They taste freshly baked, I promise.
I’d like to prep these the day before baking them so they are freshly baked. Has anyone done that? And if so, how?
Yes, this works well. After the first rise, punch the dough down, cover the bowl tightly, and refrigerate overnight. The next day, let it sit at room temperature for about 30 minutes before shaping. You may need a little extra time for the second rise since the dough starts cold. The result is warm, fresh buns without the morning rush.















3 Responses
Loved the flavor and texture of these buns, but I had a bit of trouble shaping them into perfect rounds. Any tips for getting them more uniform? Also, would it be okay to use whole wheat flour instead of all-purpose? Thanks!
So glad you loved them, Emily! For uniform shaping, try tucking the dough under and rolling it on a lightly floured surface until it forms a tight ball. Whole wheat flour works, but you’ll want to use a bit more liquid since it absorbs more. Happy baking!
These buns turned out perfect! I’ve been looking for a reliable burger bun recipe and this one delivered. The dough was easy to work with and they were so soft and fluffy. My husband said they’re the best burger buns he’s ever had. Will definitely be making these again for our next cookout!