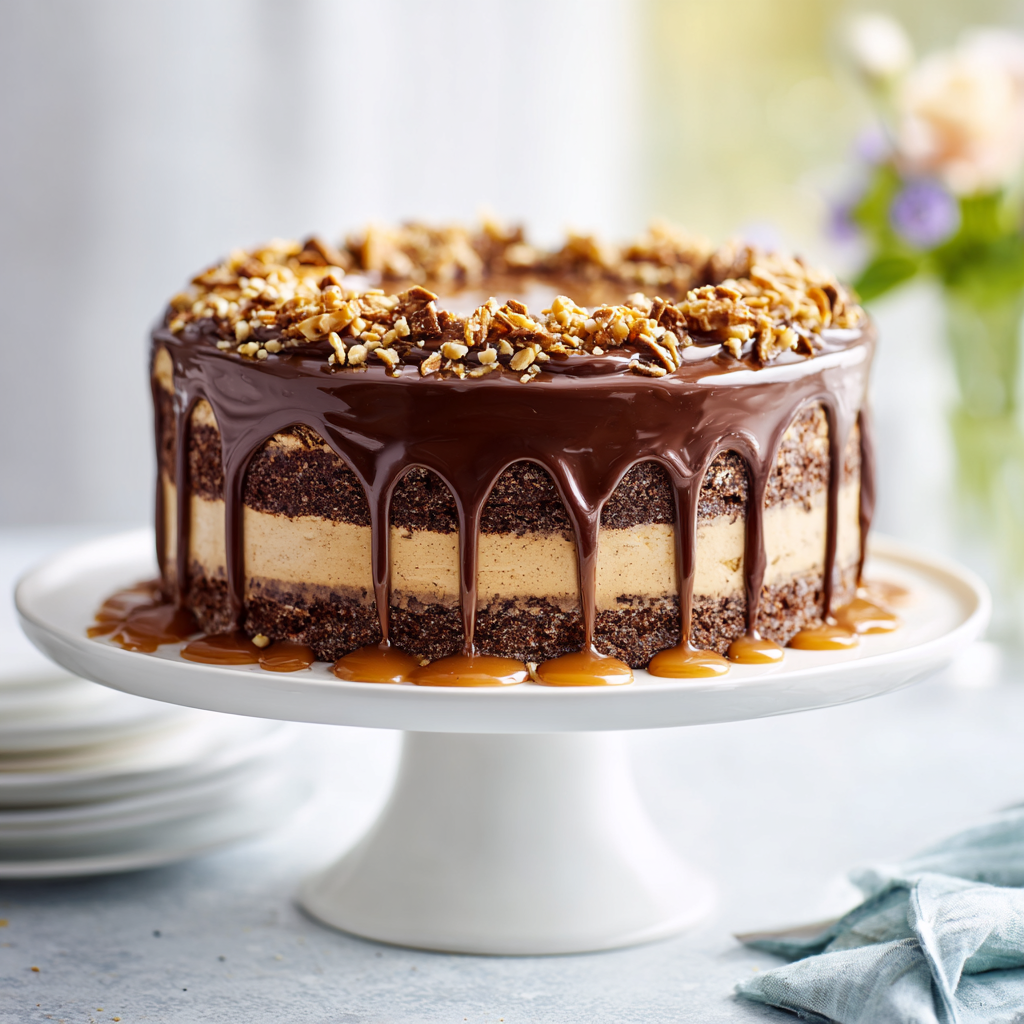
Why This Chocolate Caramel Toffee Crunch Cake Works
I still remember the crunch of that first bite. It was a Saturday afternoon at my friend’s house, and her mom had made this towering cake for a summer party. The chocolate layers were so moist they practically melted, the caramel frosting was silky and rich, and then came that toffee crunch. Oh my goodness, that crunch. It was like finding a hidden treasure in every single bite.
I asked for the recipe, of course, but it was one of those “a little bit of this, a little bit of that” family secrets. So I spent the next few years tinkering, testing, and yes, failing a few times. But that’s the thing about baking, right? Failure is just practice in disguise. And now, I’m so excited to share my version of this chocolate caramel toffee crunch cake with you.
This isn’t just any chocolate layer cake. It’s the kind of cake that makes people stop mid-conversation and close their eyes for a second. The kind that gets asked for at every birthday, every 4th of July barbecue, every potluck. The kind that makes you feel like a rock star baker, even if you’re just a home cook who loves a good project.
So what makes it so special? Three things, really. First, the cake itself is incredibly moist thanks to a secret ingredient (hot water trust me on this). Second, the caramel frosting is luscious and not too sweet, with crunchy toffee bits folded right in. And third, the whole thing gets drizzled with even more caramel and chocolate sauce, then topped with a generous shower of toffee bits. It’s a textural dream.
Totally doable, by the way. I promise. You’ve got this.
Key Ingredients for the Perfect Crunch
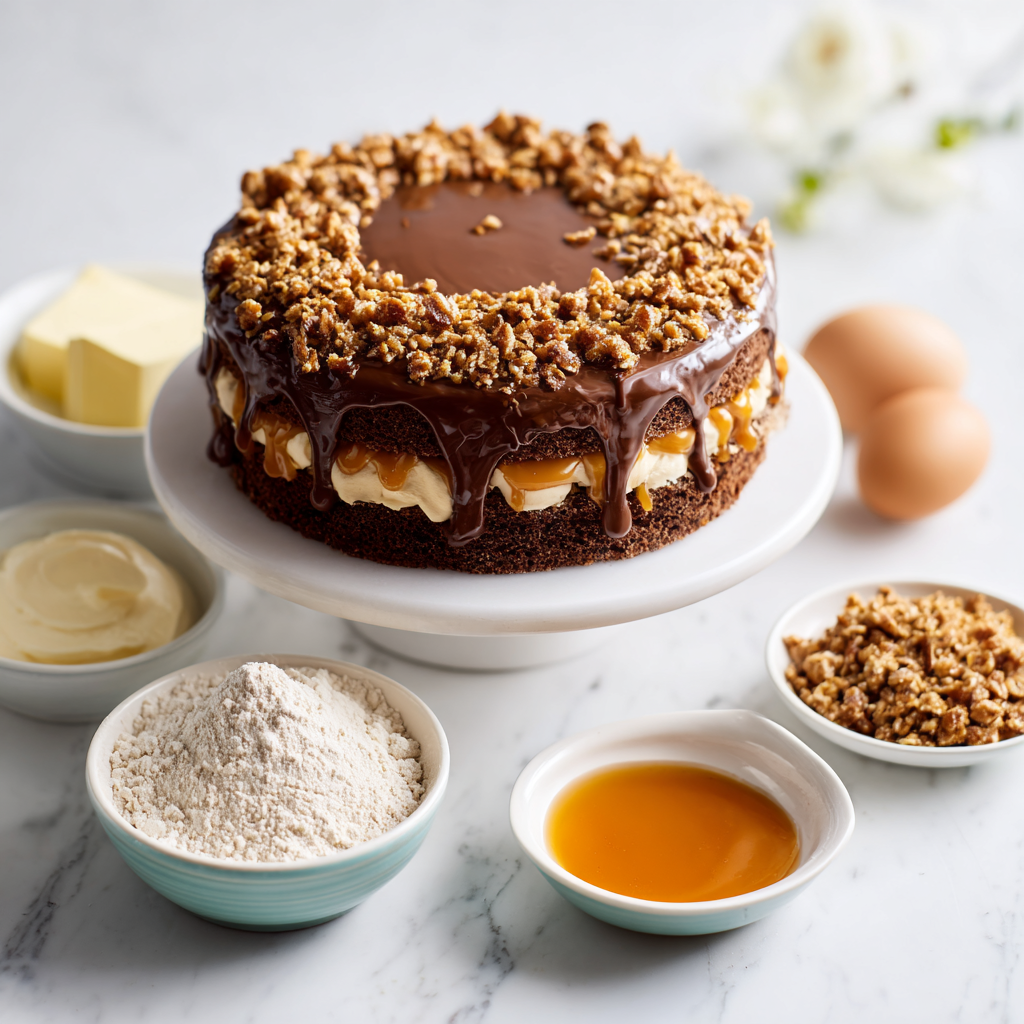
Let’s talk about what makes this cake tick. The ingredient list might look long, but I bet you already have most of these in your pantry. And for the ones you don’t, they’re easy to find at any grocery store Ralphs, Vons, Whole Foods, you name it.
- Cocoa powder: Use unsweetened cocoa powder for the best chocolate flavor. I tend to like a Dutch-processed one for a deeper, more mellow chocolate taste, but natural works beautifully too. Just don’t use sweetened hot cocoa mix that’s a different beast entirely.
- Buttermilk: This is the key to a tender, moist crumb. The acid in buttermilk reacts with the baking soda to give you that perfect rise and soft texture. If you don’t have buttermilk, you can make a quick substitute: add 1 tablespoon of lemon juice or white vinegar to 1 cup of milk, let it sit for 5 minutes, and voilà.
- Hot water: This sounds weird, I know. But adding hot water to the batter helps bloom the cocoa powder, intensifying the chocolate flavor and creating a beautifully thin, pourable batter that bakes up super moist.
- Caramel sauce: Store-bought is totally fine here. I use it in the frosting and for drizzling. Look for a thick, rich caramel not the super thin ice cream topping kind. Trader Joe’s has a great one, or you can make your own if you’re feeling ambitious.
- Toffee bits: These are the star of the show. Crushed toffee bits (like Heath bar bits) add that irresistible crunch. You’ll fold some into the frosting and sprinkle more on top. Make sure they’re fresh and crunchy, not stale.
One thing I’ve learned over the years: don’t stress too much about getting everything perfect. Baking is supposed to be fun. If your caramel sauce is a little thinner than you’d like, that’s okay. If your toffee bits are a little uneven, that adds character. Mimi always said that small imperfections make things beautiful.
How to Make the Chocolate Cake Layers
This is where the magic happens. The cake layers for this chocolate caramel toffee crunch cake are based on a classic devil’s food cake recipe. They’re rich, dark, and incredibly tender. And the best part? The batter comes together in one bowl. No creaming butter and sugar, no fussing with separate wet and dry ingredients. Just whisk, pour, and bake.
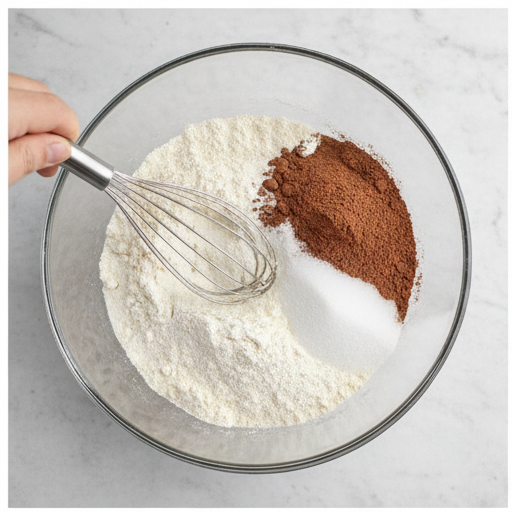
Start by preheating your oven to 350°F. Grease and flour two 9-inch round cake pans. I like to use a little butter and a dusting of cocoa powder instead of flour it prevents white streaks on the finished cake. In a large bowl, whisk together the flour, sugar, cocoa powder, baking soda, baking powder, and salt. Make sure there are no lumps. The cocoa powder can be stubborn, so take your time here.
Then add the buttermilk, vegetable oil, eggs, and vanilla extract. Beat on medium speed until smooth. The batter will be thick at this point, but don’t worry. Gradually stir in the hot water, and watch as the batter transforms into a thin, silky liquid. It’s almost like magic. This thin batter is what gives you that moist, tender crumb.
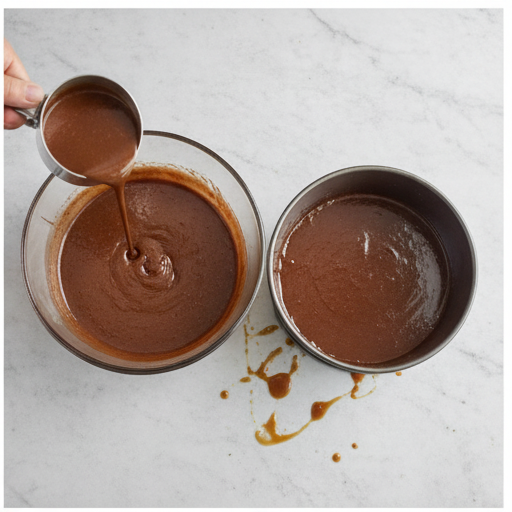
Divide the batter evenly between the prepared pans. I use a kitchen scale for this it’s the easiest way to make sure both layers are the same thickness. Bake for 30 to 35 minutes, until a toothpick inserted in the center comes out clean. The kitchen will smell incredible at this point. That specific smell of vanilla and chocolate and possibility. It reminds me of Mimi’s pâtisserie in summer.
Let the cakes cool in the pans for 10 minutes, then turn them out onto a wire rack to cool completely. Patience is key here. If you try to frost them while they’re still warm, the frosting will melt and slide right off. Ask me how I know.
How to Make the Caramel Frosting
Now for the frosting. This is a caramel buttercream, and it’s so much easier than you might think. No candy thermometer needed. No tempering eggs. Just butter, powdered sugar, caramel sauce, and a little vanilla.
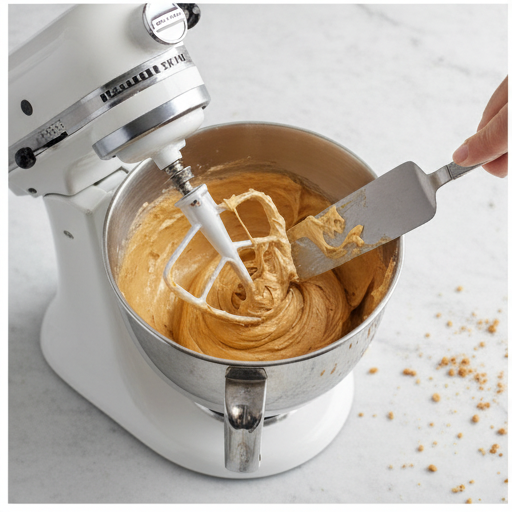
Start with softened butter. This is important if your butter is too cold, you’ll end up with lumps. If it’s too warm, the frosting will be runny. Let it sit on the counter for about 30 minutes before you start. In a large bowl, beat the butter until it’s creamy and pale, about 2 to 3 minutes. Then gradually add the powdered sugar, beating on low speed so it doesn’t fly everywhere. Trust me, a powdered sugar cloud is not a fun cleanup.
Once the sugar is incorporated, add the 1/2 cup of caramel sauce and the vanilla extract. Beat until everything is smooth and fluffy. The frosting will be a beautiful golden brown color. Then fold in the crushed toffee bits. I love this part. The little crunchy pieces scattered throughout the frosting are such a pleasant surprise.
If your frosting seems too thin, pop it in the fridge for 10 to 15 minutes to firm up. If it’s too thick, add a tablespoon of milk or a little more caramel sauce. In my experience, a slightly thicker frosting is easier to work with for a layer cake. It holds its shape better and doesn’t slide between the layers.
Assembling the Chocolate Caramel Toffee Crunch Cake
This is the moment of truth. The assembly. It’s where all your hard work comes together into one stunning dessert. Take a deep breath. You’ve got this.
Place one cake layer on a serving plate. I like to put a few strips of parchment paper under the edges of the cake to keep the plate clean while I frost. Spread about 1 cup of the caramel toffee frosting evenly on top. Don’t be shy really spread it all the way to the edges. This is the filling layer, and you want every bite to have that creamy, crunchy goodness.
Place the second layer on top. Now it’s time to frost the entire cake. Start with a thin crumb coat a layer of frosting that seals in the crumbs. Pop the cake in the fridge for 15 minutes to let that set. Then go in with the remaining frosting for a beautiful, thick finish. Don’t worry if it’s not perfect. A rustic, swoopy look is totally in right now.
Now for the fun part. Drizzle the top of the cake with the remaining 1/2 cup of caramel sauce and the chocolate sauce. Let it drip down the sides a little. Then sprinkle the toffee bits generously over the top. I like to press a few into the sides of the cake too, for extra crunch in every bite.
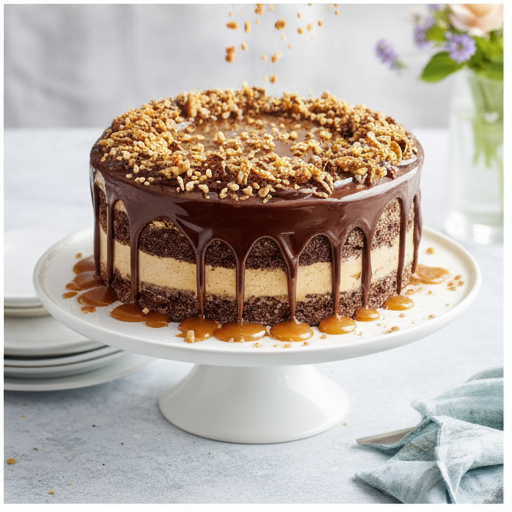
Allow the cake to set for about 15 minutes before slicing. This gives the drizzles a chance to firm up a little, so you get clean slices. Then cut yourself a big piece, pour a glass of milk, and enjoy the fruits of your labor. You deserve it.
Tips for the Best Results
Over the years, I’ve learned a few tricks that make this chocolate caramel toffee crunch cake turn out perfectly every time. Here are my top tips:
- Don’t overmix the batter. Once you add the wet ingredients, mix just until combined. Overmixing develops the gluten and makes the cake tough. We want tender, not tough.
- Use room temperature ingredients. Eggs and buttermilk blend more easily when they’re not straight from the fridge. Take them out about 30 minutes before you start baking.
- Level your cake layers. If your cakes have domed tops, use a serrated knife to trim them flat. This ensures your cake sits evenly and doesn’t wobble.
- Chill the cake before slicing. A 15-minute chill in the fridge makes for much cleaner slices. The caramel and chocolate drizzles will be firmer, and the layers won’t slide around.
- Hide a slice for yourself. Seriously. This cake disappears fast. I always stash one piece in the back of the fridge before serving the rest.
Oh, and one more thing. If your toffee bits get a little soft after being in the frosting, that’s totally normal. The moisture from the frosting will soften them slightly. If you want extra crunch, sprinkle some fresh toffee bits on top just before serving.
Storage and Make-Ahead Instructions
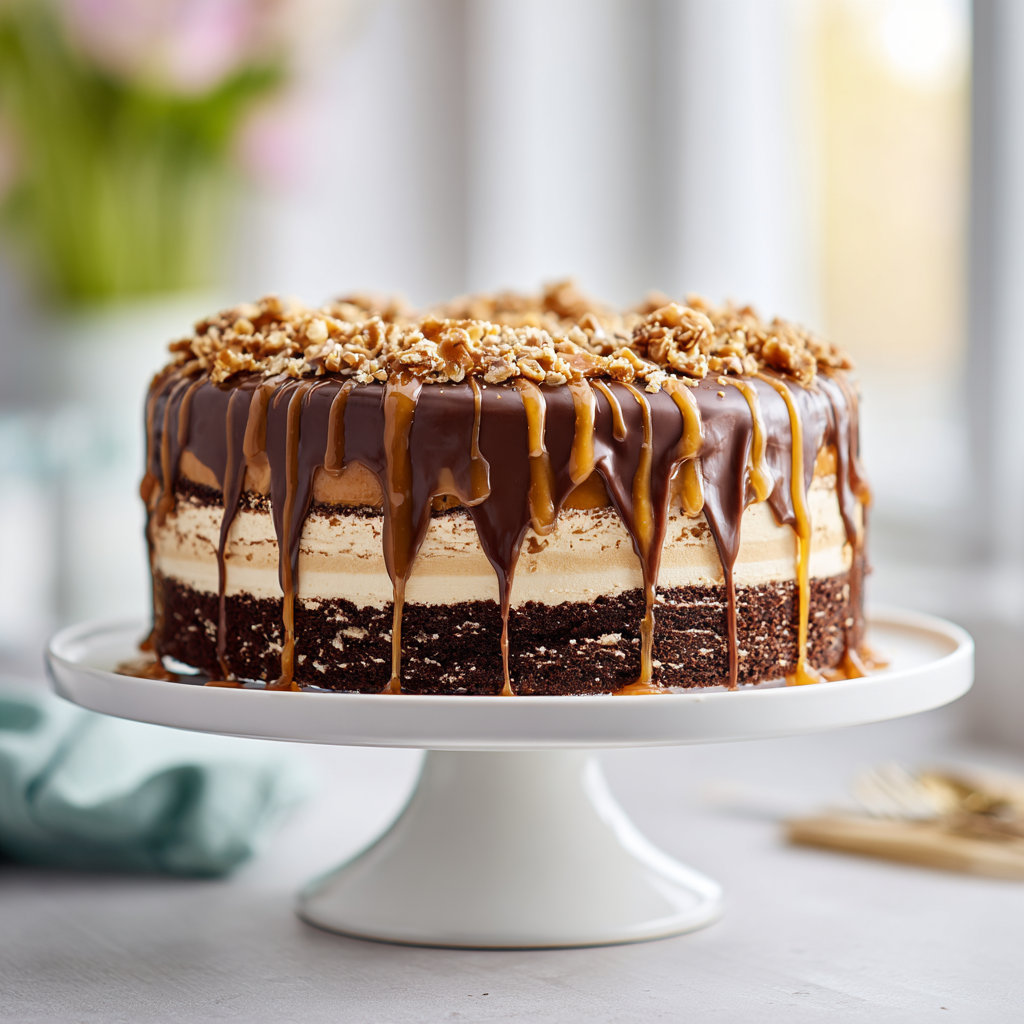
This cake is perfect for making ahead, which is great for parties and holidays. Here’s how to store it and keep it fresh.
At room temperature: Store leftover cake in an airtight container at room temperature for up to 3 days. The toffee might soften a bit, but it’ll still be delicious. If your kitchen is warm (it’s summer, after all), I’d recommend refrigerating it to keep the caramel from melting.
In the refrigerator: The cake will keep in the fridge for up to 5 days. Just make sure it’s in an airtight container so it doesn’t absorb any funky fridge smells. Let it sit at room temperature for about 20 minutes before serving to take the chill off.
In the freezer: You can freeze the cake layers (unfrosted) for up to 3 months. Wrap each layer tightly in plastic wrap, then foil. When you’re ready to assemble, let them thaw in the fridge overnight. You can also freeze the assembled cake, but the toffee bits will lose their crunch. I’d recommend adding fresh toffee bits after thawing.
Make-ahead tip: Bake the cake layers up to a day in advance and wrap them tightly. You can also make the frosting a day ahead and keep it in the fridge. Just let it come to room temperature and give it a quick whip before using. This works for me, but you might prefer to assemble everything the day of. Either way, you’re good.
Frequently Asked Questions
I hope you love this chocolate caramel toffee crunch cake as much as I do. It’s one of those recipes that feels special but is totally doable for any home baker. When you make it, tag me in your photos I’d love to see your creation. And don’t forget to hide a slice for yourself before the crowd descends.
Happy baking, friends. You’ve got this.
Source: Nutritional Information
Chocolate Caramel Toffee Crunch Cake
Ingredients
Method
- Preheat your oven to 350°F. Grease and flour two 9-inch round cake pans.
- In a large bowl, whisk together the flour, sugar, cocoa powder, baking soda, baking powder, and salt.
- Add the buttermilk, vegetable oil, eggs, and vanilla extract. Beat on medium speed until smooth, then gradually stir in the hot water until the batter is thin and well combined.
- Divide the batter evenly between the prepared pans. Bake for 30 to 35 minutes, until a toothpick inserted in the center comes out clean. Let the cakes cool in the pans for 10 minutes, then turn them out onto a wire rack to cool completely.
- In a large bowl, beat the softened butter until creamy. Gradually add the powdered sugar, beating until smooth. Mix in the 1/2 cup of caramel sauce and the vanilla extract until well blended. Fold in the crushed toffee bits.
- Place one cake layer on a serving plate. Spread about 1 cup of the frosting evenly on top. Place the second layer over it and frost the entire cake with the remaining frosting.
- Drizzle the top of the cake with the remaining 1/2 cup of caramel sauce and the chocolate sauce. Sprinkle the toffee bits over the top.
- Allow the cake to set for about 15 minutes before slicing. Serve and enjoy your masterpiece!
Nutrition
Notes
Tried this recipe?
Let us know how it was!Can this chocolate caramel toffee crunch cake be made the day before?
Absolutely. You can bake the cake layers and make the frosting a day ahead. Store the layers wrapped tightly at room temperature and the frosting in the fridge. Assemble the cake the next day for the freshest result. Avoid assembling more than 24 hours ahead to prevent the cake from getting soggy.
What is the best way to make a chocolate caramel toffee crunch cake moist?
The key is the hot water in the batter. It blooms the cocoa powder and creates a thin, silky batter that bakes up incredibly moist. Also, don’t overbake. Check for doneness at 30 minutes and pull the cakes out as soon as a toothpick comes out clean.
Can I use store-bought caramel sauce for the toffee crunch cake frosting?
Yes, store-bought caramel sauce works perfectly. Look for a thick, rich caramel, not the thin ice cream topping kind. Trader Joe’s or Ghirardelli brands are great options. Homemade caramel is wonderful too, but store-bought saves time and still tastes delicious.
How do you store leftover chocolate caramel toffee crunch cake?
Store leftover cake in an airtight container at room temperature for up to 3 days, or in the fridge for up to 5 days. If refrigerating, let slices sit at room temperature for 20 minutes before serving. The toffee may soften slightly, but the flavor will still be amazing.
What can I substitute for buttermilk in this toffee crunch cake recipe?
Easy substitute: add 1 tablespoon of lemon juice or white vinegar to 1 cup of milk and let it sit for 5 minutes. It will curdle slightly, but that’s exactly what you want. The acid reacts with the baking soda to give you a tender, moist cake.
How far in advance can I assemble this chocolate caramel toffee crunch cake?
For best results, assemble the cake no more than 24 hours ahead. The cake layers can be baked up to a day in advance and wrapped tightly. Assemble the day of or the night before serving. Any longer and the cake may start to get soggy from the caramel and frosting.