
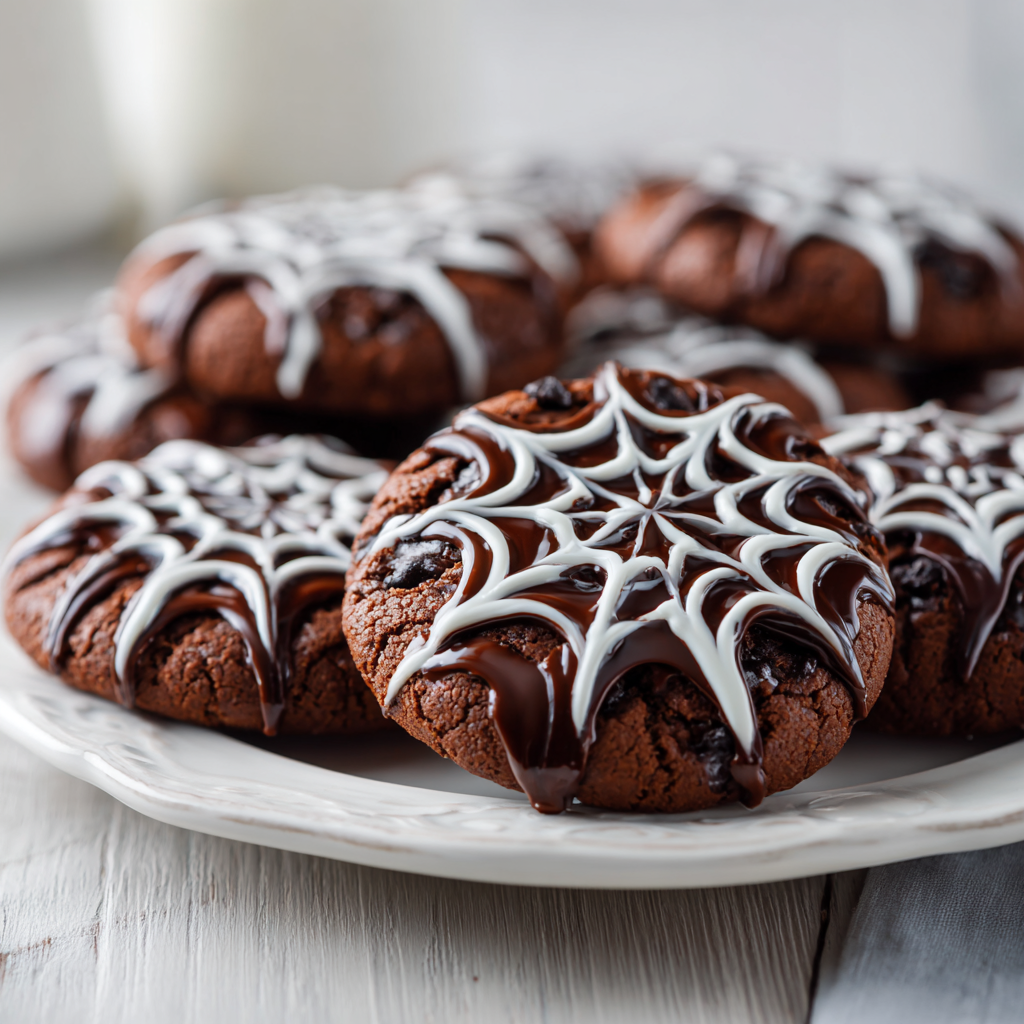
Why You’ll Love These Double Chocolate Spiderweb Cookies
You know that feeling when you want to bring something to a party that looks like you spent all day on it, but really you’ve got maybe an hour? That’s exactly why I love these double chocolate spiderweb cookies. They look like something from a bakery window, but the secret is the marshmallow web technique. It’s almost embarrassingly easy.
I made these for my niece’s Halloween party last year, and I’m not kidding when I say people thought I’d taken a class. One friend asked if I’d done a “professional piping course.” I just laughed and said, “Nope, just microwaved some marshmallows.”
These cookies are fudgy, rich, and intensely chocolatey. The marshmallow web adds that gooey, sticky sweetness that makes every bite feel like a treat. And the best part? The spiderweb pattern is practically foolproof. I promise, it’s way easier than it looks.
Let me walk you through why these work so well, especially if you’re worried about the heat or the mess.
What To Expect from These Cookies
First, let’s talk texture. These are chewy chocolate cookies with crispy edges and soft, almost underbaked centers. The kind that bends without breaking. The double hit of cocoa powder and chocolate chips gives them that deep, dark chocolate flavor that isn’t too sweet.
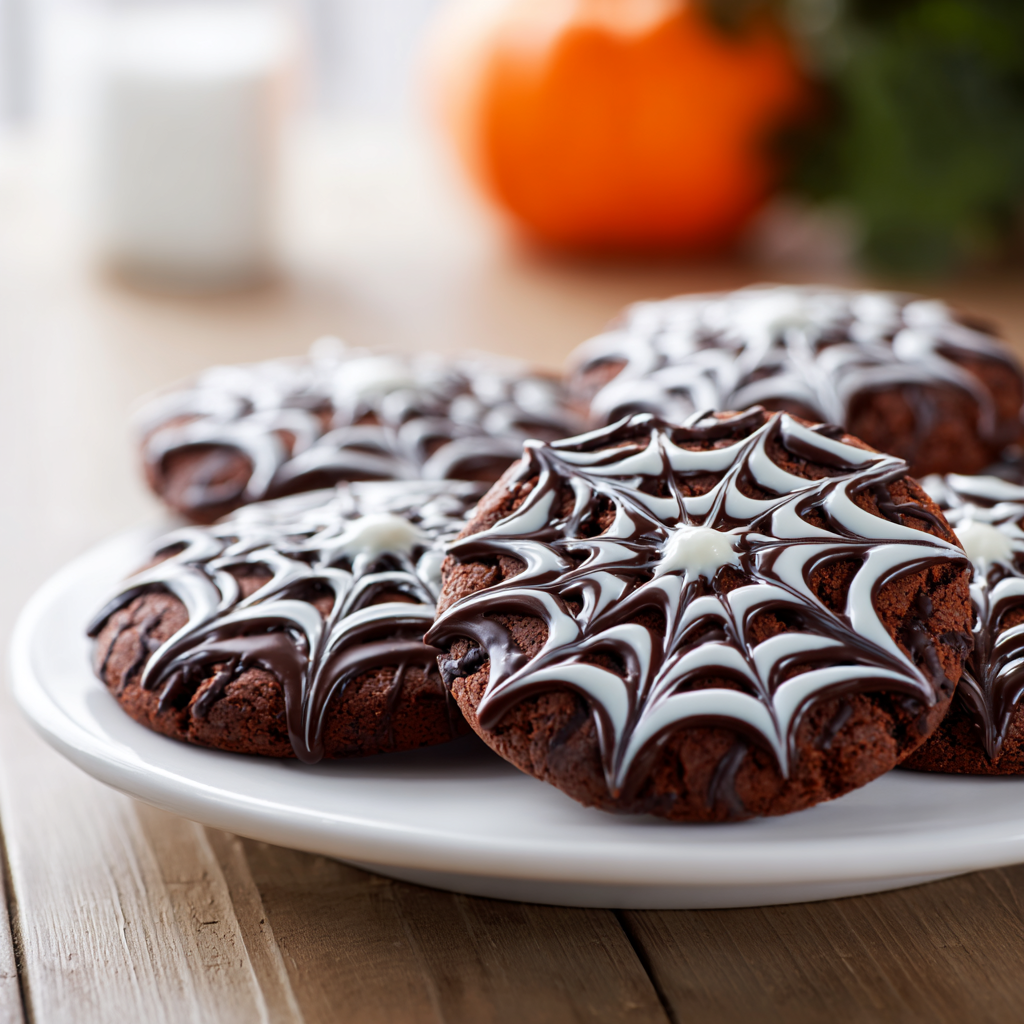
The marshmallow web is where the magic happens. When you stretch the melted marshmallow over the cookie, it creates thin, delicate strands that look like a spider’s web. They’re slightly sticky, slightly chewy, and they hold their shape even at room temperature. Which is a big deal if you’re serving these in summer.
Now, about that summer heat. If it’s 90°F outside, your marshmallow might get a little soft. But here’s a trick: chill the piped cookies for 5 minutes before serving. It firms everything up without making them hard. Fair point, though if you’re planning to serve them outside, maybe keep them in the shade.
These cookies are also forgiving. I once made the web too thick looked like a puddle of marshmallow on top. Still tasted amazing, just didn’t look as pretty. So don’t stress about perfection.
Ingredients You’ll Need
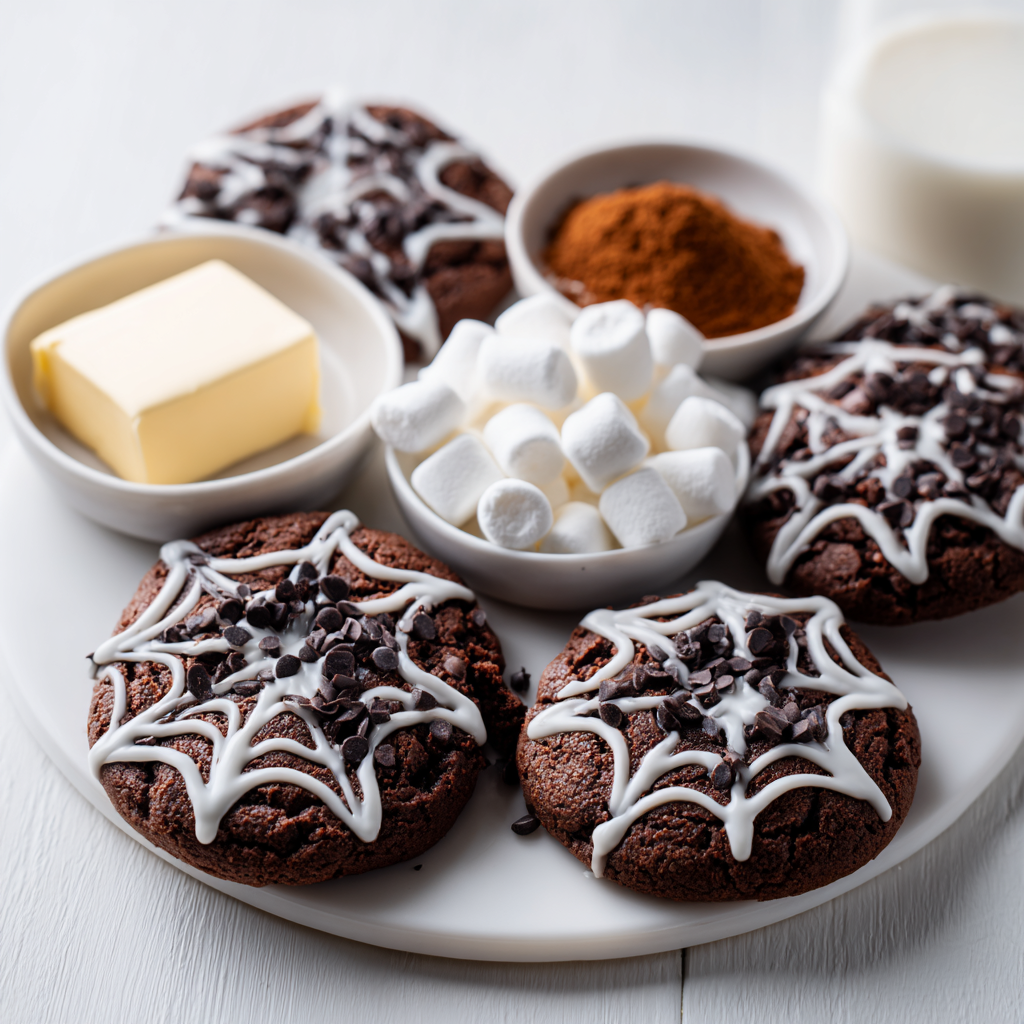
Let’s keep this simple. You don’t need anything fancy. Here’s what you’ll grab from the store:
- Unsalted butter – softened, so it creams properly with the sugars
- Granulated sugar and brown sugar – the brown sugar gives that chewy texture
- All-purpose flour – measure it correctly (spoon into cup, level off)
- Unsweetened cocoa powder – natural cocoa works best here, bright chocolate flavor
- Baking soda and kosher salt – for lift and balance
- Vanilla extract and large eggs – the usual suspects
- Milk or semi-sweet chocolate chips – I prefer semi-sweet, but milk works too
- Mini marshmallows – one bag, about 10 ounces, for the spiderweb
That’s it. No special ingredients. No weird stuff.
Step-by-Step Instructions
I’ll break this into four stages so it’s easy to follow. The recipe card at the bottom has the full details, but here’s the why behind each step.
How to Make the Chocolate Cookie Dough
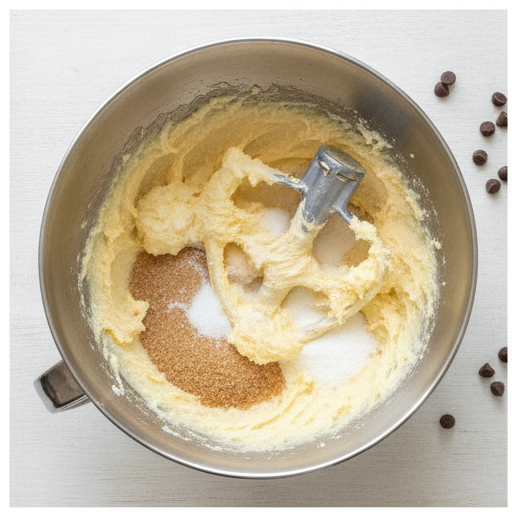
Start by creaming the butter and sugars together. I use a stand mixer with the paddle attachment, but a hand mixer works fine. You want it light and fluffy about 2 minutes. Then add the eggs and vanilla. Mix until combined, but don’t overdo it.
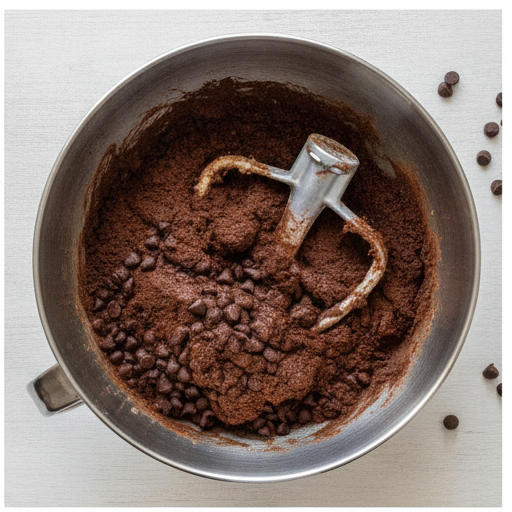
In a separate bowl, whisk the flour, cocoa powder, baking soda, and salt. This is important: whisking aerates the cocoa powder and breaks up any lumps. Add the dry ingredients to the wet mixture and mix on low speed until just combined. Overmixing develops gluten, which makes cookies tough. We don’t want that.
Fold in the chocolate chips. I use a spatula for this, scraping the bottom of the bowl to make sure everything’s even.
How to Shape and Bake the Cookies
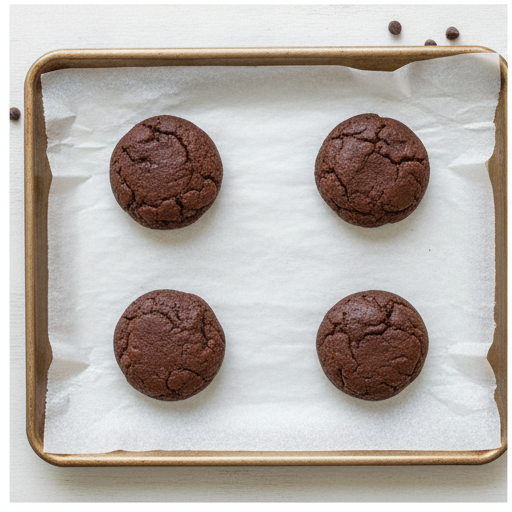
Use a 2-ounce cookie scoop or a 1/4 cup measure. Scoop the dough into balls and place them on a parchment-lined baking sheet. Space them about 2 inches apart they’ll spread a little, but not too much. This dough doesn’t need chilling, which is a huge time-saver.
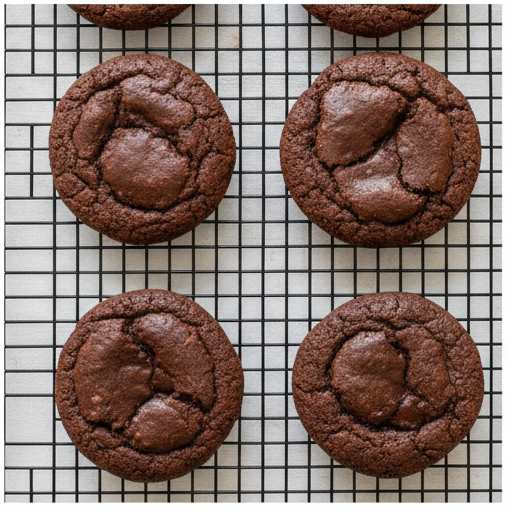
Bake at 350°F for about 12 minutes. The edges should look set, but the centers will still be soft. That’s exactly what you want. Let them cool on the baking sheet for 2-3 minutes before transferring to a wire rack. They’ll continue to set as they cool.
Don’t overbake. I know it’s tempting to leave them in for an extra minute, but that’s how you get dry cookies. Trust the process.
How to Make the Marshmallow Spiderwebs
This is the fun part. Place the mini marshmallows in a microwave-safe bowl. Microwave for 45 seconds to 1 minute. Stir. Then microwave in 15-second increments until fully melted and smooth. It usually takes about 1.5 to 2 minutes total.
Let the melted marshmallow cool slightly. You want it warm but not hot enough to burn your fingers. Test a small amount on your fingertips. If it’s too hot, wait a minute. It should be pliable and stretchy, like a thick syrup.
Now, here’s the technique: pinch a small amount of marshmallow between your thumb and forefinger. Pull your fingers apart to create thin strands. Stretch these strands over each cookie, rubbing your fingers around the edge to help the marshmallow stick and separate from your fingers. It’s like drawing a bicycle wheel start at the center and pull outward.
If the marshmallow starts to harden, just reheat it in the microwave in short bursts. It’s very forgiving.
How to Assemble the Cookies
Work one cookie at a time. Stretch the marshmallow strands over the top, creating a web pattern. You can make it as dense or as delicate as you like. I prefer a few thin strands so you can still see the chocolate cookie beneath.
Repeat with each cookie. You’ll need to reheat the marshmallows a few times as they cool and thicken. This is normal. Just pop the bowl back in the microwave for 10-15 seconds.
Let the assembled cookies sit at room temperature for about 10 minutes so the marshmallow sets. Then serve or store.
Top Tips for Perfect Spiderweb Cookies
I’ve made these a dozen times, and here’s what I’ve learned:
- Measure flour correctly. Spoon it into the cup and level off. Scooping packs it down and gives you too much flour, which makes dry cookies.
- Don’t overbake. Check at 10 minutes. The edges should be golden, the centers slightly underdone. They’ll set as they cool.
- Let marshmallow cool before handling. It’s tempting to dive in, but hot marshmallow will burn your fingers. Wait until it’s warm, not hot.
- Work in batches. If you’re making a big batch, reheat the marshmallow as needed. It thickens as it sits.
- Chill if it’s hot out. If your kitchen is warm, pop the finished cookies in the fridge for 5 minutes to set the web.
One more thing: if your marshmallow web looks more like a puddle than a web, just call it “abstract art.” It still tastes amazing, and nobody will complain.
Variations & Substitutions
This recipe is flexible. Here are a few ways to switch it up:
- Use dark chocolate chips for a more intense flavor. I prefer 60% cocoa solids.
- Swap milk chocolate if you want a sweeter cookie. Works great.
- Add a pinch of salt on top before baking for a sweet-salty contrast.
- Use black cocoa powder for an even darker, more dramatic cookie. It’s less bitter than you’d think.
- Make sugar cookies as the base instead of chocolate. The marshmallow web works on any cookie.
These are all optional, of course. The base recipe is solid as is.
How to Store & Freeze Leftovers
Store cooled cookies in an airtight container in a single layer with parchment or wax paper between layers. They’ll stay fresh for up to 4-5 days at room temperature. If it’s humid, keep them in the fridge to prevent the marshmallow from getting too sticky.
To freeze, place the baked cookies (without marshmallow) in a freezer-safe container for up to 3 months. Thaw at room temperature, then add the marshmallow web fresh. You can also freeze the dough balls for up to 3 months. Bake from frozen, adding 1-2 minutes to the bake time.
I usually freeze a batch of dough balls so I can bake fresh cookies whenever I need them. It’s a lifesaver for last-minute parties.
Frequently Asked Questions
More Halloween Cookie Recipes
If you love these double chocolate spiderweb cookies, you might also enjoy:
- Classic Sugar Cookies with royal icing webs
- Peanut Butter Spider Cookies with chocolate legs
- Chocolate Crinkle Cookies that look like cracked earth
But honestly, these spiderweb cookies are the showstoppers. They’re the ones people take pictures of before they eat.
You’re about to be the hero of the dessert table. I promise.
If you make these, I’d love to see them. Tag me or share your photos I’m always inspired by what you create. And if you need more ideas, follow me on Pinterest for more easy, beautiful recipes.
Double Chocolate Spiderweb Cookies
Ingredients
Method
- Preheat the oven to 350 degrees F. Line a baking sheet with parchment paper or a silicone baking mat.
- Using a hand mixer or stand mixer, cream together the butter, brown sugar, and granulated sugar for about 2 minutes until light and fluffy. Add the eggs and vanilla extract and mix until combined.
- In a separate bowl, whisk together the flour, cocoa powder, baking soda, and salt. Add the dry ingredients to the butter mixture and mix on low speed until just combined. Be careful not to overmix. Fold in the chocolate chips.
- Using a 2-ounce cookie scoop or a 1/4 cup measure, scoop dough balls and place 6 cookies at a time onto the prepared baking sheet, spacing them about 2 inches apart.
- Bake for about 12 minutes. It is better to underbake slightly than overbake. Let the cookies cool on the baking sheet for 2-3 minutes, then transfer to a wire rack to cool completely.
- Place the mini marshmallows in a microwave-safe bowl. Microwave for 45 seconds to 1 minute.
- Remove the bowl and stir the marshmallows. Microwave in additional 15-second increments until fully melted and smooth, stirring between each.
- Let the melted marshmallows cool slightly until they are warm but not too hot to handle. If they start to harden, reheat in the microwave in short bursts until melted again.
- Test a small amount on your fingers to ensure it's not too hot. Using both hands, pinch a small amount of the melted marshmallow between your thumb and forefinger.
- Pull your fingers apart to create thin strands of marshmallow. Stretch these strands over each cookie, rubbing your fingers around the edge to help the marshmallow stick and separate from your fingers.
- Repeat with each cookie, reheating the marshmallows as needed to keep them pliable.
Nutrition
Notes
Tried this recipe?
Let us know how it was!Source: Nutritional Information















3 Responses
Perfect treat for my kid’s Halloween party! Used semi-sweet chips and they weren’t too sweet. The marshmallow web held up nicely even after an hour on the table. Will definitely make again.
I made these for a Halloween bake sale and they were a huge hit! The marshmallow web was way easier than I expected. I did find the cookies spread a bit more than I’d like though—should I chill the dough for a few minutes next time?
Great question, Sarah! These cookies do spread a bit because there’s no chilling step. If you want them thicker, pop the scooped dough in the fridge for 15-20 minutes before baking. That should help keep them more bakery-style!