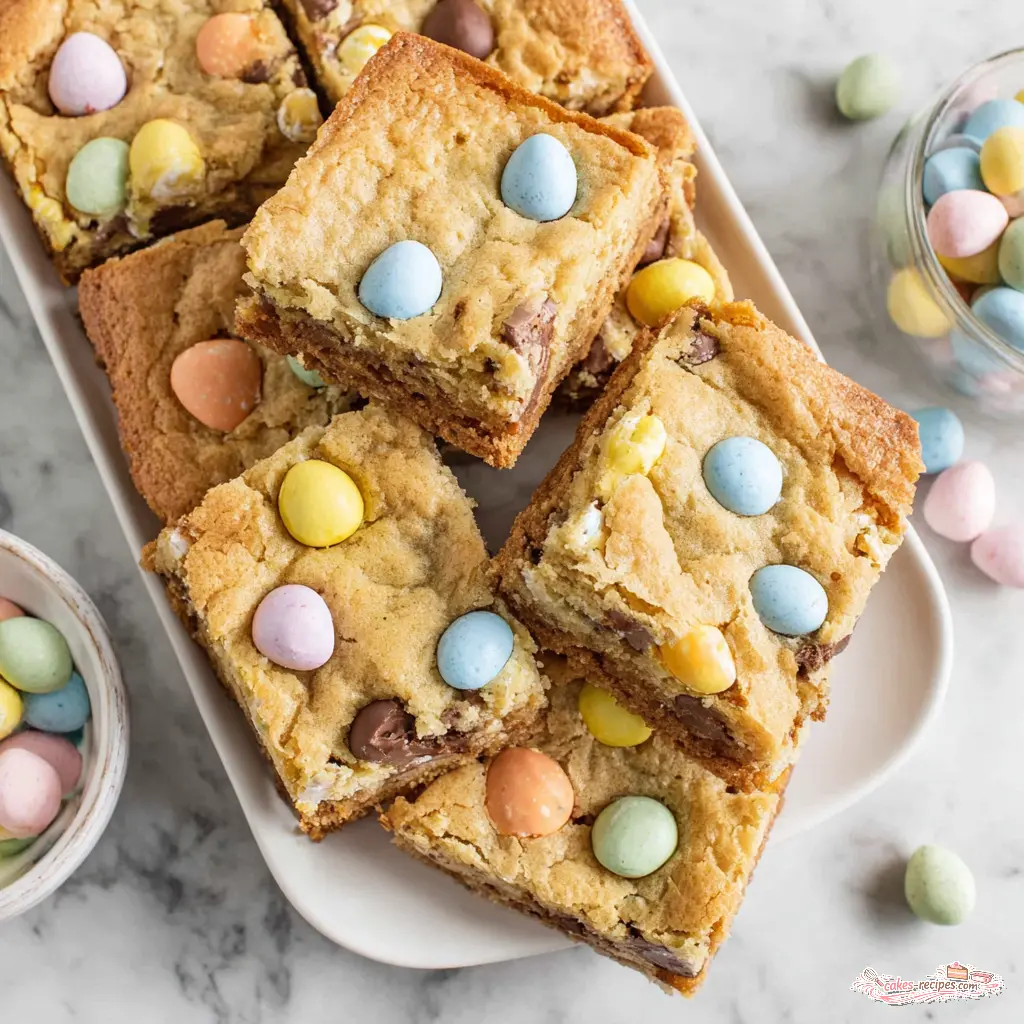
Why You Will Love These Easter Mini Egg Cookie Bars
I know you’re here because you want the ultimate Easter dessert – the one that disappears before you can even slice it. These easter mini egg cookie bars are exactly that. They’re soft, buttery, and loaded with crunchy candy shells and pockets of melted chocolate.
Here’s the deal. I’ve made a lot of cookie bars in my time. Some were too dry, some were too cakey. These? They hit that perfect sweet spot. The edges get slightly golden and crisp, but the center stays soft and chewy. That’s what you want.
And the best part? You don’t need a mixer. No question. A bowl and a sturdy spoon will get the job done. That’s the move for a busy Easter weekend when you’ve got a million other things to prep. These are truly easy cookie bars that look like you spent way more effort than you actually did.
My wife’s family comes over every Easter Sunday, and I’m always responsible for dessert. Her mother is very particular about sweets – she wants them ‘authentic and homemade.’ Last year I made these mini egg cookie bars, and she asked for the recipe. From her, that’s a five-star review.
So whether you need easter treats for kids, a crowd pleaser dessert for a party, or just something to snack on while you hide eggs in the backyard, these bars deliver.
Ingredients
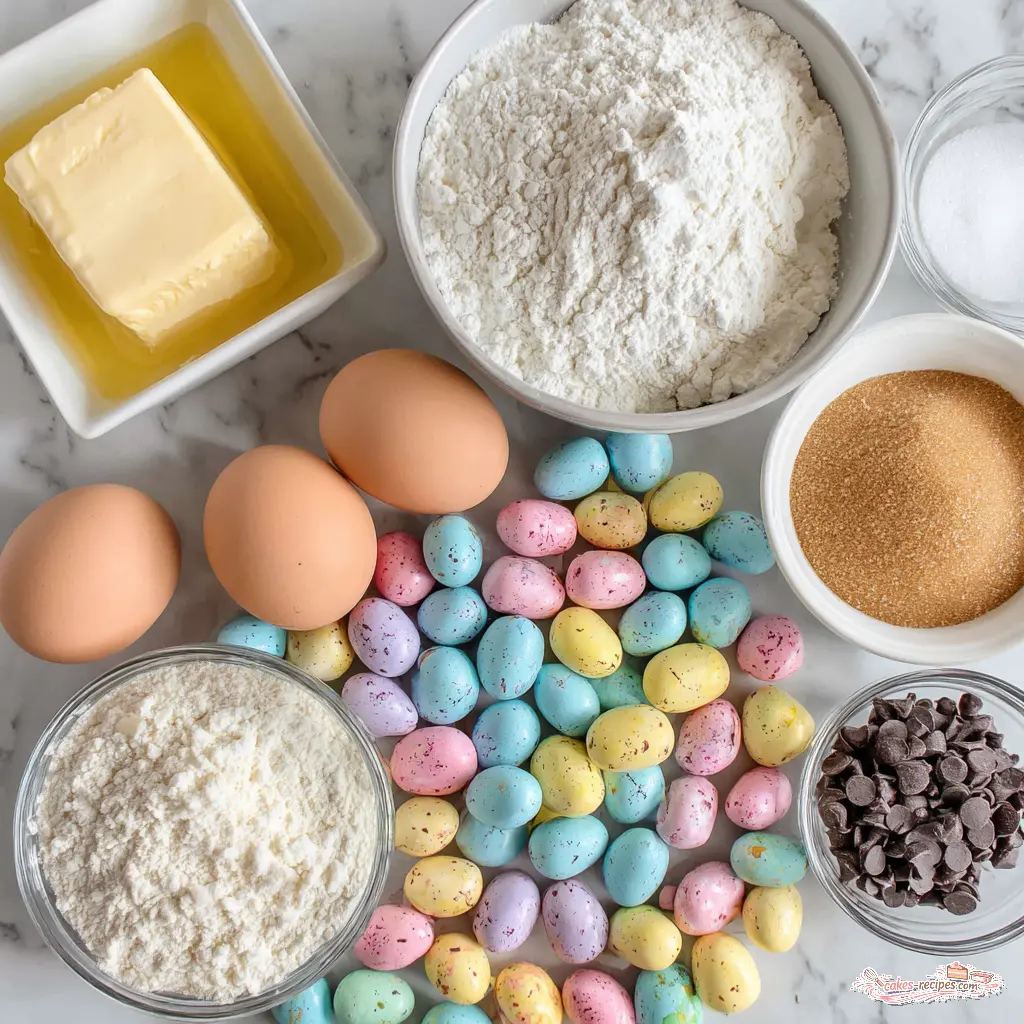
The ingredient list is short and sweet. You probably have most of this in your pantry already. That’s what I love about these homemade easter desserts – no fancy shopping trips required.
- Unsalted butter – Make sure it’s softened, not melted. Room temperature is key. If you only have salted butter, just reduce the added salt to 1/4 teaspoon.
- Brown sugar and granulated sugar – The brown sugar gives that deep, molasses flavor and keeps the bars soft. The granulated sugar helps with browning.
- One large egg – Room temperature. Cold egg can seize the butter.
- Vanilla extract – I once forgot the vanilla – it still worked, but don’t be me. Use real vanilla if you’ve got it.
- All-purpose flour – For best results, stir the flour first to aerate it, then scoop into your measuring cup and level with a knife. Scooping straight into the bag packs in extra flour and makes dry cookie bars.
- Cornstarch – This is the secret to soft, chewy bars. It tenderizes the gluten.
- Baking soda and salt – Standard leavening and flavor enhancers.
- Milk chocolate chips – Half a cup for pockets of creamy sweetness.
- Easter mini eggs – A full cup. I like Cadbury or Lindt. The colorful shells add crunch and festive color.
Fair enough – you might be wondering about the cornstarch. Most of the time, people skip it. But that’s a mistake. It’s what makes these buttery cookie bars stay soft for days.
How to Make Easter Mini Egg Cookie Bars
This is where the magic happens. The process is straightforward, but I’ll walk you through each stage so you get perfect texture every time.
Stage 1: Cream the Butter and Sugars
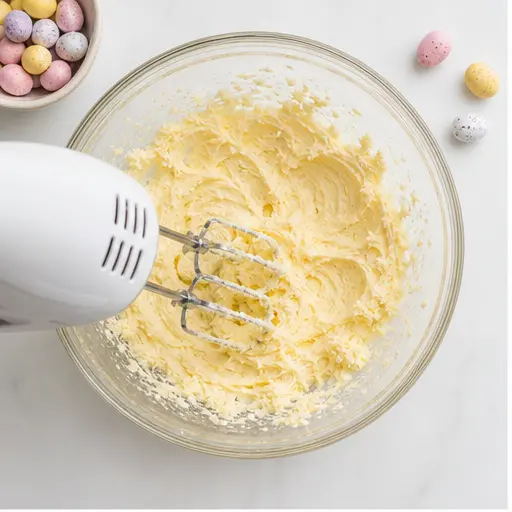
In a large bowl, cream together the softened butter, brown sugar, and granulated sugar. You want this to go for about 3 minutes until it’s light and fluffy. I use a hand mixer, but a stand mixer with the paddle attachment works great too. Or just a sturdy spoon and some elbow grease – that’s fine.
The mixture should look pale and almost doubled in volume. That’s how you know you’ve got enough air incorporated. In my experience, this step matters more than people think. It’s the foundation for a tender bar.
Stage 2: Add the Egg and Vanilla
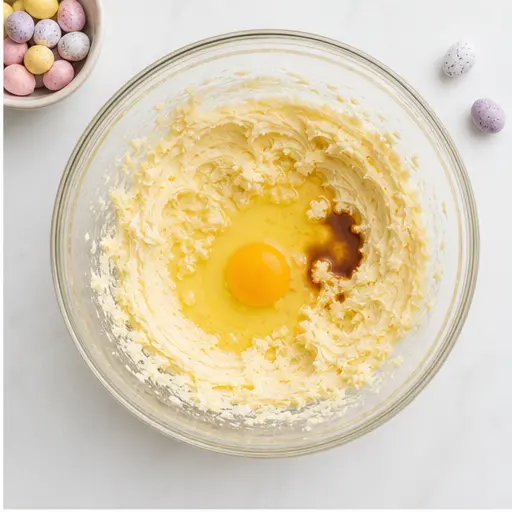
Add the egg and vanilla extract, mixing until well combined. Don’t overbeat here. You just want everything incorporated. The batter will look smooth and glossy at this point.
Straight up, this is the easiest part. Just make sure your egg is at room temperature. Cold egg can make the butter seize up, and then you’ve got lumpy dough. Not the end of the world, but not ideal.
Stage 3: Fold in the Dry Ingredients and Mix-Ins
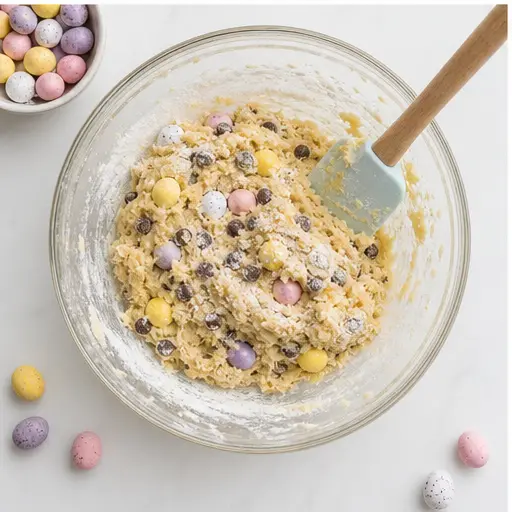
Gently fold in the flour, cornstarch, baking soda, and salt. Only mix until just incorporated – you don’t want to develop too much gluten. Then fold in the milk chocolate chips and Easter mini eggs.
This works for me: I fold by hand with a rubber spatula. It gives me more control. Overmixing leads to tough bars, and nobody wants that.
The mini eggs added to the batter won’t be very visible because they’re heavy and the batter rises around them. That’s why I like to save a handful to press on top before baking. It makes for a prettier presentation.
Stage 4: Press, Bake, and Cool
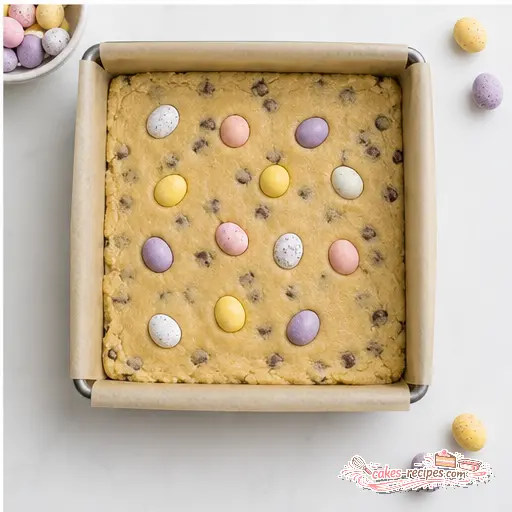
Press the cookie dough evenly into your prepared pan. For thicker bars, use the 8×8 inch pan. For slightly thinner bars that bake a bit faster, use the 9×9 inch pan. Both work.
Press a few extra mini eggs onto the top of the dough before baking. Bake for 18 to 22 minutes, until the edges are lightly golden and the center is still soft. The bars will continue to set as they cool. Underbaking slightly ensures a chewy texture.
Let the bars cool completely in the pan on a wire rack. This is important. Cutting them while they’re warm will give you a crumbly mess. Trust me, I learned that the hard way.
For clean slices, use a plastic knife or a knife dipped in hot water and wiped dry. That’s the move for perfect squares.
Tips for Perfect Cookie Bars
These tips come from years of trial and error. Some of them I learned from my uncle Sal, who ran a diner in Queens. He’d say ‘You gotta feel it, Danny.’ But I’ll give you the specifics.
Texture Targets
What to look for: The edges should be lightly golden and set. The center should look slightly underdone – it will still jiggle a tiny bit when you shake the pan. That’s perfect. The residual heat will finish the job as it cools.
What to smell: You’ll smell the butter and vanilla first, then the toasty brown sugar notes. When you can smell the chocolate chips melting, they’re close to done.
What to listen for: Honestly, not much. But if you hear sizzling, the butter might be separating. Lower your oven temp next time.
- Butter temperature is key. Softened means you can press your finger into it and leave an indent, but it’s not melted. Melted butter makes greasy, flat bars.
- Don’t overmix the dough. Once the flour goes in, mix just until you can’t see dry streaks. Overworking develops gluten and makes tough bars.
- Underbake slightly. I know it’s tempting to leave them in until they look fully set. But they’ll keep cooking from the pan’s residual heat. Take them out when the center is still soft.
- Use a plastic knife for cutting. It won’t tear the bars like a metal knife can. Alternatively, dip your knife in hot water and wipe it dry between cuts.
- Chill the dough if it’s warm. If your kitchen is hot (summer baking, anyone?), the dough might be greasy. Pop it in the fridge for 15 minutes before pressing into the pan.
Variations
One of the best things about these chocolate chip cookie bars is how adaptable they are. Here are some ways to switch it up.
- Use different chocolate chips. Swap the milk chocolate for semi-sweet, dark, or white chocolate chips. Each gives a different sweetness level.
- Make them chocolatey. Replace 25g (about 3 tablespoons) of the flour with cocoa powder for a chocolate base. Then add the mini eggs on top.
- Try other candies. Can’t find mini eggs? Use M&Ms, Smarties, Reese’s Pieces, or any chocolatey candy. Just not Creme Eggs – they melt into a gooey mess.
- Add a cheesecake layer. Make half the dough, press it into the pan, then spread a cheesecake filling on top. Bake until set. It’s a whole different dessert.
- Go dairy-free. Use coconut oil instead of butter. The texture will be slightly different, but still delicious.
For spring baking ideas beyond Easter, swap the pastel mini eggs for red, white, and blue M&Ms for the Fourth of July. Or orange and black for Halloween. These sheet pan cookies are a year-round treat.
Storage & Freezing
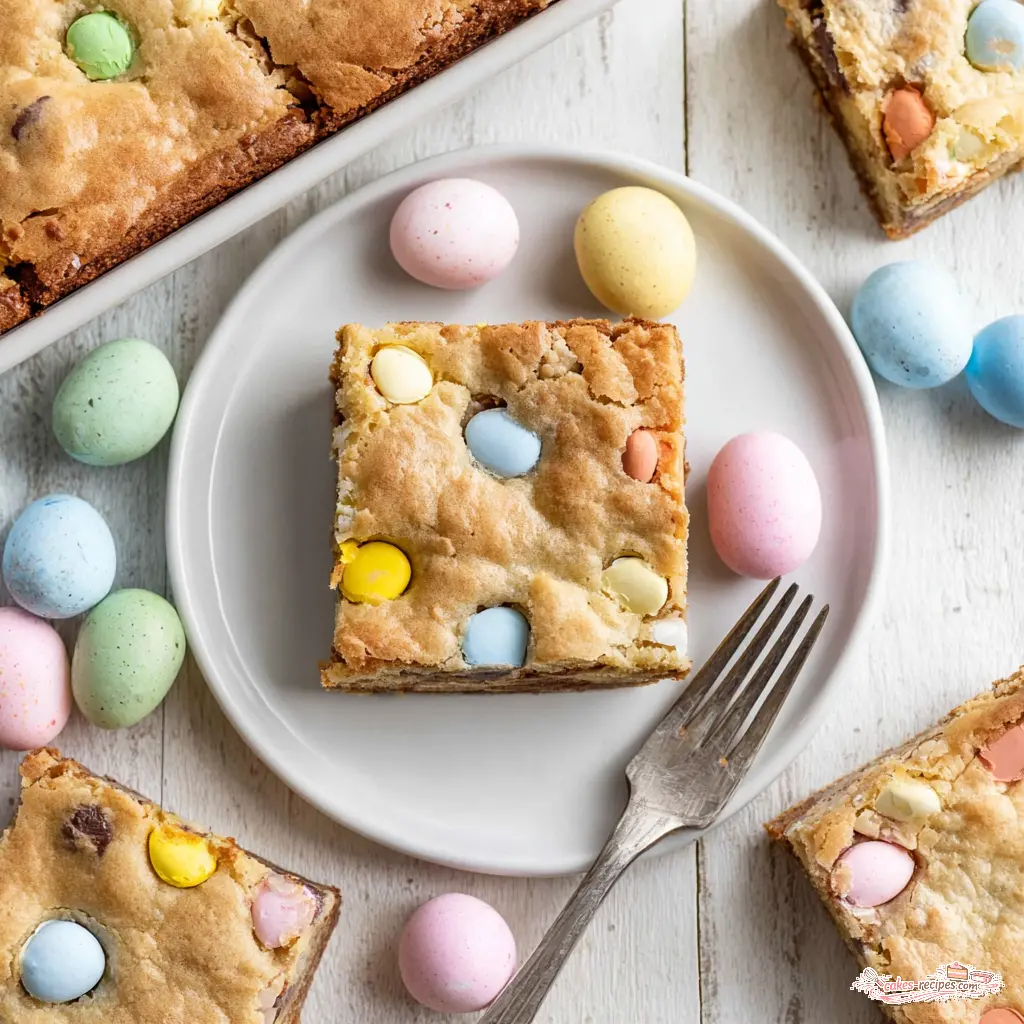
These bars store beautifully, which makes them perfect for make-ahead and meal prep. Here’s what you need to know.
At room temperature: Store in an airtight container for up to 5 days. They’ll stay soft and chewy. If you live in a humid climate, add a piece of bread to the container – it absorbs excess moisture and keeps the bars from getting soggy.
In the refrigerator: They’ll keep for up to 2 weeks. But let them sit out for 15-20 minutes before serving to soften up. Cold bars are firm and less flavorful.
In the freezer: These are freezer friendly cookie bars. Slice them into squares, stack with parchment paper between layers, and store in an airtight container for up to 3 months. Thaw at room temperature for about 30 minutes. Or microwave for 10-15 seconds if you want that gooey, warm cookie experience.
You can also freeze the unbaked dough. Press it into the pan, wrap tightly, and freeze for up to 2 months. Bake straight from frozen, adding 3-5 minutes to the baking time.
Common Questions
Final Thoughts
These easter mini egg cookie bars are everything you want in a spring dessert. They’re easy to make, they look festive, and they taste incredible. The combination of soft, buttery cookie and crunchy candy shells is hard to beat.
I’ve made these for Easter brunch, spring bake sales, and even just for a quiet Sunday afternoon treat. They always get compliments. And honestly? They’re so simple that you’ll find yourself making them year-round, not just for the holiday.
If you try these, tag me when you make them – I can’t wait to see! And if you’re looking for more inspiration, check out my Easter baking board on Pinterest for more festive ideas.
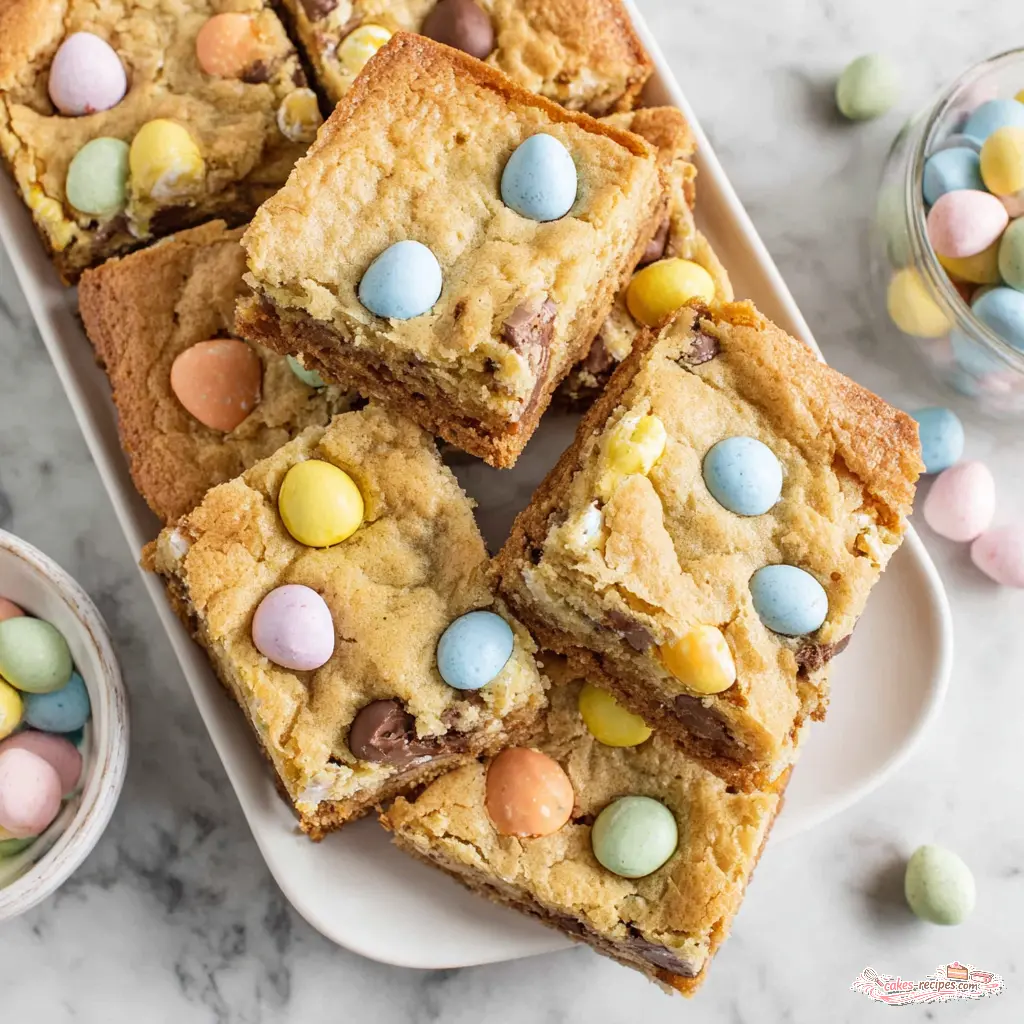
easter mini egg cookie bars
Ingredients
Method
- Preheat your oven to 350 degrees Fahrenheit. Line an 8x8 or 9x9 inch baking pan with parchment paper, pressing it into the corners and up the sides.
- In a large bowl, cream together the softened butter, brown sugar, and granulated sugar for about 3 minutes until light and fluffy. You can use a stand mixer with paddle attachment, a hand mixer, or a sturdy spoon.
- Add the egg and vanilla extract, mixing until well combined.
- Gently fold in the flour, cornstarch, baking soda, and salt until just incorporated. Then fold in the milk chocolate chips and Easter mini eggs, being careful not to overmix.
- Press the cookie dough evenly into the prepared pan. For thicker bars, use the 8x8 inch pan. If desired, press a few extra mini eggs onto the top of the dough before baking.
- Bake for 18 to 22 minutes, until the edges are lightly golden and the center is still soft. The bars will continue to set as they cool; underbaking slightly ensures a chewy texture.
- Let the bars cool completely in the pan on a wire rack, then cut into 16 squares using a plastic knife or a knife dipped in hot water and wiped dry for clean slices.
Nutrition
Notes
Tried this recipe?
Let us know how it was!Source: Nutritional Information