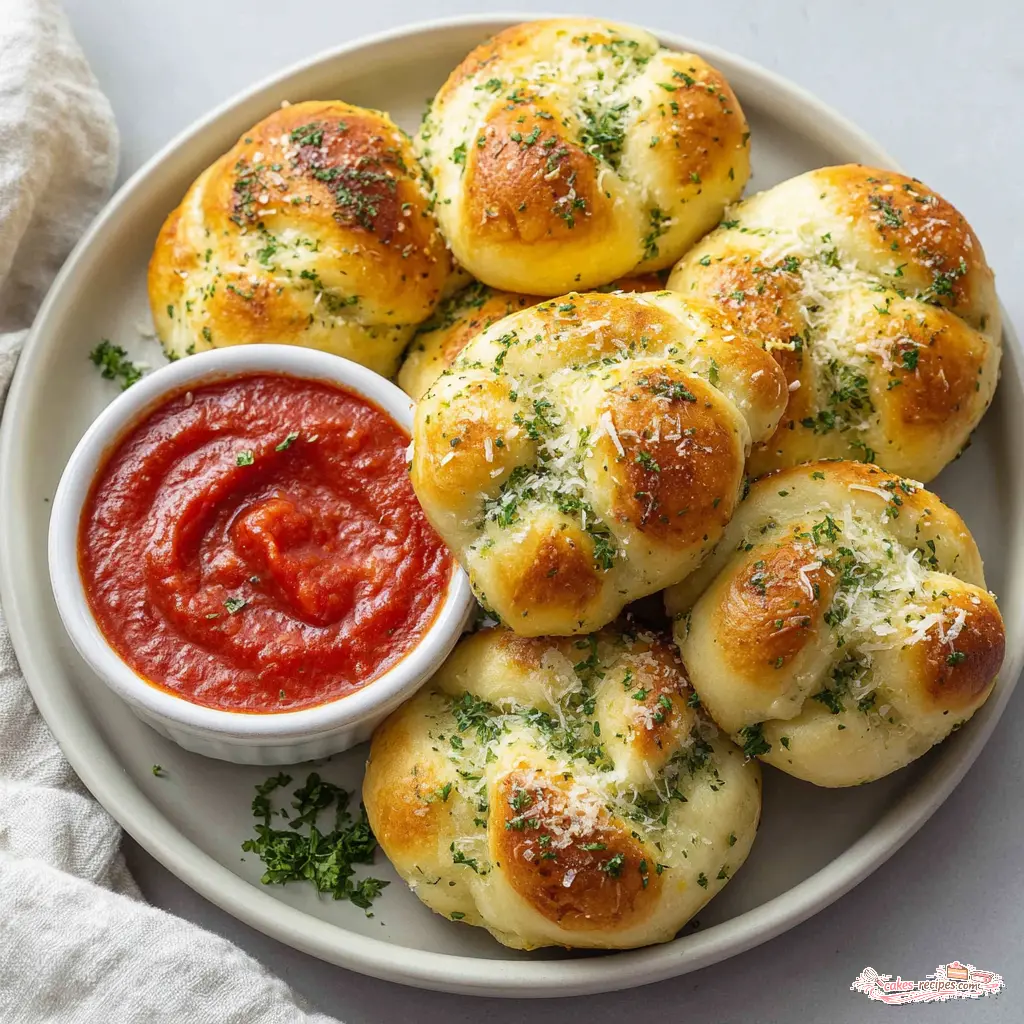
Why This Easy Garlic Knots Recipe Works
Let’s be real I don’t have time to make dough from scratch, and neither do you. Between after-school activities, work stuff, and just trying to get dinner on the table, who has hours to wait for yeast to rise? Not me. That’s why I’m obsessed with this easy garlic knots recipe.
It uses a super simple Greek yogurt dough. No yeast, no waiting, no fuss. You mix it, you knead it for like two minutes, you shape it, and boom soft, buttery garlic knots in 30 minutes flat. How cute is that?
The first time I made these, I actually burned the garlic butter. Like, blackened it in the microwave because I got distracted by my son’s homework. Still tasted amazing. That’s the kind of forgiving recipe this is. You’ve got this.
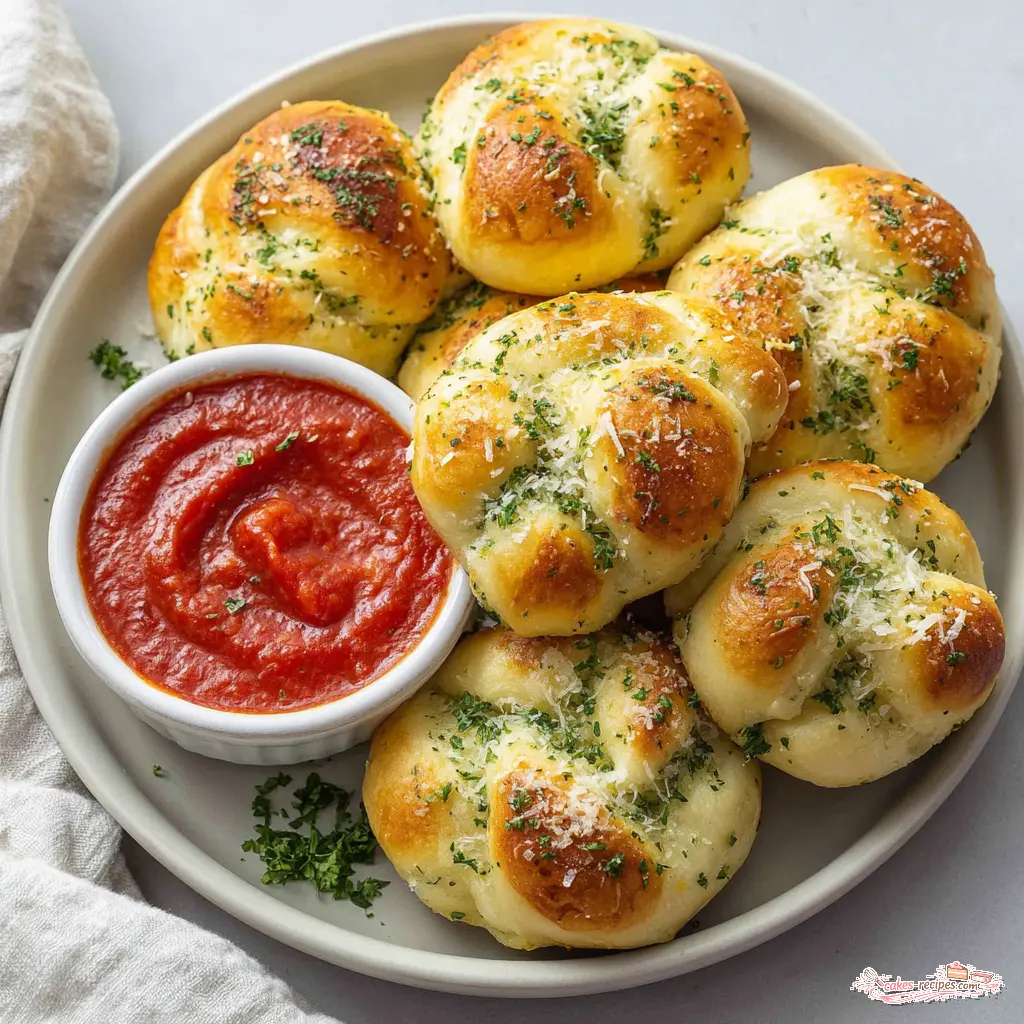
This easy garlic knots recipe gives you that perfect combo: a soft, fluffy interior with a lightly crispy golden exterior. And the garlic butter? Oh my goodness. It soaks into all those little nooks and crannies of the knot shape. Total game changer.
Ingredients You Need
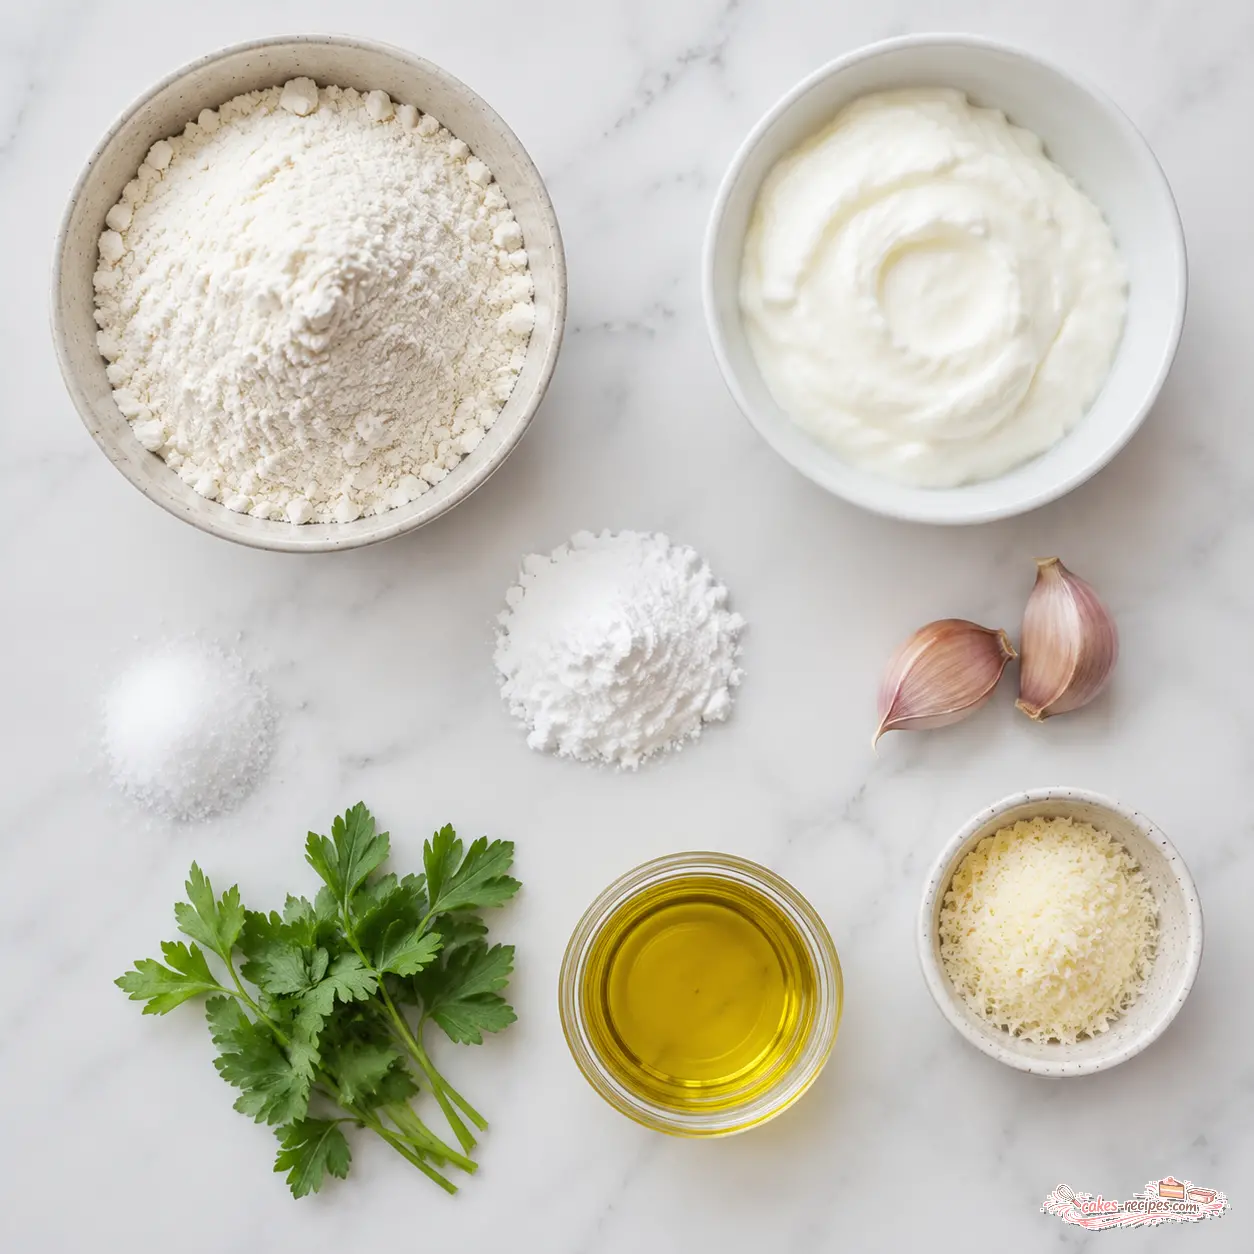
You only need a handful of things for this. Seriously. I love that about this recipe. Here’s what you’ll grab:
For the Dough
- 1 3/4 cups all-purpose flour regular white flour works perfectly
- 1 tablespoon baking powder this is what gives us lift without yeast
- 1 teaspoon salt for flavor
- 1 cup plain Greek yogurt full-fat or 2% works best here, trust me
For the Topping
- 1/4 cup olive oil I like a good California extra-virgin if you have it
- 2 cloves garlic minced fresh, not the jarred stuff if you can help it
- 1 tablespoon fresh parsley chopped, for that pop of green and freshness
- 1 tablespoon Parmesan cheese grated, adds a little salty umami
For Serving
- Marinara sauce for dipping, obviously
That’s it. Three ingredients for the base dough. You can do this with your eyes closed. I tend to keep Greek yogurt in the fridge specifically for this easy garlic knots recipe now. It’s become my go-to.
How to Make Garlic Knots
Okay, so the actual process is super straightforward. I’ll walk you through the four main stages. Each one builds on the last, and honestly, it’s so fun to watch the dough come together.
Stage 1: Mix the Dough
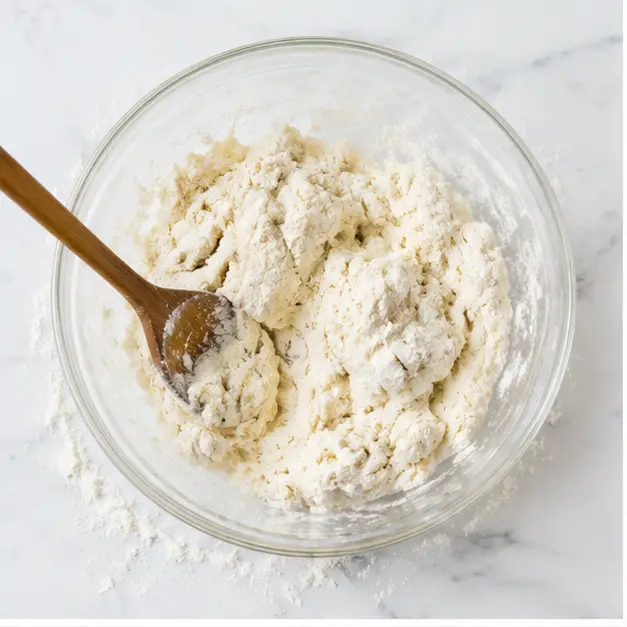
Preheat your oven to 375 degrees F and line a baking sheet with parchment paper. In a large bowl, whisk together the flour, baking powder, and salt. Then add the Greek yogurt and stir until a shaggy dough forms. It’ll look kind of rough and lumpy at first that’s totally normal. Don’t panic.
Stage 2: Knead Until Smooth
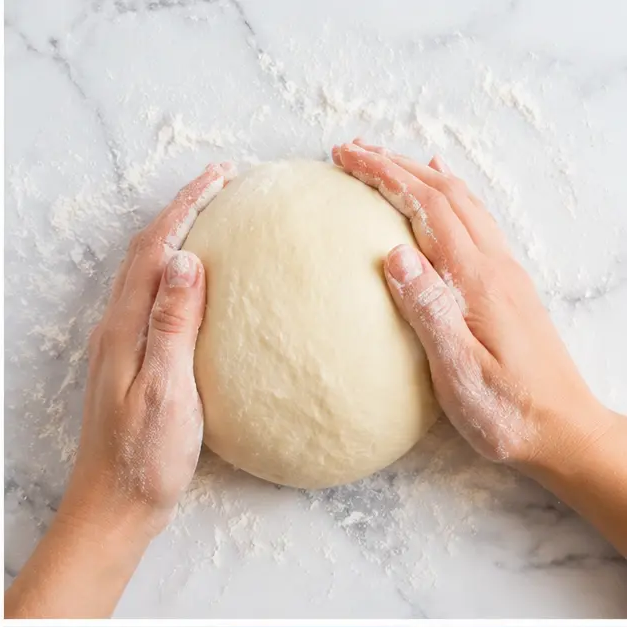
Turn the dough out onto a lightly floured surface. Now here’s the part that makes a difference: knead for about 2 minutes, until it becomes smooth and elastic. It may feel a little sticky at first, but resist adding extra flour unless it’s literally sticking to your hands. That kneading activates the gluten and gives us that soft, fluffy texture. Once it’s smooth, cut the dough into 8 equal portions.
Stage 3: Shape the Knots
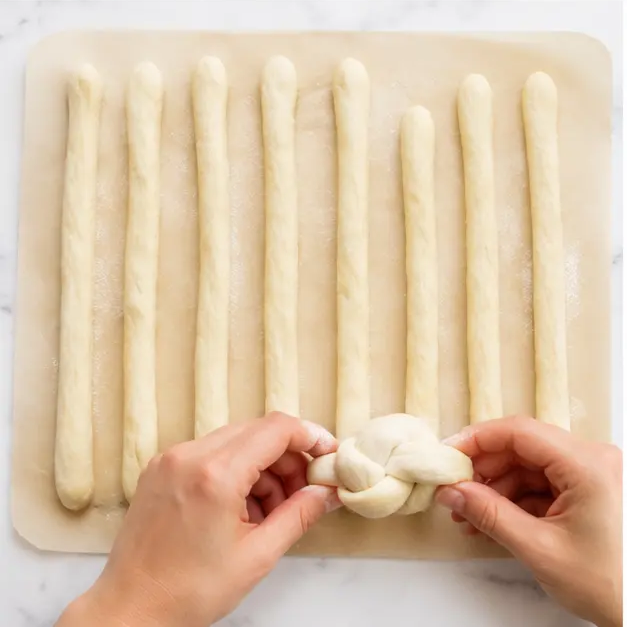
Working one at a time, roll each portion into a 10- to 12-inch long rope. Then tie each rope into a simple knot. Don’t overthink this if they’re not perfect knots, they’re still delicious twists of garlic bread. Keep the knots a little loose because they’ll puff up as they bake. Place each knot on the prepared baking sheet. I love this part; it’s so satisfying.
Stage 4: Garlic Butter and Bake
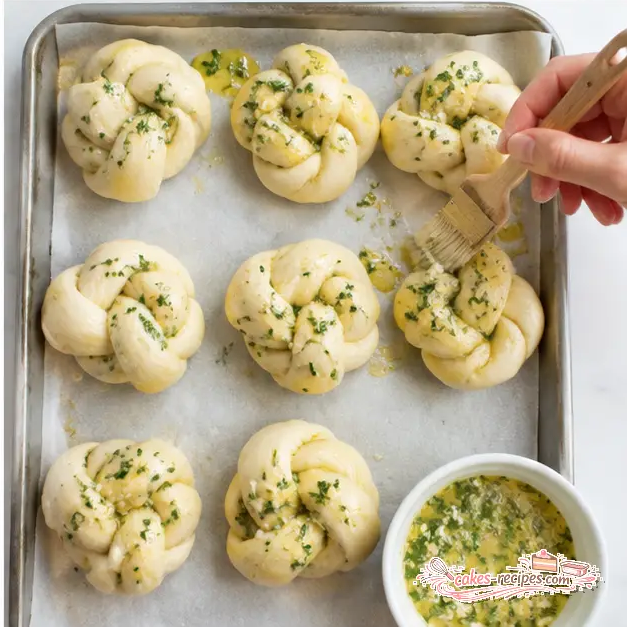
In a small bowl, combine the olive oil, minced garlic, parsley, and Parmesan. Brush this mixture generously over each knot. Don’t be shy with it. Then bake for 15 to 18 minutes, until the knots are puffed and lightly golden. Let them cool for 5 minutes (if you can wait that long), then serve warm with marinara sauce for dipping.
Tips for Perfect Garlic Knots
I’ve made this easy garlic knots recipe more times than I can count, so I’ve picked up a few tricks along the way. Here’s what I’ve learned:
- Knead thoroughly. That 2-minute knead is non-negotiable. It transforms the dough from sticky to silky smooth.
- Don’t tie too tight. Leave a little room in the knot. They expand as they bake, and tight knots can end up dense.
- Brush generously. The garlic butter mixture is where all the flavor lives. Coat every surface. I sometimes save a little extra to brush on right when they come out of the oven.
- Use fresh garlic. I know, I know, jarred minced garlic is convenient. But fresh makes such a difference in this garlic butter recipe.
Flavor Tip
My secret: Save some of the garlic butter to brush onto the knots as they come out of the oven. Then top each with fresh Parmesan and a little extra chopped parsley. The double brush gives you that intense garlic flavor that makes people think you spent way more time than you actually did.
Common Mistakes (And How to Fix Them)
We all mess up sometimes. Here’s what to watch for:
- ❌ Mistake: Adding too much flour at once. The dough might feel sticky initially, but that’s okay. Add flour only if it’s sticking to your hands. ✅ Solution: Knead for the full 2 minutes before deciding if you need more flour. It usually comes together beautifully.
- ❌ Mistake: Tying knots too tightly. Tight knots don’t puff up as nicely. ✅ Solution: Keep them loose and relaxed. Think of it like a loose bow, not a tight knot.
- ❌ Mistake: Not brushing with garlic butter before and after baking. One brush is good, two is amazing. ✅ Solution: Make a little extra garlic butter mixture and do a second brush right when they come out of the oven.
Variations to Try
Once you’ve mastered this easy garlic knots recipe, feel free to play around. Here are some ideas:
- Cheese garlic knots: Sprinkle some extra Parmesan or even a little mozzarella on top before baking. So good.
- Spicy garlic knots: Add a pinch of red pepper flakes to the garlic butter for a little heat.
- Herb garlic knots: Add a teaspoon of dried oregano or basil to the garlic butter along with the parsley.
- Air fryer garlic knots: Cook at 350 degrees F for about 8-10 minutes, checking halfway. They get extra crispy on the outside.
Storage & Leftovers
If you somehow have leftovers (unlikely in my house), here’s how to store them:
- Room temperature: Store in an airtight container for up to 2 days.
- Refrigerator: They’ll keep for up to 1 week in the fridge.
- Freezer: Place cooled knots in a freezer-safe bag for up to 3 months. Thaw in the fridge overnight before reheating.
To reheat: Pop them in a 350 degrees F oven for about 5 minutes. Or use the air fryer at 350 degrees F for 3-4 minutes for a crisp exterior. They taste almost as good as fresh.
What to Serve With Garlic Knots
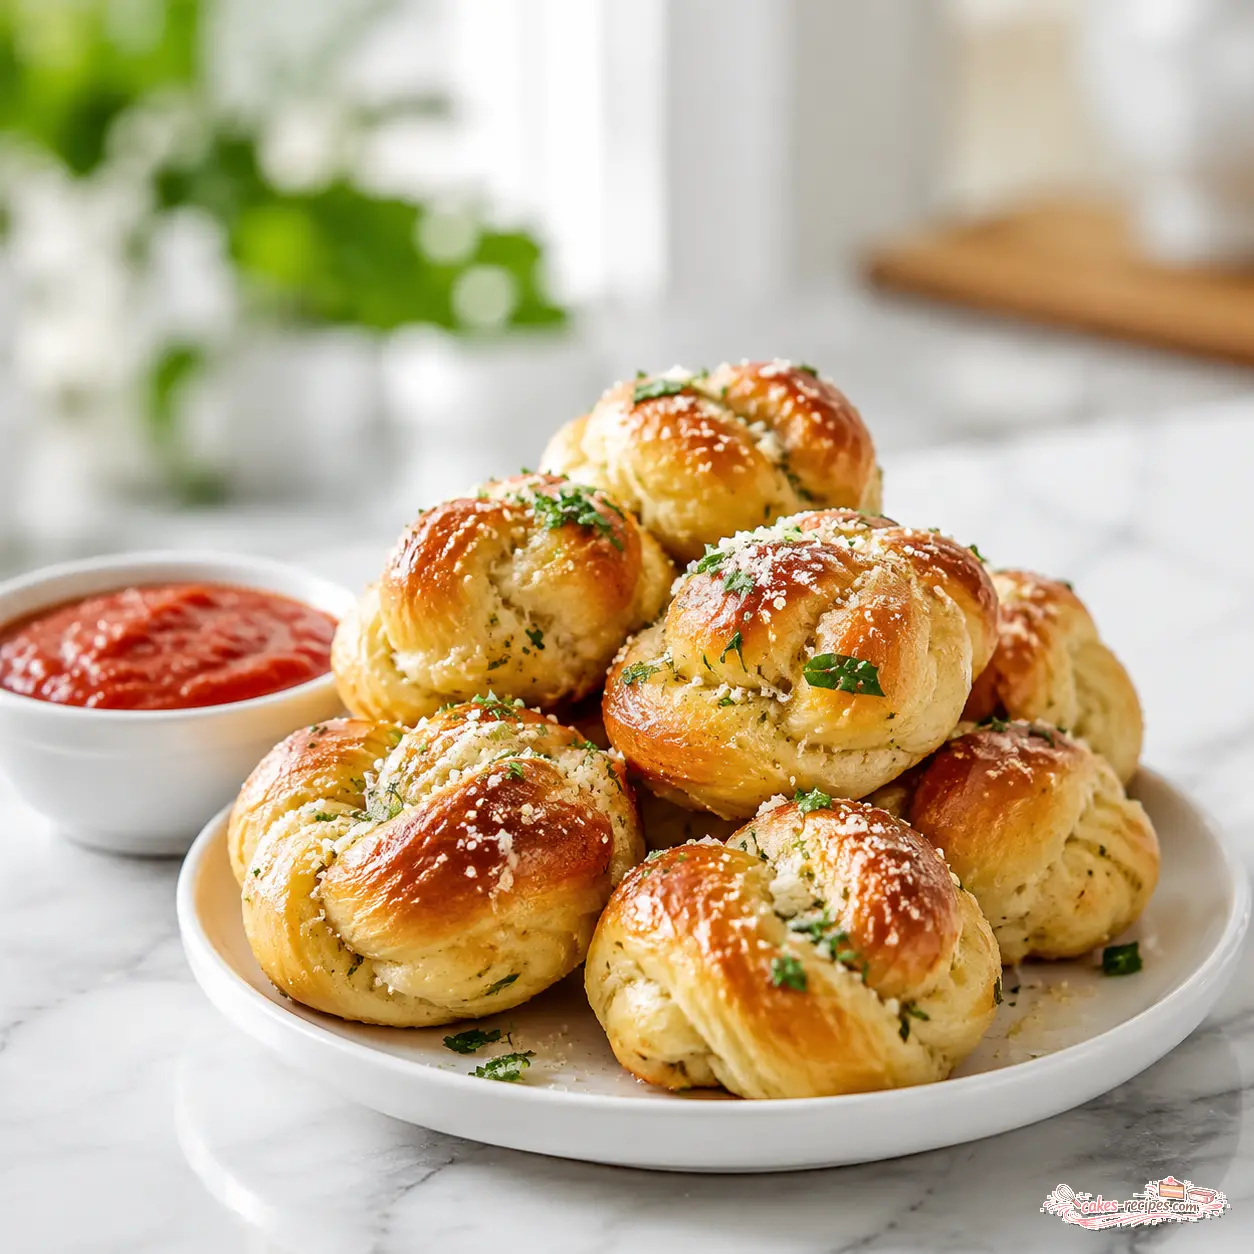
These knots are incredibly versatile. Here are some of my favorite ways to serve them:
- With pasta: They’re the perfect side for spaghetti, lasagna, or any pasta dish.
- With soup: Dip them in tomato soup, minestrone, or a hearty vegetable soup.
- At BBQs: They’re a huge hit alongside grilled burgers, hot dogs, or chicken.
- As a snack: Just warm them up and serve with extra marinara for dipping. Perfect for game day or movie night.
- With salad: A simple green salad and these knots make a light but satisfying meal.
I also love bringing these to potlucks. Everyone thinks you spent hours making them from scratch. Little do they know it took you 30 minutes and zero yeast. Love that for you.
Frequently Asked Questions
Go Make These Garlic Knots
I really hope you try this easy garlic knots recipe. It’s become a staple in my kitchen, and I think it’ll become one in yours too. The smell of garlic butter filling your kitchen? The golden brown knots fresh from the oven? The ‘I can’t believe you made these’ reaction from your family? That’s what it’s all about.
If you make them, tag me or share your photos. I love seeing your creations. And if you’re looking for more inspiration, come follow me on Pinterest where I pin all my favorite quick recipes.
Go make these. Your family will thank you.
Easy Garlic Knots Recipe
Ingredients
Method
- Preheat your oven to 375 degrees F and line a baking sheet with parchment paper.
- In a large bowl, whisk together the flour, baking powder, and salt. Add the Greek yogurt and stir until a shaggy dough forms.
- Turn the dough out onto a lightly floured surface. Knead for about 2 minutes, until it becomes smooth and elastic. Cut the dough into 8 equal portions.
- Working one at a time, roll each portion into a 10- to 12-inch long rope. Tie each rope into a simple knot and place it on the prepared baking sheet.
- In a small bowl, combine the olive oil, minced garlic, parsley, and Parmesan. Brush this mixture generously over each knot.
- Bake for 15 to 18 minutes, until the knots are puffed and lightly golden. Let cool for 5 minutes, then serve warm with marinara sauce for dipping.
Nutrition
Notes
Tried this recipe?
Let us know how it was!More Easy Recipes You’ll Love
- Quick 30-Minute Dinner Rolls
- No-Yeast Pizza Dough
- Easy Cheesy Breadsticks
- 5-Minute Garlic Butter Sauce
Source: Nutritional Information
How do you make easy garlic knots without yeast?
This easy garlic knots recipe uses Greek yogurt and baking powder instead of yeast. The yogurt adds moisture and tang, while the baking powder provides lift. Mix the dry ingredients, stir in the yogurt, knead for 2 minutes, shape, and bake. No rising time needed at all.
Can I use any type of yogurt instead of Greek yogurt for this garlic knots recipe?
Greek yogurt works best because it’s thick and has a higher protein content. Regular yogurt is too thin and will make the dough too sticky. If you only have regular yogurt, you can try straining it through cheesecloth for a few hours to thicken it up.
What can I serve with garlic knots besides marinara sauce?
These knots are great with so many things! Try them with alfredo sauce, pesto, or a simple garlic aioli. They also pair beautifully with soups, salads, or as a side for pasta dishes. For a fun twist, serve them with warm cheese dip.
How long do homemade garlic knots last and how should I store them?
Store leftover garlic knots in an airtight container at room temperature for up to 2 days, or in the refrigerator for up to 1 week. To freeze, place cooled knots in a freezer-safe bag for up to 3 months. Reheat in a 350 degrees F oven for about 5 minutes.
Can I add other herbs to the garlic butter for this easy garlic knots recipe?
Absolutely! While fresh parsley is classic, you can add dried oregano, basil, or thyme to the garlic butter. A pinch of red pepper flakes adds nice heat. Just keep the base of olive oil, garlic, and Parmesan the same for the best results.