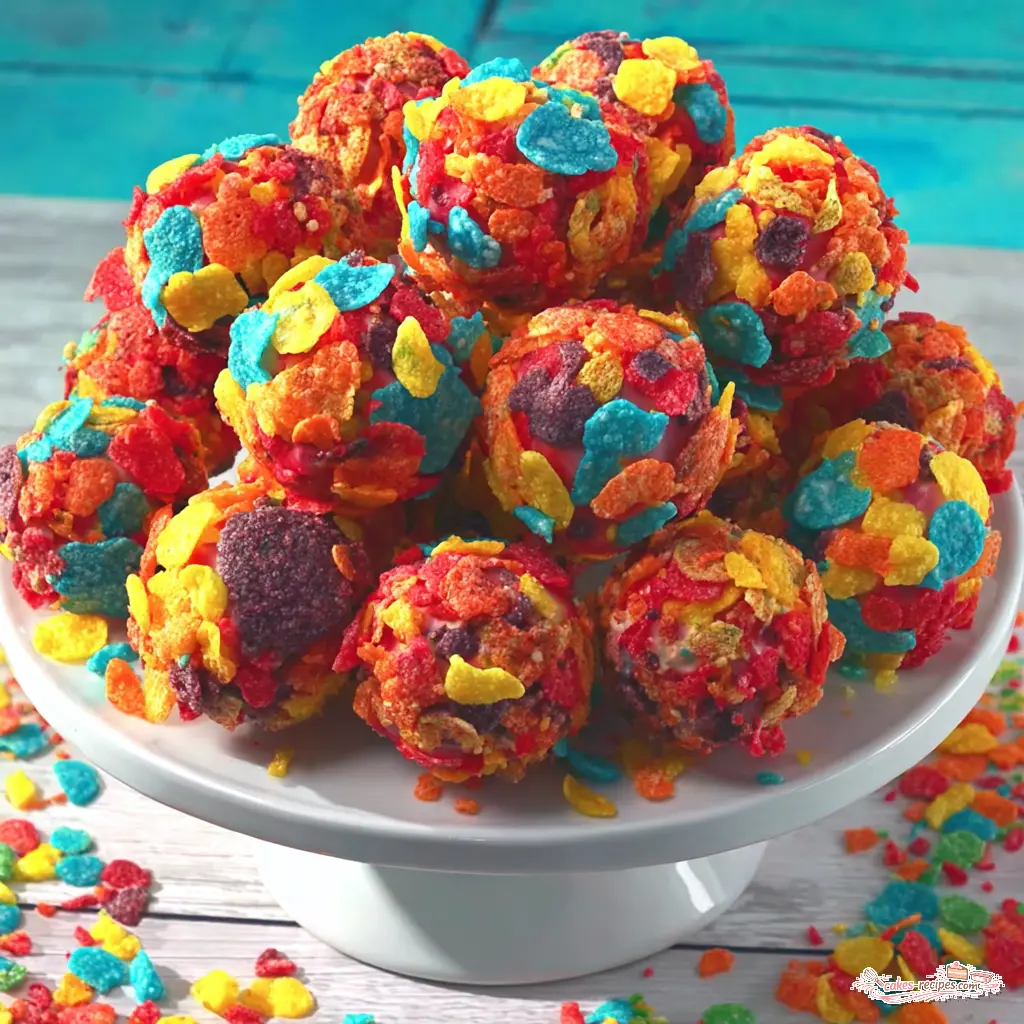
Why You’ll Love These Fruity Pebbles Cake Pops
I made these on a Tuesday night after three back-to-back meltdowns. Not mine, my kids’. But honestly, it could have gone either way. I needed something quick, something fun, something that didn’t require me to be a pastry chef with a side of patience. These fruity pebbles cake pops were the answer. And let me tell you, they saved the day.
Here’s the deal: these are not complicated. You don’t need a stand mixer or a piping bag or any of that stuff that makes baking feel like a science experiment. You need a box of cake mix, a can of frosting, and a bag of Fruity Pebbles cereal. That’s it. The whole thing comes together in about 45 minutes, and most of that is just waiting for the cake to cool and the pops to freeze.
Your kitchen will look like a unicorn exploded. Embrace it. The kids will want to help, which means they’ll eat half the cereal before it ever makes it onto a cake pop. That’s fine. That’s part of the fun. These are colorful, crunchy, and sweet in that nostalgic way that reminds you of Saturday morning cartoons. First crunch like childhood in a bite.
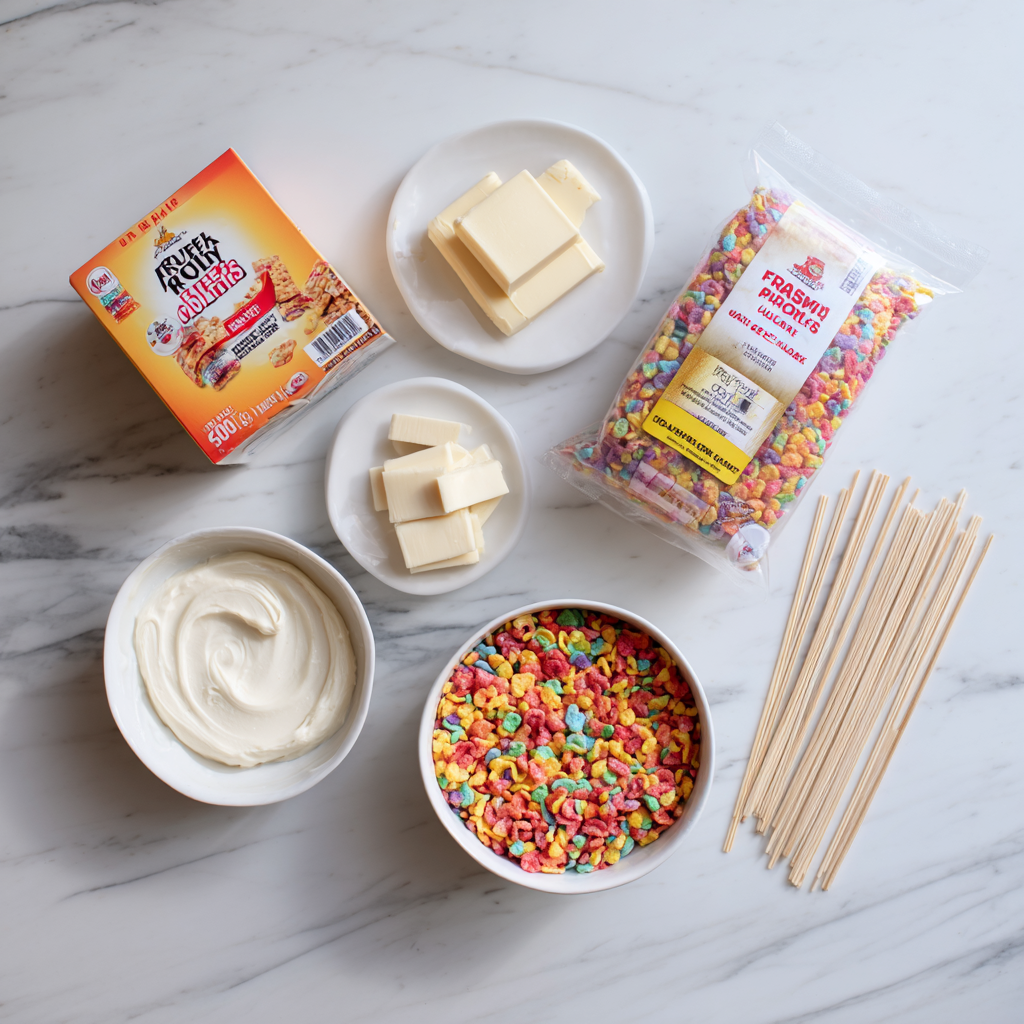
Ingredients You’ll Need
Straight up, the ingredient list for this fruity pebbles cake pops recipe is short. That’s the beauty of it. You probably already have most of this stuff in your pantry.
- Vanilla cake mix One box. Plus whatever the box says you need (usually eggs and oil).
- Vanilla frosting One 16 oz can. You’ll use about three-quarters of it, maybe a little more.
- Fruity Pebbles cereal Five cups total. Two cups get crushed for the coating, the rest is for holding the pops upright and for snacking.
- White chocolate melting wafers One 12 oz bag. These melt smooth and set hard, which is exactly what you want.
- Lollipop sticks or skewers About 12 of them, 6-inch length works best.
That’s it. No question, this is one of the easiest cake pop recipes you’ll ever make. No fancy ingredients, no special tools. Just stuff you can grab at Ralphs or Vons on your way home.
Tips for Perfect Cake Pops
In my experience, cake pops can be finicky. They fall off sticks, they crack, the coating gets lumpy. But I’ve learned a few things over the years, and these tips will save you from the common headaches.
- Don’t rush the cooling. The cake needs to be completely cool before you crumble it. If it’s even a little warm, the frosting will melt and you’ll end up with a sticky mess that won’t hold its shape. This works for me every time.
- Use the right amount of frosting. Start with three-quarters of the can. Mix it in until the crumb holds together when you press it. If it’s too dry, add more frosting a tablespoon at a time. You want it moldable, not wet.
- Freeze them solid. After you insert the sticks, freeze the pops for a full 20 minutes. This is crucial. If they’re not firm enough, they’ll fall off the stick when you dip them. That’s exactly right nobody wants that.
- Crush the cereal fine. Use a food processor if you have one, or a zip-top bag and a rolling pin. You want fine crumbs, not big chunks. The finer the crumbs, the more even the coating.
These tips might seem small, but they make a big difference. Trust me, I’ve learned the hard way.
How to Make Fruity Pebbles Cake Pops
Alright, let’s get into it. I’ll walk you through the major stages. This is not a step-by-step repeat of the recipe card that’s below. This is the why and how, the stuff that makes it work.
Bake and Crumble the Cake
First things first, bake the cake. Preheat your oven to 350°F and bake the vanilla cake mix in a 9×13-inch pan according to the package directions. About 30 minutes, or until a toothpick comes out clean. Let it cool completely. I mean it. Completely. If you try to crumble it while it’s warm, you’ll be sorry.
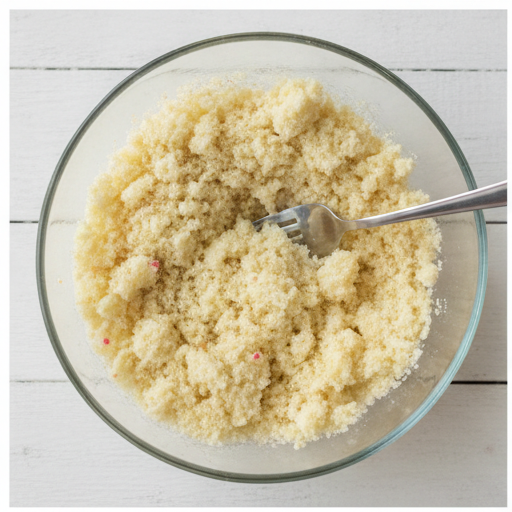
Once it’s cool, crumble it into a big bowl. Use your hands or a fork. You want fine crumbs, not big pieces. Then add the frosting and mix until it all comes together. It should feel like damp sand that holds its shape when you squeeze it.
Roll and Freeze the Balls
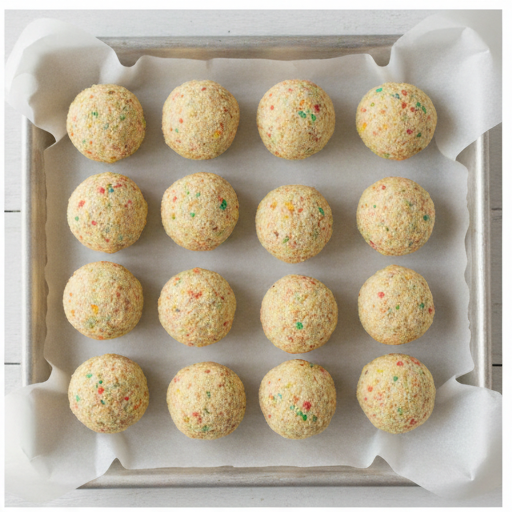
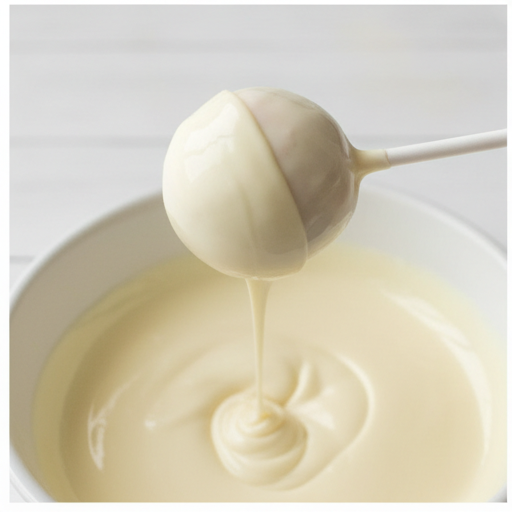
Roll the mixture into 1.5-inch balls. You should get about 15 of them. Place them on a parchment-lined baking sheet. Then melt a quarter cup of the white chocolate wafers in the microwave, 30 seconds at a time, stirring between each burst. Dip the tip of each lollipop stick into the melted chocolate, then insert it halfway into a cake ball. This acts like glue it keeps the pop on the stick.
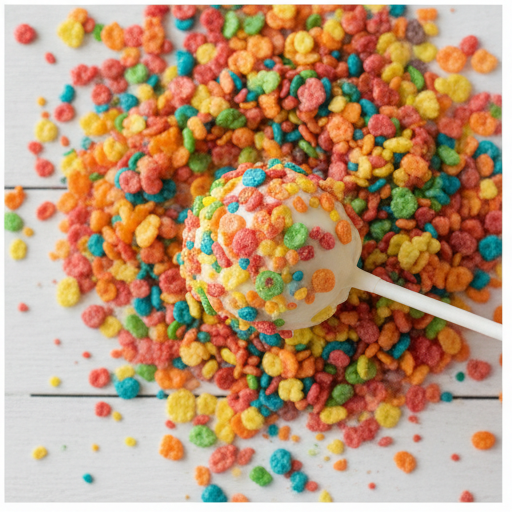
Now freeze them for 20 minutes. While they’re freezing, crush 2 cups of Fruity Pebbles into fine crumbs. Pour the crumbs into a shallow dish. This is the coating, and it’s where all the color and crunch come from.
Dip and Coat
Melt the rest of the white chocolate wafers. Same method 30-second bursts, stirring until smooth. Take a frozen cake pop and dip it into the melted chocolate. Let the excess drip off. Then immediately roll the top half in the crushed Fruity Pebbles. The chocolate acts as the glue, so the cereal sticks right away.
Stick the bottom of each lollipop stick into a tall cup filled with uncrushed Fruity Pebbles to hold it upright while the chocolate sets. This takes about 10 minutes. Perfect texture.
Serve and Enjoy
Once the chocolate is hard, they’re ready. Serve them at room temperature or chilled. Either way, that first crunch is pure magic. The kids will lose their minds. You’ll feel like a rockstar.
Variations and Substitutions
Here’s the thing: this recipe is super flexible. You can change it up without messing with the basic method.
- Different cereal. Try Cocoa Pebbles, Cinnamon Toast Crunch, or even crushed Oreos. The method stays the same, but the flavor changes completely.
- Different cake mix. Use chocolate cake mix instead of vanilla. Or strawberry. Or lemon. Just keep the frosting vanilla for a neutral binder.
- Different coating. If you can’t find white chocolate melting wafers, use almond bark or Candiquick. Both work well.
These are just ideas. The base recipe is solid, so feel free to experiment. That’s the fun part.
How to Store Cake Pops
Store leftover cake pops in an airtight container in the fridge for up to 3 days. The coating stays crunchy, and the cake stays moist. If you want to make them ahead, freeze the undipped cake balls for up to 2 weeks. Then just dip and decorate when you’re ready. That’s the move for party prep.
If you’re serving them at a summer birthday party or a pool day, keep them in the fridge until just before serving. The coating can soften in hot weather, so a little chill helps.
Common Mistakes to Avoid
I’ve made every mistake in the book, so you don’t have to. Here’s what to watch out for.
- ❌ Not freezing the cake pops long enough before dipping. This causes pops to fall off the stick. ✅ Freeze for a full 20 minutes. No shortcuts.
- ❌ Rushing the cooling step before making the dough. Warm cake + frosting = melty mess. ✅ Let the cake cool completely. It’s worth the wait.
- ❌ Using a shallow container for dipping the coating. It can overflow and make a mess. ✅ Use a tall, narrow cup or a deep bowl. It’s easier to dip and less messy.
These are the big ones. Avoid these, and you’re golden.
Frequently Asked Questions
More Treats You’ll Love
If you’re into these fruity pebbles cake pops, you might also like some of my other no-bake and kid-friendly recipes. They’re all about big flavor without the fuss. Check out my Pinterest board for more ideas I’m always adding new stuff.
When you make these, tag me on Pinterest. I need the inspo. Seriously, nothing makes my day like seeing someone’s kitchen covered in colorful cereal crumbs. Follow me on Pinterest for more easy treats.
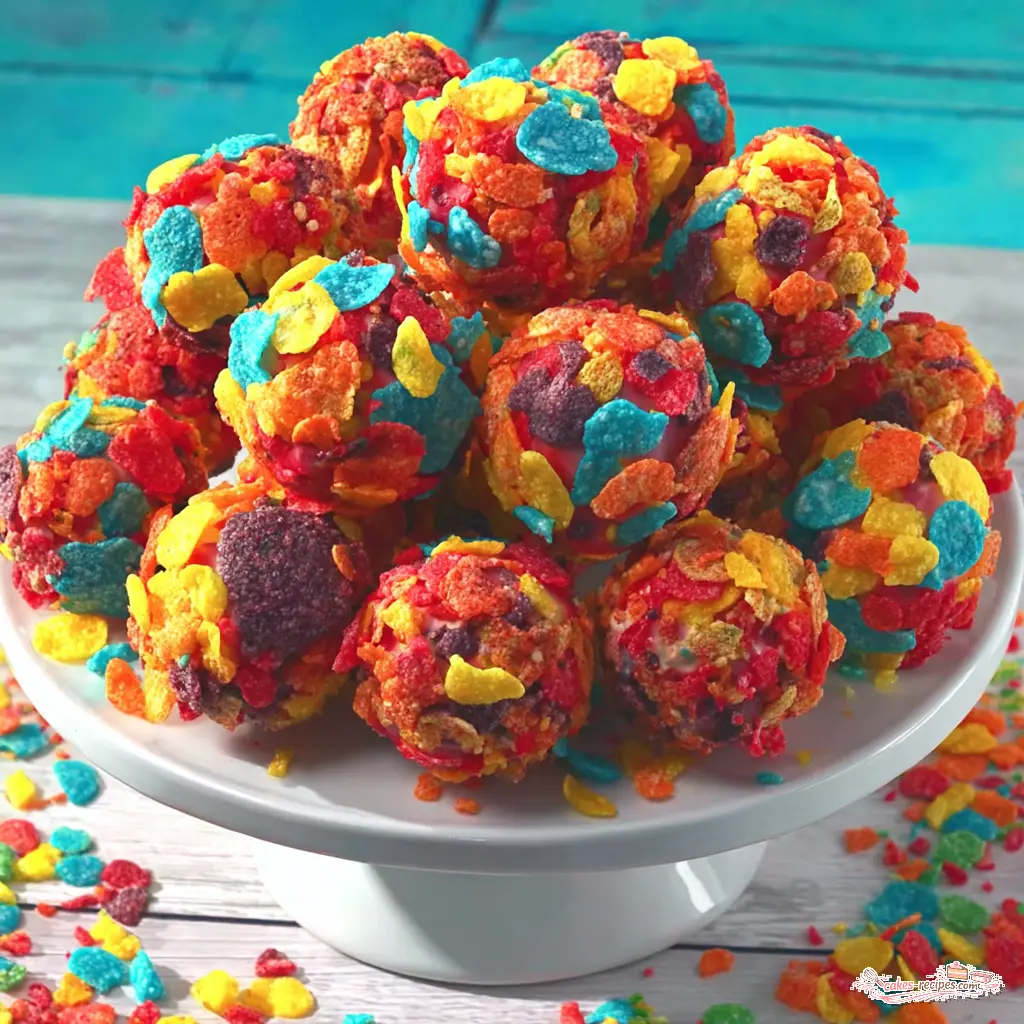
fruity pebbles cake pops
Ingredients
Method
- Preheat oven to 350°F. Prepare the vanilla cake mix according to package directions for a 9x13-inch pan. Bake until a toothpick inserted in center comes out clean, about 30 minutes. Let cool completely.
- Crumble the cooled cake into a large bowl, breaking it into fine crumbs with your hands or a fork.
- Add about 3/4 of the can of vanilla frosting, mixing with a spatula until the mixture holds together when pressed. Add more frosting if needed, 1 tablespoon at a time, until moldable.
- Roll the mixture into 1.5-inch balls and place on a parchment-lined baking sheet. You should get about 15 balls.
- Melt 1/4 cup of the white chocolate wafers in a microwave-safe bowl in 30-second bursts, stirring until smooth.
- Dip the tip of each lollipop stick into the melted chocolate, then insert it halfway into a cake ball. Repeat for all pops.
- Freeze the assembled cake pops for 20 minutes, or until firm.
- While the pops freeze, crush 2 cups of Fruity PEBBLES cereal into fine crumbs using a food processor or by placing in a zip-top bag and crushing with a rolling pin. Pour the crumbs into a shallow dish.
- Melt the remaining white chocolate wafers in a microwave-safe bowl in 30-second bursts, stirring until smooth.
- Dip each frozen cake pop into the melted white chocolate, letting excess drip off. Immediately roll the top half in the crushed Fruity PEBBLES cereal.
- Stick the bottom of each lollipop stick into a tall cup filled with uncrushed Fruity PEBBLES cereal to hold the pop upright while the chocolate sets. Let stand until completely hardened, about 10 minutes.
- Serve at room temperature or chilled.
Nutrition
Notes
Tried this recipe?
Let us know how it was!Source: Nutritional Information
Can I make these with a different cereal?
Absolutely. The method works with any cereal that crushes well. Cocoa Pebbles, Cinnamon Toast Crunch, or even crushed Oreos all work. Just keep the ratio the same 2 cups crushed for the coating, plus extra for holding the pops upright.
Why did my cake pop fall off the stick?
Most of the time this happens because the cake pop wasn’t frozen long enough before dipping. Freeze them for a full 20 minutes. Also, make sure you dip the stick tip in melted chocolate before inserting it that acts like glue.
Can I use chocolate melting wafers instead of almond bark?
Yes. White chocolate melting wafers and almond bark are interchangeable here. Both melt smooth and set hard. Candiquick also works well. Just avoid real white chocolate chips they don’t melt as smoothly and can seize up.