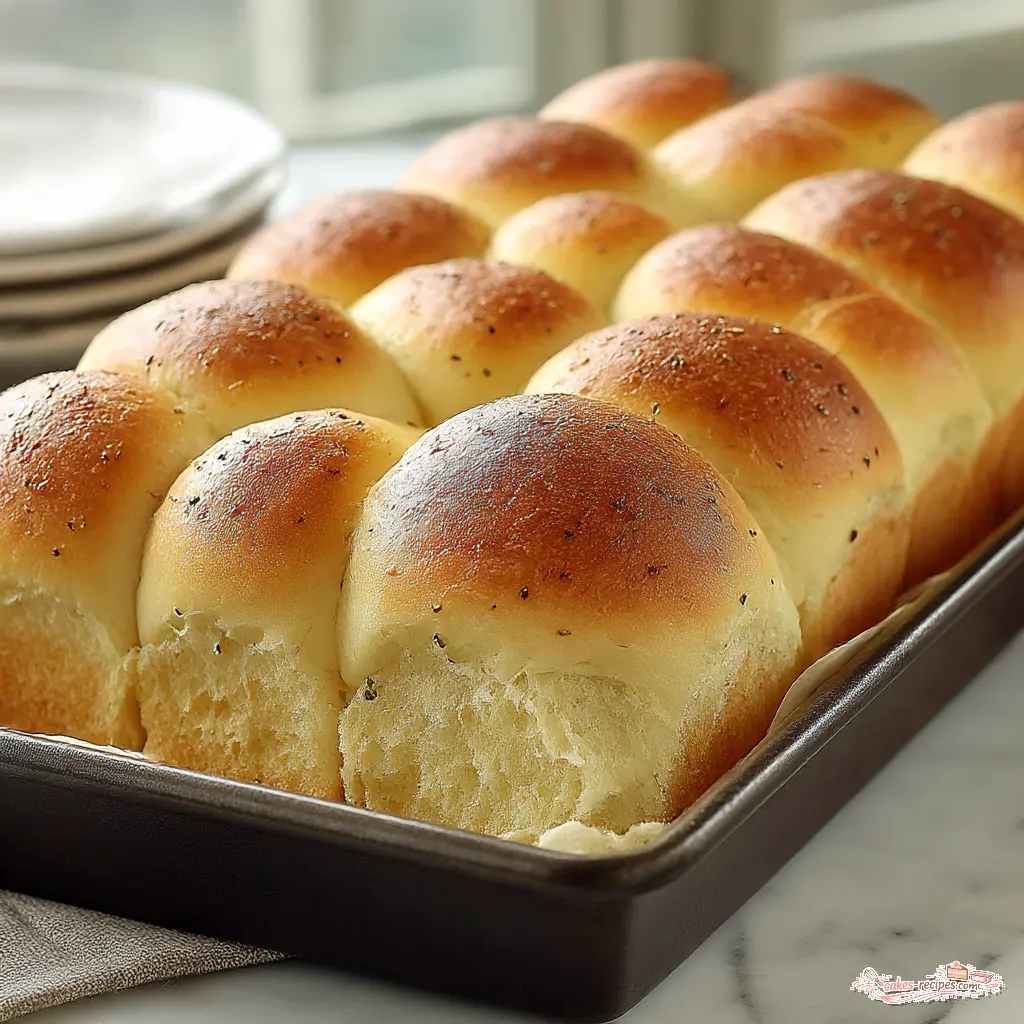
Garlic Herb Bubble Bread Pull-Apart Loaf
Ingredients
Method
- Place the water, sour cream, softened butter, sugar, salt, bread flour, and yeast in a bread machine pan in the order recommended by the manufacturer. Select the dough cycle, then check the dough after about 5 minutes; add 1 to 2 tablespoons of water or flour if the dough looks dry or sticky.
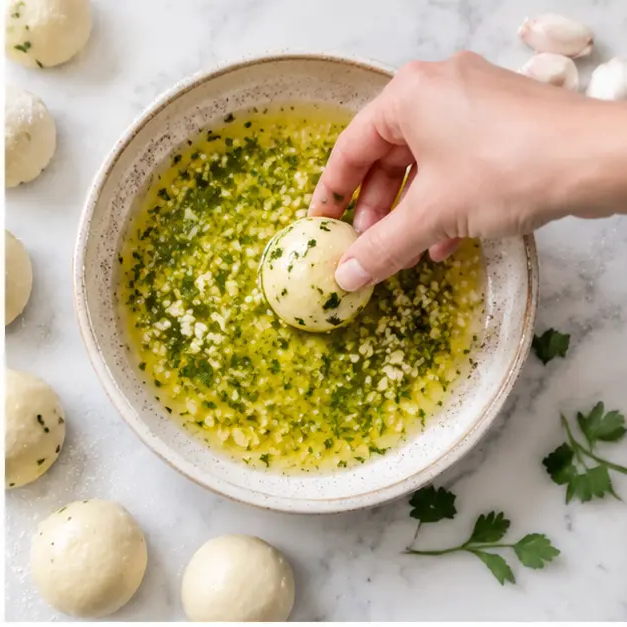
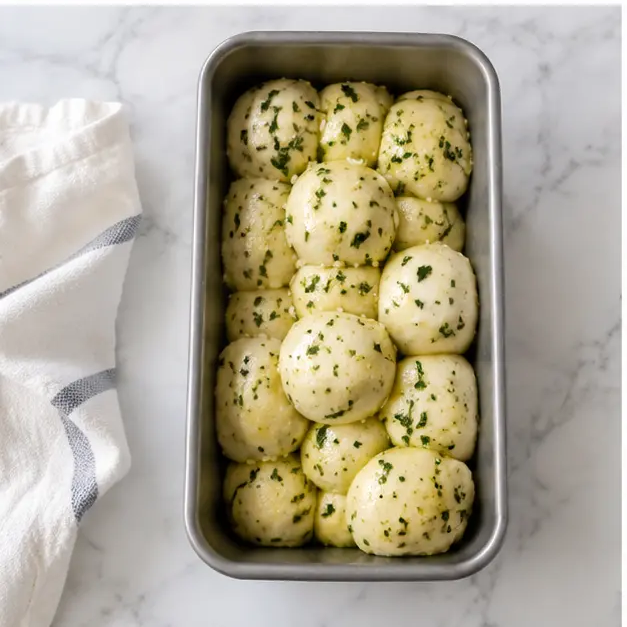
- When the dough cycle finishes, turn the dough onto a lightly floured surface. Cover and let it rest for 15 minutes. Divide the dough into 36 equal pieces and roll each piece into a ball. In a shallow bowl, mix the melted butter, garlic, oregano, thyme, and rosemary. Dip each dough ball into the butter mixture and place it in an ungreased 9x5-inch loaf pan. Cover the pan and let it rise in a warm place until doubled, about 45 minutes.
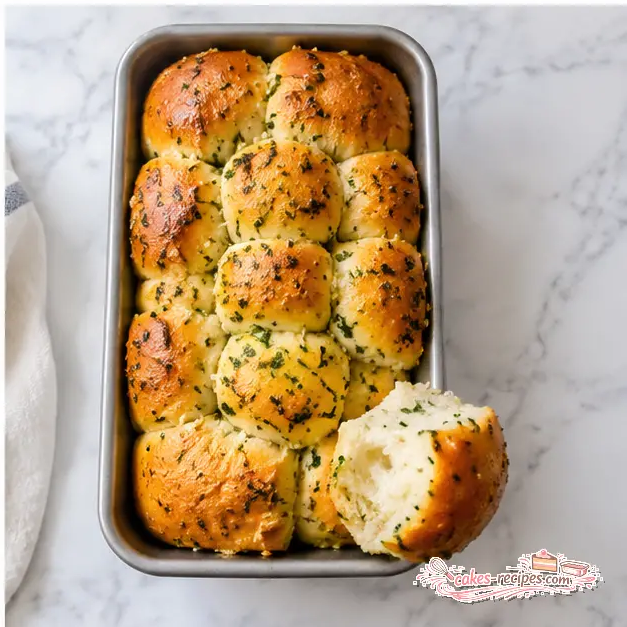
- Bake at 375 degrees F for 35 to 40 minutes, until golden brown. Loosely cover with foil if the loaf browns too quickly. Remove the bread from the pan to a wire rack and serve warm.
Nutrition
Notes
Tried this recipe?
Let us know how it was!Why This Garlic Herb Bubble Bread Works
Still deciding what to bring to the Labor Day cookout? Stop scrolling. This garlic herb bubble bread outshines the burgers every time. Warm, golden, and coated in garlic butter with herbs in every layer, it’s the pull-apart bread your table has been missing. The 6pm scramble is real. You need a side dish, you have 20 minutes of actual effort to spare, and the kids are already circling asking what smells good. This garlic herb bubble bread delivers. Soft, pillowy pieces, each one its own little bubble of dough, all baked into a loaf you tear apart with your hands. I’ve ruined my fair share of bread. Dry, dense, sad loaves that went straight to the compost. This one never fails. The sour cream in the dough keeps every bubble tender, and the garlic herb butter sinks into each piece. Honestly? The hardest part is waiting for this garlic herb bubble bread to cool enough to eat.Easiest Dough Ever: Ingredients and Tips
The dough for this garlic herb bubble bread is beautifully simple. Bread flour, active dry yeast, sour cream, softened butter, a little sugar, and salt. That’s the whole list.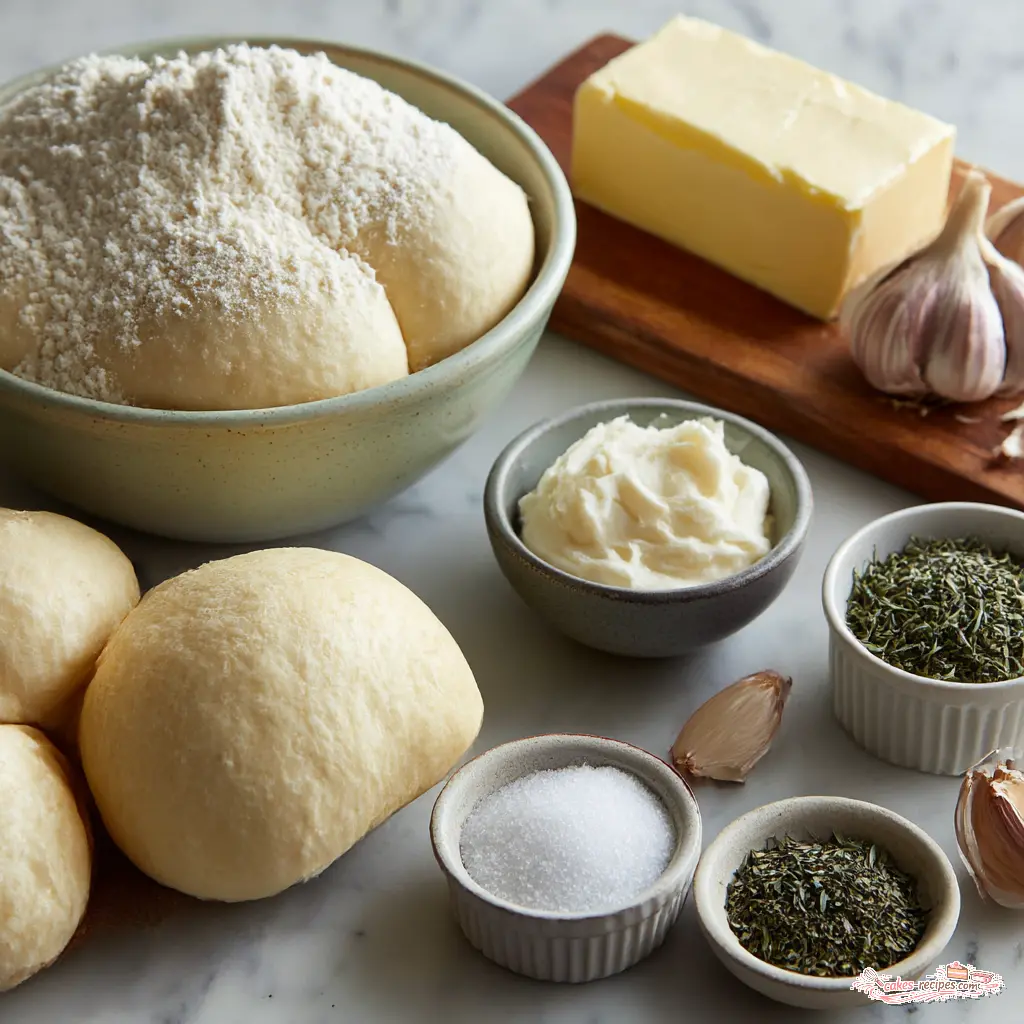 Here’s what I’ve learned testing this recipe:
– **Bread flour matters.** More protein means more structure, which gives you those proper pull-apart layers.
– **Check your water temperature.** Yeast dies above 110 degrees F. I use an instant-read thermometer and never skip this. Cold water slows things down, hot water kills the yeast.
– **Let the sour cream come to room temperature.** Cold sour cream gives you a sluggish rise and dough that fights back.
– **No bread machine?** Mix by hand, knead for 8 to 10 minutes, and let it rise until doubled. Take your time. André used to say dough tells you when it’s ready. You just have to listen.
If you only have salted butter, reduce the added salt to 1 teaspoon. And if you’re a Tuesday-night person, a canned biscuit shortcut makes this garlic herb bubble bread even faster. Cut each biscuit into quarters and follow the same dipping and layering steps. No judgment at all. That’s the smart move, not the lazy one.
Here’s what I’ve learned testing this recipe:
– **Bread flour matters.** More protein means more structure, which gives you those proper pull-apart layers.
– **Check your water temperature.** Yeast dies above 110 degrees F. I use an instant-read thermometer and never skip this. Cold water slows things down, hot water kills the yeast.
– **Let the sour cream come to room temperature.** Cold sour cream gives you a sluggish rise and dough that fights back.
– **No bread machine?** Mix by hand, knead for 8 to 10 minutes, and let it rise until doubled. Take your time. André used to say dough tells you when it’s ready. You just have to listen.
If you only have salted butter, reduce the added salt to 1 teaspoon. And if you’re a Tuesday-night person, a canned biscuit shortcut makes this garlic herb bubble bread even faster. Cut each biscuit into quarters and follow the same dipping and layering steps. No judgment at all. That’s the smart move, not the lazy one.
How to Shape the Garlic Herb Bubble Bread
This is where the garlic herb bubble bread comes together. Four stages, all of them easy. **Stage one: rest and cut.** When your dough cycle finishes, turn it onto a lightly floured surface. Cover it and let it rest for 15 minutes. This relaxes the gluten and makes cutting easier. Then pat it into a rough square and cut it into 36 pieces.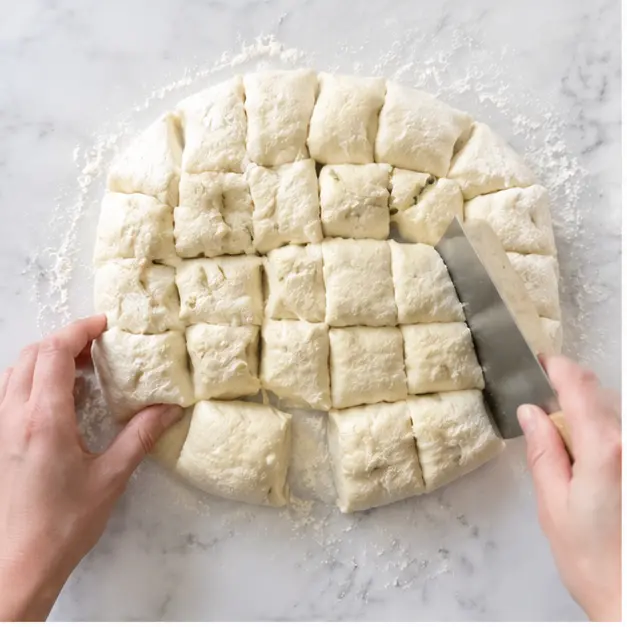
Trust Me on This
Mince, don’t crush. Mince the garlic but don’t pulverize it into a paste. Paste burns in the oven and turns bitter. Small minced bits melt into the butter and get mellow and sweet. I learned this one the hard way, so you don’t have to.
Garlic Herb Bubble Bread Variations
The base garlic herb bubble bread is perfect as-is, but playing around is half the fun. A few options: – **Cheese it up.** Sprinkle shredded mozzarella or parmesan between the layers as you stack. Every pull gets a cheese stretch with it. – **Fresh herbs.** Chop fresh parsley, rosemary, and thyme and stir into the butter instead of dried. Summer herb gardens are overflowing, so use them. – **Italian seasoning.** Swap the three dried herbs for a teaspoon of Italian seasoning. Same flavor family, zero extra thinking. – **Bundt pan.** No loaf pan? Use a bundt pan and double the recipe. Keep the same 375 degree F oven temperature and watch the time carefully if the pan is dark. These are optional additions. The original recipe stands beautifully on its own.How to Serve Garlic Herb Bubble Bread
Serve it warm. That’s the whole secret. Warm pull-apart bread with steam curling up and butter glistening on every bubble. Your kitchen will smell like a bakery decided to open a pizzeria. When you tear off the first piece, the golden strands stretch, and the soft pull of warm dough is pure comfort. This garlic herb bubble bread is the side dish that steals the spotlight. Garlic herb bubble bread works as: – An appetizer with marinara for dipping – A side for soup, chili, or a simple green salad – The carb centerpiece at any BBQ or potluck – A dinner side the kids grab without being asked twice Bring it to your Labor Day table and watch it vanish. You will not have leftovers. I promise.Storing and Reheating Garlic Herb Bubble Bread
Leftovers are rare. But on the off chance you have some, here’s the plan: – **Store** any leftover garlic herb bubble bread in an airtight container at room temperature for up to 2 days. – **Reheat** in a 350 degrees F oven to refresh the crust and soften the interior. – **Don’t microwave it.** Please. The oven takes 5 minutes and keeps the texture right. This pull-apart garlic loaf reheats beautifully. The butter stays in the bread, so each reheated piece tastes just-baked. You can also assemble the whole pan the night before. Cover it, refrigerate overnight, then let it rise on the counter in the morning. That makes hosting easier, and you get freshly baked garlic herb bubble bread without morning chaos.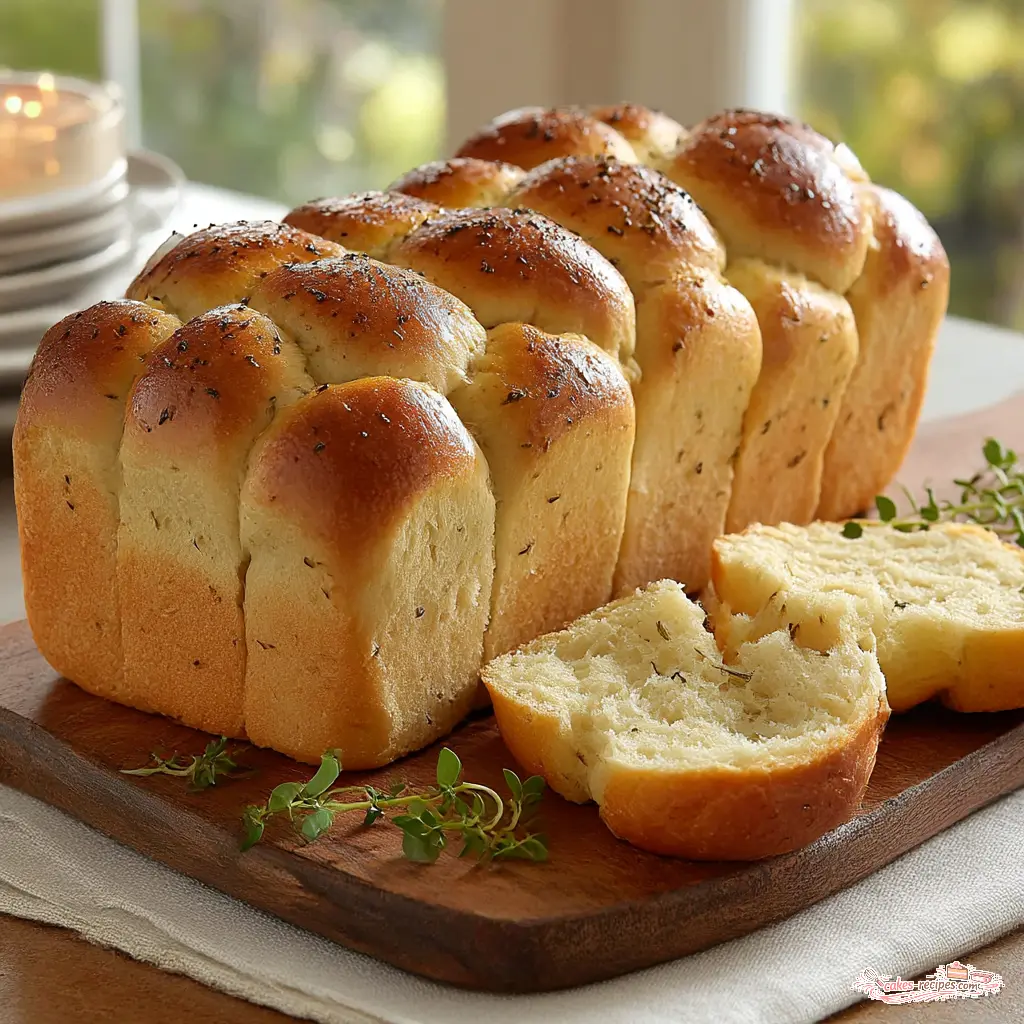
Frequently Asked Questions
Make It Yours
When you pull this garlic herb bubble bread out of the oven, your house will smell like the best kind of summer. Golden edges, soft centers, garlic and herbs in every single bite. It doesn’t have to look perfect. Remember, it’s supposed to be a beautiful hot mess. Bring it to your Labor Day table and watch it disappear. When you make it, tag me on Pinterest. I genuinely want to see that buttery pull-apart moment. And if you’re looking for more ideas, follow me on Pinterest for more recipes. You’ve got this. Butter it up and tell everyone dinner’s ready.Source: Learn More About This Dish
What exactly is garlic herb bubble bread?
Bubble bread is a pull-apart bread made from small dough balls baked together in a loaf pan. Each ball puffs into a soft golden bubble, and you tear the loaf apart by hand. This version adds garlic herb butter to every piece. Think savory monkey bread.
What kind of dough is used for bubble bread?
This recipe uses a soft yeast dough with bread flour, sour cream, and active dry yeast. The sour cream keeps the crumb tender. For a shortcut, canned biscuit dough or thawed frozen bread dough both work well and follow the same method.
How to make garlic herb bubble bread at home?
Make the dough, let it rise, then cut it into 36 small pieces. Roll each piece into a ball, dip it in garlic herb butter, and stack the balls in an ungreased 9×5-inch loaf pan. Let it rise until doubled, about 45 minutes, then bake at 375 degrees F for 35 to 40 minutes.
What is air bubble bread?
Air bubble bread is another name for the light, pillow-like texture you get when small dough balls bake together. The yeast creates air pockets inside each piece, which is exactly what this garlic herb bubble bread delivers. Soft, airy, and utterly addictive.
Would this work with plain biscuit dough or prepared bread dough?
Yes, absolutely. Cut canned buttermilk biscuits into quarters and follow the same dipping and stacking steps. You can also use thawed frozen bread dough shaped into small balls. Keep the same bake time. The texture shifts slightly, but the garlic butter flavor shines either way.